
This post may contain affiliate links. If you make a purchase through links on our site, we may earn a commission. Please read our disclosure policy.

The Art of Canning
Canning, or preserving, is actually simpler than you may think. Many of us have visions of our moms, grandmas, or great-grandmas working over a hot stove for hours, readying jar after jar. And while this was an accurate vision of the past, especially in my family, it doesn’t have to be as arduous today.
Canning today can be straightforward, practical, and doable even if you’re making small batches.
On my farm, canning season is how I save the best of the garden and stretch it through the year. Whether you’re brand new or you’ve done this for years, this is the “start here” guide to canning. Come back to it anytime you need a refresher, and always follow a tested recipe’s instructions and processing times carefully, because those details matter for safety.
Whether you’re new to the art or a seasoned pro, these new recipes will be the perfect delicacy for your recipe book!
Water Bath vs Pressure Canning
This is the first decision that makes everything else easier, and it’s good to know the difference between the methods:
- Water bath canning is for high-acid foods like many fruits, jams and jellies, pickles, and properly acidified foods.
- Pressure canning is used for low-acid foods such as vegetables, meats, poultry, and seafood.
If you’re unsure which method a recipe requires, do not guess. Use a tested recipe and follow it exactly.
Essentials You’ll Always Need
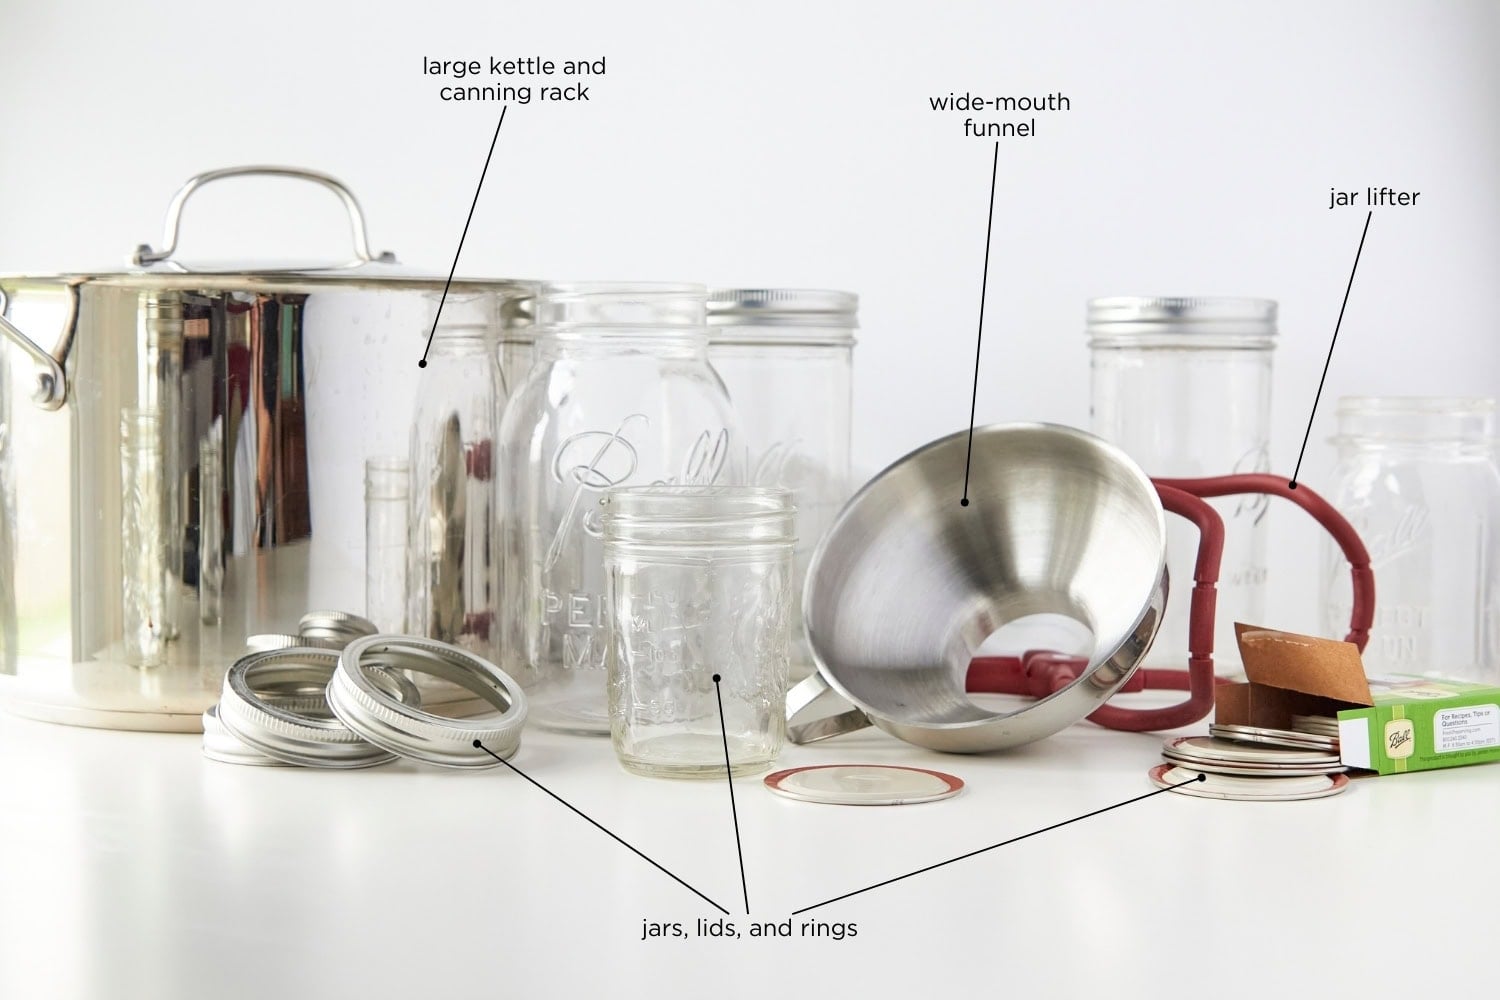
These 5 basics cover most canning days:
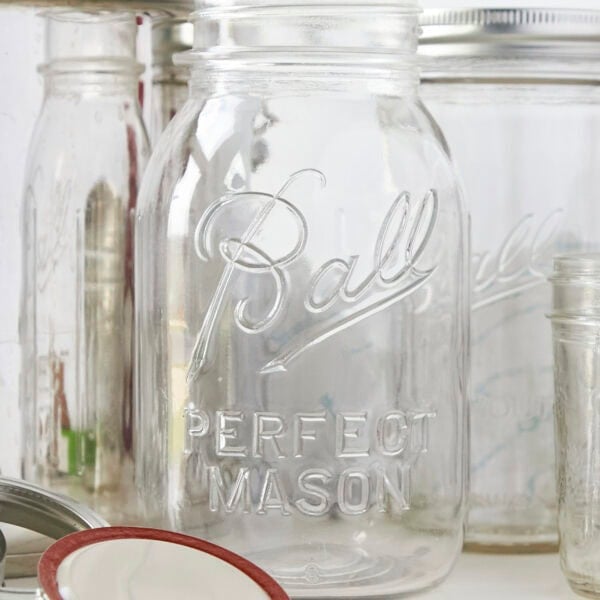
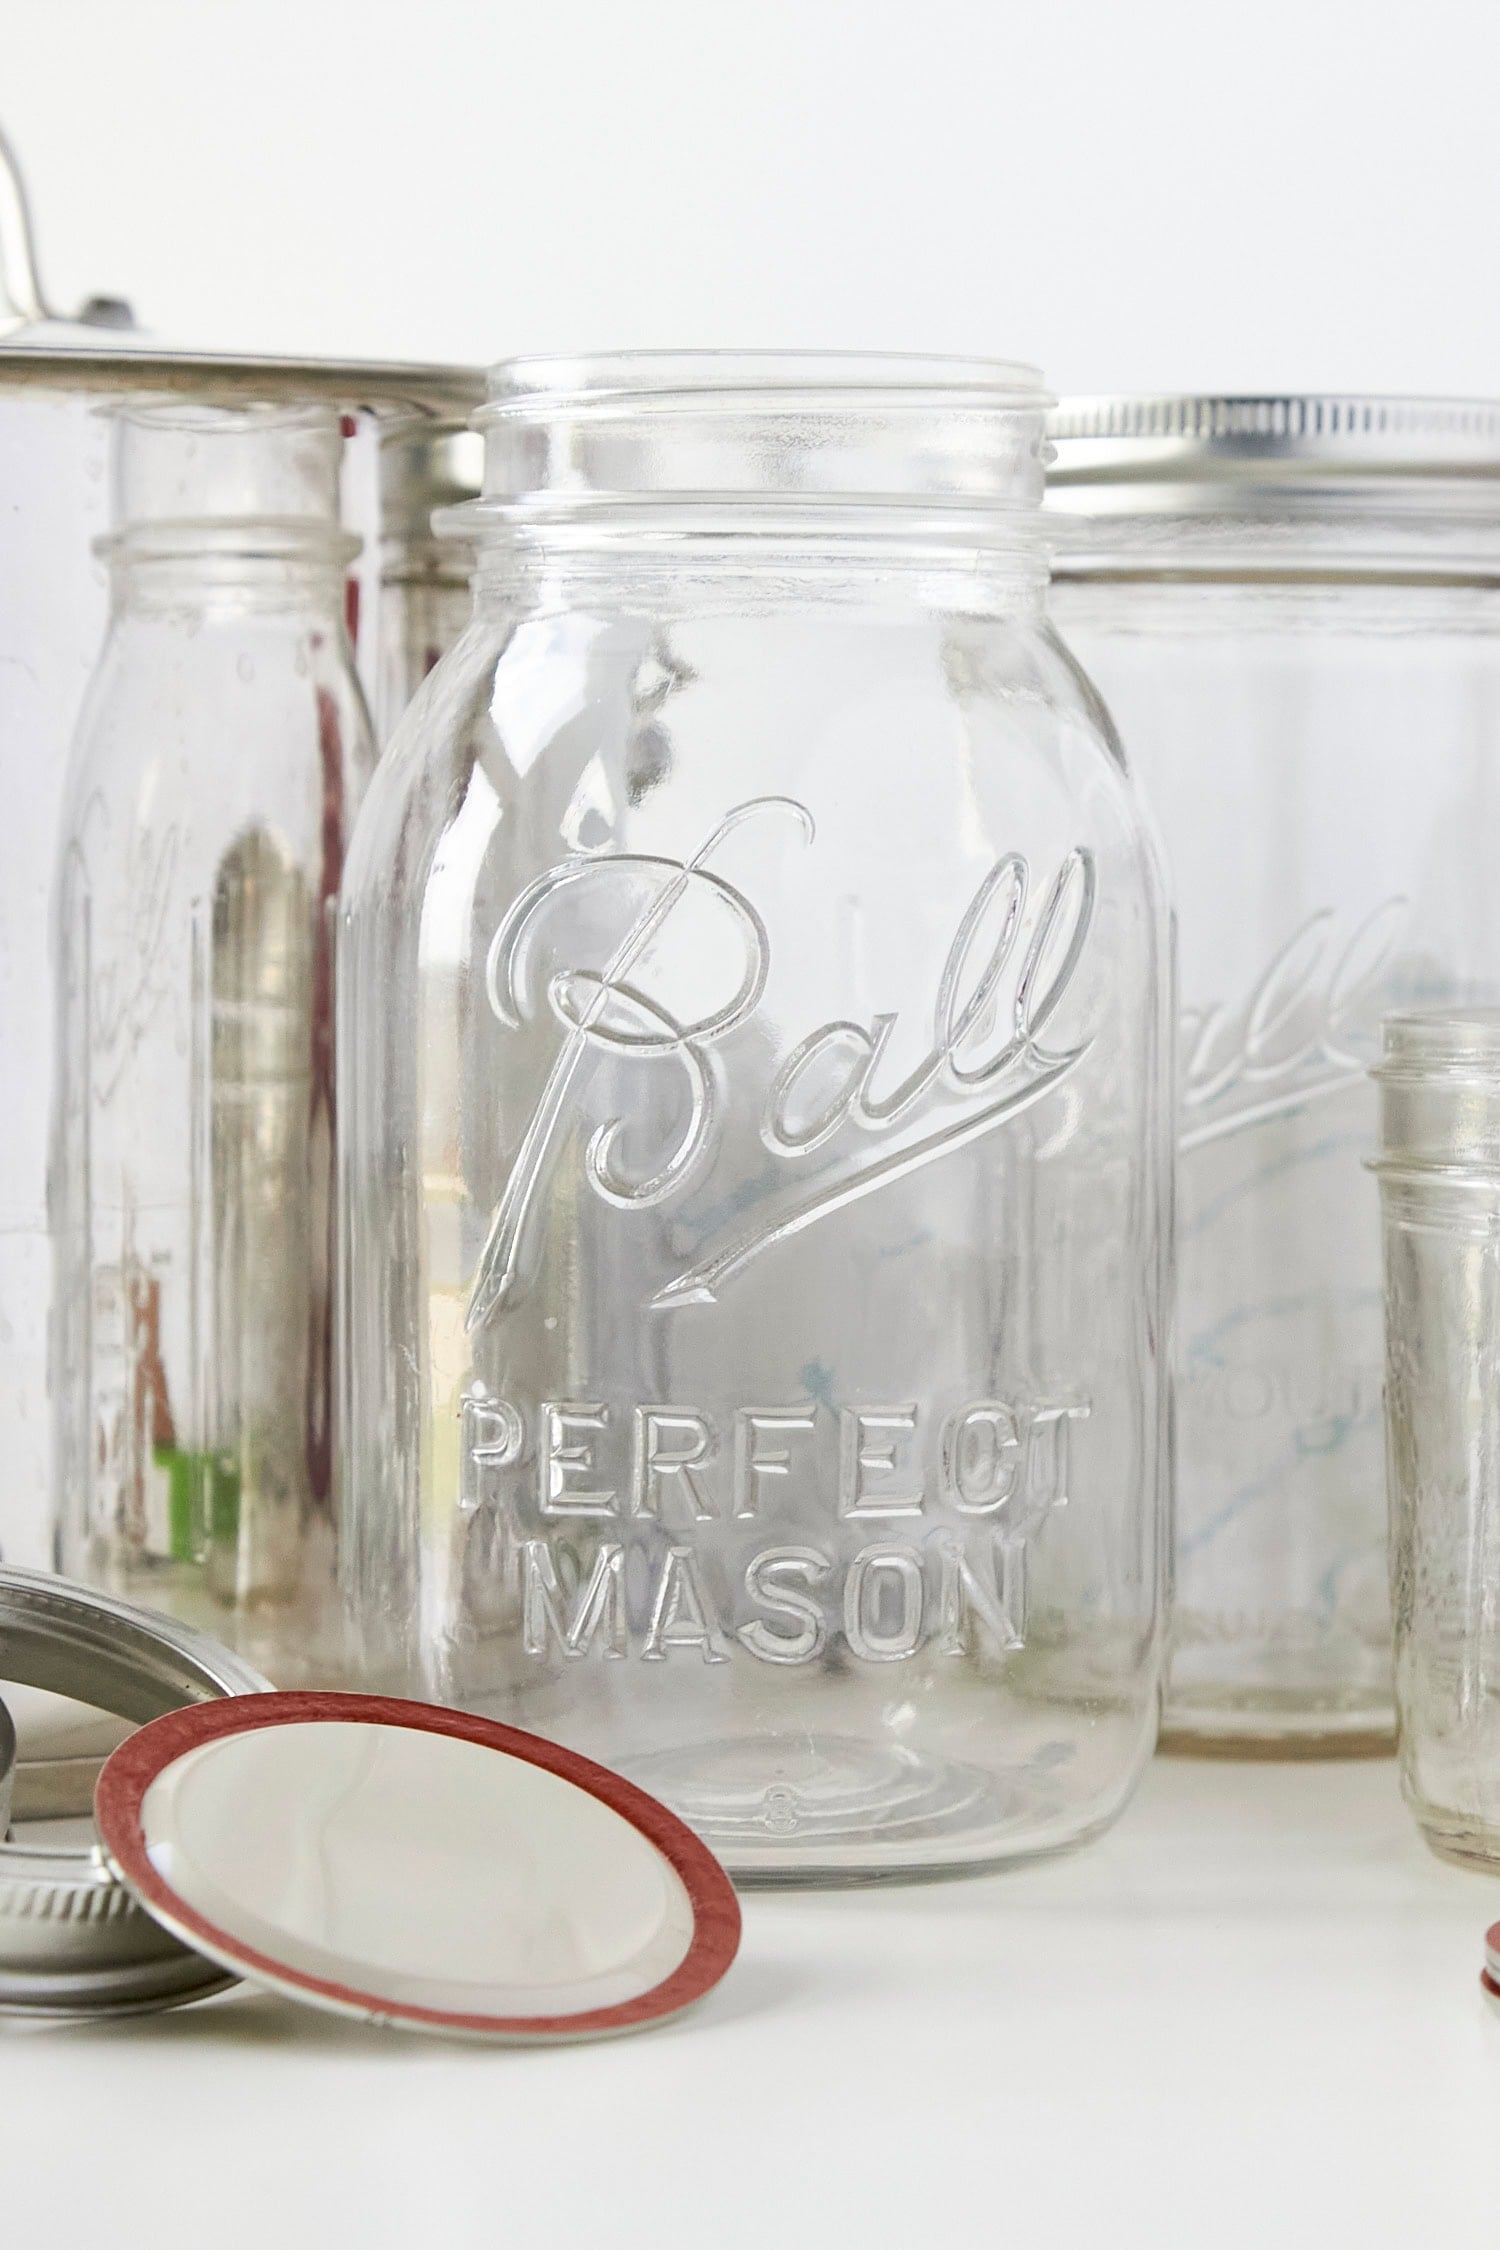
- Jars, lids, and rings – Use true home-canning jars. Reuse jars and rings as long as they’re in great shape, but plan on using new flat lids each time for a reliable seal.
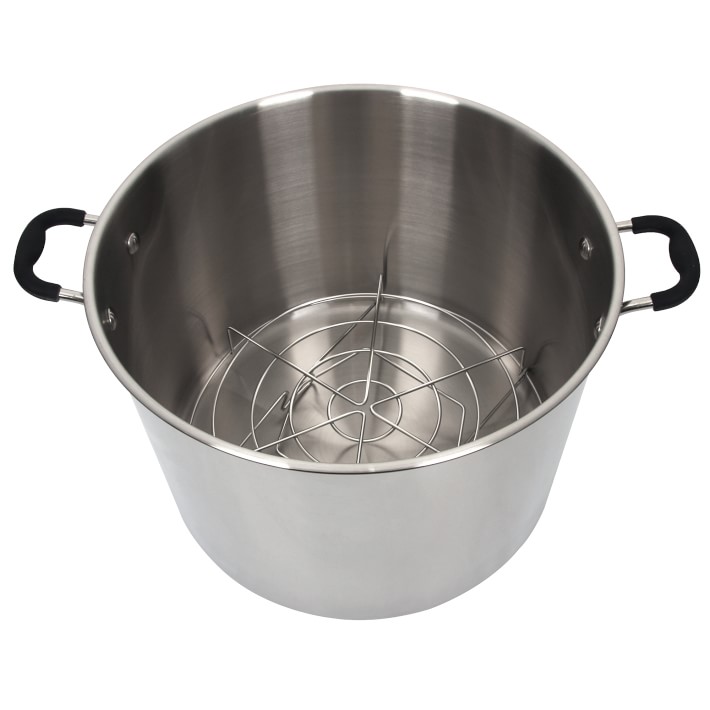
- Large kettle or canner – For water bath canning, you want a pot deep enough that jars can be covered by boiling water during the processing time.
- Canning rack – Jars should not sit directly on the bottom of the pot. A rack elevates the jars off the bottom surface, helps prevent breakage, and improves water circulation.
- Jar lifter – You cannot safely get canned items into and out of the water bath without a good jar lifter, which is essential. Do not try to use tongs as a substitute.
- Wide-mouth funnel – It keeps the rim of each jar clean and makes filling easier.
There are also some helpful extras that, while not required, do make things easier:
- a bubble remover or a small plastic spatula
- a magnetic lid wand
- a timer you can hear
- clean towels and paper towels
Canning Supplies


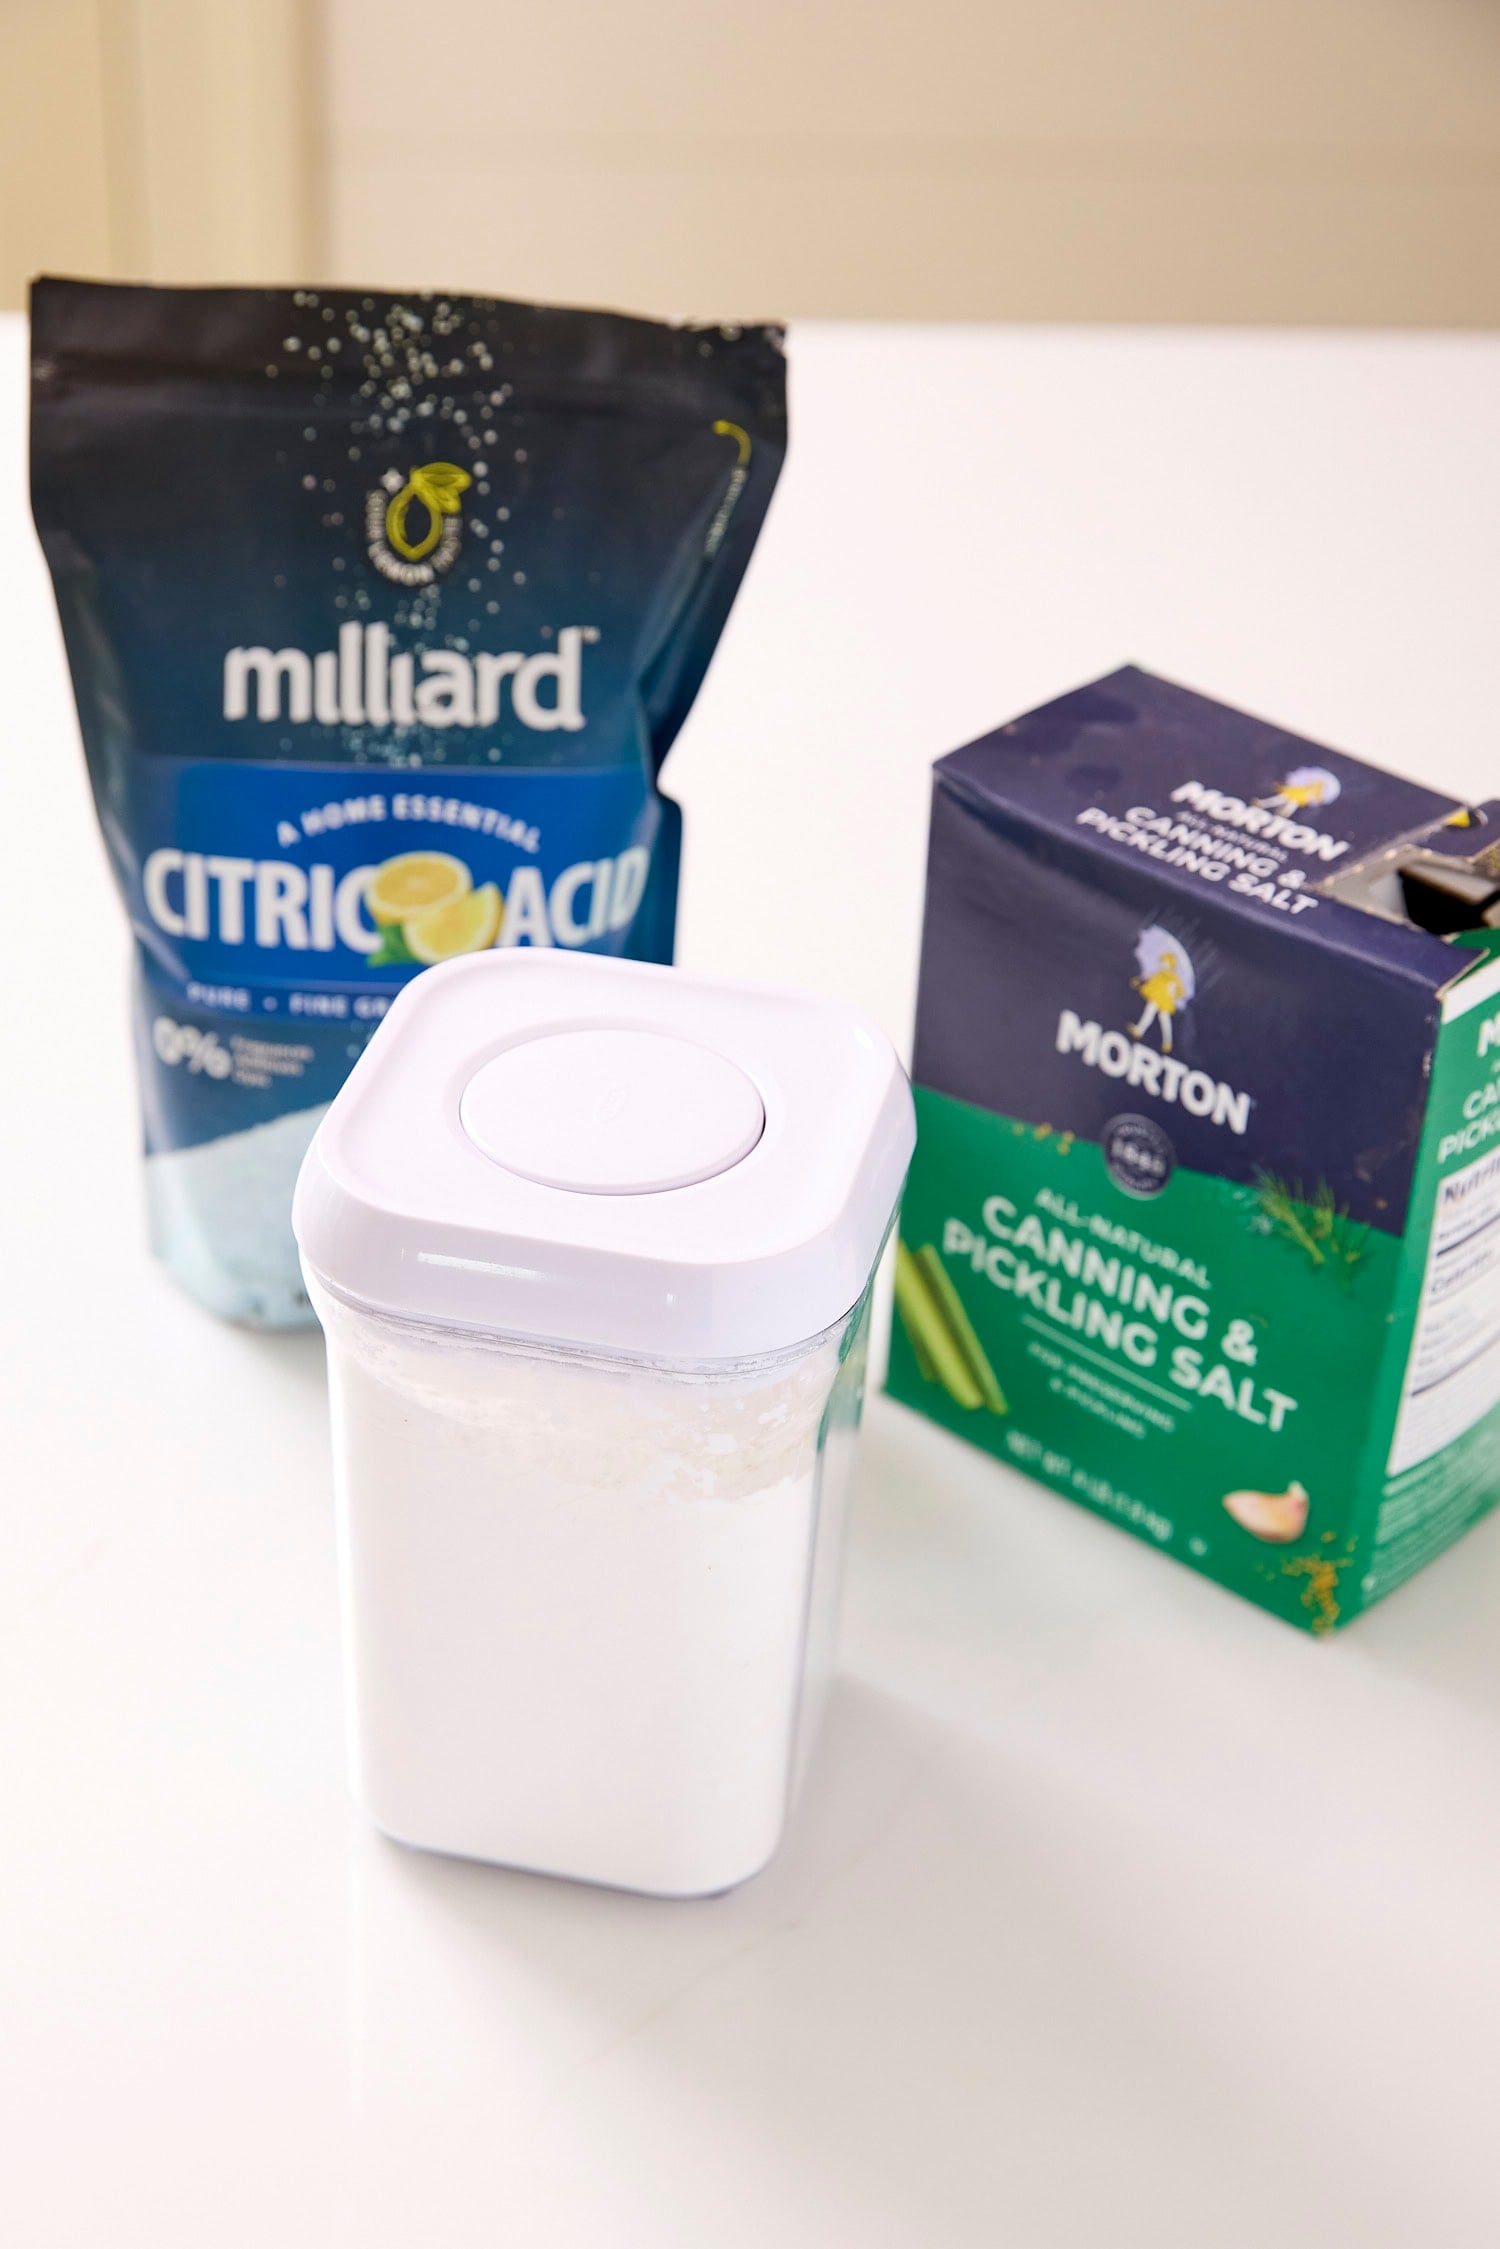
Three Pantry Staples to Keep on Hand
You won’t use these staples in every recipe, but they’re canning-season workhorses when a tested recipe calls for them.
- Citric acid – Used to safely acidify certain foods like tomatoes when the recipe requires it.
- Pickling salt – You want a clean salt without iodine or anti-caking agents. It helps keep the brine in a recipe clearer.
- Clear Jel (cook type) – If a tested recipe calls for a thickener (especially pie filling), Clear Jel is the standard. Flour and cornstarch are not recommended for thickening home-canned foods because they can affect heat penetration.
Pantry Staples

Milliard
Citric Acid

Jar and Lid Prep
Inspect your jars – Before each season, and before each use, check jars for 1) nicks on the rim, 2) cracks on the sides or bottom, and 3) chips along the mouth. Even a small nick can prevent a good seal. If a jar is questionable, save it for fridge storage rather than canning.
Wash and keep jars hot – Wash jars in hot soapy water (or run them through the dishwasher) and keep them hot until you’re ready to fill them with your produce.
Sterilize the jars – Advice may vary on whether a jar needs to be sterilized, depending on the canning recipe’s processing time. I always sterilize all my jars, regardless of processing time, so there’s no question.
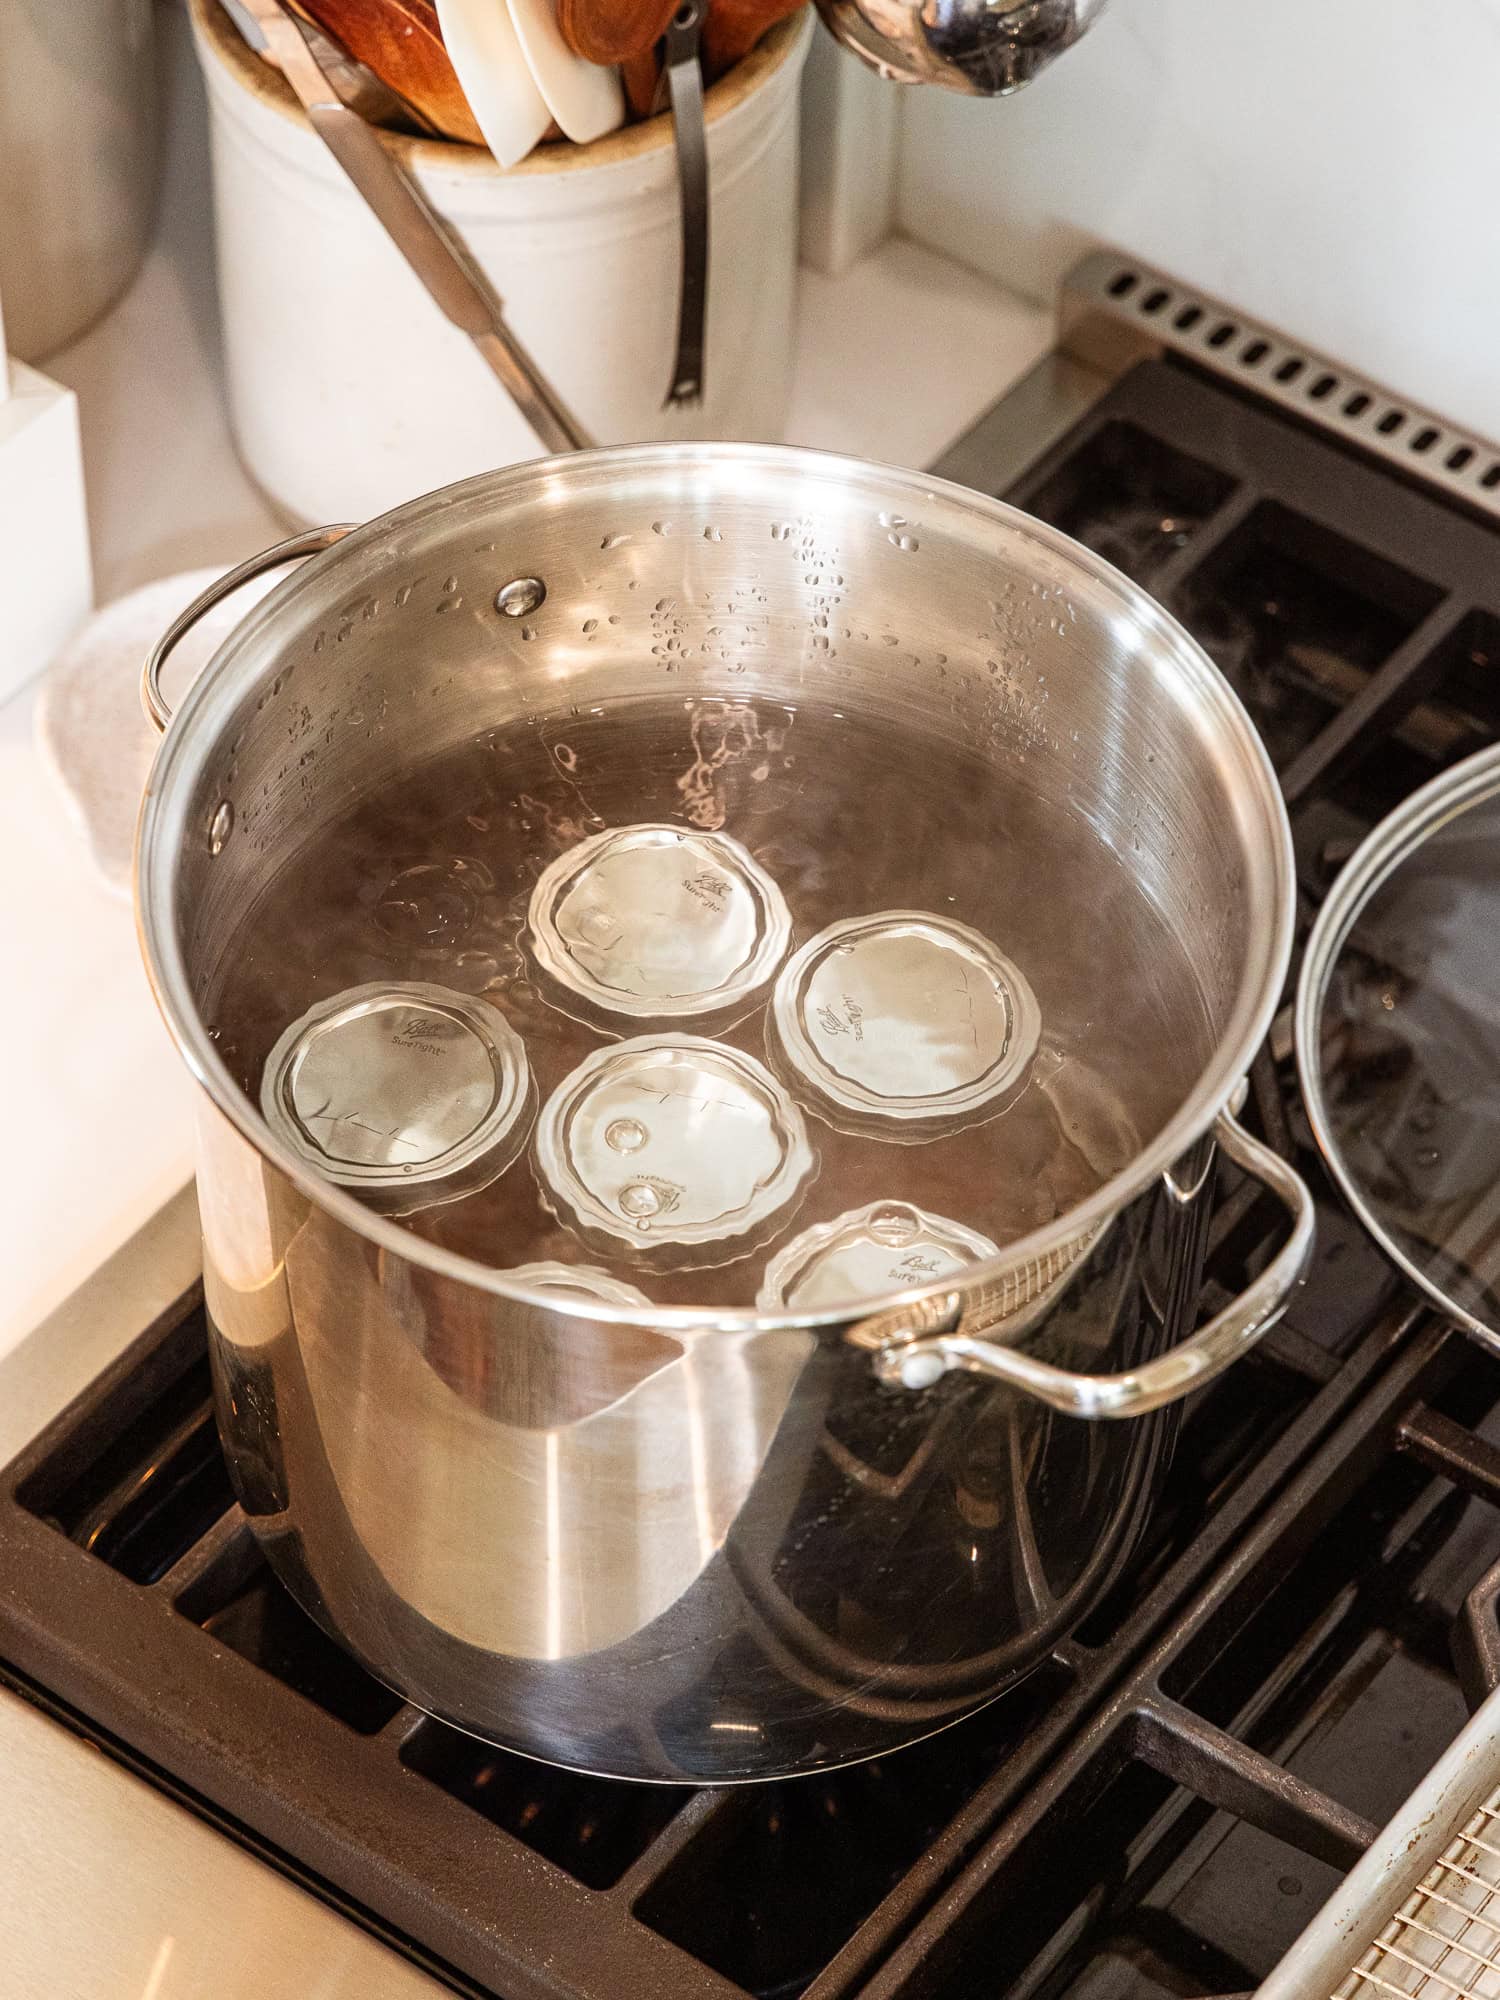
Prep lids – Follow the lid manufacturer’s directions. In general, lids should be washed and kept warm, rather than boiled aggressively.
Pro Tip
If you warm lids in a small saucepan, “shingle” them (alternate direction as you stack them) so they don’t stick together when you lift one out.
Water Bath Canning, Step by Step
Use the water bath canning method for high-acid foods like fruits, jams and jellies, pickles, and properly acidified foods.
- Heat the canner and water – Set the canning rack in the bottom of the pot, add water, and start heating while you prep your recipe.
- Prepare the recipe exactly as written – Processing times vary for a reason. Follow the recipe carefully.
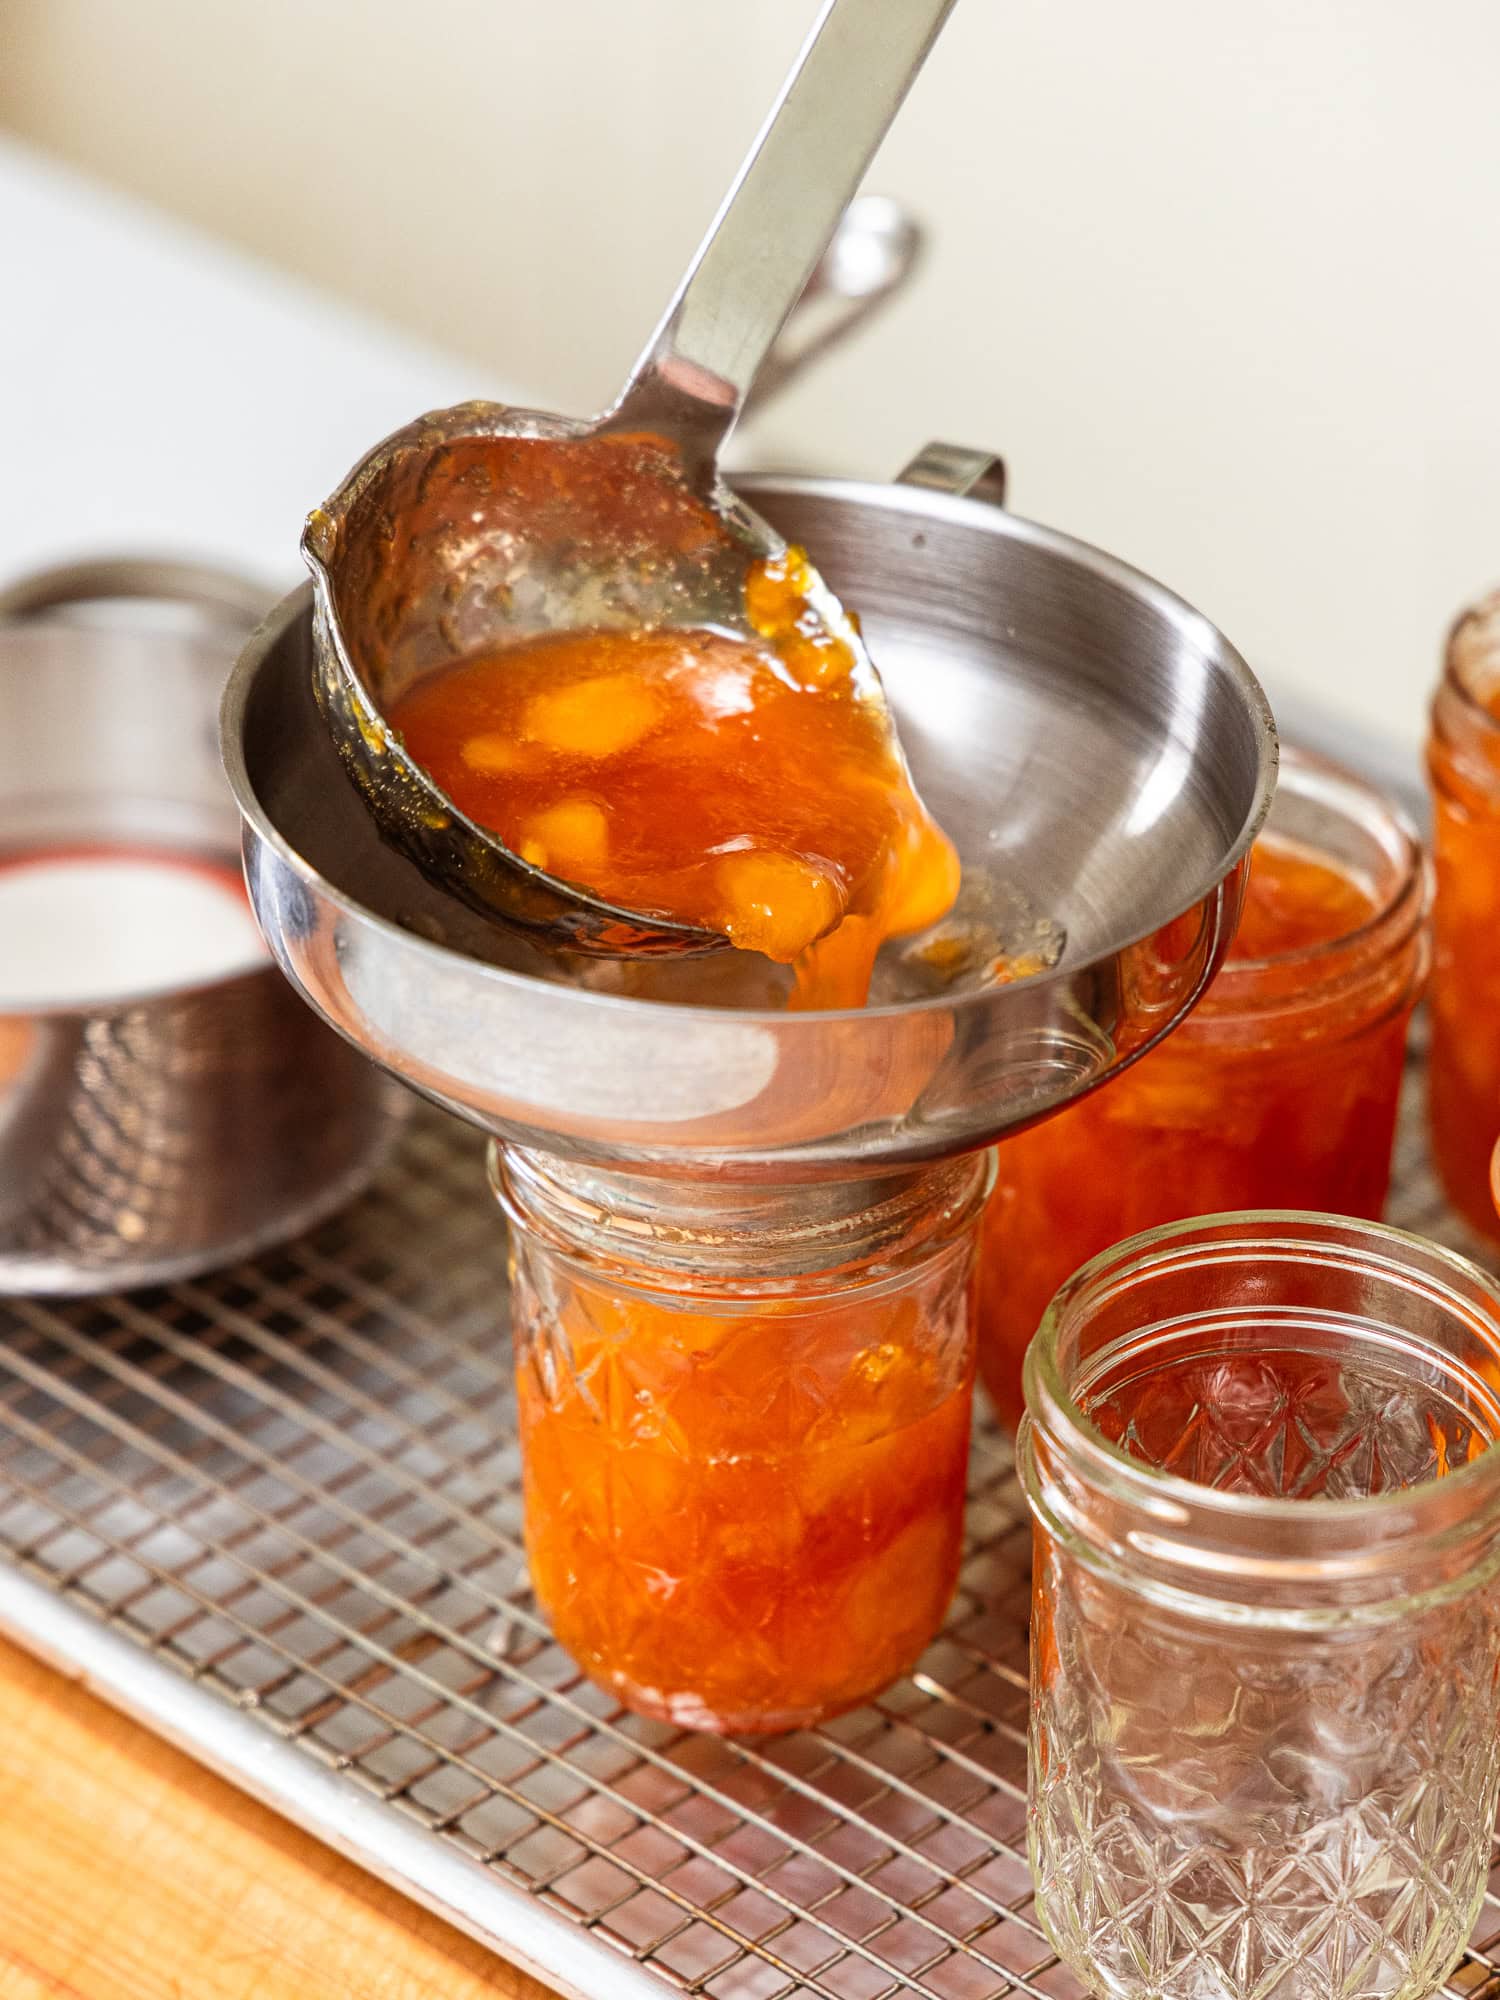
- Fill hot jars – Use a funnel and leave the headspace the recipe calls for.
- Remove bubbles and wipe the rim – Run a plastic tool down the inside edge to release trapped bubbles. Adjust headspace if needed. Wipe the rim clean.
- Add lid and tighten ring to fingertip tight – Do not overtighten the ring; just make it snug.
- Process at a full rolling boil – Lower jars onto the rack. Once the water returns to a rolling boil, start your timer. Maintain the boil for the full processing time.
- Cool undisturbed – When the time is up, turn off the heat and remove the lid of the water bathing pot. Let jars rest briefly, then lift them out straight up, tilt them just slightly to remove the water that pools on top of the lid, and set them on a towel. Do not tighten the rings. Let them cool for 12 to 24 hours.


Pressure Canning Basics (What to Know)
Pressure canning is required for low-acid foods. Use a true pressure canner, not a pressure cooker or electric pressure cooker, because safe processes are developed for pressure canners.
Pressure canners vary, so always follow:
- your canner’s manual
- a tested recipe’s jar size, pressure, and processing time
- altitude adjustments when required
If you’re new to pressure canning, start with one proven recipe and repeat it until the process feels familiar.
After Canning: Seals, Rings, and Storage
Let jars cool 12 to 24 hours – Refrain from disturbing the jars too much. Let the seals form naturally and do not press down on the top, which could create a forced seal.
Remove rings and test seals – After jars are completely cool, remove the rings and check the seals. Removing the rings helps you confirm you have a true seal and makes it easier to detect problems during storage.
Store for best quality – Store sealed jars in a cool, dark place. For the best quality, aim to use what you can within about a year. Label jars with the contents and date.
Quick Tips
Troubleshooting
A jar didn’t seal – Place the jar in the refrigerator and use it as though you had opened it to consume.
Liquid siphoned out – Often caused by incorrect headspace, temperature swings, or rings tightened too much.
Rusty rings – Rings are reusable, but store them separately and dry.
Canning FAQs
Yes, if they’re true canning jars and have no nicks or cracks. Use new flat lids each time.
No. Remove rings once jars are sealed and fully cool.
Watch My Top Canning 101 Tips

More Recipes
- Start here – Preserving guide
- Fermentation basics – Fermentation recipes and guide
- Beginner-friendly canning projects – Dill pickles (everyone’s favorite!), pears, green beans (pressure canning), and tomato juice
Best Canning Recipes
Pickles
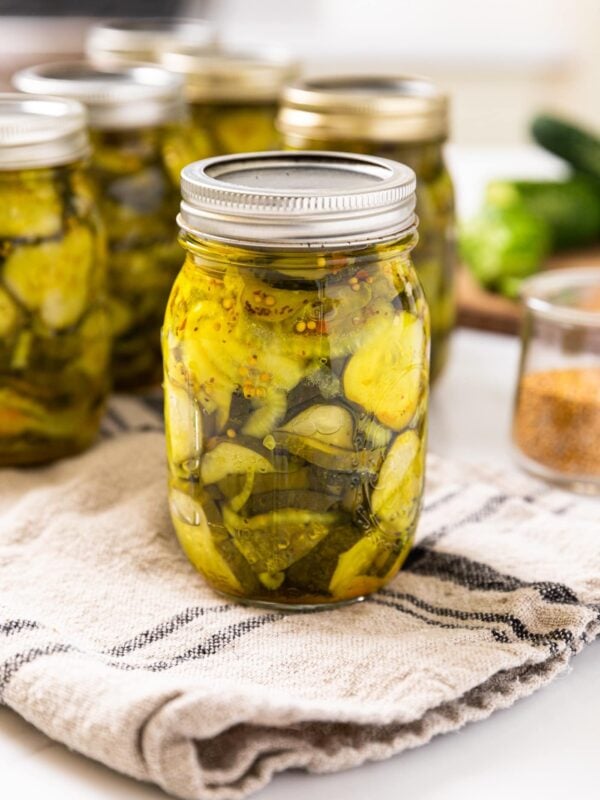
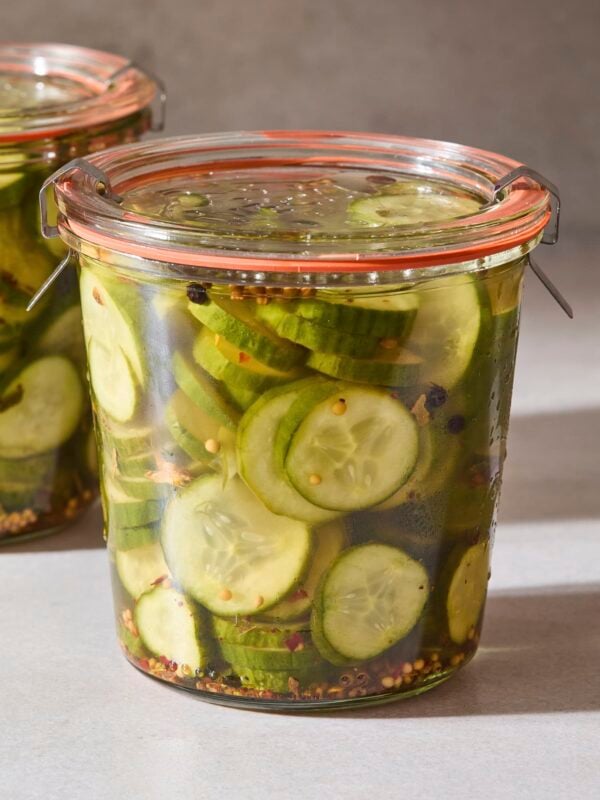
Canned Bread and Butter Pickles
Sweet, tangy canned bread and butter pickles that last all season.
Summer
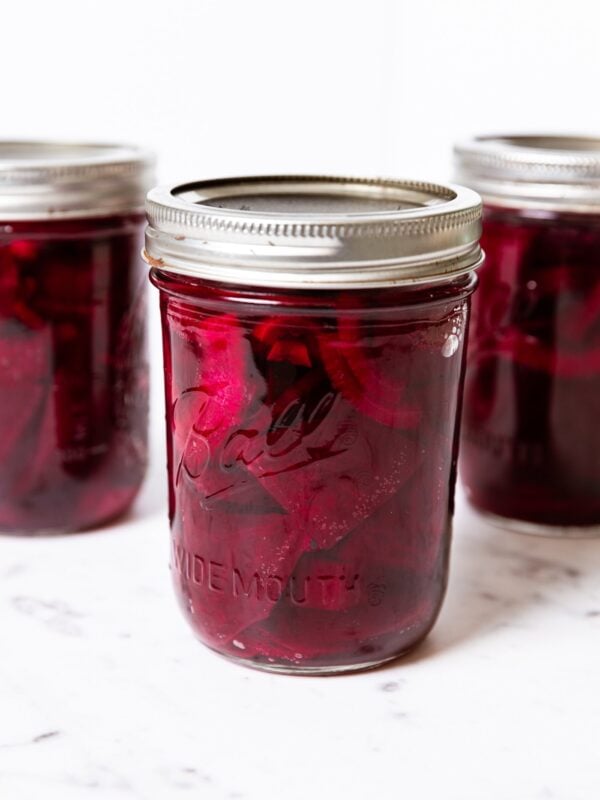
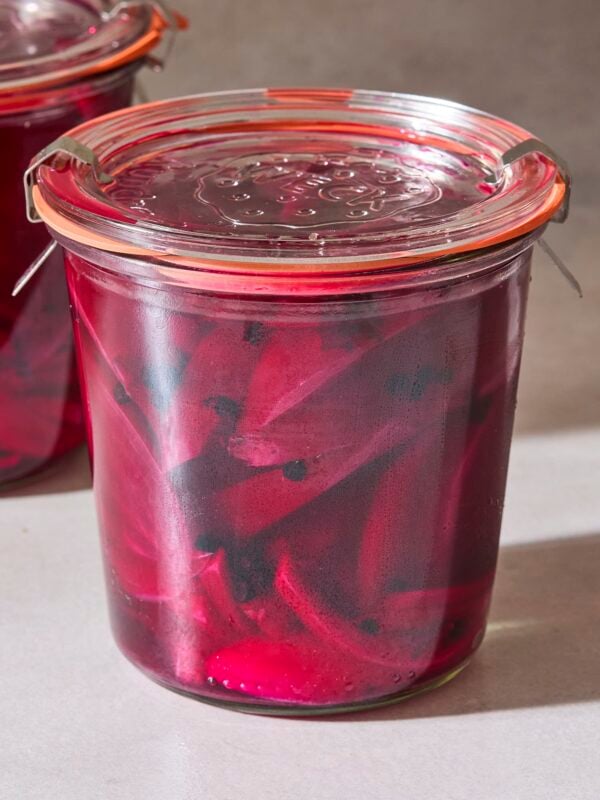
Canned Pickled Beets
A quick and simple canning recipe that can be enjoyed on salads and snacks.


Thank you for showing ‘canning 101’ . It is really helpful.
Hi Kaleb! Thank you for all of your great advice and recipes! Can you share a link for the jar lifter you use? Thank you!
Need sauerkraut recipe for preserving/ canning. The one I used for years to make is complicated
Also suggestions what to do with excessive amt of tomatillos
I have too much garlic in my garden. Can I freeze it for later?
Hi
Have a question on canning the fruit
butters. After you have the fruit butters and want to can them do you need to heat the fruit after running thru the sieve or will the waterbath take care of it? And since apricots are very hard to find here I saw a recipe using dried apricots for making jam would that work for butter? Thanks for the recipe I love
apricots!
I love watching your videos. I wanted to ask you is there any way to freeze red tomatoes?
You make cooking and canning very interesting, easy and enjoyable! Your recipes are delicious! Thank you!
Kaleb you are just a doll I used to can always, but i was hit from behind on my birthday July 3 rd at 45 + mph by a very young lady who was talking on her phone driving fast and weaving in and out of 5 o’clock traffic. I am a very cautious driver. The stop light was red and from what my husband and police as well as witnesses said, she hit me so hard I suffer from memory loss, severe back, shoulder, hip and bilateral knee pain. This was 3 weeks after i married my childhood sweetheart. We planned our honeymoon which had to be cancelled. My wonderful husband ( Military 39 year’s) love’s to can, but since I have a hard time with memory loss I have to rely on video’s. You are fantastic explaining and teaching. We have a large garden I do not want to waist food and can as much as possible with my husband by my side loving and willing to help. I thank you so much for your video’s to show Mark. I am blessed to do what i can and for the Lord protecting and providing. We will donate the food to feed other’s including family. I was a Nurse for 30 year’s and forced to retire. I enjoy helping other’s and always have, so thank you again i will continue to watch your videos with my husband God bless you sincerely Mary and Mark.
God Bless You Mary! I don’t know why my screen jumped to your message but I do know God sent it to me for a reason. I will pray for you and your husband. God has his hands in it all. Thank you for sharing even to me. Sending you a big hug and prayers
Hi, do you take the lids directly out of the simmering water and place them on the jars, or do they need to be dried first? I’m not hearing any popping and I’m wondering if it’s because the lids were wet?
Hi, Is there a way to do the serialization process in the oven?