
This post may contain affiliate links. If you make a purchase through links on our site, we may earn a commission. Please read our disclosure policy.

Why I Love Corn Relish
In our house, corn relish was always on the basement shelves holding our preserved goods. Amongst the rows of beans, carrots, pears, peaches, pickles, and salsa, there was a spot for corn relish. This relish does not have the same any-night appeal as vegetables would, but with one taste, you’ll see why this is a must-have in your canning pantry.
Sweet corn is genetically sweet, and when mixed with spices and brine, a sweet and sour relish is born. The relish can be used on top of brats and grilled meats, or as a salsa-like topping on any Tex-Mex meal. For me, more often than not, this becomes a side dish with a summertime meal. Just think about a BLT with a side of this corn relish!
Canning may have become more of a leisure sport for some, but trust me, corn relish will always be worth the effort!

Corn Relish Ingredients
The ingredients for corn relish are meant to highlight some of the best produce of the summer. Along with sweet corn and bell peppers, a few spices and vinegar are combined to create this unique combination. Here are some of the important ingredients:
- Sweet corn is best when picked fresh and used quickly. Look for roadside stands that sell local sweet corn for the most flavor and the best sugar content.
- Cabbage is used in this relish recipe as a filler to impart a better texture. Once cooked and canned, the cabbage becomes almost non-existent, cooking down to nothing.
- Red and green pepper make the relish beautiful while adding a hint of extra flavor. Once canned in the jar, the specks of red and green make this even more appetizing.
- Ground mustard provides a subtle mustard flavor that you would never guess is mustard. The small amount of spice balances out the sweetness and marries it with the sourness.
- Turmeric enhances the yellow corn color. This traditional pickling spice also adds an earthy, full-bodied flavor to the relish.
- Kosher salt is used in the recipe and measures differently from table or canning salt. Make sure to adjust the amount depending on the salt that’s used. Salt will bring out all of the flavors and season everything in the corn relish.
The full amount of each ingredient can be found in the recipe card below.

Food safety tip – Home canning is safest when you follow research-tested recipes and proper processing times. Improper canning can risk botulism. New to canning? See my Canning 101 Guide and consult the USDA Complete Guide to Home Canning.
How to Make Corn Relish
The process of water bath canning may be complicated, but it’s actually a pretty simple process. In this recipe, the ingredients are cooked on the stove, thickening them into a condiment-like consistency, and then ladled into glass jars. After they’re processed in the water bath, they’re shelf-stable and ready to be stored for future use. Here are the steps for making this corn relish recipe:
Step 1: Shred the cabbage and cook the corn – Using some form of a shredder or grater, shred the cabbage into small pieces. Aim for pieces of cabbage that are reminiscent of what would be used for coleslaw. Separately, have the sweet corn cooked and the kernels removed from the cob. To a large stockpot, combine both the cabbage and the corn.
Step 2: Chop up the remaining vegetables and process – To a food processor, add roughly chopped onion, red pepper, and green pepper. For the peppers, remove the inner white pith and seeds before adding them to the processor. Also, add in the tops of the bell peppers, removing the green stem at the top. Once all three vegetables are in the process, place on the lid and pulse until everything is evenly chopped.


Step 3: Combine all ingredients and cook on the stove – Add the chopped vegetables to the stockpot with the corn and cabbage. On top, add the mustard powder, turmeric, salt, sugar, and vinegar. Place this on the stove and allow the mixture to come to a rolling boil. At this point, the cabbage will begin to cook down, releasing a lot more liquid.
Canning Definition
What is a rolling boil? A rolling boil is a boil that cannot be stirred down. In most cases, when something is boiling, stirring it will cause the boil to subside, at least temporarily. With a rolling boil, no matter how much a mixture is stirred, it cannot be stopped. The only way to stop the boil would be to turn off the heat or remove the pot from the heat source.


Step 4: Add the Clear Jel mixture and return to the stove – Once the mixture has cooked for 30 minutes, remove it from the heat. To a small bowl, combine the water and Clear Jel. Mix this together to create a slurry. Then add this slurry to the hot mixture and mix it in to incorporate. Return the hot mixture to the stove and continue cooking to activate the slurry. After 2 minutes of continued simmering, remove the mixture from the heat.


Step 5: Pack the jars with the corn relish – To cleaned and sterilized glass jars, ladle the hot corn relish mixture. Fill each jar, reserving ½-inch of “headspace” at the top. Once all of the jars are filled, wipe off the top of each jar with a paper towel wet with hot water. Then place on the lid and the ring, and tighten until fingertip tightness.
Canning Definition
What is headspace? Headspace is the unoccupied area at the top of a jar. This space allows the contents of the jar to shift and expand during the canning process without impeding the seal created by the lid and ring. It also allows for the creation of a vacuum seal.


Step 6: Process the jars in the water bath – On a stovetop, heat water in a heavy-bottom kettle fitted with a rack. Using a jar lifter, place each glass jar filled with the corn relish into the water, one at a time. Make sure that once all of the jars are in the canner, the tops of the jars are covered with water. If they are not, simply add some hot water to the pot.


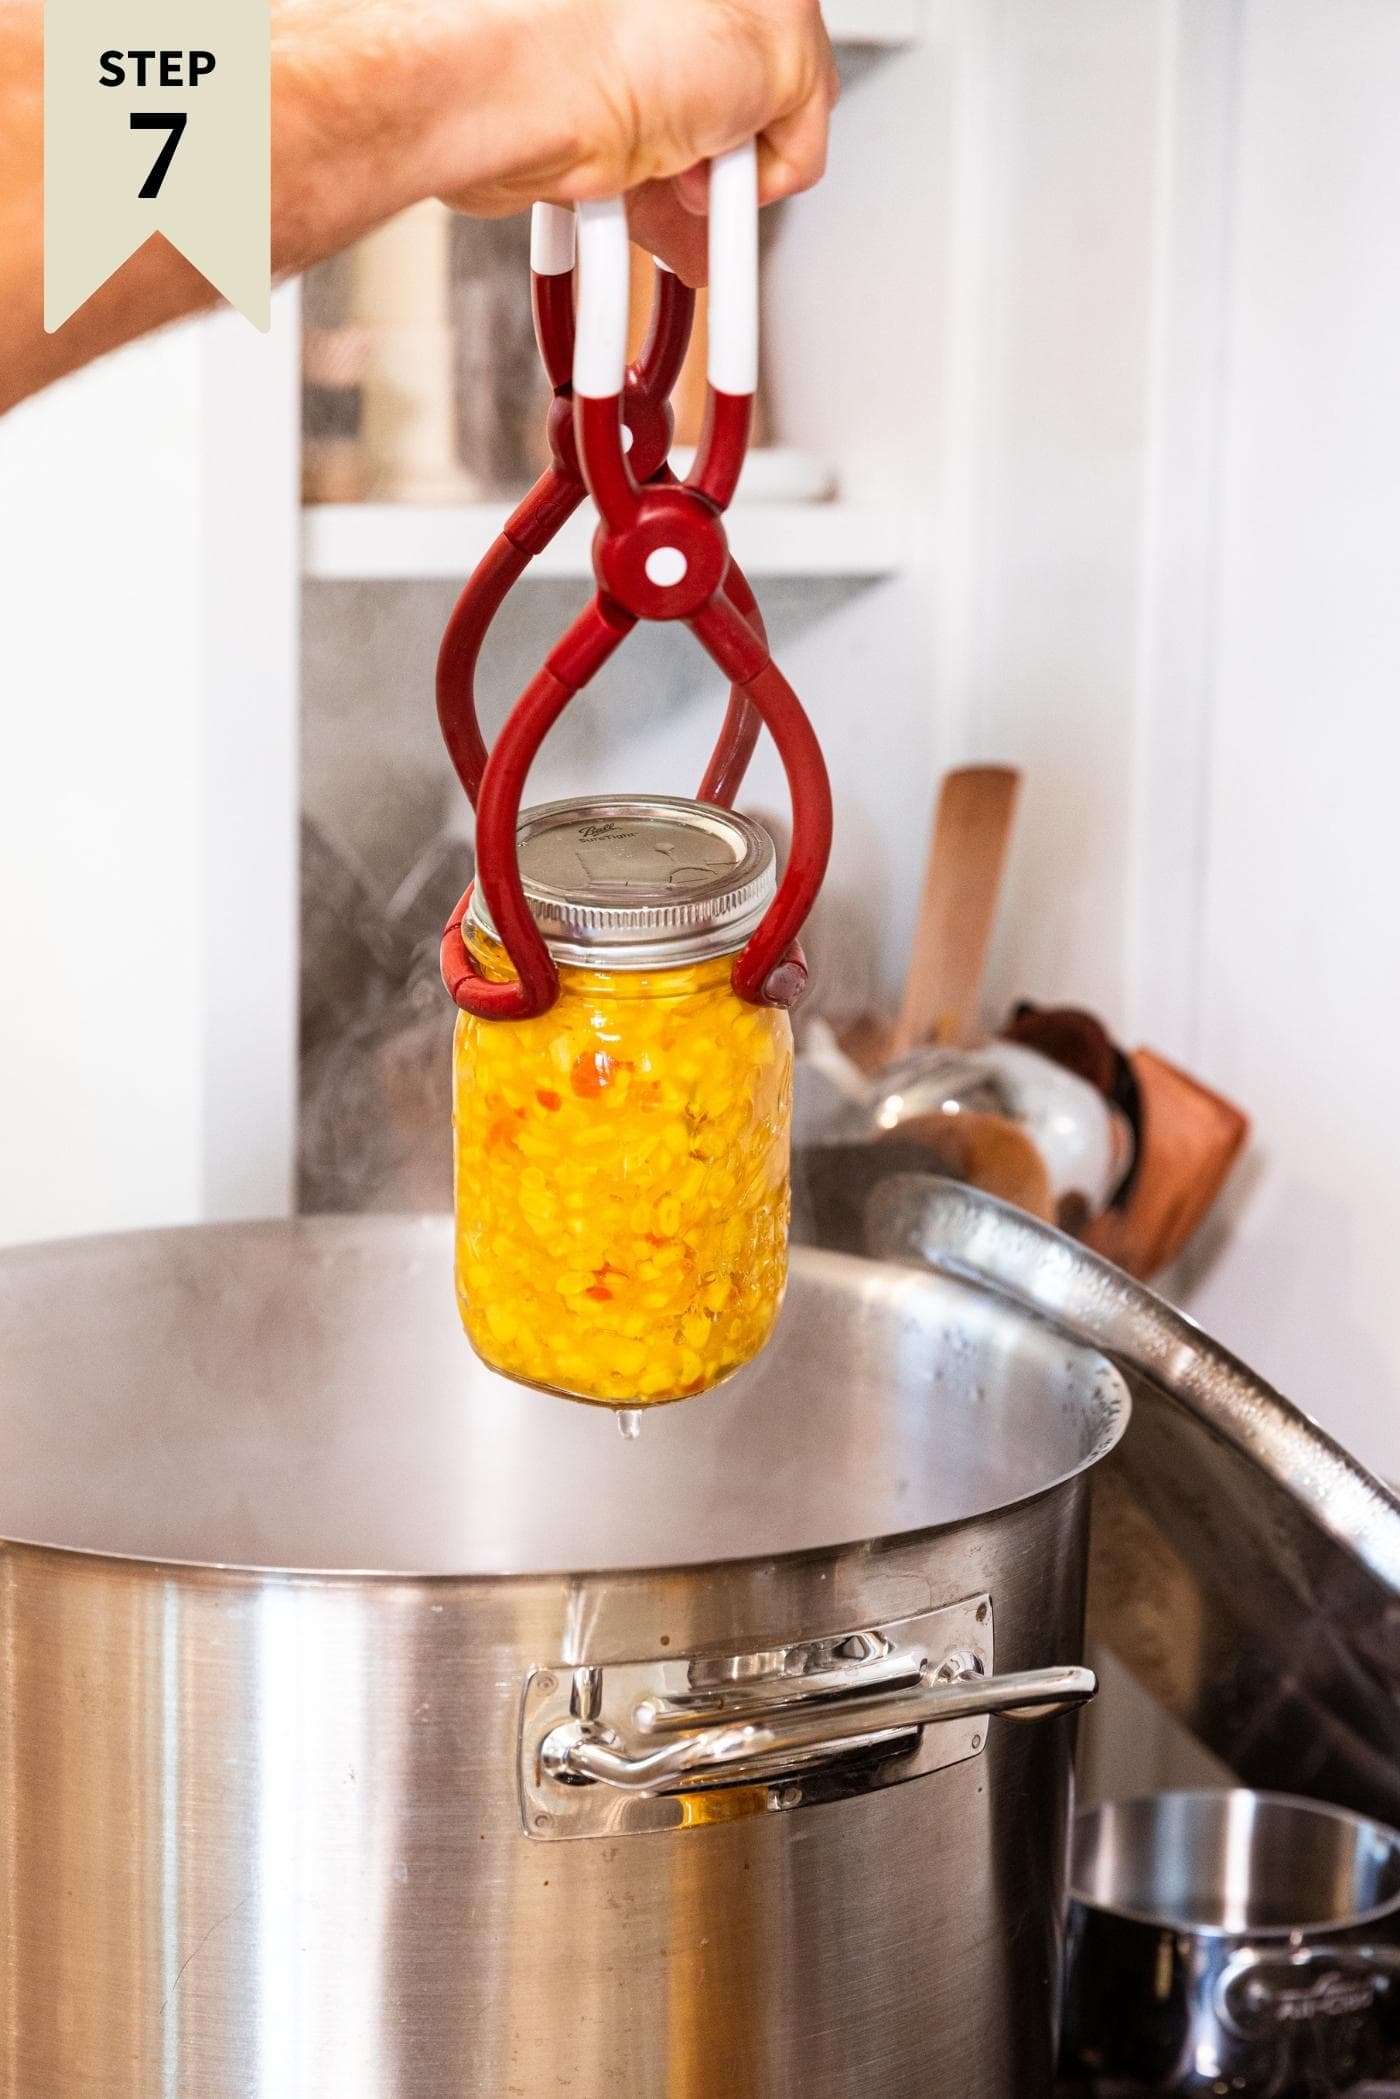
Step 7: Remove the jars from the water bath – After 15 minutes of boiling (see below for times), remove the jars from the canner, tipping them slightly while still over the kettle to remove any water from the tops of the jars. Allow the jars to sit undisturbed for 24 hours before removing the rings. This ensures that the seal is not hindered. After 24 hours, you can remove the ring (or leave it on).
Altitude Adjustment
Each altitude can require a different processing time. I’m located between 0 and 1,000 feet above sea level. If you are at a different elevation, make sure to check the USDA Canning Guide for your processing time:
| Elevation | 0 to 1,000 ft | 1,001 to 6,000 ft | 6,000 ft + |
|---|---|---|---|
| Time | 15 minutes | 20 minutes | 25 minutes |

Recipe Tips
- If you do not have a food processor, don’t fear. A food grinder can be used in place of the processor, or everything can be chopped up by hand. You just want to ensure the vegetables are chopped into very small pieces so that the resulting texture of the corn relish will be correct.
- When adding in the Clear Jel, make sure to do this off of the heat. If you add Clear Jel while the mixture is on heat, it can tend to clump up, creating pockets of the thickener, which is undesirable. You want the entire mixture to be thickened with the Clear Jel.
- When filling the jars, make sure to reserve 1/2 inch of headspace at the top of each jar. If you accidentally fill a jar too full, simply remove any of the excess so that the 1/2 inch is reserved.
- When canning, make sure to use a rack on the bottom of the heavy-bottom kettle filled with water. If the glass jars are placed directly on the bottom of the kettle, they could burst with heat. The rack circumvents this, mitigating some of the heat from the stovetop.
- After 24 hours, the rings can be removed from the jars. To be economical, I reuse my rings, which allows me to limit the cost of canning. If you prefer to leave the rings on, that works. Simply remove the ring to ensure that the lid actually sealed and that the ring is not creating a false seal, which would be unsafe.
- If you discover that any of your jars did not seal, simply place them in your refrigerator and consume them as though you just opened them.

Frequently Asked Questions
Of course! I love to buy sweet corn and prepare it myself, but you can use corn that was purchased from the store or corn that you froze at some previous point. If using frozen corn, keep in mind that the flavor will not be as fresh or as intense as in-season sweet corn.
Corn relish has so many uses, whether it’s simply used as a side dish or as a topping. Throw this on top of brats or a hamburger, or add it with salsa and hot pepper mustard on top of a taco salad. Make it once, and you’ll find more and more creative ways to use it!
Of course! The amount of sugar added to the corn relish can all be based on personal preference. Some people, myself included, like their relish to be less sweet. Others like a sweeter variety. Start with the amount listed in the ingredients. Then, once the relish has cooked for a while on the stove, do a taste test to see if it has the sweetness you like. If not, adjust accordingly.
Home-canned goods do not have expiration dates like those purchased at a store. The flavor is best if used within one year, but these can be kept and used within 2 years.
More Canning Recipes
- How to can bread and butter pickles
- How to can spicy dill pickles
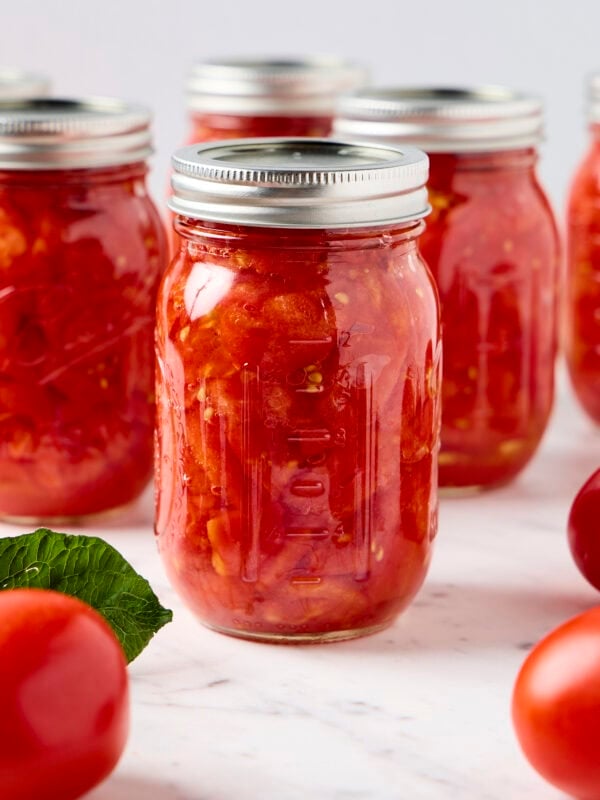
- How to can tomato juice
- How to can pickle relish
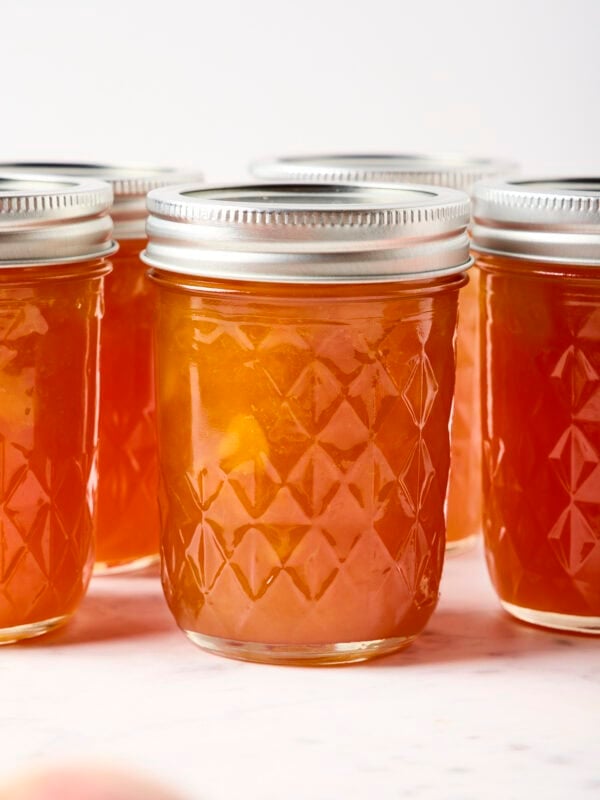
- How to can peaches
- How to can pickled curry cauliflower
- How to can dilly beans
- Canned grape juice concentrate
- Make sure to check out my canning 101 guide for more canning information
Have I Convinced You to Make This Recipe?
I hope you make this recipe and put some food on your table. Leave a comment and share a star rating so you can let others know how much you love this recipe. This helps show others that this is a recipe they, too, can make, enjoy, and love!
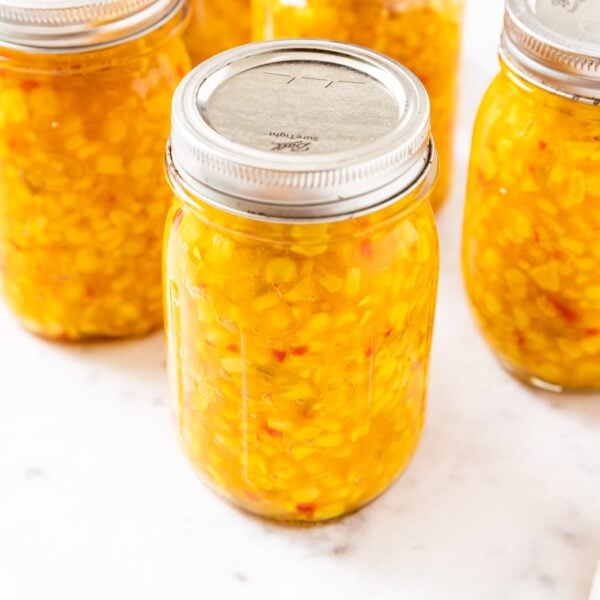
Canned Corn Relish
Equipment
- 10 pint jars
Ingredients
- 5 cups shredded cabbage
- 14 cups sweet corn cooked, cut off and measured
- 2 cups diced onion
- 1 cup diced red bell pepper
- 1 cup diced green bell pepper
- 1 tbsp ground mustard
- 2 tsp turmeric
- 1 ½ tbsp kosher salt
- 1 cup granulated sugar
- 4 ½ cups distilled white vinegar (5%)
- 3 tbsp Clear Jel
Instructions
- Have pint jars sterilized and waiting with prepared lids and rings.
- In a large 8-quart stock pot, combine the cabbage, sweet corn, onion, bell peppers, ground mustard, turmeric, kosher salt, sugar, and vinegar. Stir to combine and bring to a boil over medium heat.5 cups shredded cabbage, 14 cups sweet corn, 2 cups diced onion, 1 cup diced red bell pepper, 1 cup diced green bell pepper, 1 tbsp ground mustard, 2 tsp turmeric, 1 ½ tbsp kosher salt, 4 ½ cups distilled white vinegar (5%), 1 cup granulated sugar
- Once boiling, keep stirring occasionally. Then reduce the heat to keep a low boil. Cook at a low boil for 30 minutes.
- Once the corn relish is cooked, whisk together 3 tbsp water with the Clear Jel until smooth. Remove the corn relish from the heat. While stirring the corn relish, drizzle in the Clear Jel and water mixture until fully incorporated. Return the corn relish to the heat and bring it to a simmer for 2 minutes, or until the corn relish is bubbling throughout the mixture and slightly thickened. Note: the relish will not be overly thick from the Clear Jel, but just slightly tighter.3 tbsp Clear Jel
- Distribute the corn relish into the prepared 10 pint jars. Fill the jars leaving ½-inch of headspace at the top of the jars. Wipe the rims clean and fit with lids and rings. Place in a boiling water bath canner, making sure the jars are covered with water. Bring to a boil and process for 15 minutes.
- Once finished, remove the jars from the canner, and set them aside for 24 hours. When ready to consume, store opened jars in the refrigerator.
Video

Notes
Nutrition
Nutrition information is automatically calculated, so should only be used as an approximation.

Did you make this? Leave a comment below!

The recipe is very good, It’s just a shame the ingredients aren’t it weights instead of volume as it’s more accurate.
Kaleb, absolutely love this relish! My husband went out to our local farmer for the super sweet corn that the Fraser River Valley is known for and in no time we had the relish in jars…its been a week and we’ve been wanting to try the relish…had on burgers tonight and oh so yummy! Wouldn’t change a thing….love your reels and videos! Thanks for sharing!
Wonderful
With leftover corn from the corn roast, your recipe inspired me to try this relish. We don’t have True Jel in Canada – any substitutions you have tried? PS – you are a pleasure and full of great ideas.
We do have a substitute for True Jel in Canada it’s called Clear Jel. I found mine at a local bulk food store. Hope this helps I realize your question was just about a year ago but thought I’d still answer in case you didn’t know yet.
Hi! Is there a substitute for Clear Jel? Thanks!
Do you have to add the clear jel?
I don’t have a canner, or canning utensils, so I’m wondering if I could freeze this? My grandma always made this, and I always loved it.
I was wondering the same..
Hello! Yes, you could freeze this! After it is cooked, just place the corn relish in smaller airtight containers. Then freeze! The consistency may change but only slightly. Great way to preserve if you cannot can!