
This post may contain affiliate links. If you make a purchase through links on our site, we may earn a commission. Please read our disclosure policy.

Why I Love Canned Green Beans
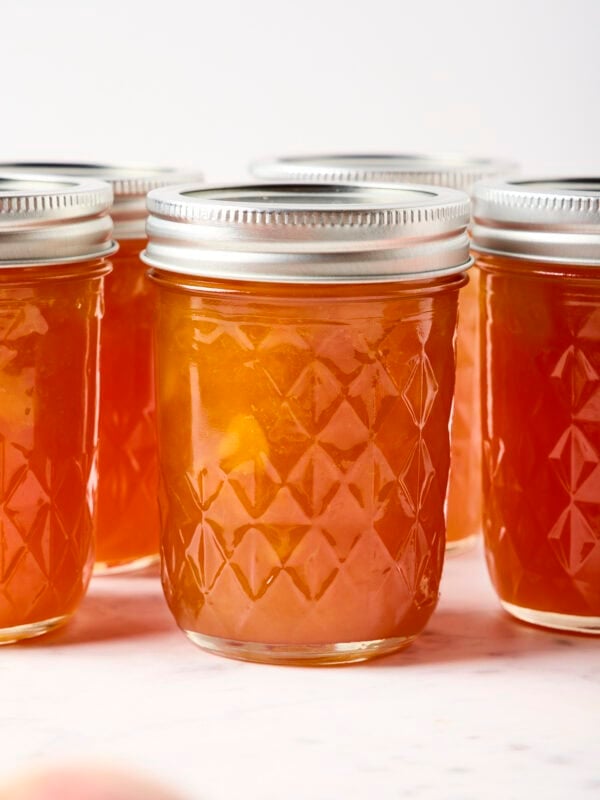
The best feeling is when you preserve something that you usually buy at a grocery store. Growing up, each year, Mom would can 30+ quarts of green beans. Because of this, the process has become second nature to me.
I’ve always pressure-canned green beans. That’s what Grandma and Mom always said was best, and it makes sense. Why? Well, beans are very low in acid, so to ensure all the microorganisms and bacteria are killed, pressure-canning is the best way. It allows a much higher temperature to kill all contaminants.
Pressure canning sounds scary to many, but once you read the instructions and do it once, you’ll be a pro! When you are so used to canning like I am, it can be hard to pin down a recipe. So here’s the most common way we pressure our beans.
Food safety tip – Home canning is safest when you follow research-tested recipes and proper processing times. Improper canning can risk botulism. New to canning? See my Canning 101 Guide and consult the USDA Complete Guide to Home Canning.
More Preserving Recipes
- How to make kimchi at home
- Canned pickled peppers
- Canned dill pickles
- Three canned beet recipes
- How to can pickled curry cauliflower
- How to can pickled beets
- New to canning? Learn what you need to know in my preserving guide and my canning 101 guide.
Have I Convinced You to Make This Recipe?
I hope you make this recipe and put some food on your table. Leave a comment and share a star rating so you can let others know how much you love this recipe. This helps show others that this is a recipe they, too, can make, enjoy, and love!
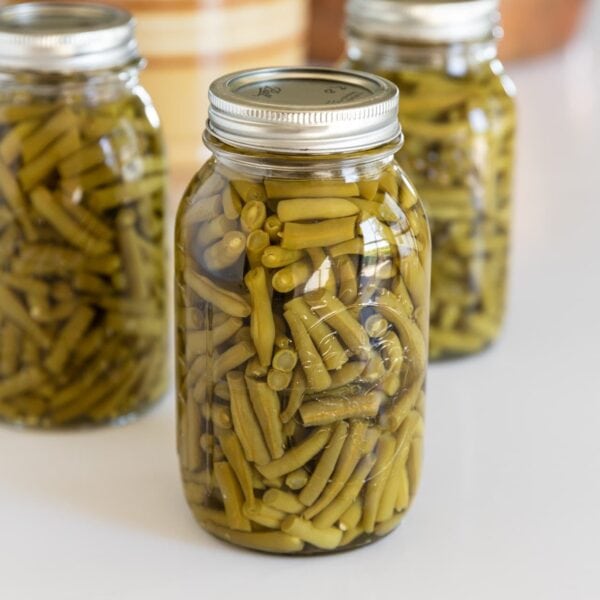
Canned Green Beans
Equipment
Ingredients
- 1 lb cleaned green beans per quart jar approximately
- 1 tsp canning salt per quart jar
- 1 ½ cups boiling water per quart jar
Instructions
- Prepare your pressure canner to the specified instructions.
- Clean and cut the beans into bite-size pieces. Fill the sterilized jars about ⅓ full and tap the bottom to the palm of your hand to ensure the beans are packed in well. This will make sure there is no dead space at the bottom of the jar once canned. Repeat for the remaining ⅔ of the jar, leaving ½-inch of headspace at the top. Add the canning salt to each jar.1 lb cleaned green beans per quart jar, 1 tsp canning salt per quart jar
- Pour boiling water over the prepared beans retaining that ½-inch of headspace.1 ½ cups boiling water per quart jar
- Place on prepared lids and rings. Tighten to finger tight.
- Pressure for 25 minutes at 10 pounds pressure, adjusting for altitude. Watch pressure throughout time and adjust heat as needed to stay at the 10 pounds of pressure.
- After 25 minutes, remove from heat and allow to cool until the pressure gauge shows zero. Note: Adjust the time for your elevation according to the USDA canning guide.
- Remove from canner and cool 12-24 hours.
- Label and store for up to one year.
Video

Notes
Nutrition
Nutrition information is automatically calculated, so should only be used as an approximation.

Did you make this? Leave a comment below!
Wonderful recipe!! I’ve used it for 3 years. Everyone loves them!