Table of Contents
- Why I Love This Canned Pickled Peppers Recipe
- Pickled Peppers Ingredients
- How to Make Canned Pickled Hot Peppers
- Pro Tips for Success
- Variations
- Serving and Storage Suggestions
- Frequently Asked Questions
- More Preserving Recipes
- Watch How to Make Canned Pickled Peppers
- Have I Convinced You to Make This Recipe?
- Canned Pickled Peppers Recipe
This post may contain affiliate links. If you make a purchase through links on our site, we may earn a commission.
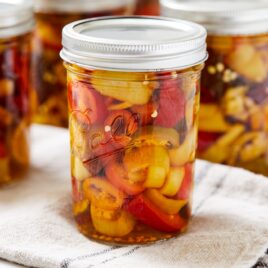
These canned pickled peppers deliver a spiced flavor that can be enjoyed year-round. Using a simple brine, they become tangy and soft in texture while still retaining their heat. Adding a kick to sandwiches, pizza, or chili, they’re a versatile addition to countless dishes.

Why I Love This Canned Pickled Peppers Recipe
For generations, my family has been enjoying the art of canning and preserving. Whether it’s pickled beets, classic dill pickles, corn relish, hot pepper mustard, or any other fruit of vegetable that can be preserved, we’re big fans. And when it comes to pickled peppers, they may very well be one of our favorite recipes.
Made from sliced peppers (hot, jalapeño, or sweet bell), they’re packed into jars and water bathed with a simple vinegar brine. After they sit for a few weeks, their flavor is delicious, and they taste just like they should: full of spice with a vinegar kick.
Once you make these, you’ll realize that they’re a delicious pickle recipe that you’ll enjoy on so many things. In fact, each year, we find new dishes to pair with these peppers, making it totally common to see an open jar in my fridge.

Food safety tip: This recipe may not be approved by the USDA. To prevent the risk of botulism, always check with the USDA Canning Guide.
Pickled Peppers Ingredients
There are five ingredients that make up this recipe:
- Hot peppers, depending on their spice level, have just the right amount of heat to make for a good pickle. Use any type of pickle you have on hand: hot, jalapeño, sweet bell; they’ll all work well.
- White distilled vinegar has a high level of acidity, which helps to preserve these pickles and make them shelf-stable. Plus, their neutral flavor makes for a clean brine that adds to the overall flavor of the pickles rather than overpowering them.
- Water works to dilute the potency of the vinegar in terms of taste while still allowing the vinegar to work to create a safe canning environment.
- Granulated sugar adds a hint of sweetness to the brine to counteract some of the acidity of the vinegar and the heat from the peppers. If you love tang and spice, leave this out to have a completely vinegar-forward brine.
- Canning salt has no additives and has smaller grains. This will provide a clearer brine in the end. Other types of salt, such as kosher salt, can be used, but they will not have as clear a brine.

How to Make Canned Pickled Hot Peppers
There are five simple steps to preparing these canned pickled peppers:
- Prepare the peppers
- Pack the jars
- Prepare the brine
- Prepare the jars
- Water bath the pickles
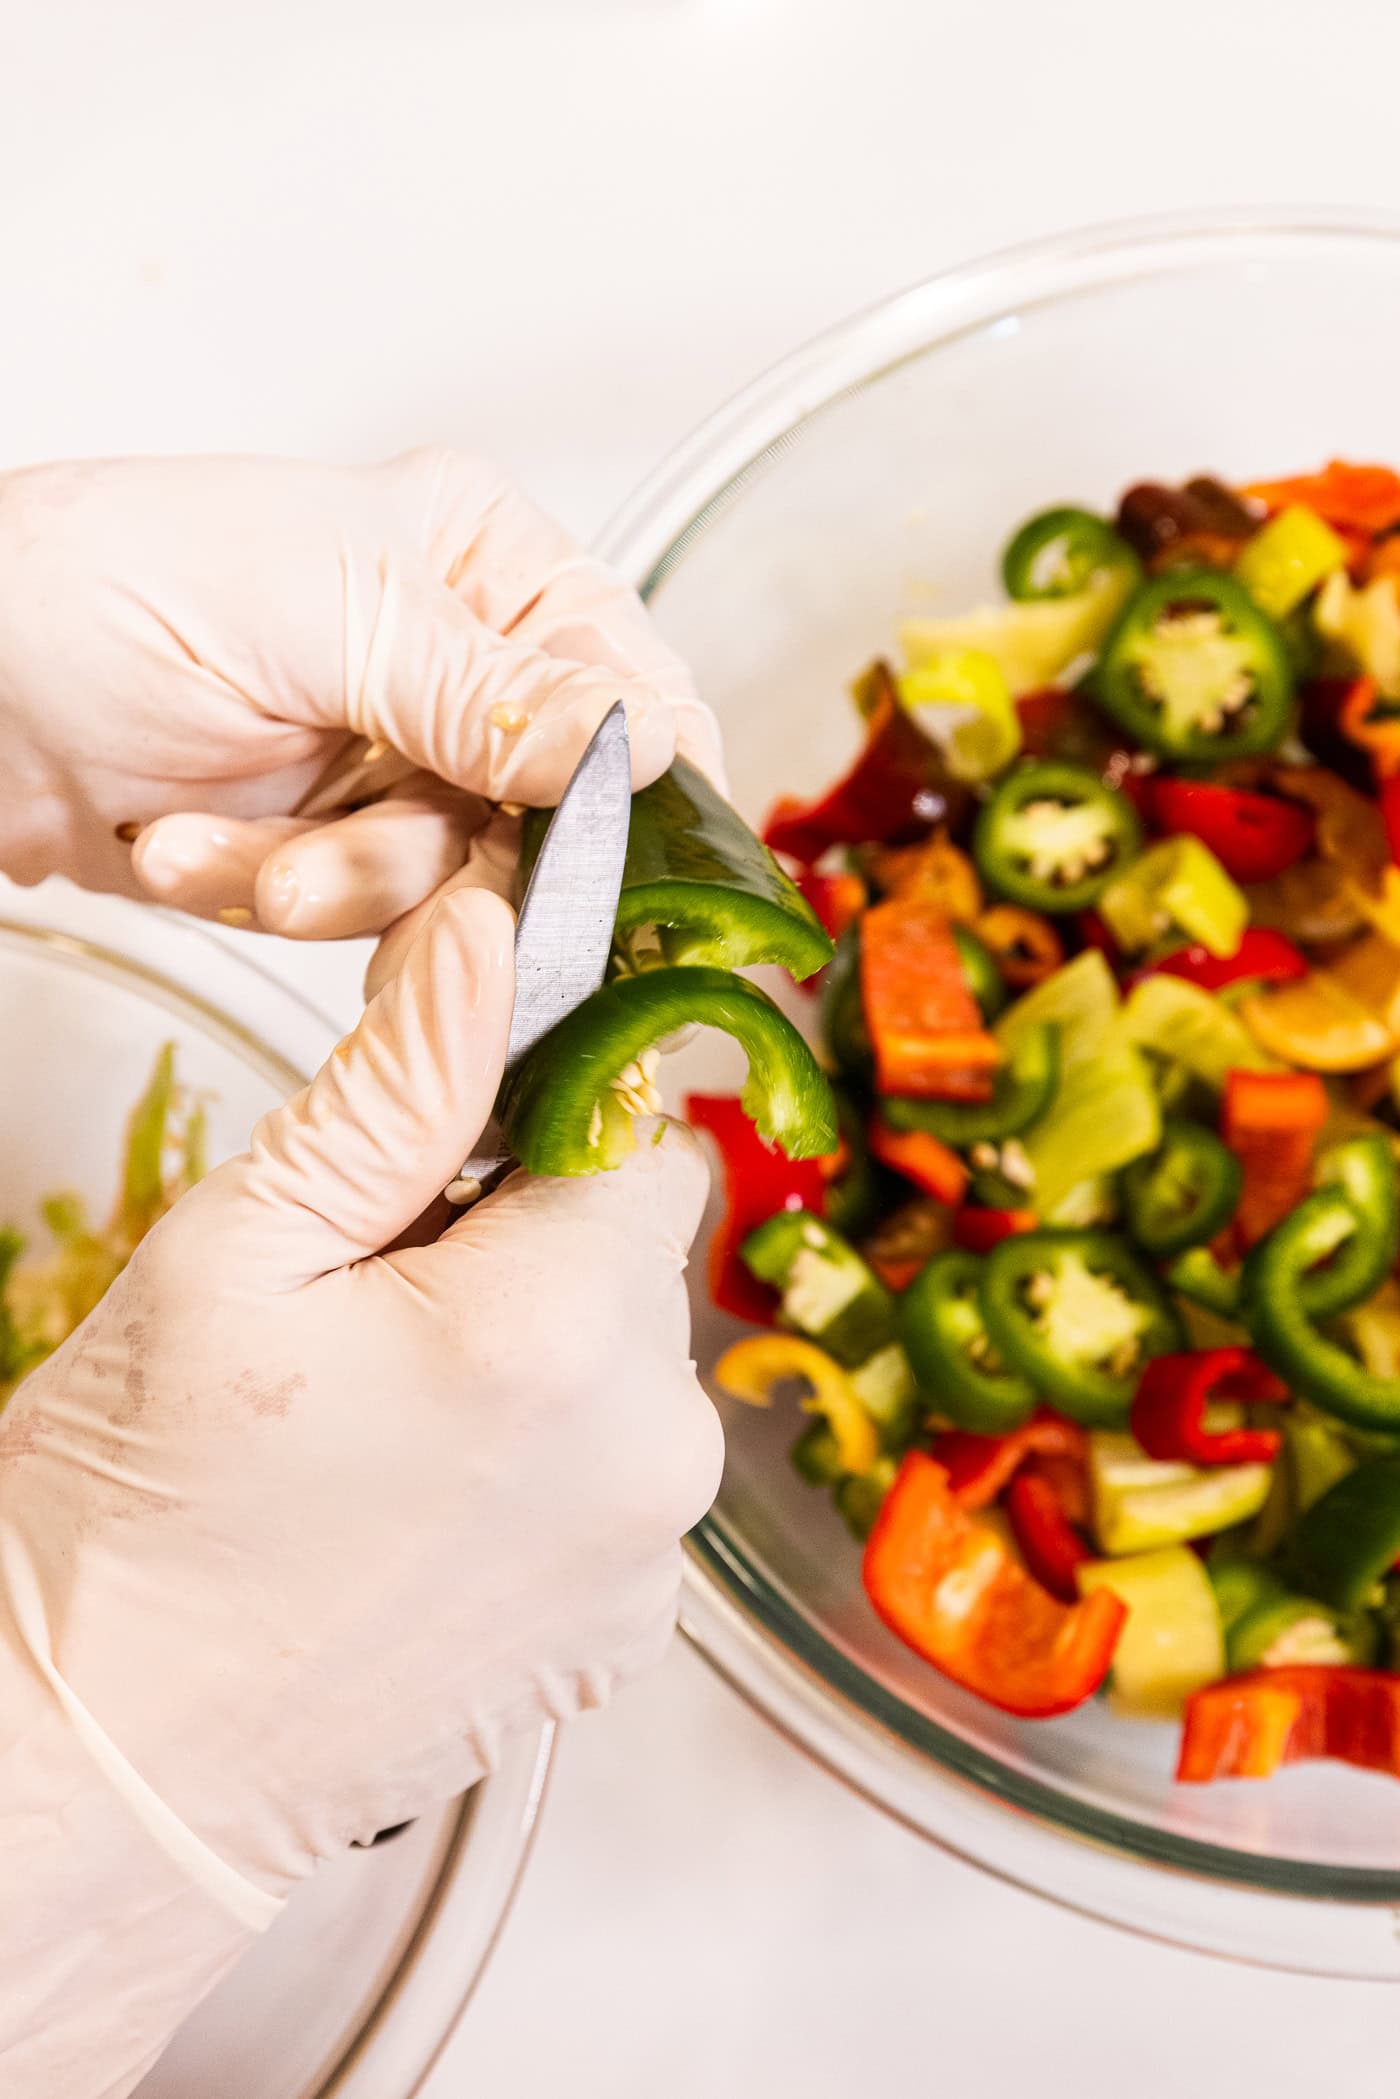
Step 1: Prepare the peppers. Wearing gloves, remove the stems, seeds, and pith from the peppers. Chop them down to the desired size. Strips, rounds, bite-sized pieces, or even whole peppers work for this.


Step 2: Pack the jars. Add the peppers to sterilized jars. Pack the jars full of the peppers, leaving about ½ inch of headspace at the top.


Step 3: Prepare the brine. In a medium saucepan, add the white distilled vinegar, water, canning salt, and sugar. Place over medium heat and bring to a simmer. Let the salt and sugar dissolve before removing from the heat. Immediately pour over the peppers in the jars, leaving the ½ inch headspace.


Step 4: Prepare the jars. Wipe the rims of each pint jar with a paper towel dampened with sterilized water to remove any splashes from the brine. Place the lid on and tighten down with a ring to fingertip tightness.


Step 5: Water bath the pickles. Place in the boiling water bath fitted with a bottom rack and boil for 10 minutes (see table below for elevation changes). Then, remove the jars from the hot water bath with a jar lifter. Let sit for 12 to 24 hours, then check the seal. If a jar doesn’t seal, refrigerate it.
Each altitude can require a different processing time. I’m located between 0 and 1,000 feet above sea level. If you are at a different elevation, make sure to check the USDA Canning Guide for your processing time:
| Elevation | 0 to 1,000 ft | 1,001 to 6,000 ft | 6,000 ft + |
|---|---|---|---|
| Time (for pints) | 10 minutes | 15 minutes | 20 minutes |


Pro Tips for Success
- Wear gloves while preparing the peppers. Hot peppers contain capsaicin, an irritant that causes a burning feeling on your hands. You may not feel the effects while handling the peppers, but they will set in later if gloves are not worn.
- Pack the jars full to ensure that you maximize space. Pushing them down from the top and tapping the bottom with the palm of your hand is a great way to get the peppers to settle.
- Headspace is important for safe canning. Leaving the ½ inch of headspace allows for proper sealing. These peppers contain a lot of air and space, so the headspace may look like the jar is too full, but often, the peppers can be pressed down.
Variations
These pickled hot peppers are delicious as written, but there’s always room for variations to suit personal taste. Here are just a few suggestions:
- Smash garlic cloves and place one in each jar before adding the brine. This will impart a bit of extra flavor for those who love garlic.
- Sprinkle in red pepper flakes if you crave even more spice. These pickled peppers can already be hot, depending on the type and heat level of pepper, but if you want things even spicier, some flakes can do that. I’ll let you decide the amount you want to add!
- Slice red onions for a bit of extra crunch. You can pickle red onions on their own, but they would work well in this mixture as well!

Serving and Storage Suggestions
To serve: These peppers work really well as a condiment. You can use them on top of salads (such as my taco salad recipe), soups or stews that need a bit of extra flavor, pizza, or even tacos themselves. If I’m serving these at a gathering, I like to make them available right by any other condiments so people know how to use them. They would also work perfectly as part of a charcuterie board alongside my stuffed pickled peppers!
To store: Once the jars have sat for 12 to 24 hours and have sealed, the rings can be removed. Place each jar in a cool, dark place, such as a pantry, for up to 1 year. To let the flavors fully develop, the jars should be allowed to sit for 2 to 4 weeks before opening. When ready to eat, break the seal by removing the lid, then place the jar in the refrigerator. Once opened, the pickles will last for weeks in the fridge due to the high level of vinegar.
Frequently Asked Questions
There are a variety of peppers that will work for this canned recipe. Banana peppers, jalapeños, chili peppers, serrano peppers, garden salsa, and Anaheim peppers will all work (just to name a few).
Yes, if desired, you can add a clove or two to each jar to help flavor the peppers.
That jar cannot be stored, but not all is ruined! Simply refrigerate the jar and enjoy it within a few weeks!

Watch How to Make Canned Pickled Peppers
Have I Convinced You to Make This Recipe?
I hope you make this recipe and put some food on your table. Leave a comment and share a star rating so you can let others know how much you love this recipe. This helps show others that this is a recipe they, too, can make, enjoy, and love!

Canned Pickled Peppers
Ingredients
- 2 ½ lb hot peppers
- 4 cups distilled white vinegar
- 1 ½ cups water
- 2 tsp canning salt
- 1 tbsp granulated sugar (optional)
Instructions
- Prepare the peppers. Cut and remove the stem end of the pepper. With large peppers, cut them in half lengthwise and remove the pith and seeds. Slice into bite-sized pieces. Smaller peppers can be sliced in half or left whole and sliced into coins. To be safe, wear gloves when working with hot peppers.2 ½ lb hot peppers
- Pack the jars. Pack the prepared peppers into 5 sterilized pint jars, leaving ½ inch of headspace.
- Make the brine. In a saucepan, combine the vinegar, water, salt, and sugar (optional). Bring the brine to a boil. Stir until the salt and sugar is dissolved. Pour the hot brine into each prepared jar, making to sure to maintain the ½ inch of headspace.4 cups distilled white vinegar, 1 ½ cups water, 2 tsp canning salt, 1 tbsp granulated sugar (optional)
- Prepare the jars. Wipe the rims of the jars with a clean cloth to remove any drips. Place on lids and rings, tightening to fingertip tightness.
- Water bath the jars. Place jars in the boiling water bath. Bring back to a boil and boil for 10 minutes (see chart in post for elevation adjustments). Remove from the water bath and cool for 12 to 24 hours. Remove rings to ensure a good seal and store for up to one year.


My 13 year old grandson asked the other day if I would make him more pickles and make them spicier this time. He loves hot food .
I showed him this video and he is so excited to help me can peppers!!!
Thank you for what you do !