
This post may contain affiliate links. If you make a purchase through links on our site, we may earn a commission. Please read our disclosure policy.

Why I Love These Pickled Carrots
When it comes to vegetables, pretty much everyone loves carrots. They’re sweet and crunchy and can be paired with pretty much any meal. I love to grow carrots in my garden, but I get tired of eating them raw. While there are recipes for glazed carrots, carrot soup, and carrot cake, there is nothing like a good pickle recipe during the summer months.
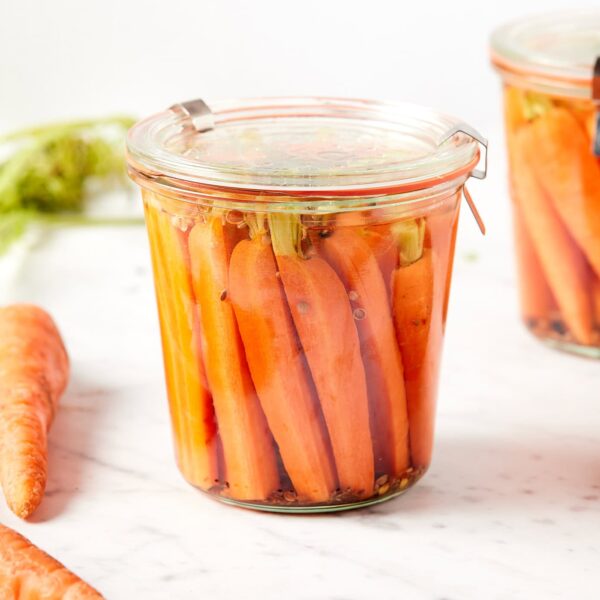
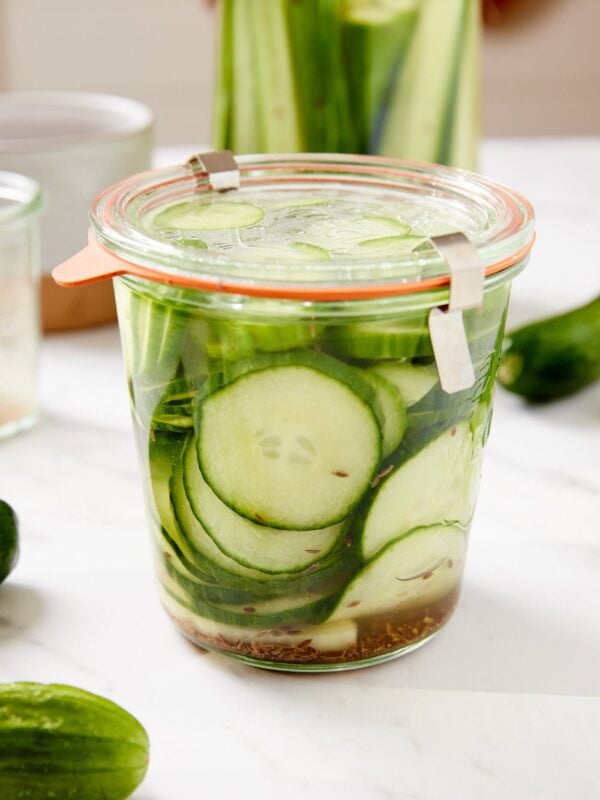
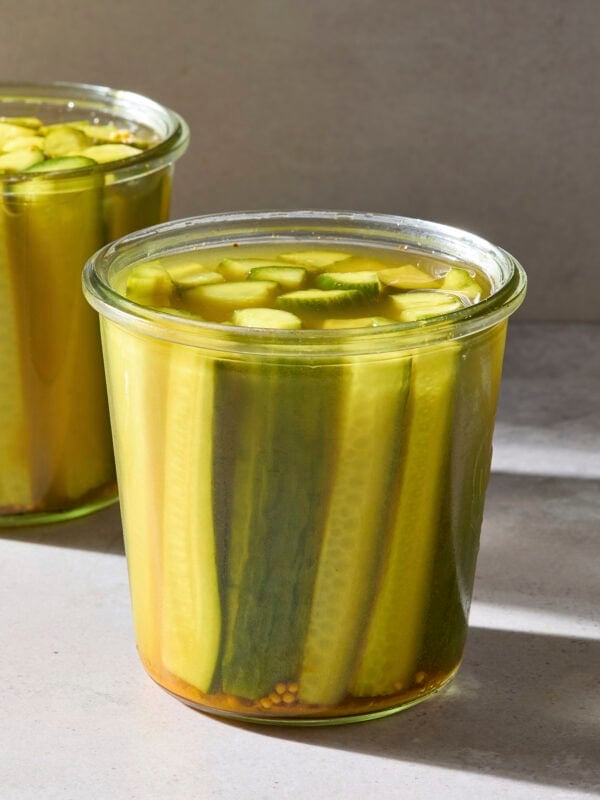
While I love to can most of my pickles, there are certain vegetables that work so well as quick pickles, and carrots are one of those. The best part about refrigerator pickles is that they are super easy to prepare, which is exactly why they’re frequently called quick pickles. Simply get a jar, slice carrots to the desired shape and size, heat a brine, and pour it over the top. After sitting in the fridge for a few days, they’ll be ready to eat in any number of ways. The bright orange color of the carrots is so appetizing, and the spices in this recipe give you the perfect pickle taste.
The best part of all is that I know exactly what went into the jar! After making a batch, you’ll definitely appreciate the art of preserving at home!

Quick Pickled Carrots Ingredients
Here are all of the ingredients you will need to make these quick pickled carrots:
- Carrots are a great source of Vitamin A and potassium, making this recipe a great snack. When choosing what type of carrot to use, select ones that are whole rather than the baby size. Any color carrot will work, but each does have its own slight flavor nuances.
- Coriander seeds are traditional in pickling recipes and have a light citrus flavor.
- Black peppercorns have a little bit of sweetness along with some spiced heat.
- Dill seed imparts the traditional pickle flavor that we all know and love.
- Red pepper flakes add just the right amount of spice to complement the brine. While this can be omitted from the spice mixture, do not be scared that it will make the carrots spicy.
- Fresh dill is an optional ingredient, but it does add some additional flavor and makes for a beautiful presentation.
- Vinegar is an essential component when making any type of pickle. Make sure to use 5% white distilled vinegar.
- Water, like vinegar, is a necessary ingredient in this recipe. The water is mixed with the vinegar to reduce the acidity and create the perfect balance.
- Kosher salt helps to bring out the flavors of the spices as the brine infuses into the carrots.
- Sugar adds just the right amount of sweetness to counterbalance the acidity of the vinegar. While carrots do have their own level of sugar, a few added tablespoons are necessary.
The full amount of each ingredient can be found in the recipe card below.

How to Make Quick Pickled Carrots
There are 3 main super-easy steps to preparing pickled carrots:
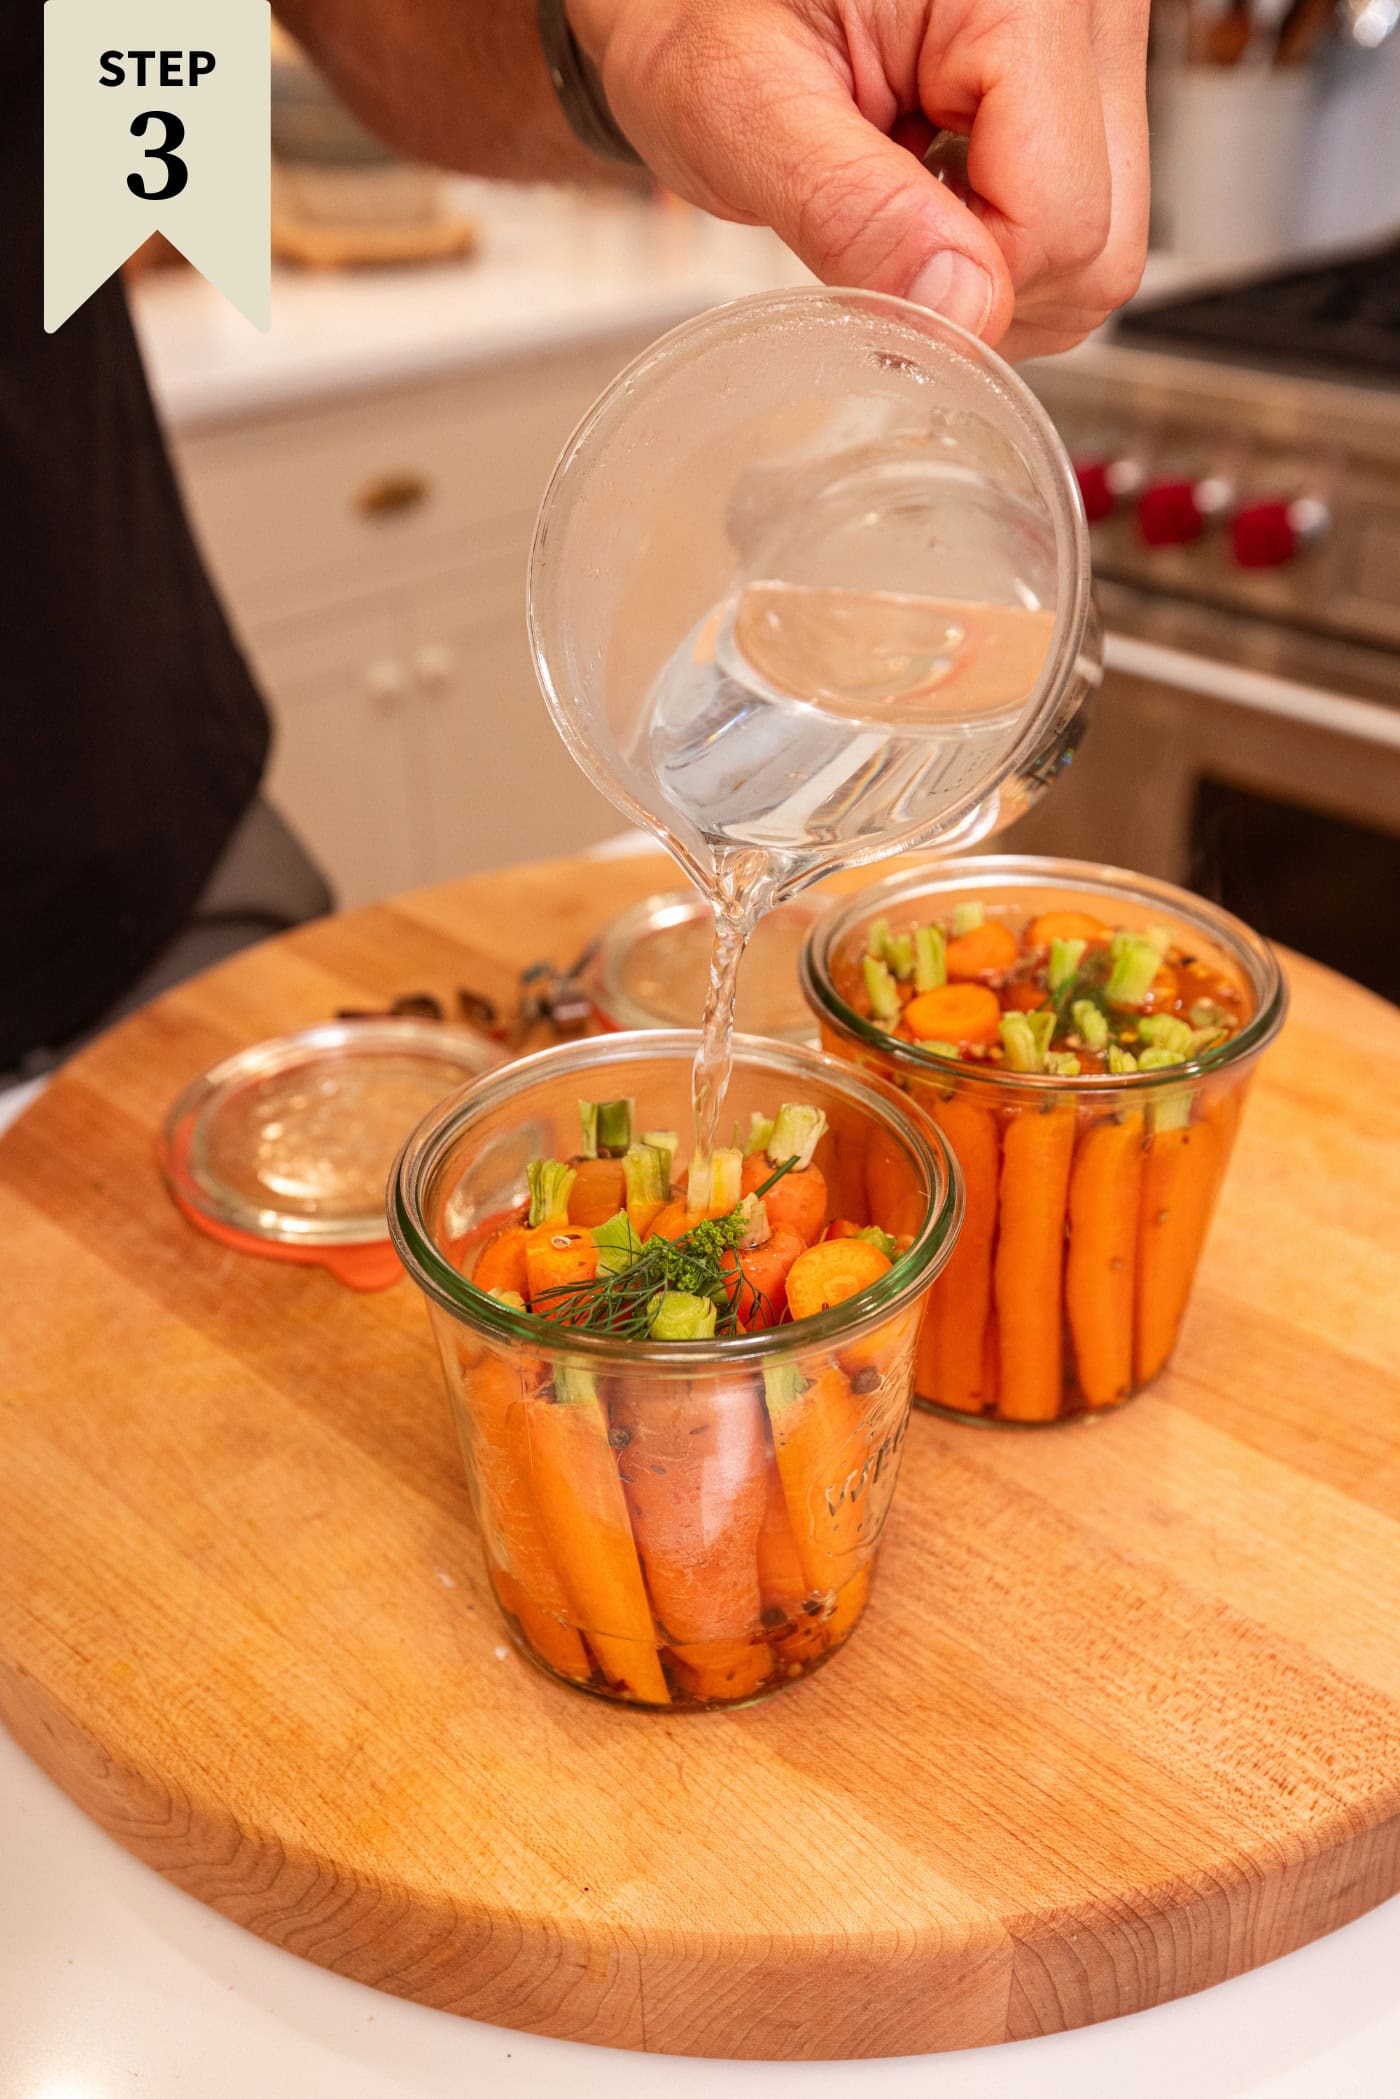
Step 1: Prepare the carrots – Rinse and scrub the carrots. Then, slice each carrot into matchsticks or coins, whichever shape is preferred. Place into two pint jars, leaving enough room at the top of each jar for the brine. Alternatively, one quart jar can be used. In a small bowl, mix together the coriander, black peppercorns, dill seed, and red pepper flakes, and sprinkle the spices on top of the carrots. Optionally, finish by placing fresh dill on top of each jar for a bit of additional flavor.


Step 2: Make the brine – In a small saucepan, combine the water, white vinegar, sugar, and salt. Stir to combine and place over medium heat until the brine begins to boil and the sugar and salt fully dissolve. Let the brine simmer until ready to pour over the carrots.


Step 3: Combine the carrots and brine – Pour the hot vinegar mixture over the carrots, making sure to completely cover the carrots. Place a lid on top of each jar and chill in the refrigerator. After 3-5 days, the carrots should be ready to eat.


Optional Variations and Add-Ins
There are so many variations that can be added to these carrots to make them truly your own. Here are just a few of the many possibilities.
- Apple cider vinegar – If you want a brine with a bit more tanginess than white vinegar, try using apple cider vinegar instead. The flavor will definitely be different from what was originally written for the recipe, but it is an easy swap that you may love.
- Red onions or yellow onions – For a bit of extra crunch and color, red onions can be added directly to each jar. Simply sprinkle them on the bottom before adding carrots, and sprinkle some on top before adding the brine. This is similar to my recipe for pickled beets, where I add regular white onion to the jar for something extra.
- Garlic – Everyone loves garlic, and its flavor will work terrifically in this recipe. Smash a few garlic cloves (to ensure their flavor is released) and add them to the bottom of each jar.
- Make them spicy – If you want to make spicy pickled carrots, try adding some jalapeños to each jar. As the carrots sit in the liquid, the jalapeños will add a touch of spice that will pair nicely with the brine. The spice mixture in this recipe does contain some red pepper flakes (which you can increase even more if you don’t want jalapeño), but for some true spicy flavor, a jalapeño or other hot pepper will work.

Recipe Tips
- Since carrots are all different lengths and thicknesses, they may need to be trimmed in order to fit in the jar you are using. If creating matchsticks, slice carrots to a height that is slightly smaller than the height of the jar. Some thicker carrots may need to be sliced in half or in quarters.
- The smaller the carrot, the quicker the brine will infuse. This applies to both length and thickness, which is why a thinner carrot is desirable in this recipe. Since the carrots need to ideally sit in the brine for 3 to 5 days before being enjoyed, thinner carrots will be more flavorful quicker.
- You do not need to peel your carrots, but you should rinse and scrub them. Personally, I prefer to leave the peel on as it adds some additional texture to the finished pickle.
Follow These Tips
Storage & Serving
To store: Since these quick pickled carrots are not shelf-stable (meaning they cannot be stored on a shelf in a pantry), they must be stored in the refrigerator. While the carrots can be enjoyed after they have sat in the refrigerator for 3 to 5 days, they should ideally be consumed within 2 to 3 weeks.
To serve: There are endless possibilities for serving these carrots, but here are a few of my favorites:
- Layer the carrots on a sandwich with lettuce, meat, and any type of condiment. This will work especially well if the carrots are sliced into coins during Step 1.
- Use the pickled carrots as a substitute for the raw carrots that are traditionally served on a relish plate. Whether it’s a potluck or a picnic, these will be a welcome addition that’s not typical.
- Serve the carrots in a bowl on a charcuterie board. The texture of these carrots is perfect when paired with cheeses and crackers.
Frequently Asked Questions
Carrots that are whole work best when it comes to these pickles. While baby carrots could work, go for the full-sized option. Any carrot color will work, but each color will have a slightly different flavor and resulting color of brine.
No, I actually prefer to keep the peel on my carrots, as it adds a bit of extra texture. However, this is a personal preference, and some people will want to peel their carrots. Just make sure to rinse and scrub the carrots to ensure any dirt and debris are removed.
These pickled carrots should be placed in the refrigerator and consumed within 3 weeks.
Yes, more red pepper flakes can be added, or fresh hot chilis can be added to create a spicier pickle.
These carrots will not turn soft. Starting with fresh, firm carrots is important. Since these are not cooked nor canned, they retain their fresh texture in the refrigerator.
I find it best to allow the carrots to sit for 3 to 5 days before eating. However, the size of the carrot can make a difference in how long it takes for the brine to infuse.
Of course! The color of the carrot will not have an impact on the recipe besides a subtle shift in flavor.
More Preserving Recipes
- How to make kimchi at home
- Canned pickled peppers
- Tomato jam
- Canned dill pickles
- Canned pickled curry cauliflower
- Curtido relish
- If you’re into preserving, make sure to check out my fermentation guide.
Have I Convinced You to Make This Recipe?
I hope you make this recipe and put some food on your table. Leave a comment and share a star rating so you can let others know how much you love this recipe. This helps show others that this is a recipe they, too, can make, enjoy, and love!
Quick Pickled Carrots
Ingredients
- 1 lb carrots
- 1 tsp coriander seed
- 1 tsp black peppercorns
- ¼ tsp red pepper flakes
- ¾ tsp dill seed
- 2 sprigs fresh dill (optional)
For the brine
- 1 cup distilled white vinegar (5%)
- 1 cup water
- 2 tbsp granulated sugar
- 1 tbsp kosher salt
Instructions
- Slice the carrots into the preferred shape, whether in spears or coins, and place in two pint jars. Mix together the coriander, black peppercorns, red pepper flakes, and dill seed and divide evenly between the jars, sprinkling the spices on top of the carrots. Place a sprig of fresh dill in each jar.1 lb carrots, 1 tsp coriander seed, 1 tsp black peppercorns, ¼ tsp red pepper flakes, ¾ tsp dill seed, 2 sprigs fresh dill (optional)
- In a saucepan, combine the vinegar, water, sugar, and salt. Set over medium heat, stir, and bring to a boil. Once the sugar and salt have dissolved, remove it from the heat.1 cup distilled white vinegar (5%), 1 cup water, 2 tbsp granulated sugar, 1 tbsp kosher salt
- Pour the hot brine mixture over the top of the carrots, dividing the liquid between the jars. Place a lid on top of each jar and store in the refrigerator for 3 to 5 days before consuming.
Notes
Nutrition
Nutrition information is automatically calculated, so should only be used as an approximation.

Did you make this? Leave a comment below!

Love all your recipes and i love watching you.you make it look so easy.
You made this look so easy, so I ordered the Weck jars and made them. It was easy, and I really like them pickled!
I really enjoy watching you,in your garden,with your flowers and tree’s you really have a green thumb and a beautiful yard,your home is amazing with all your decor,it’s just simply beautiful and your baking and cooking skills are wonderful,thank you !!!
So lovely! I love the jars and the size of the jars. Please share brand and size
Hi Susan! They are 1/2 liter Mold Weck jars, which you can find here: https://amzn.to/3y2ACDS