This post may contain affiliate links. If you make a purchase through links on our site, we may earn a commission. Please read our disclosure policy.

Why I Love Blackberry Jam
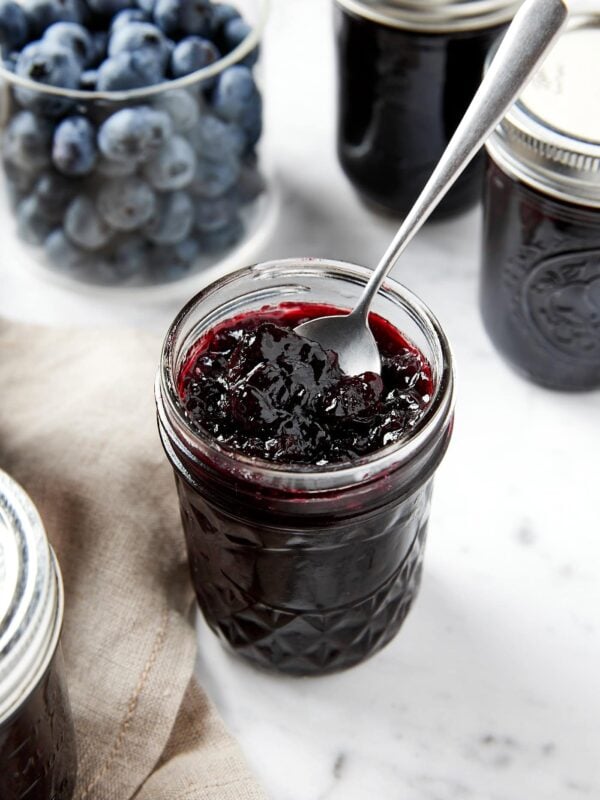
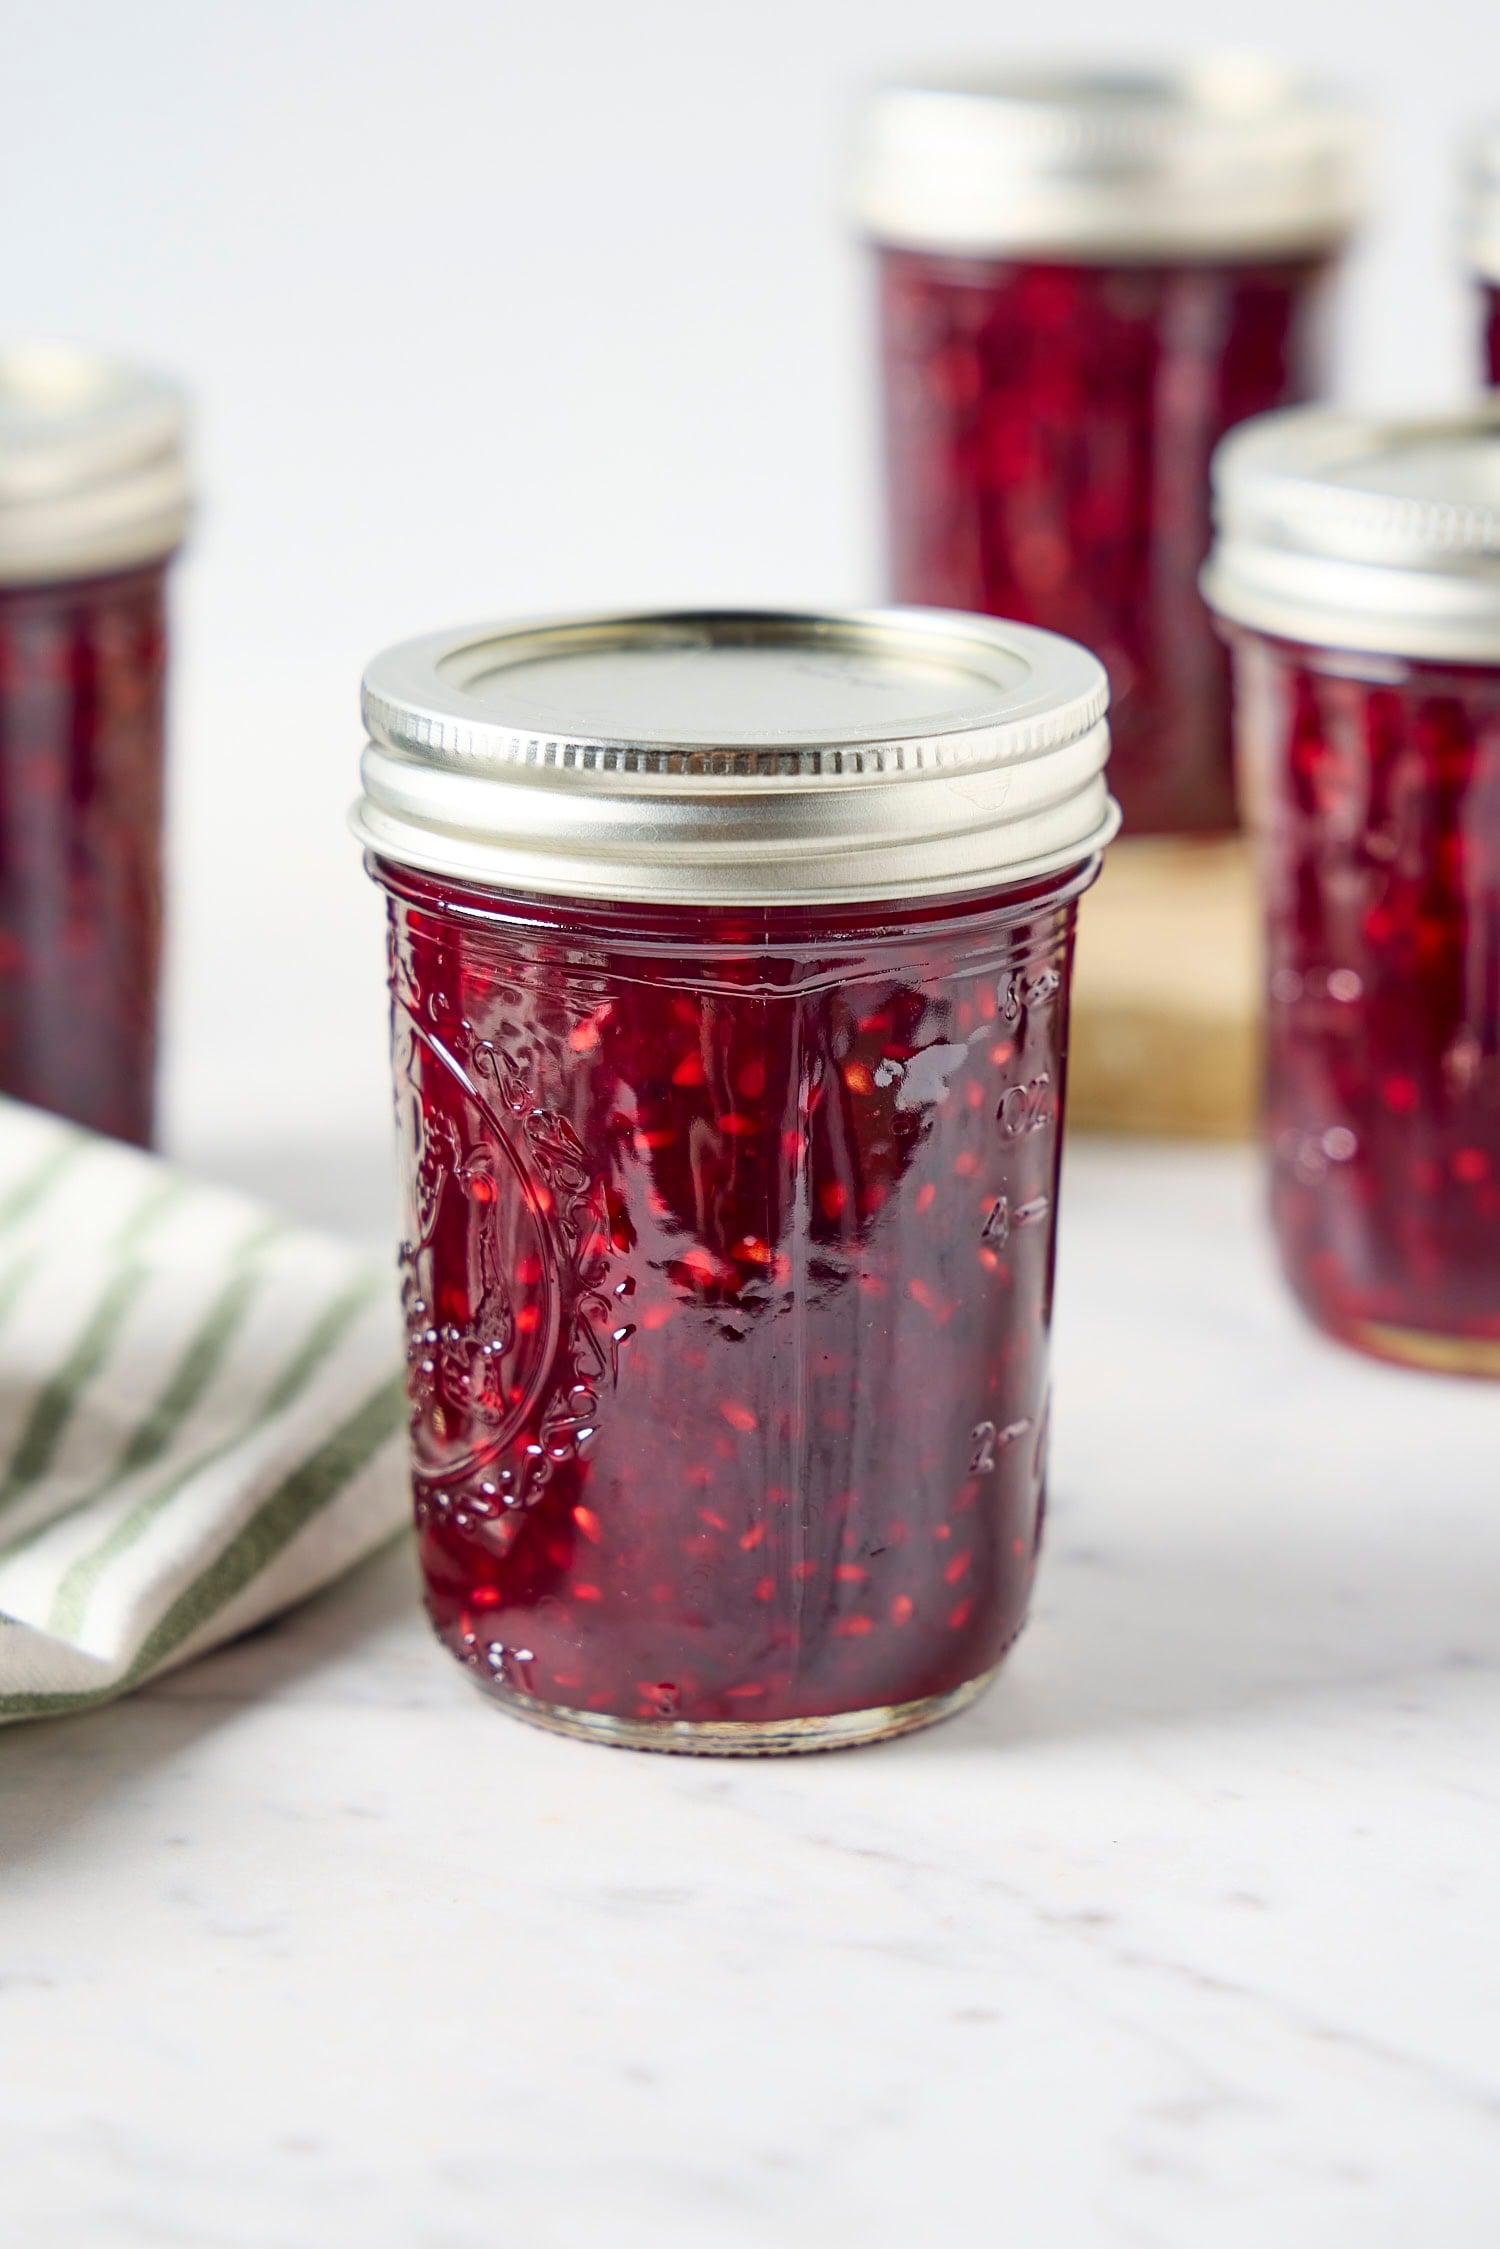
When blackberries are in season, I can never resist bringing home more than I planned. They are one of those fruits so emblematic of summer, with their juicy, deeply colored appearance. I love to sprinkle some on top of yogurt or use them in some summertime dessert, but turning them into jam is one of my favorite ways to make the blackberry season last even longer.
That’s where this easy blackberry jam recipe made with pectin comes into play!
All it takes is 5 ingredients, heated together on the stove until boiling. The added pectin ensures the dependable texture you’re looking for, so there’s no guesswork when the canning process is done. Once the jars are filled, you can process them for shelf-stable storage (my favorite way to keep them because my fridge is always full) or keep the jam in the refrigerator or freezer. However you store it, I know you’ll be so happy to open a jar in the middle of winter with no fresh berries in sight.
Blackberry Jam Ingredients
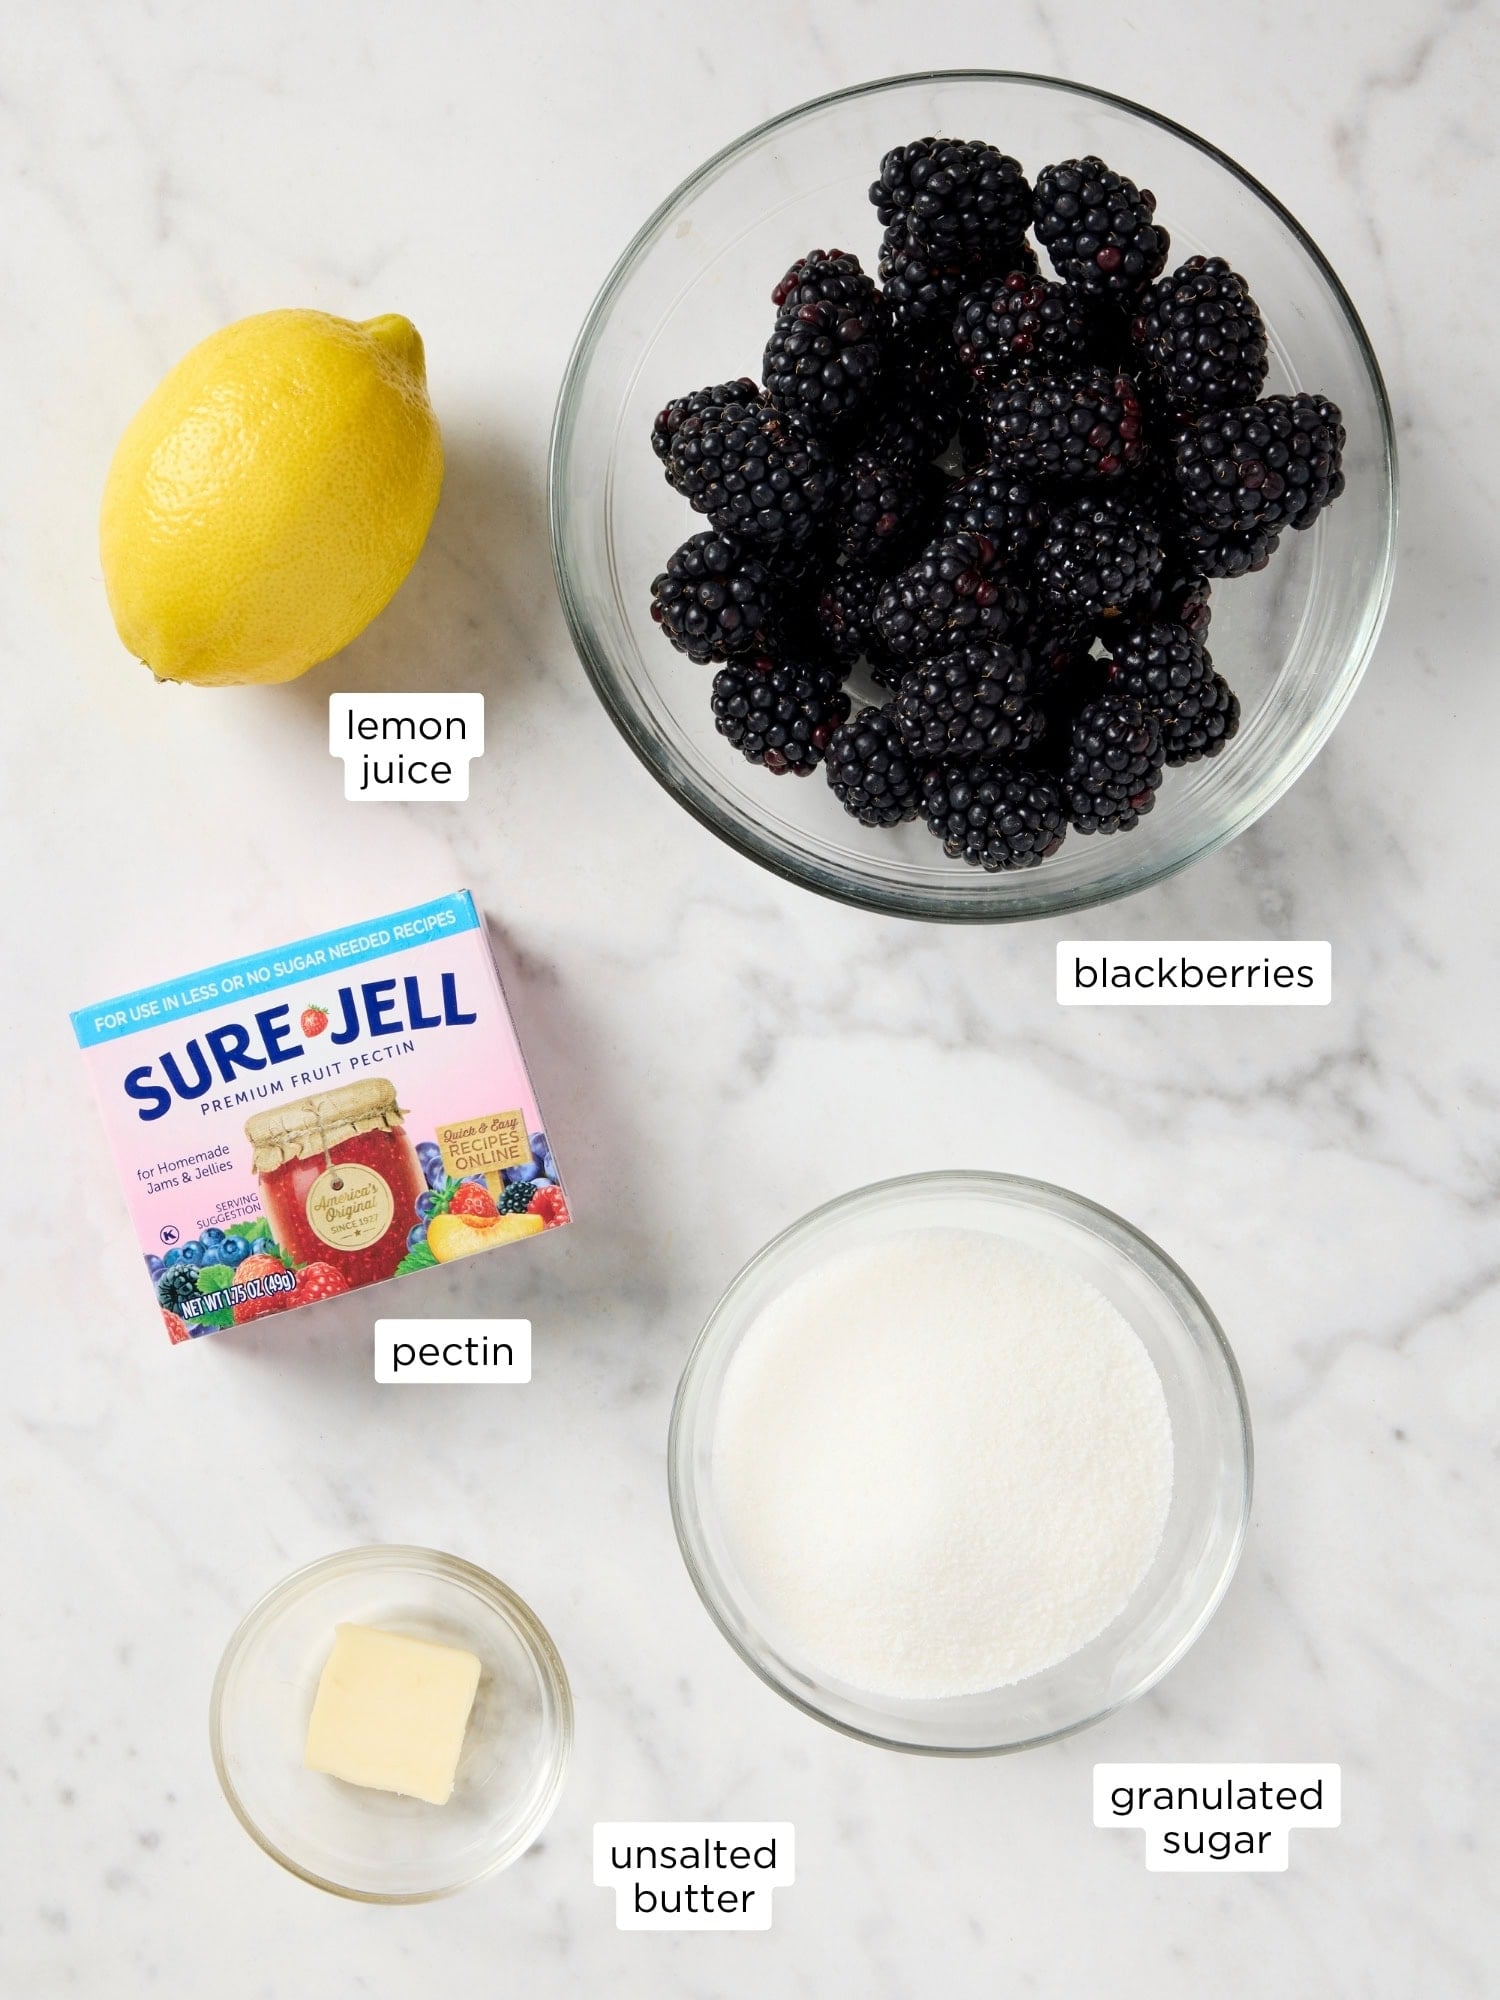
The best part about this blackberry jam is that it only takes 5 ingredients:
- Blackberries – The star of the recipe! Their rich color and flavor make a jam that tastes especially fresh and vibrant.
- Granulated sugar – Sweetens the berries and works with the pectin to create the right texture. In this recipe, the sugar is divided so that part of it can be mixed with the pectin first.
- Pectin – Helps the jam set properly and gives the jam a dependable consistency without a long cooking time. Just be aware that there are two types of the most common pectin on the market (Sure-Jell): regular sugar and low sugar. Personally, I like to use low-sugar pectin so I can add less sugar to the jam. If you prefer to use regular sugar pectin, just know that the amount of sugar added will differ. See the notes in the recipe card below for the amounts for each type of pectin.
- Lemon juice – Brightens the flavor and adds just enough acidity to round out the berries.
- Butter – Helps reduce the foam that rises as the jam boils. It’s a small amount, but it makes the cooking process easier and keeps the finished jam looking cleaner.
The full amount of each ingredient can be found in the recipe card below.
Food safety tip – Home canning is safest when you follow research-tested recipes and proper processing times. Improper canning can risk botulism. New to canning? See my Canning 101 Guide and consult the USDA Complete Guide to Home Canning.
How to Make Blackberry Jam
There are 4 steps to make this blackberry jam recipe:
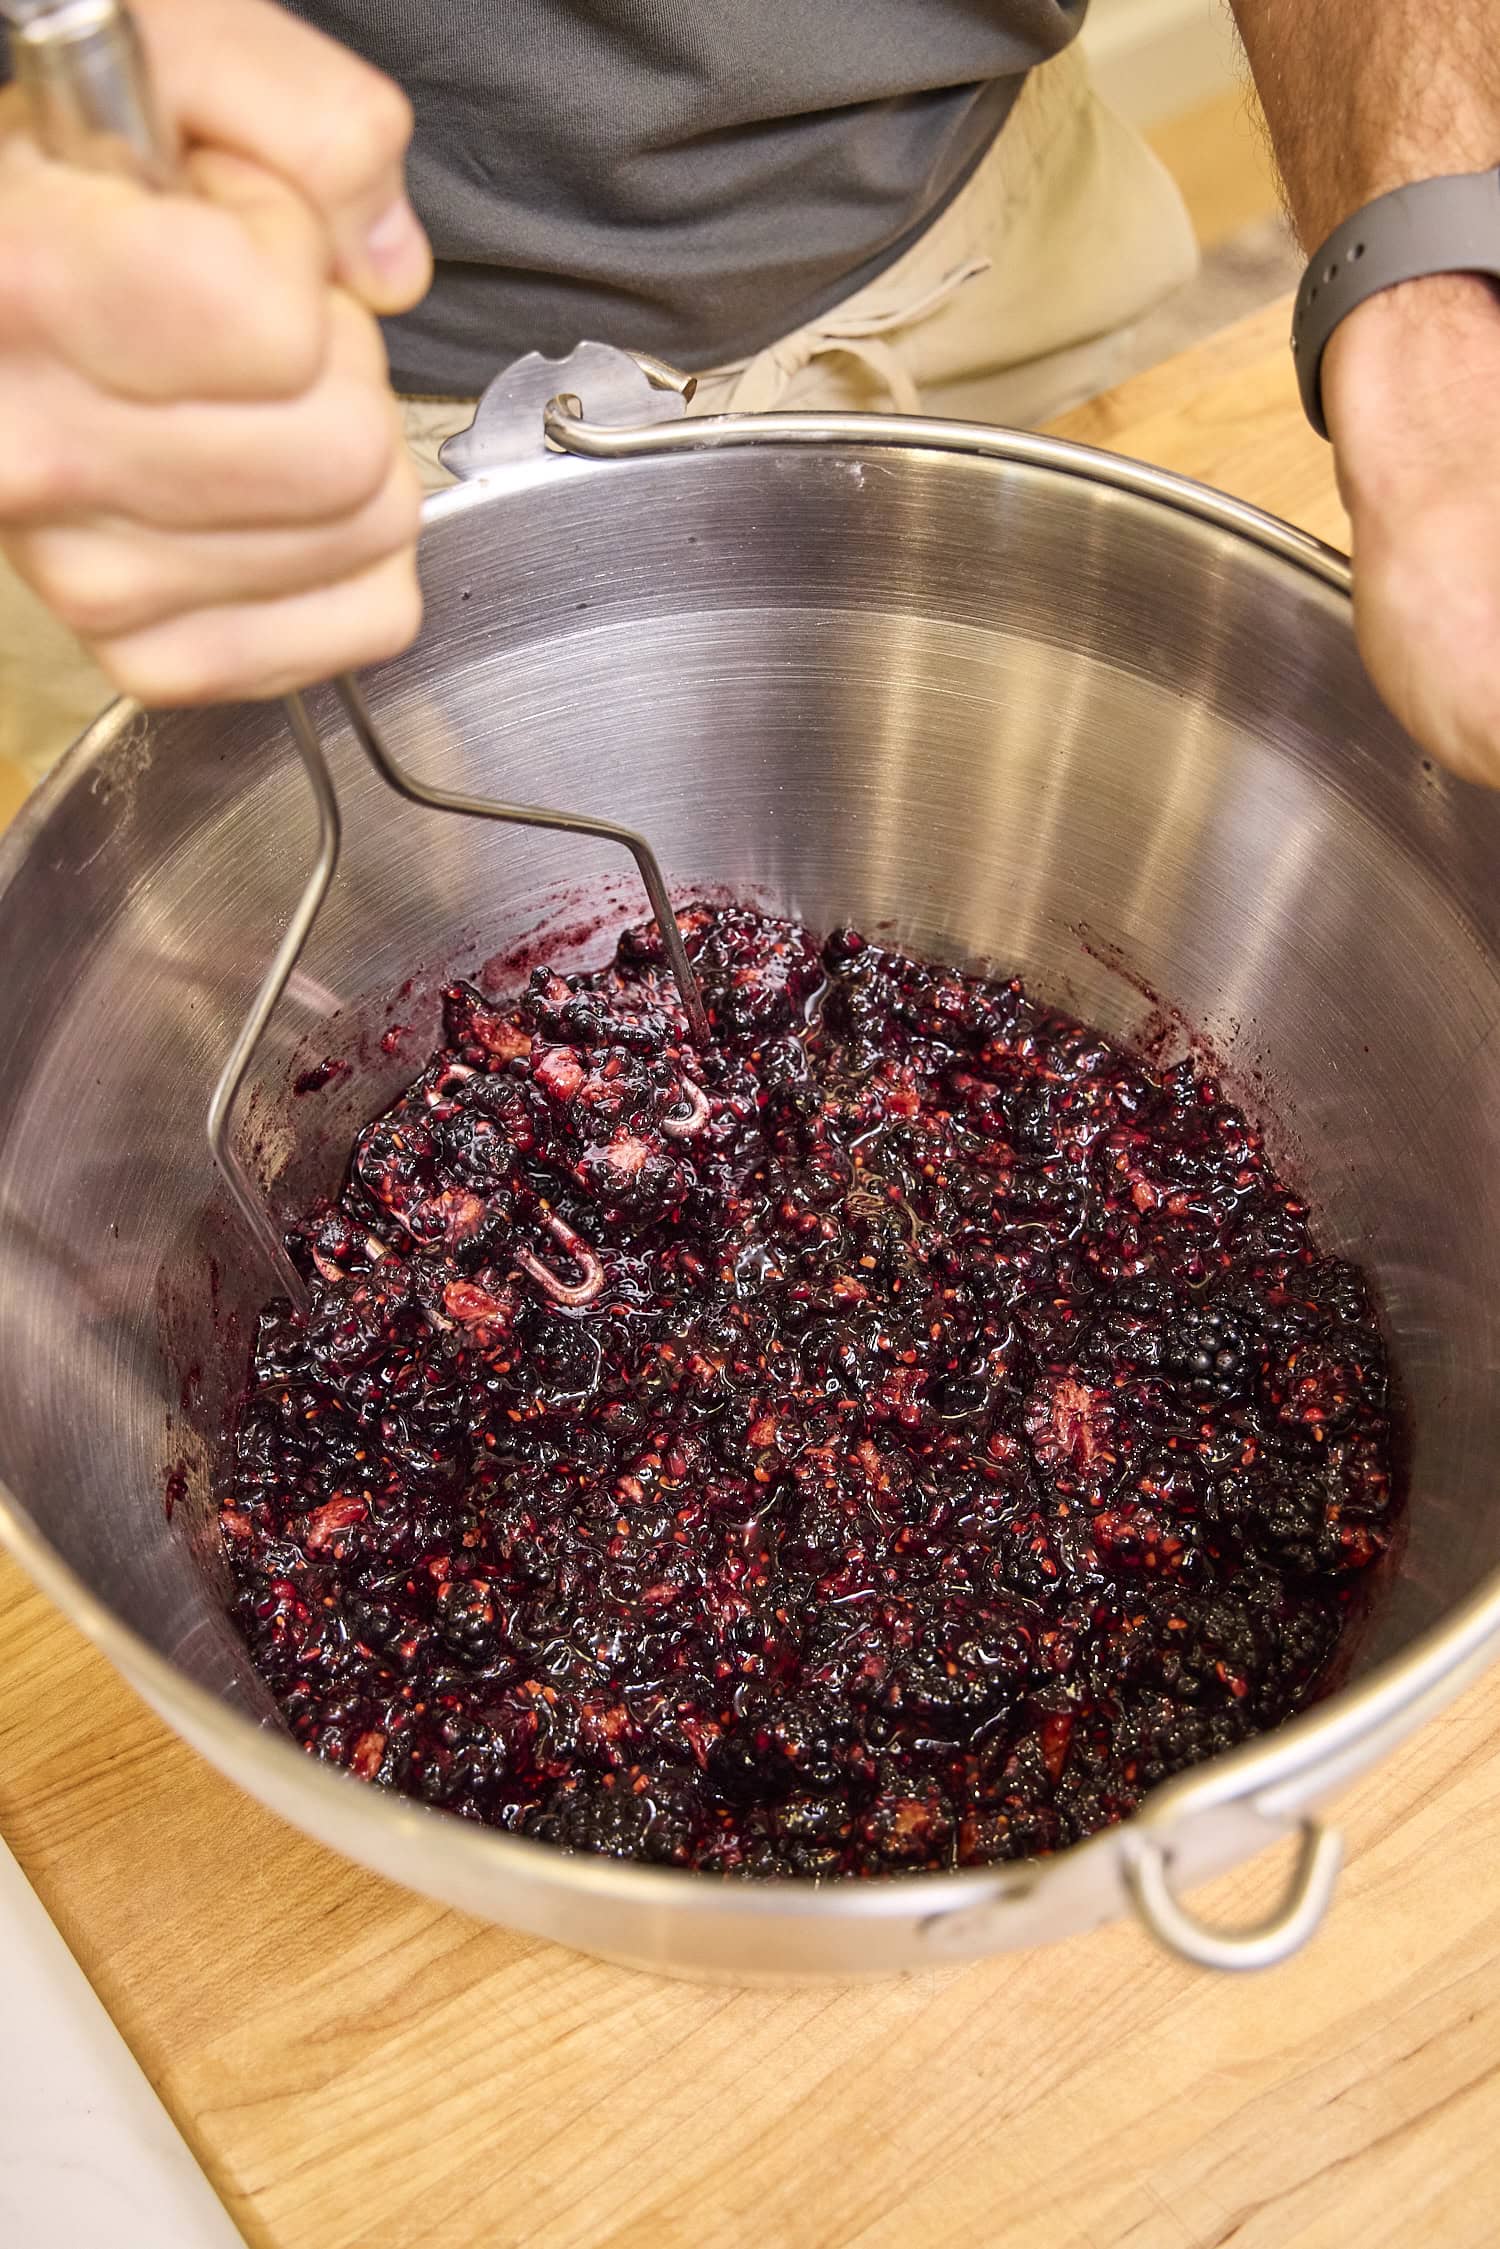
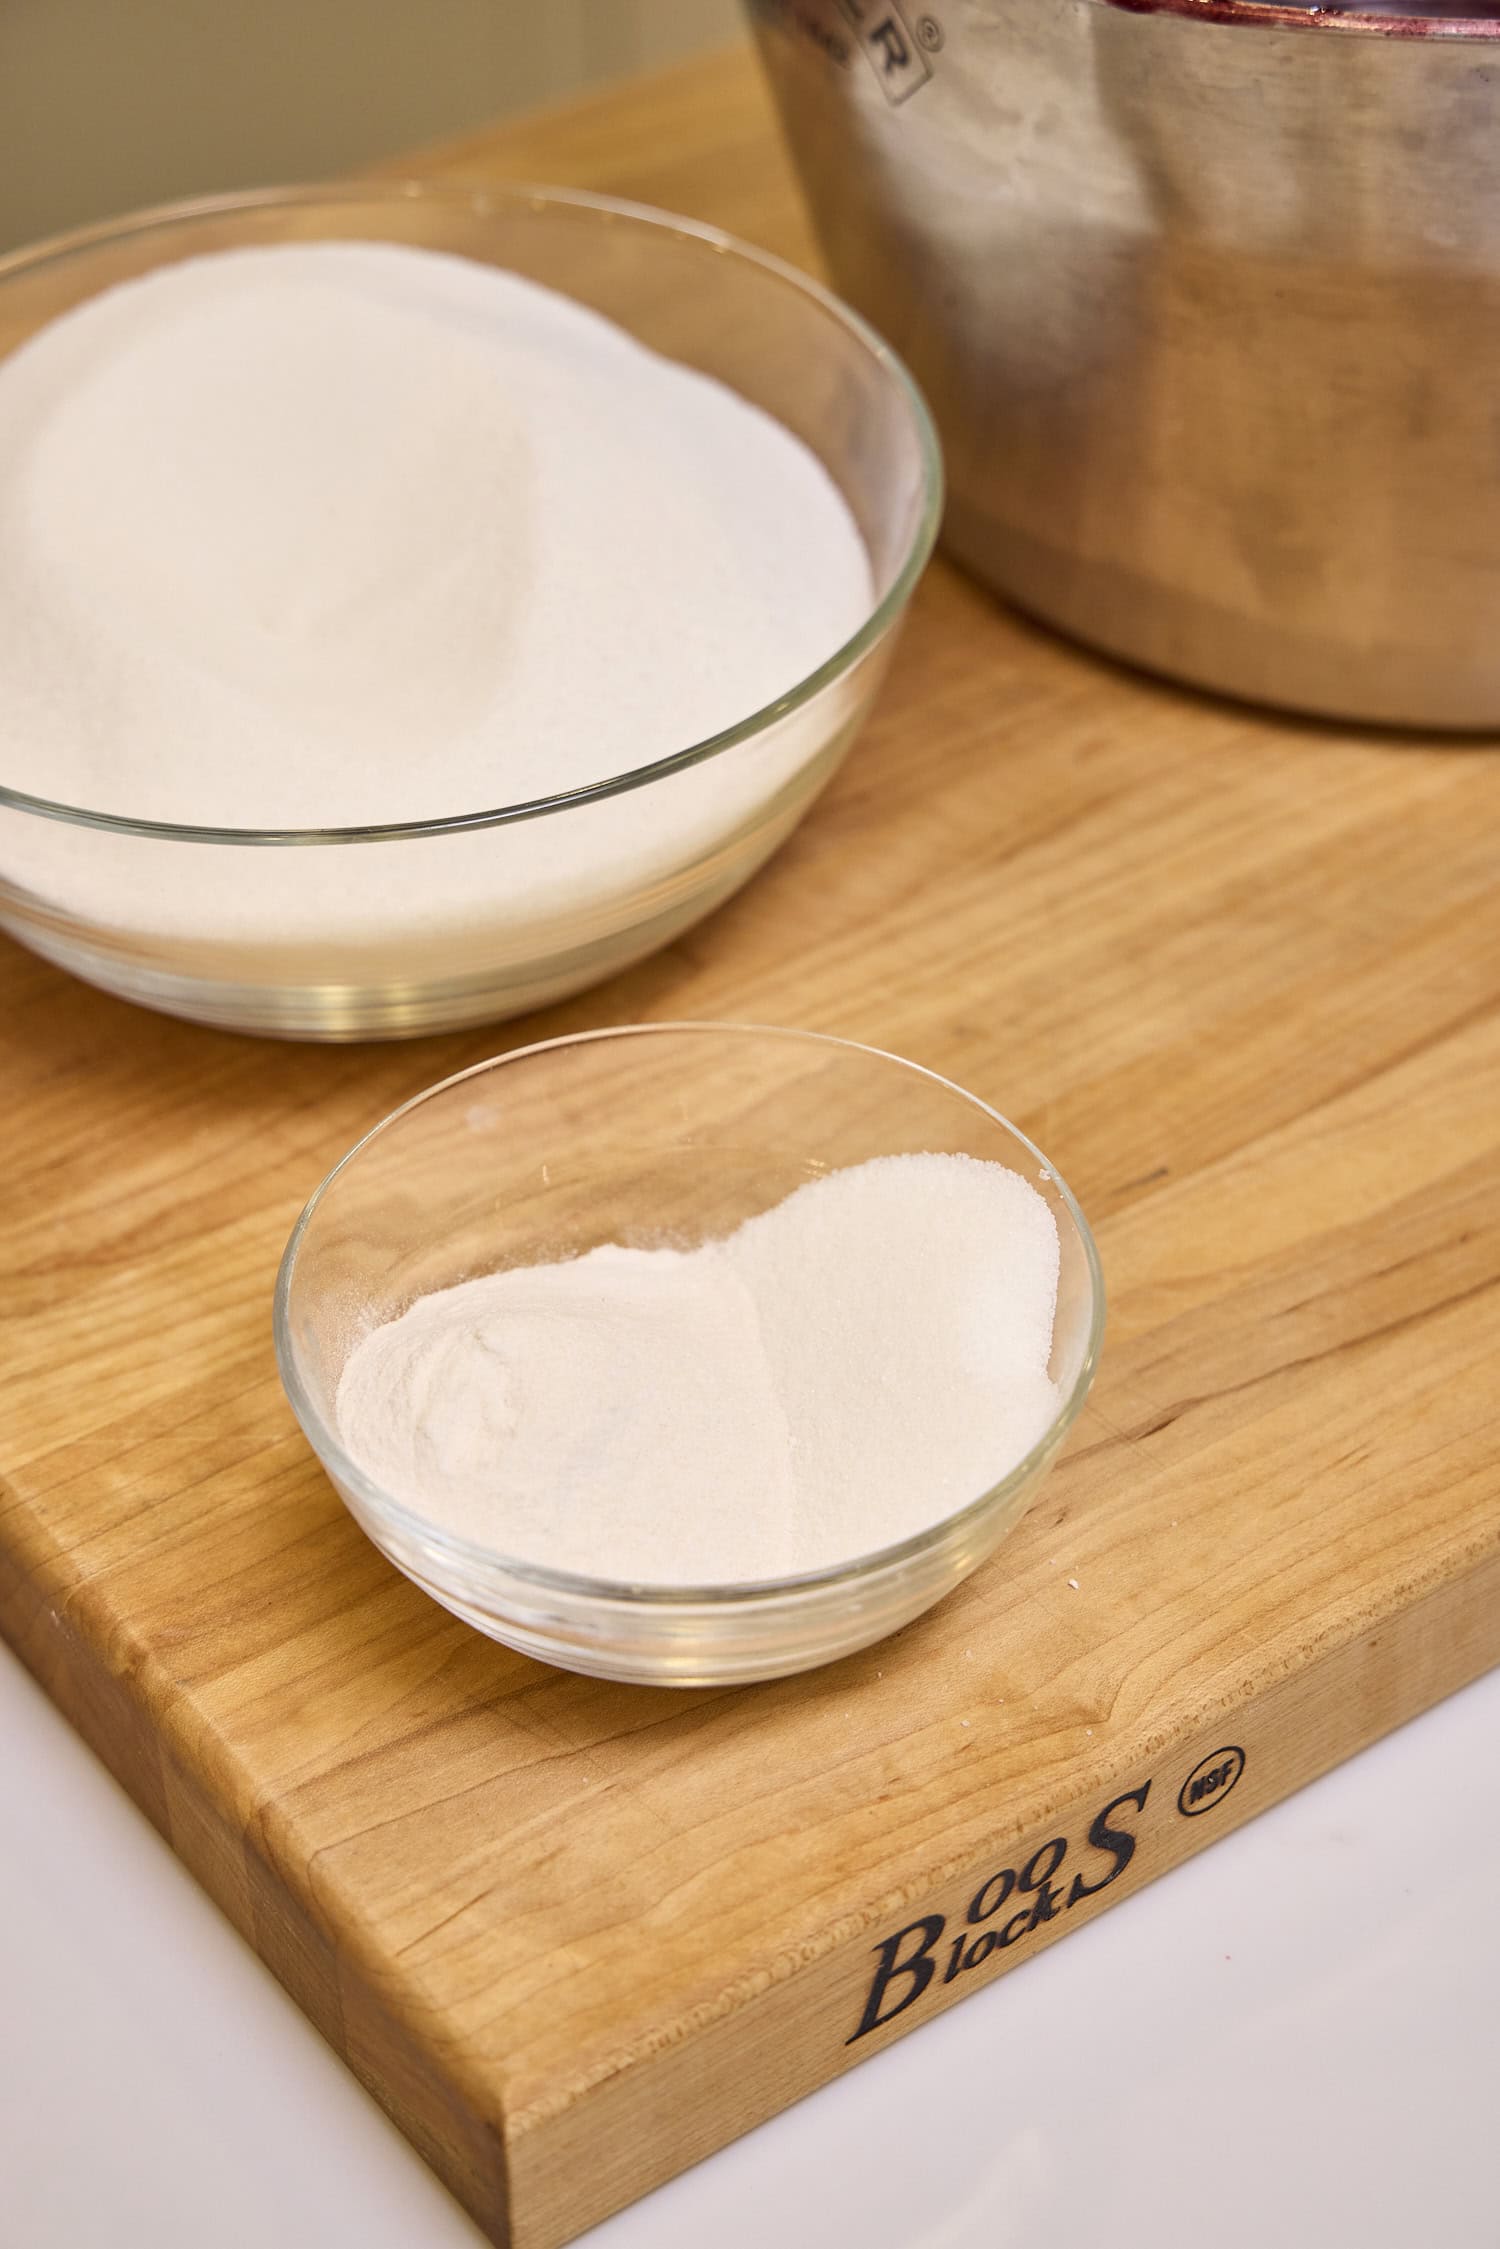
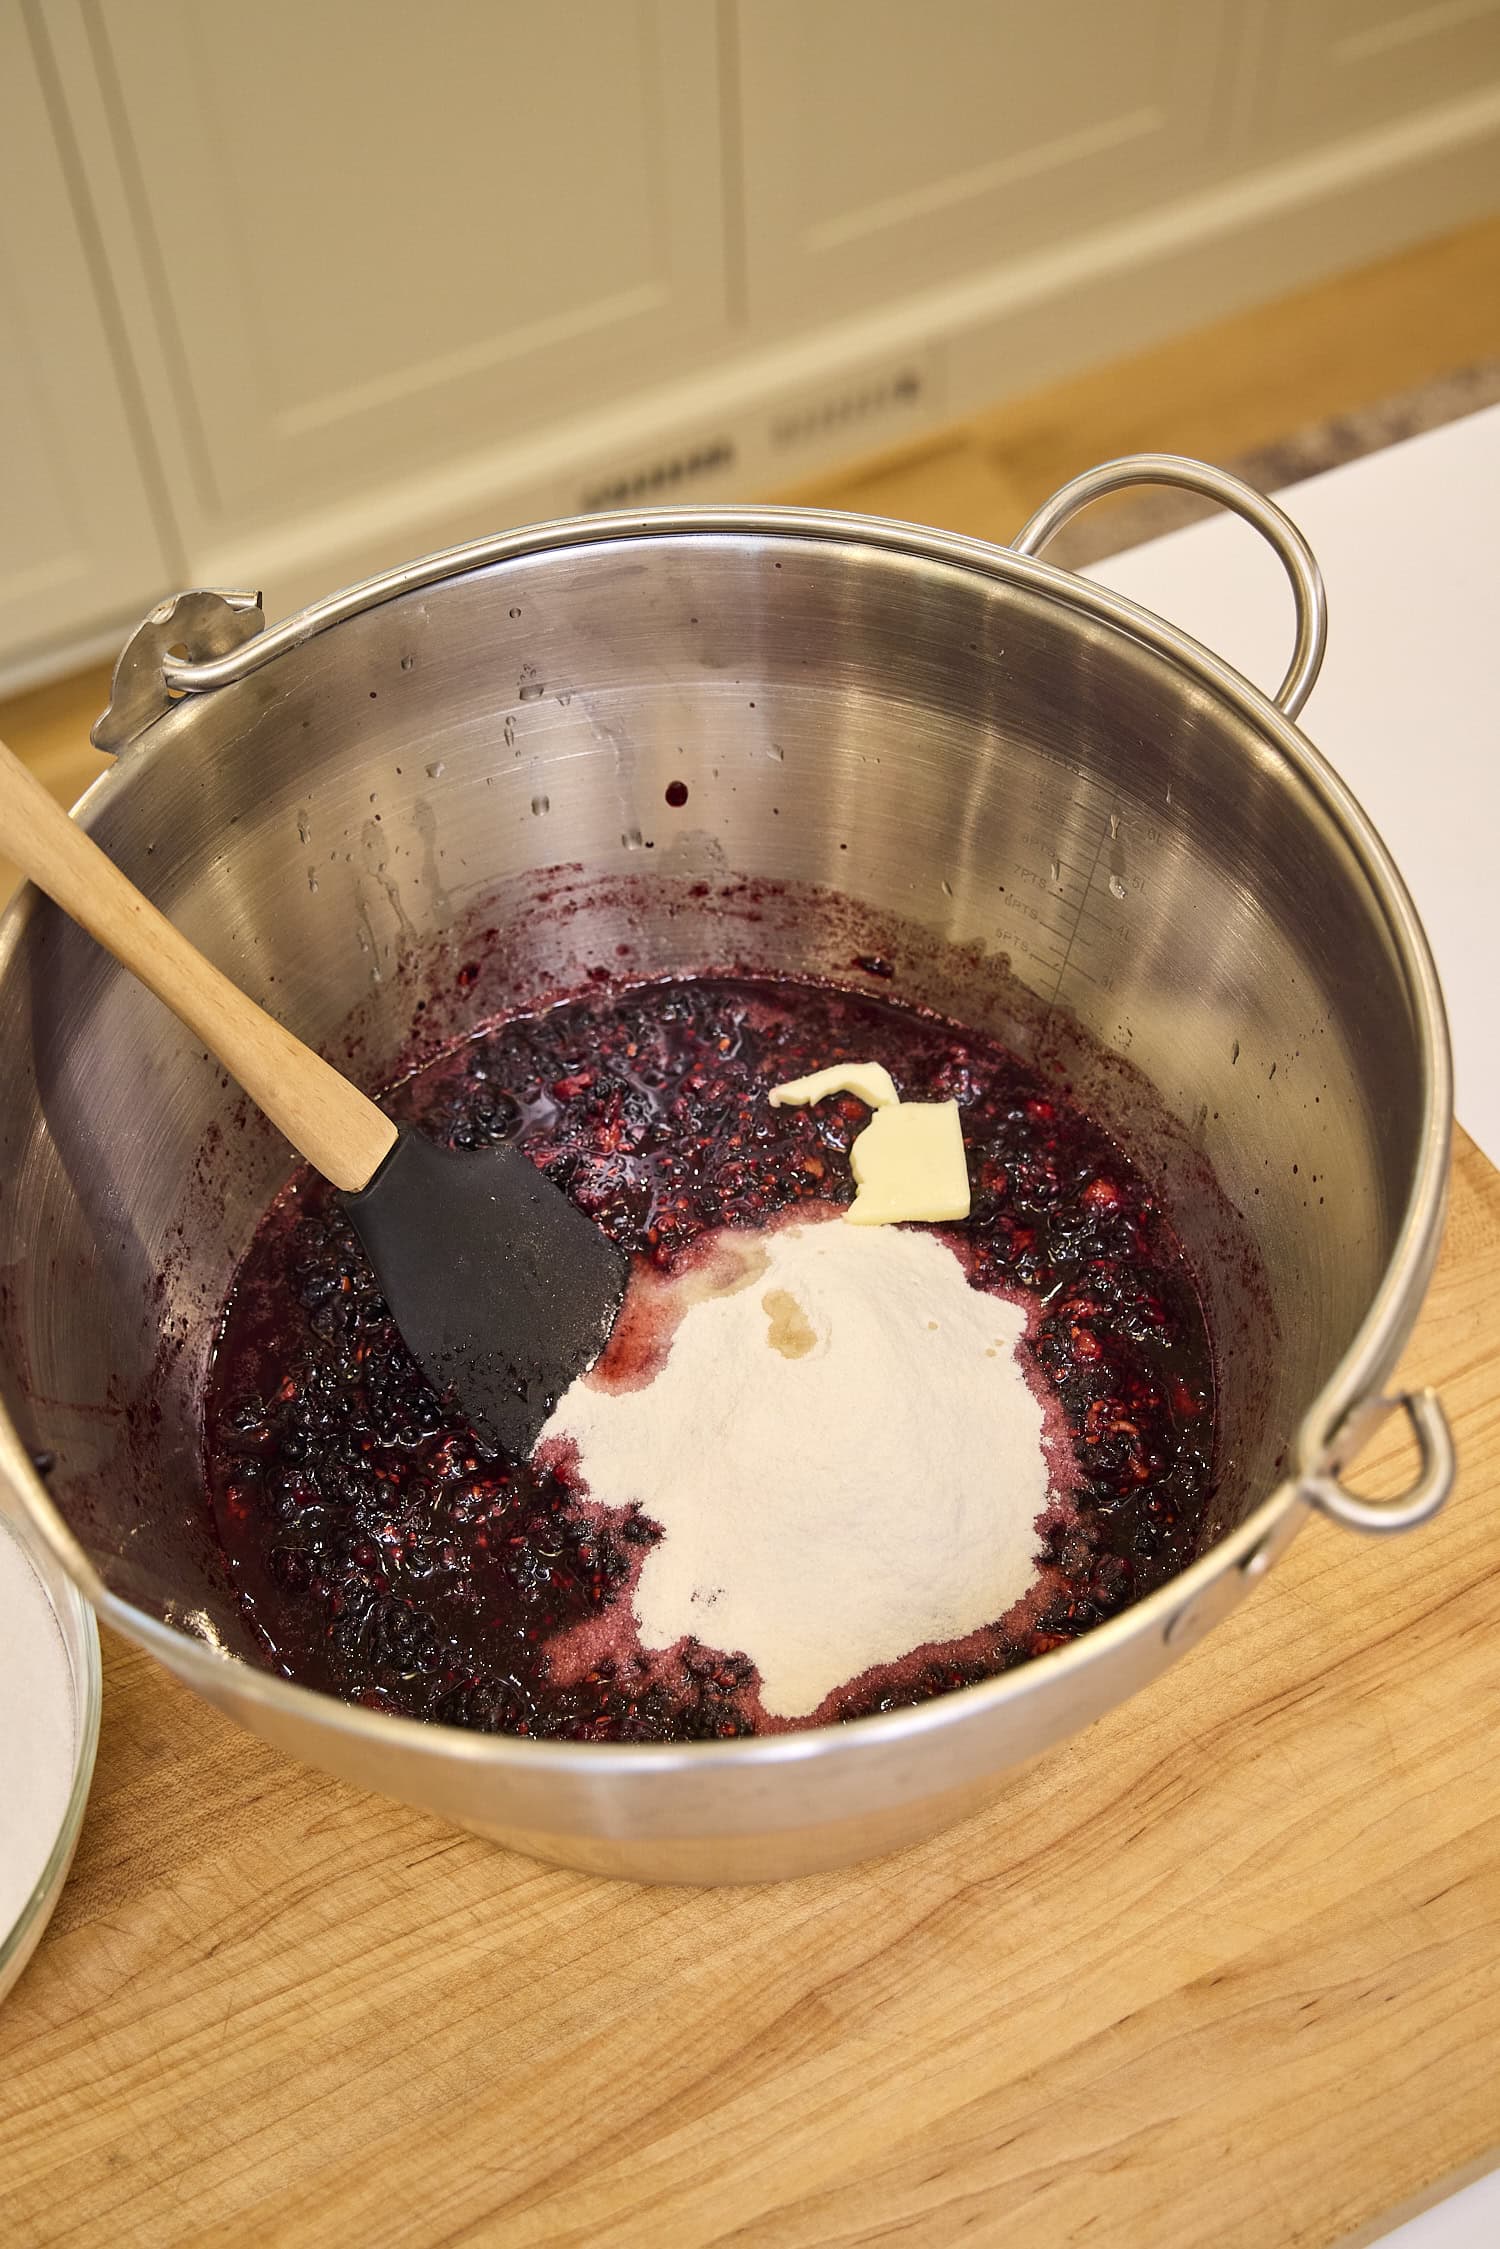
Step 1: Mash the blackberries – Crush the blackberries with a masher until they are mostly broken down. You want them crushed, not completely puréed. Measure exactly 5 cups of the crushed fruit. In a small bowl, combine ¼ cup of sugar with the pectin. In a separate bowl, measure 4 ¼ cups of the sugar so it’s ready to go.
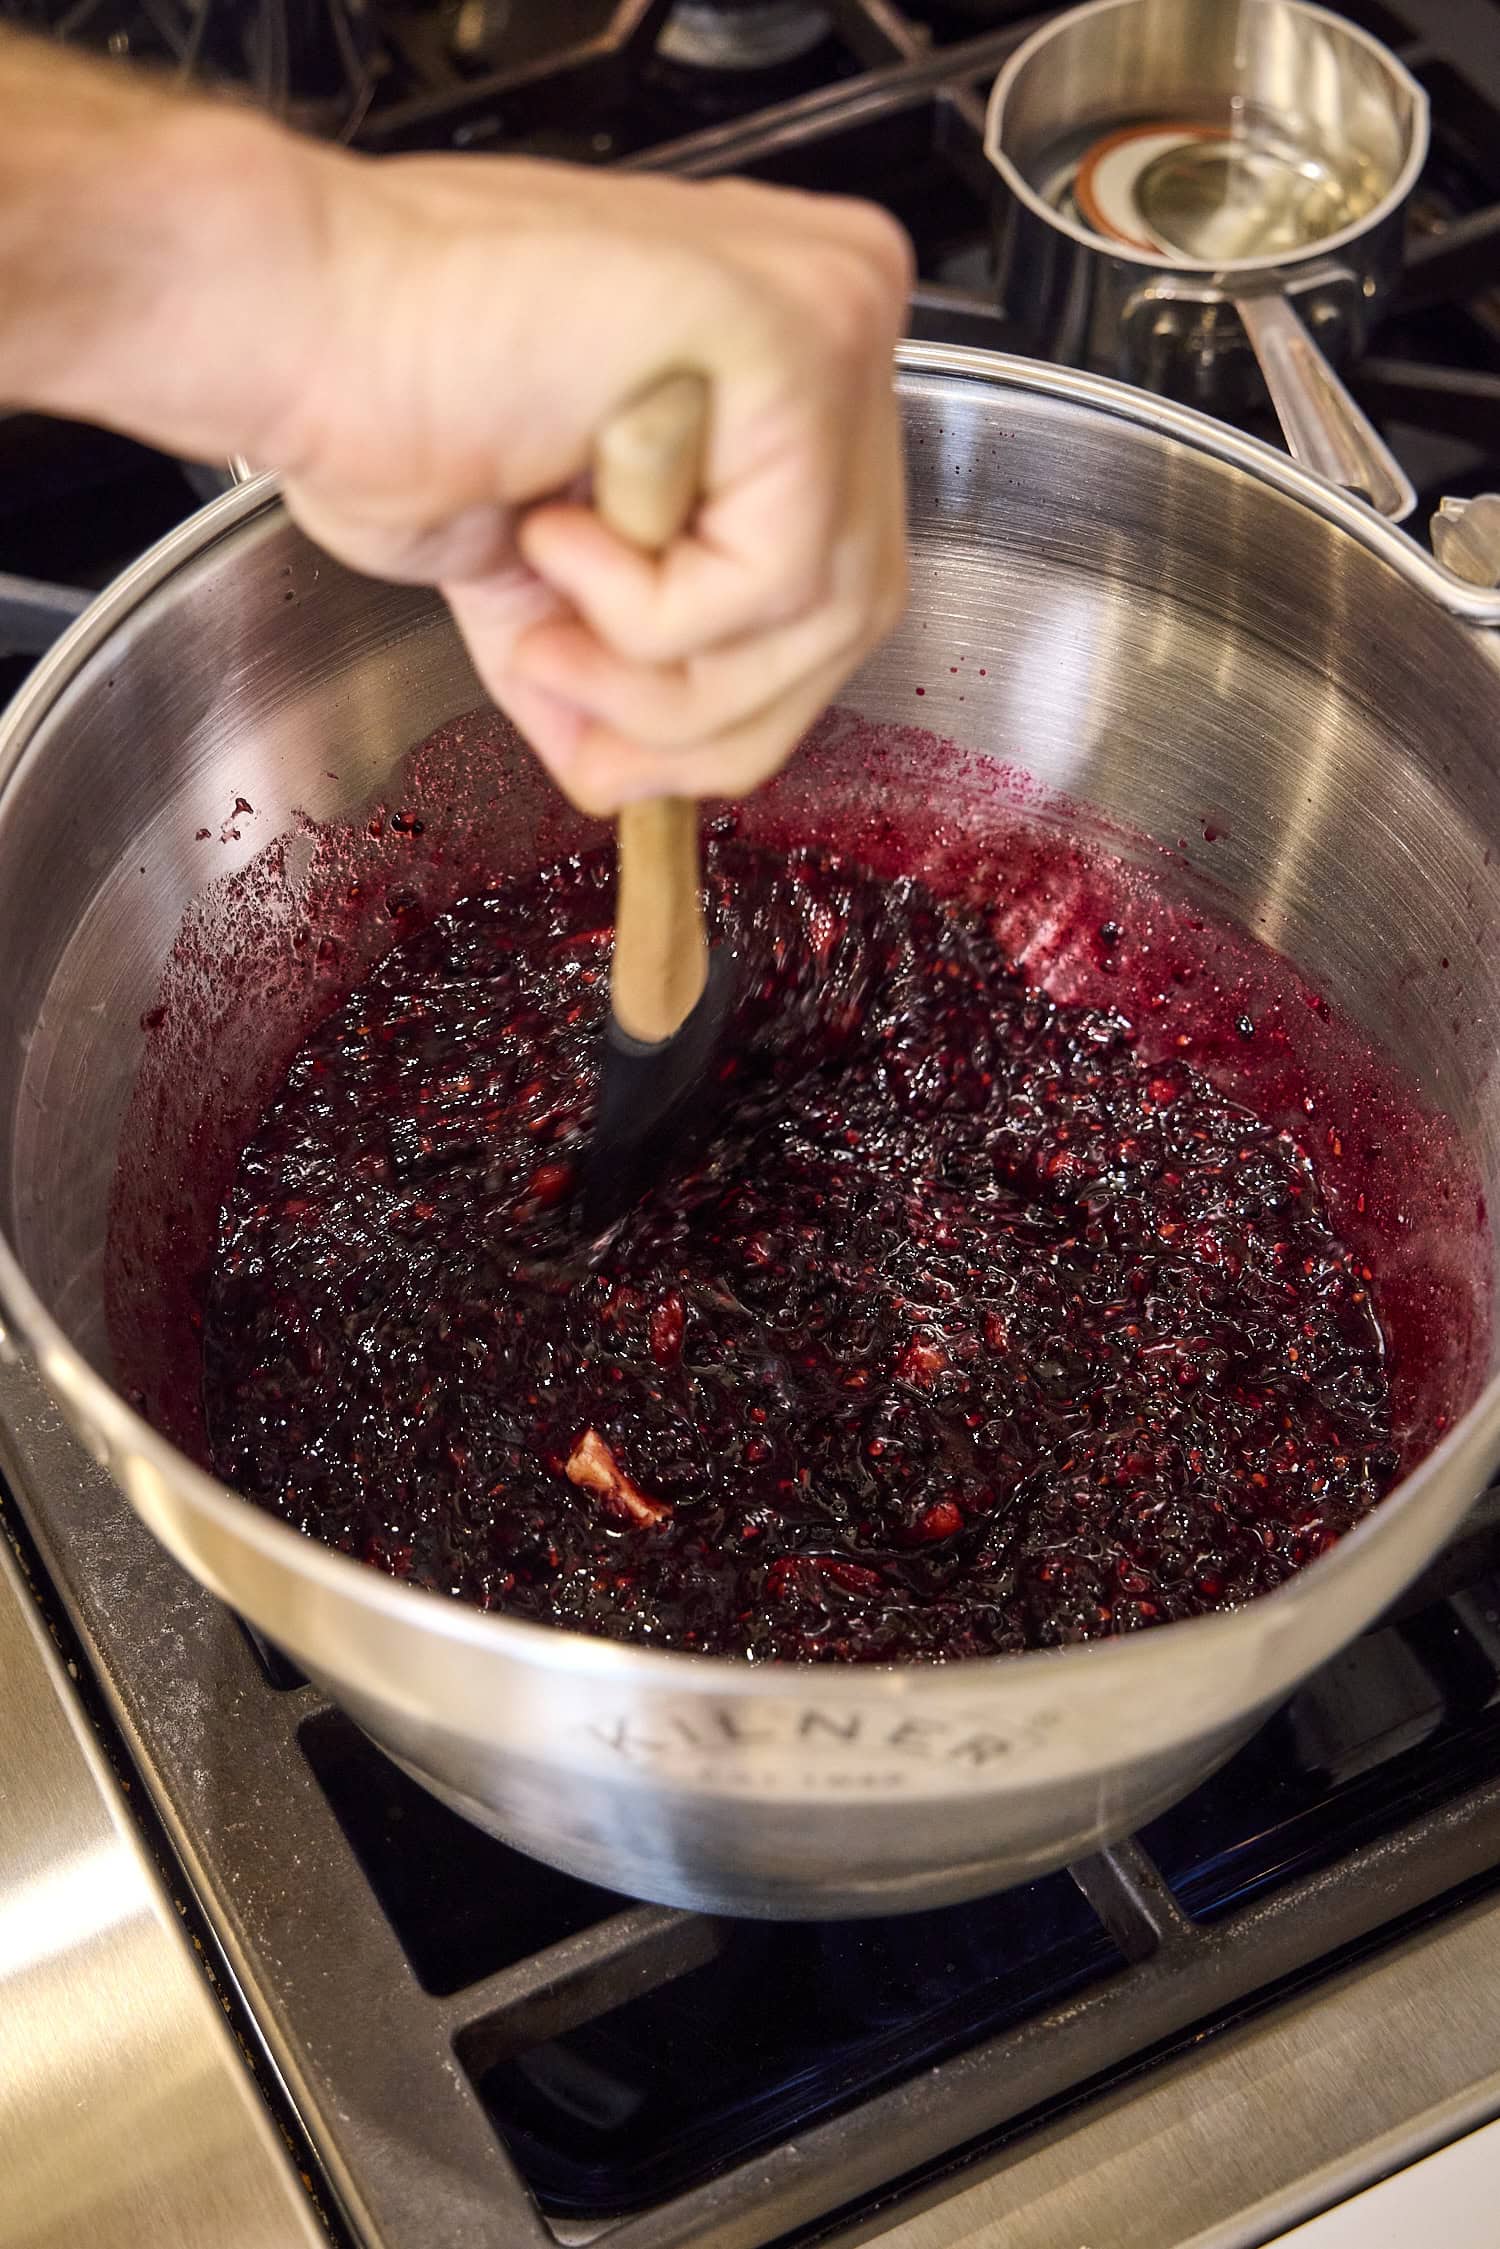
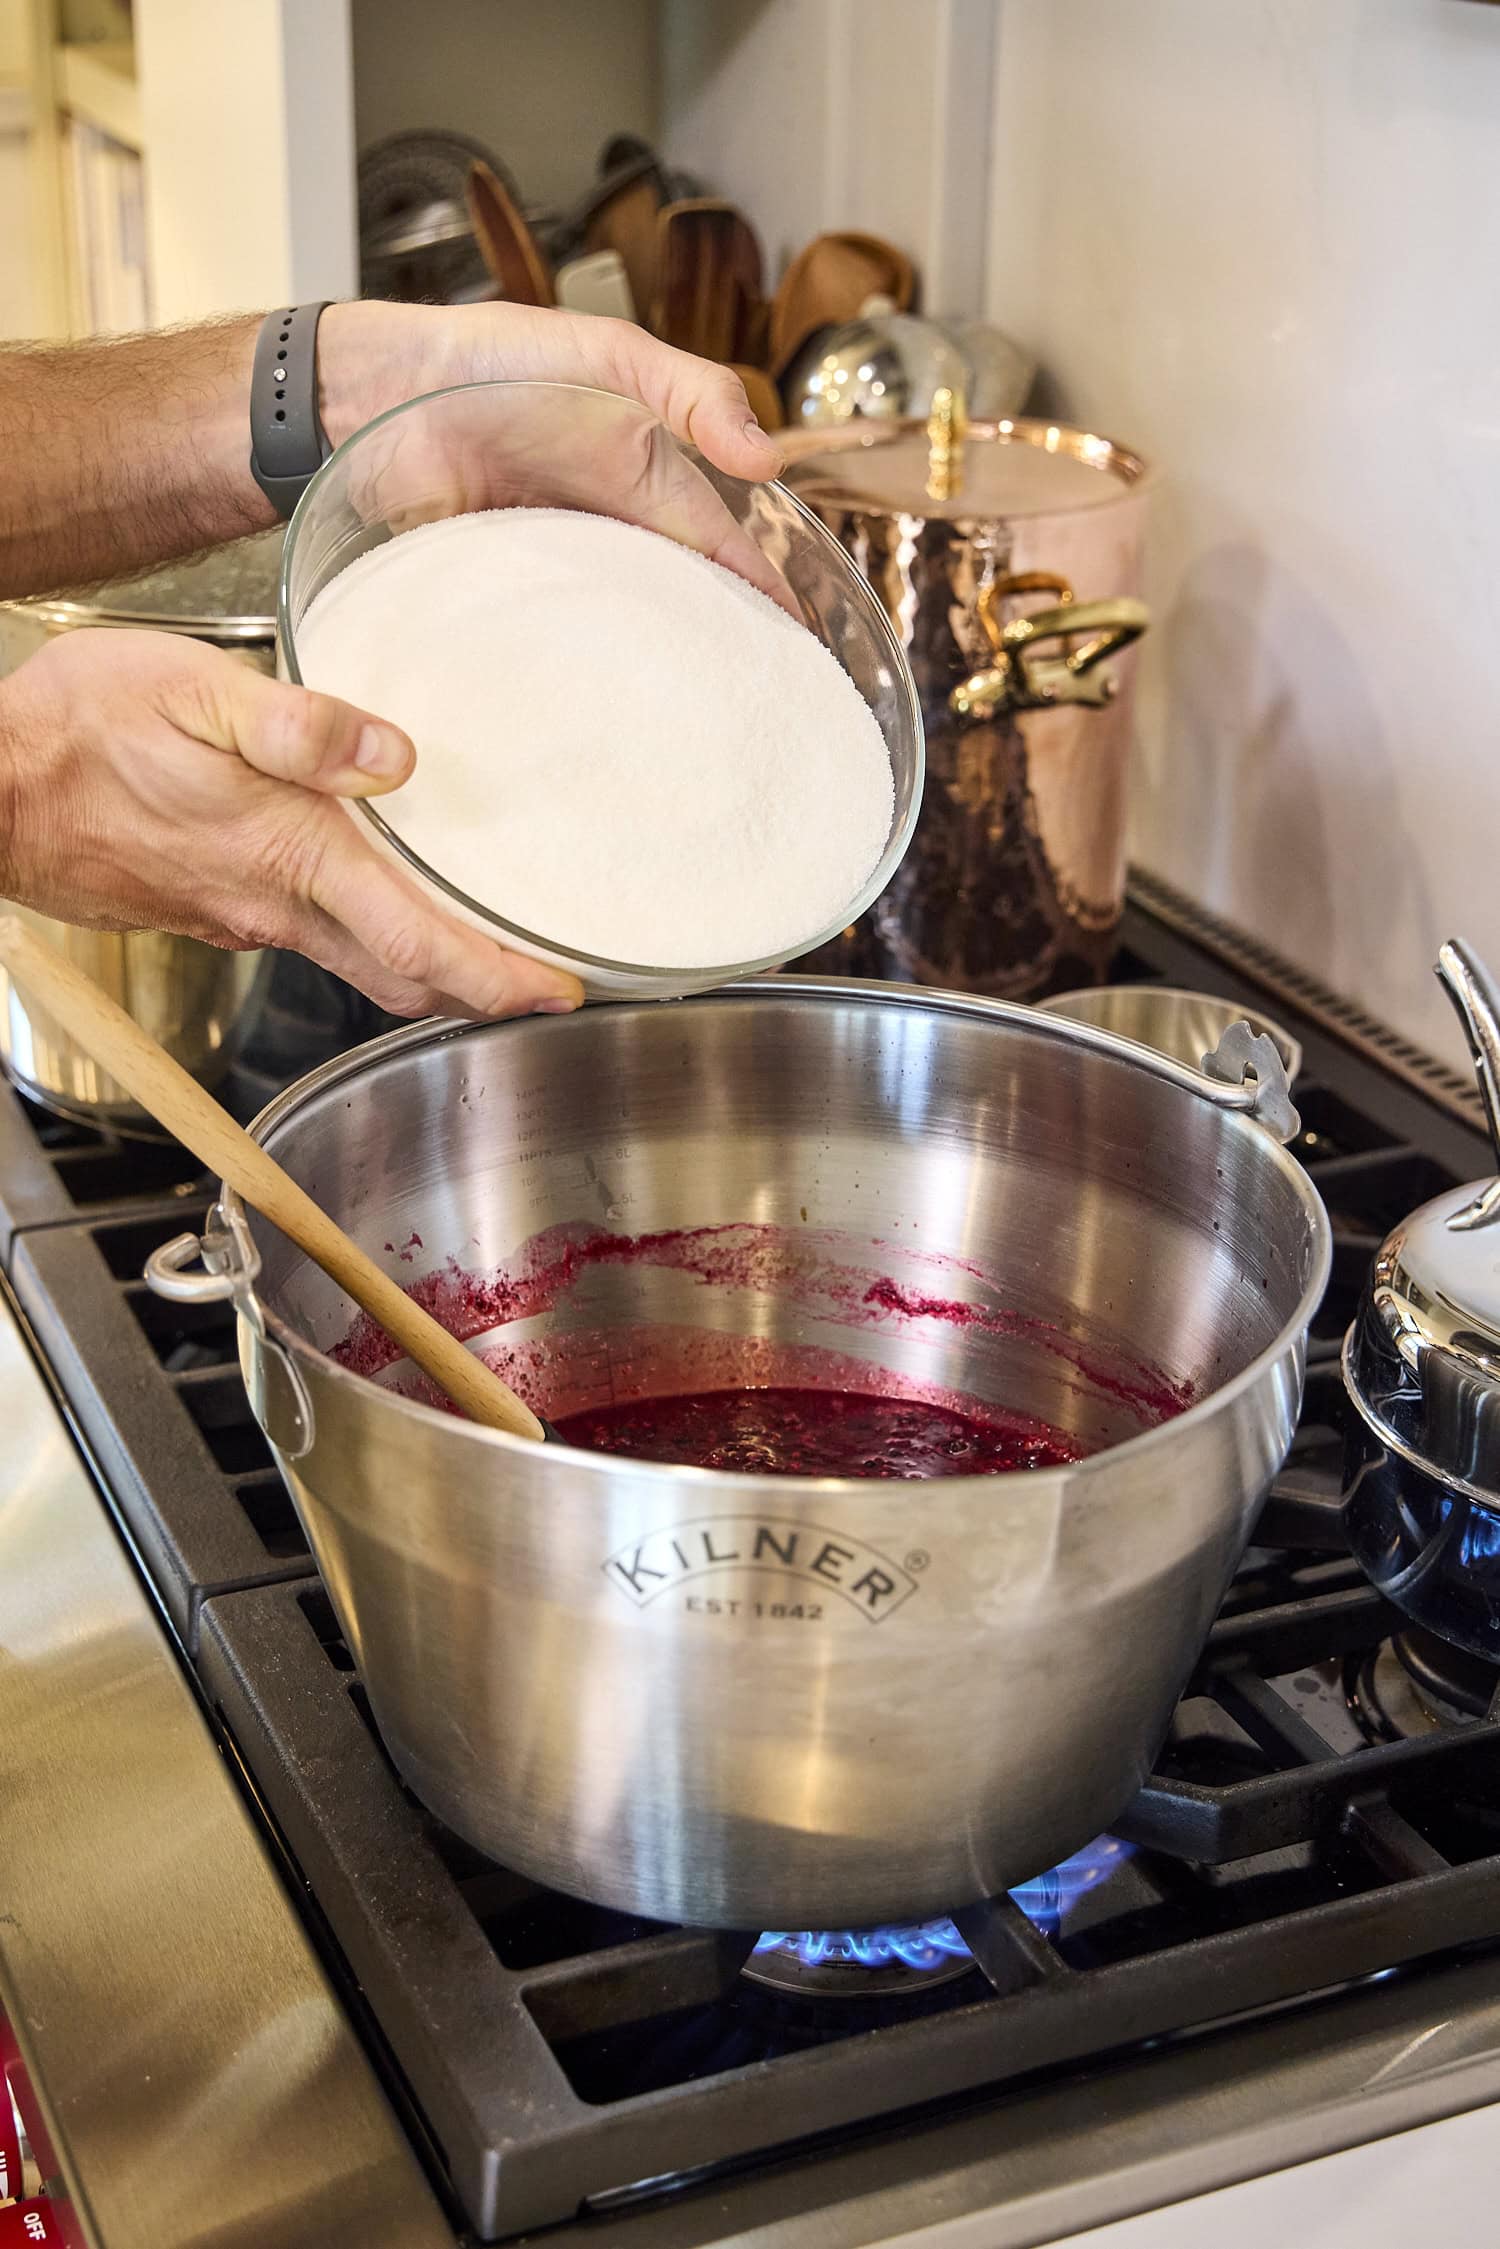
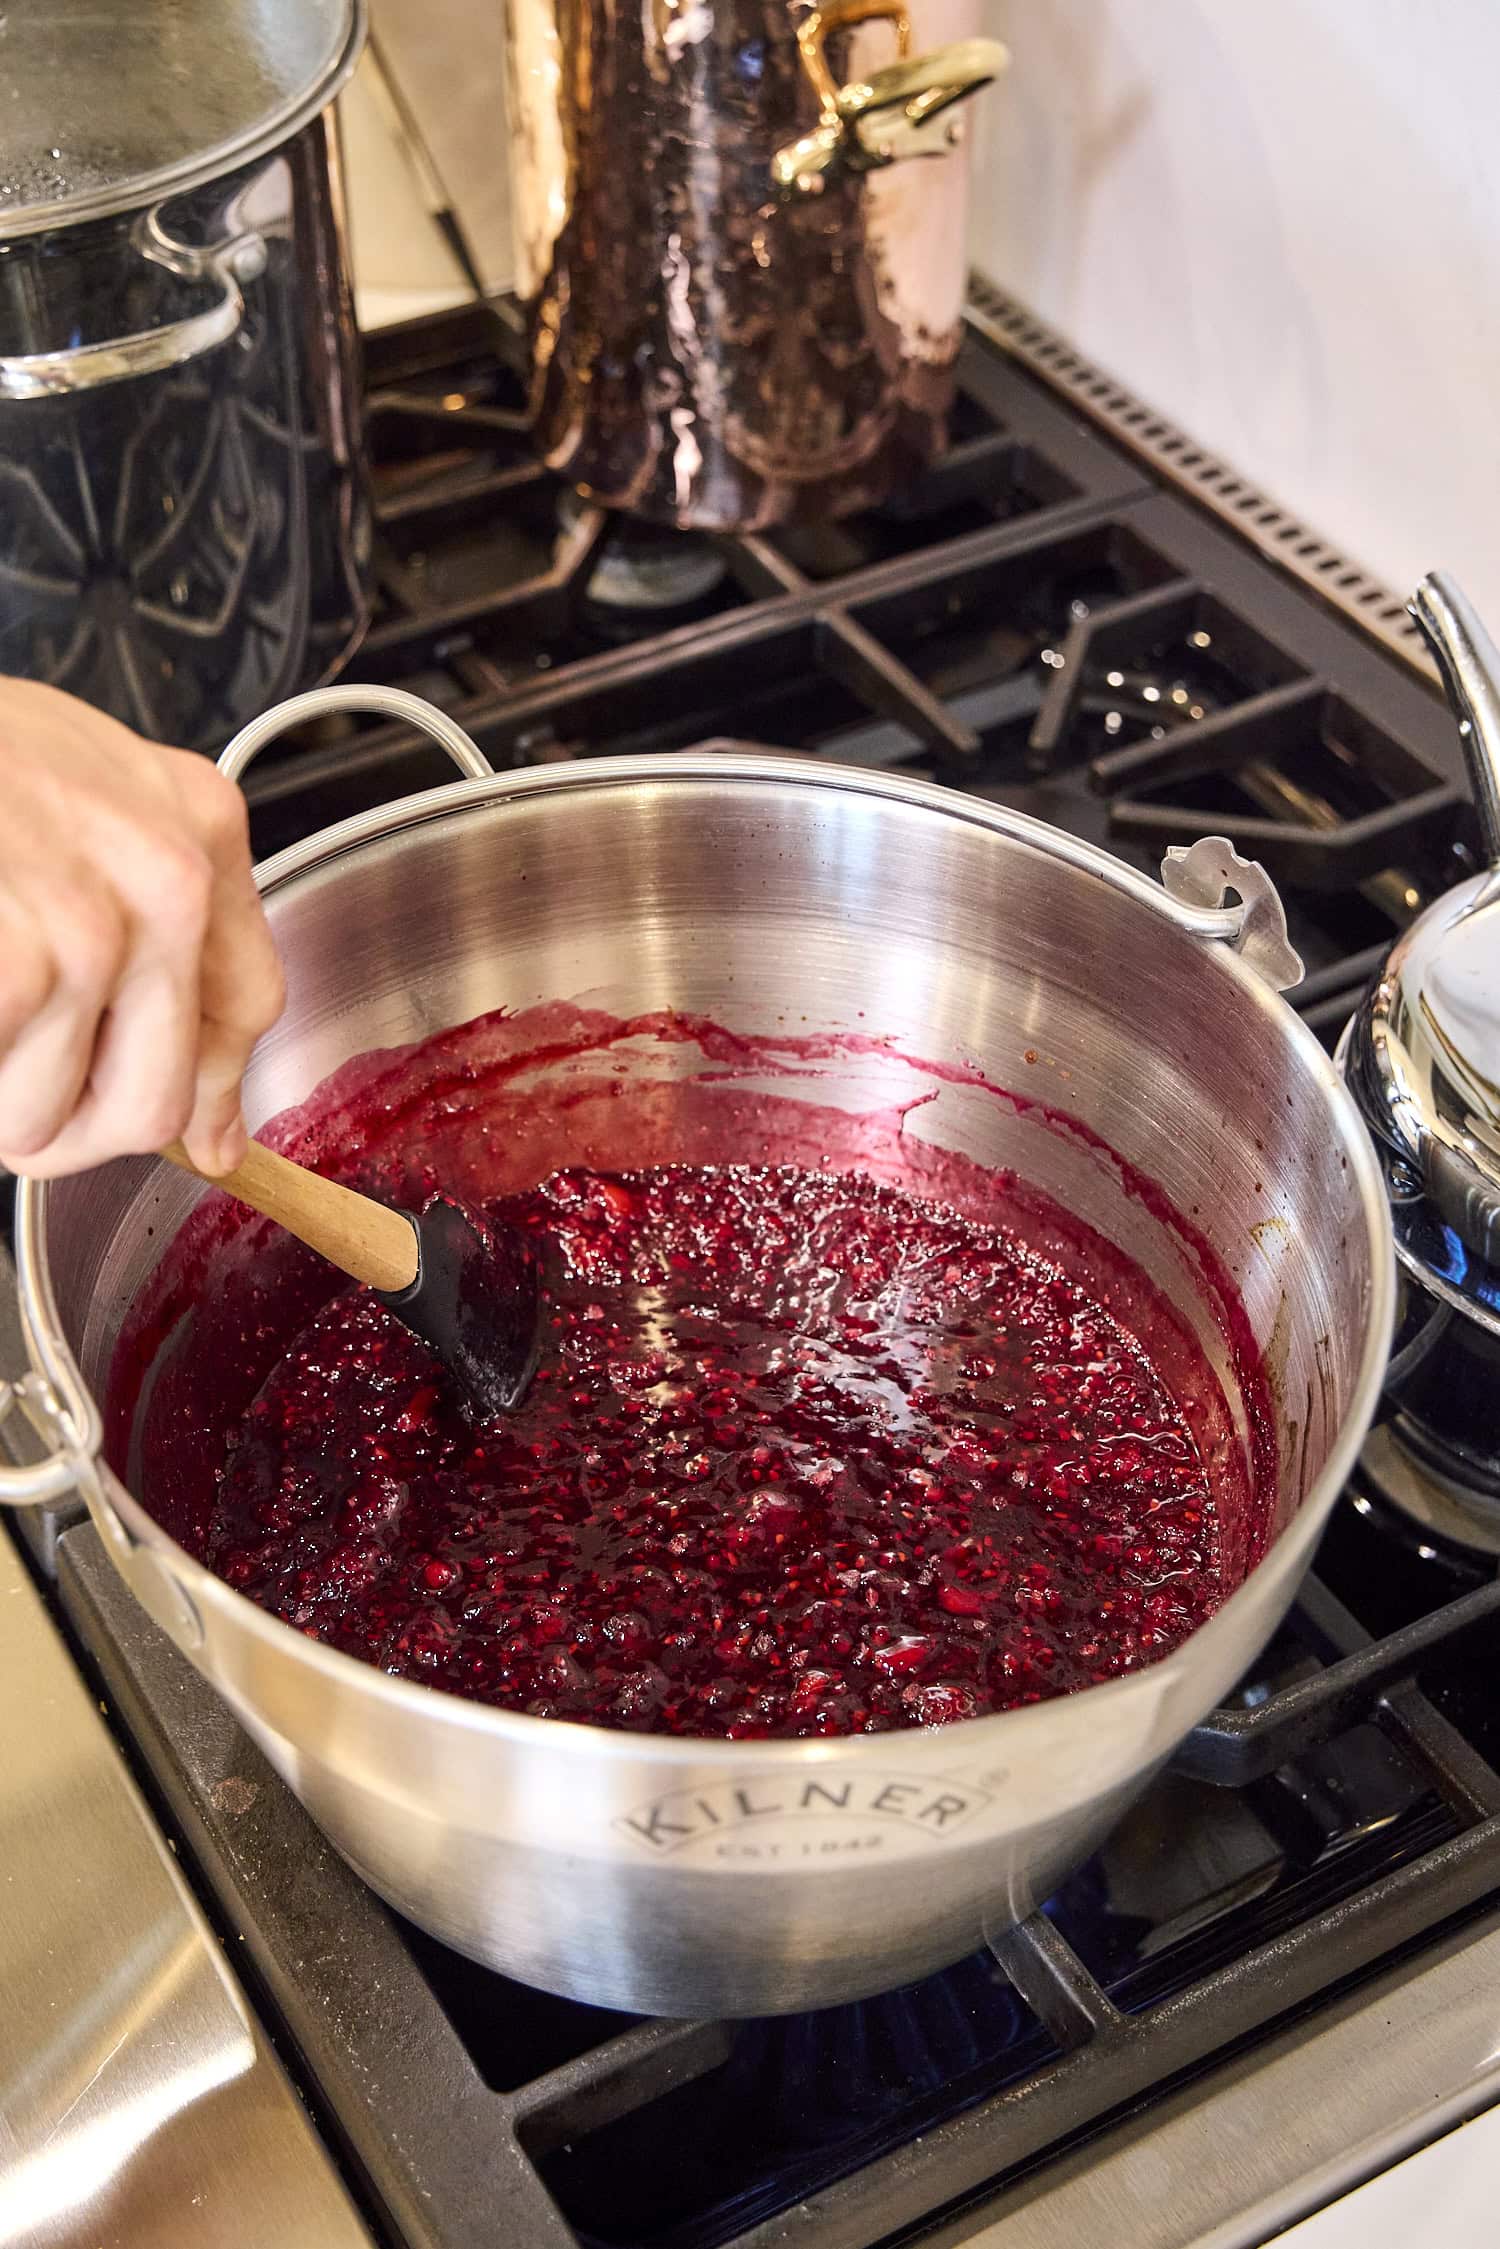
Step 2: Cook the blackberries – In a heavy-bottomed kettle, combine the crushed blackberries, sugar and pectin mixture, butter, and lemon juice. Set the pan over medium heat and stir until everything is combined. Bring the mixture to a rolling boil, meaning a boil that does not stop when stirred (see below). This usually takes 8-12 minutes. Once the jam reaches a rolling boil, add the remaining sugar. Stir it in, bring the mixture back to a rolling boil, and boil for exactly 1 minute.
Definition
What is a rolling boil? A rolling boil is a boil that cannot be stirred down. Even when you stir, the bubbling keeps going steadily. That is how you know the jam is hot enough for this step.
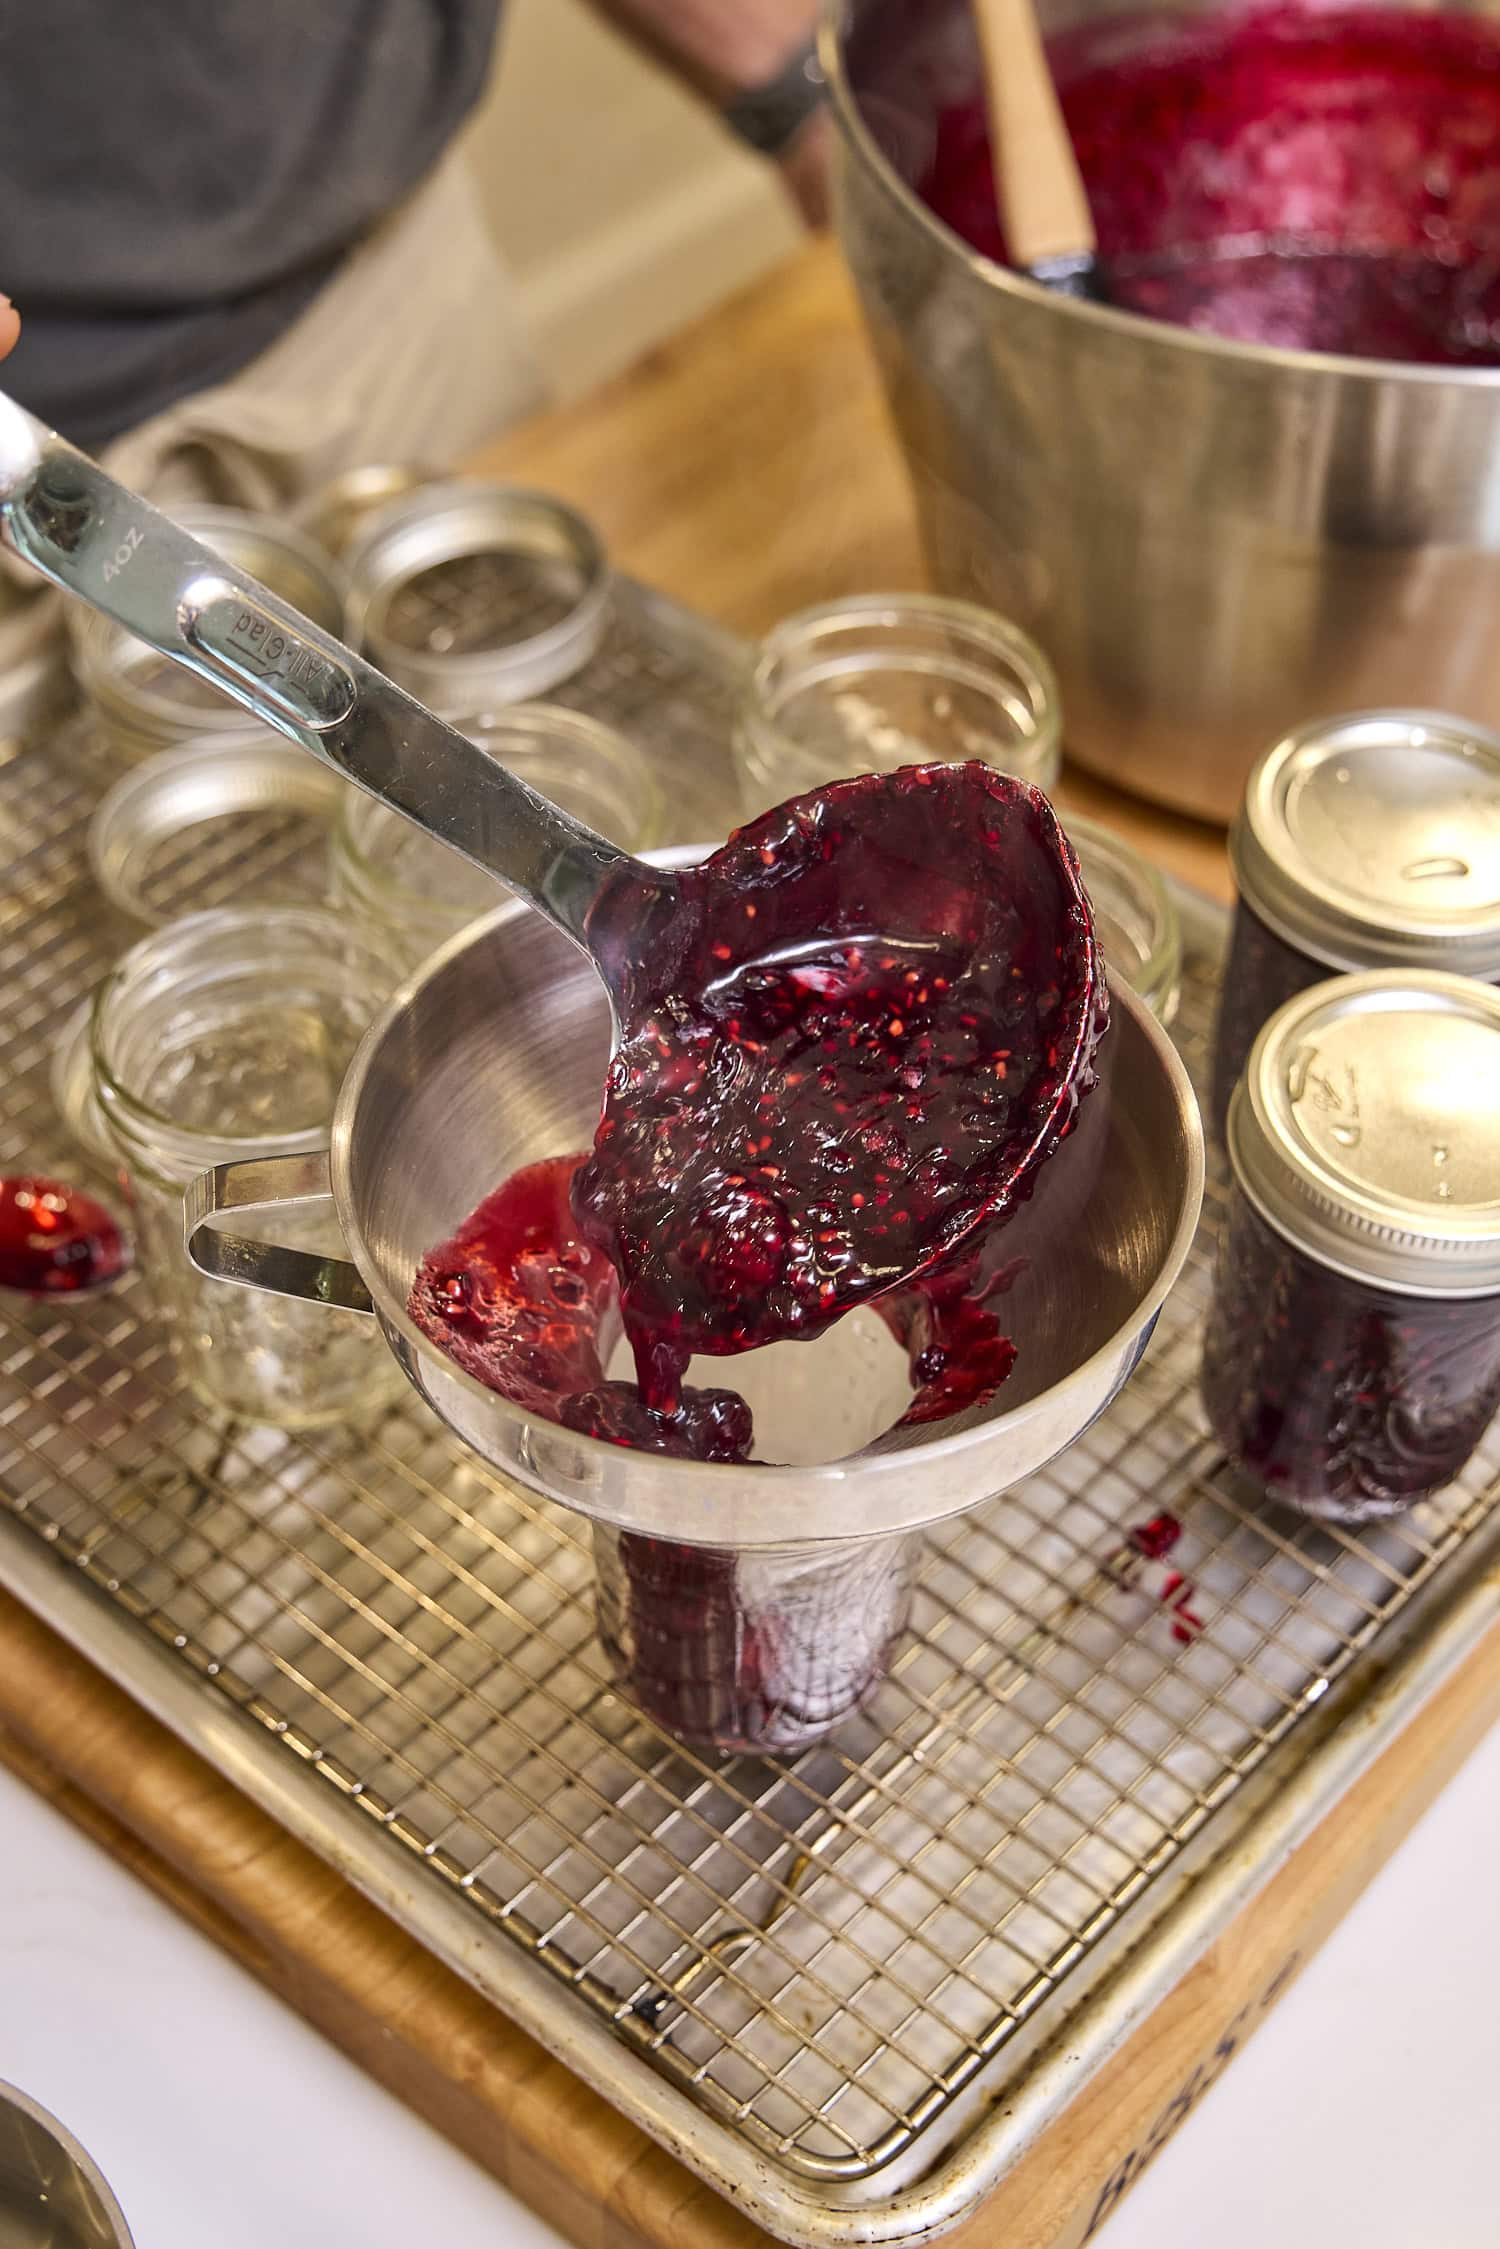
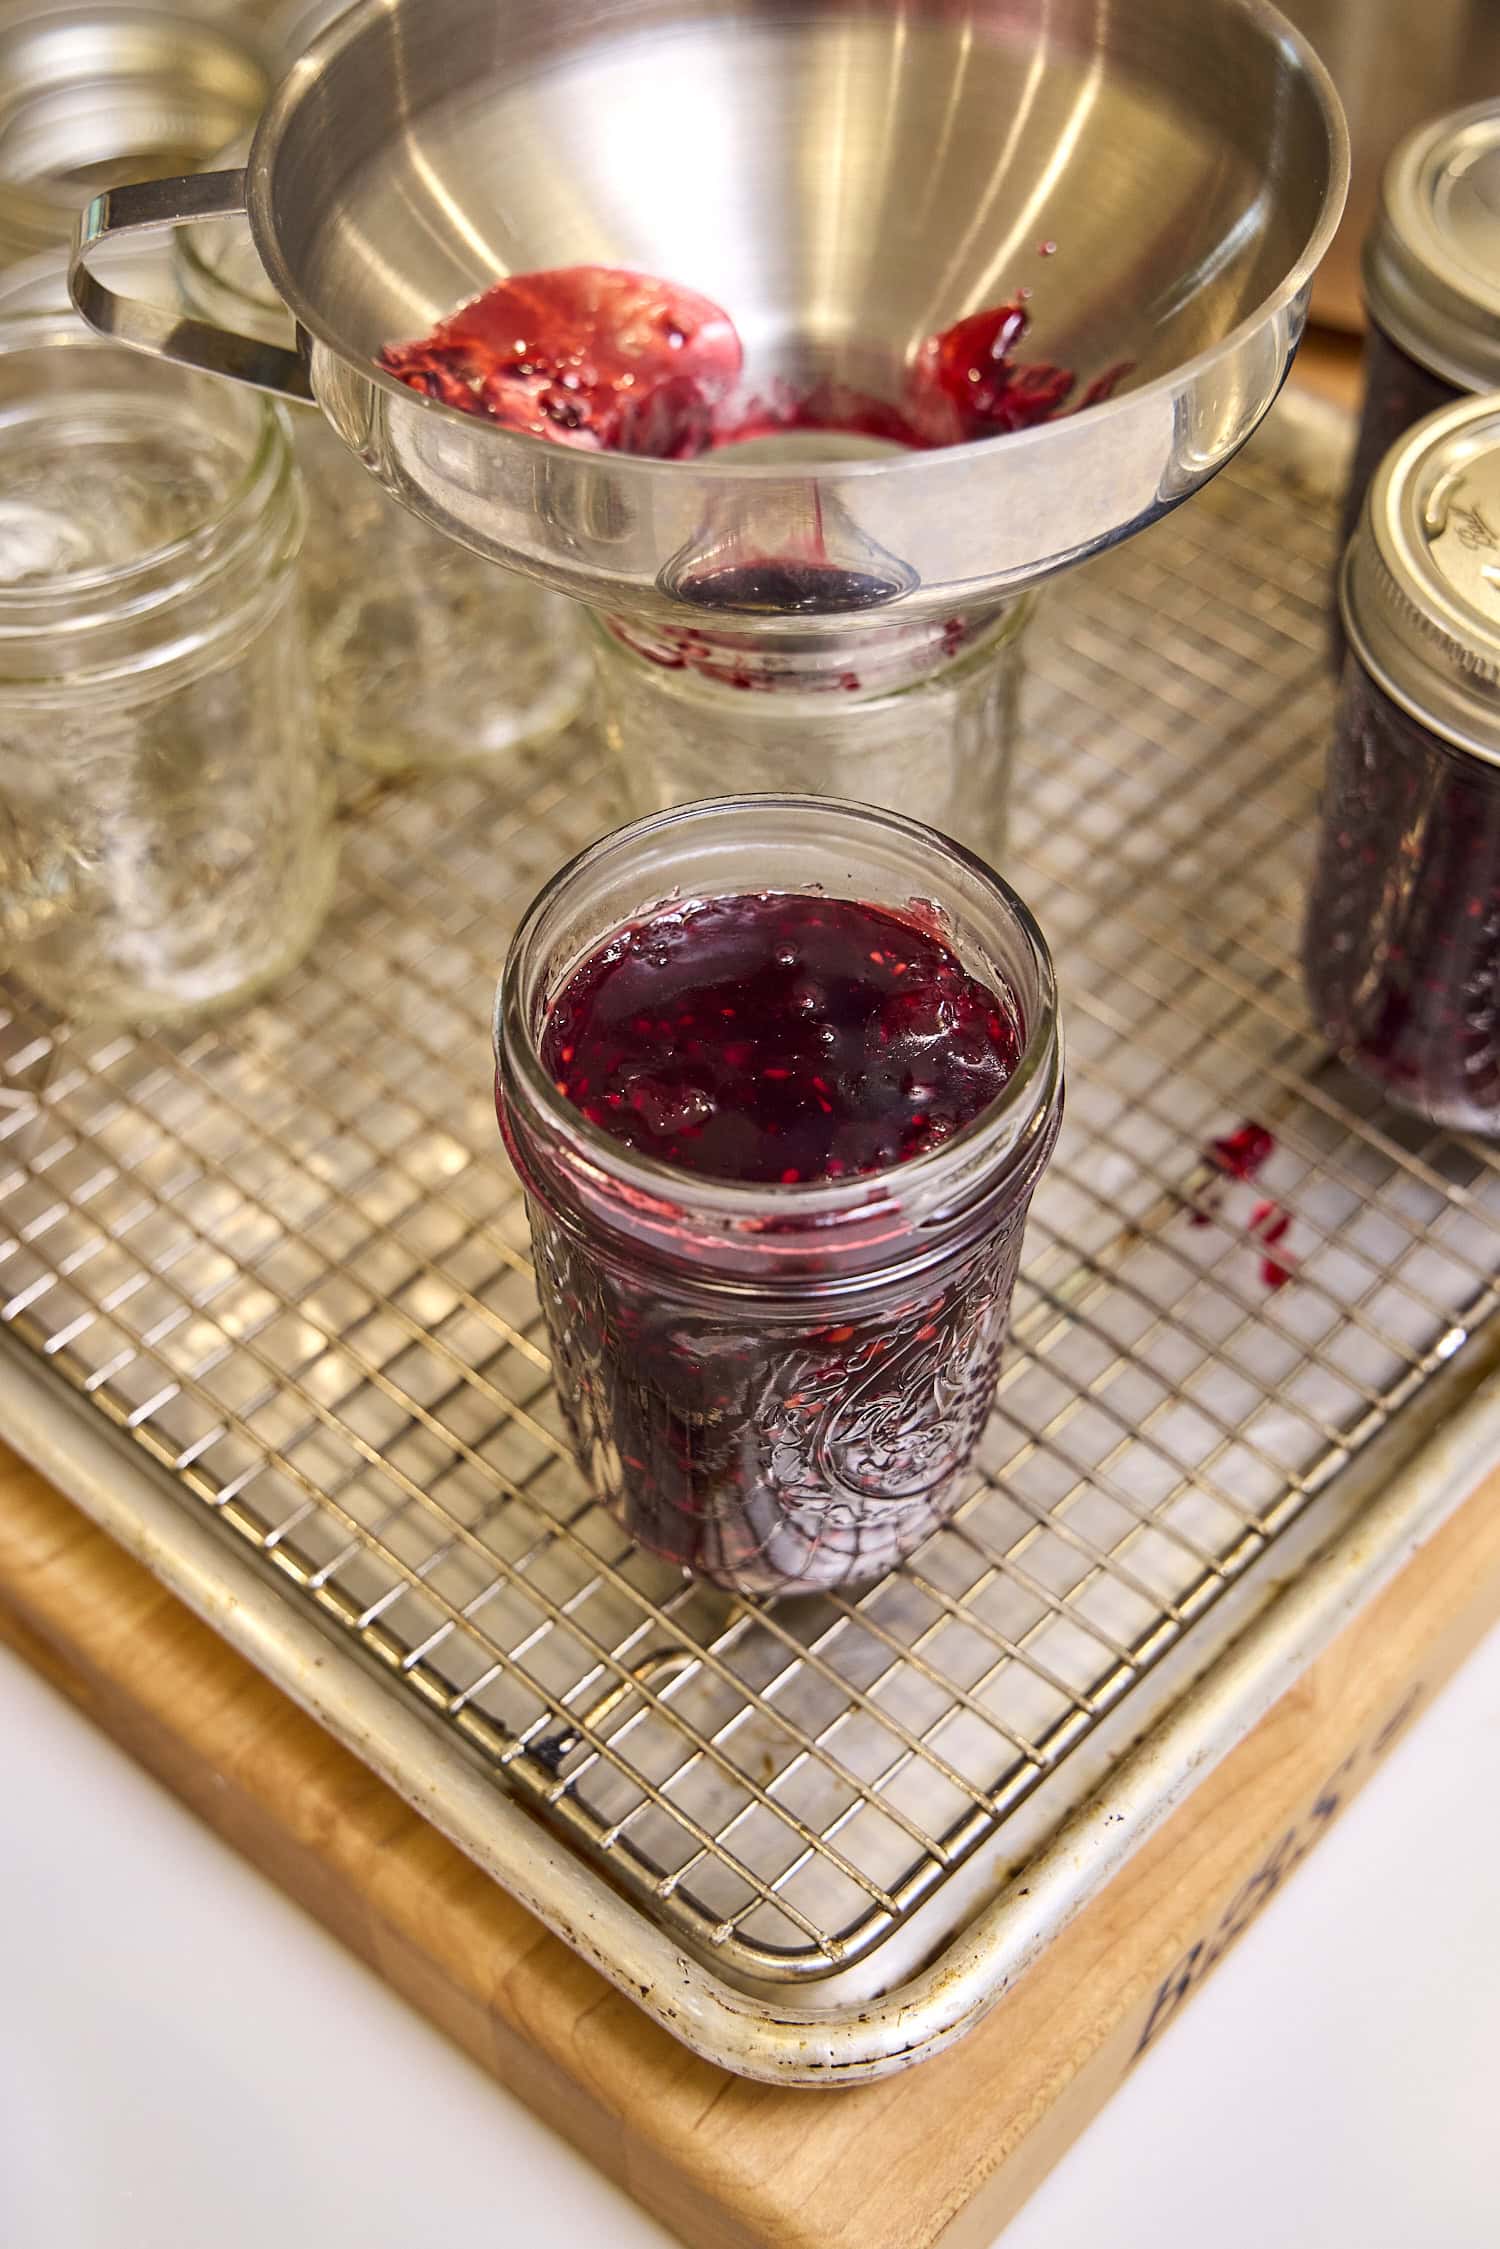
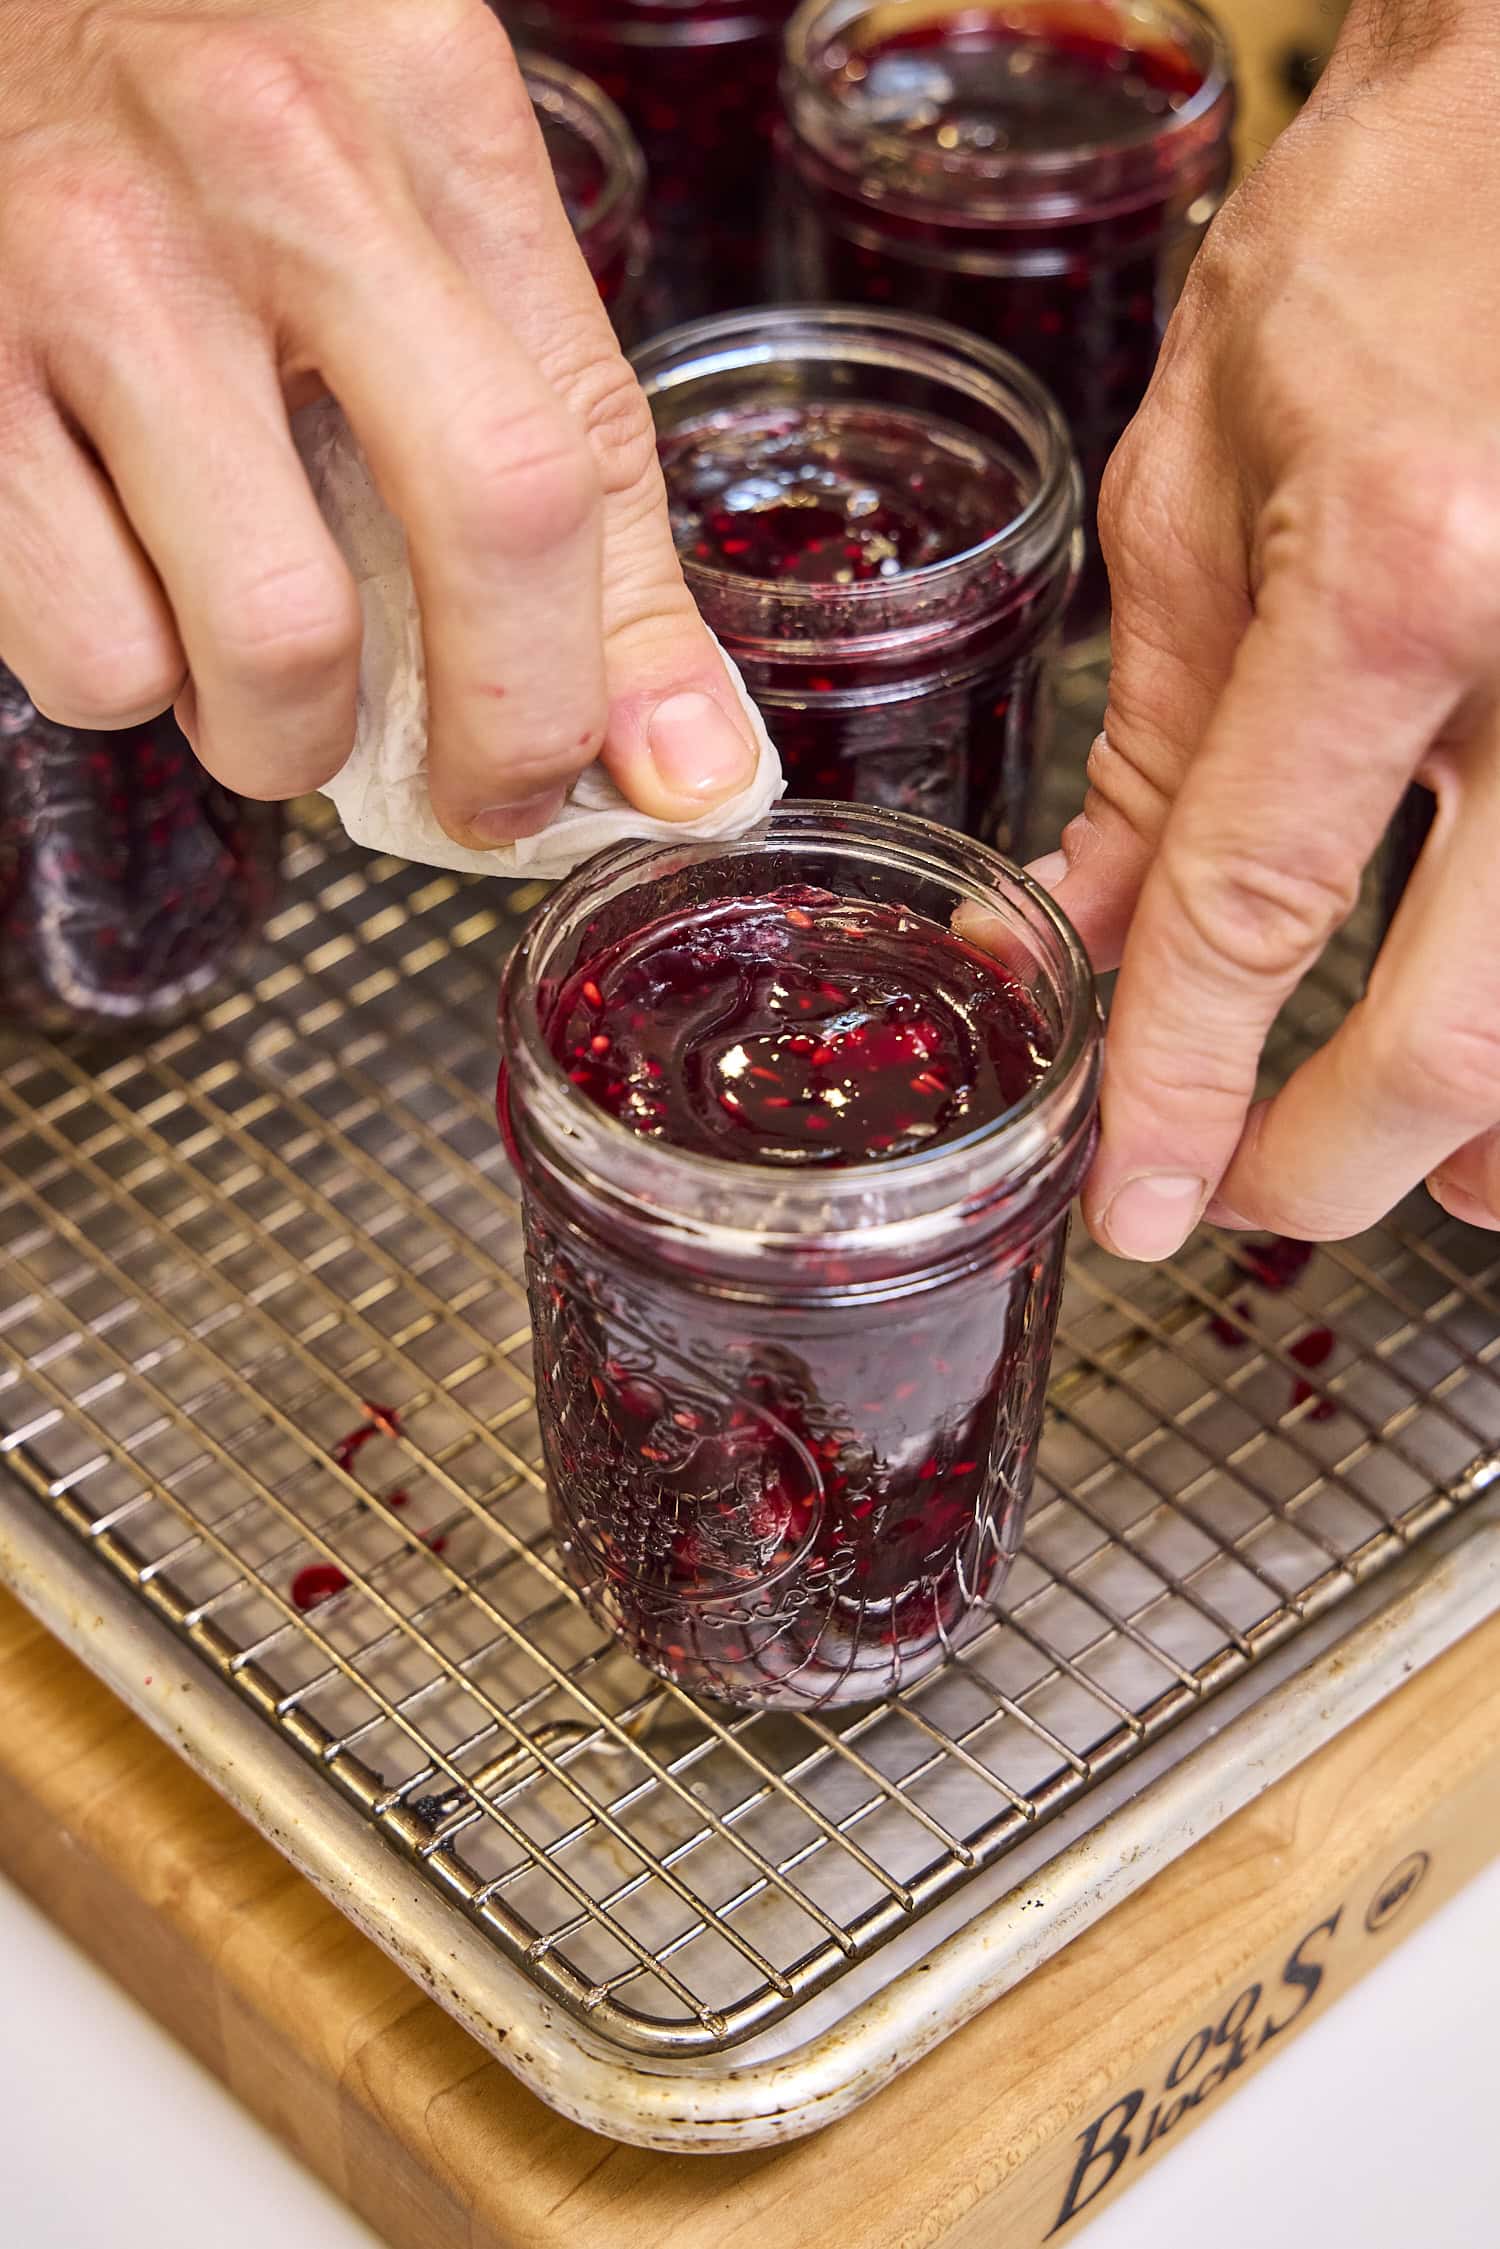
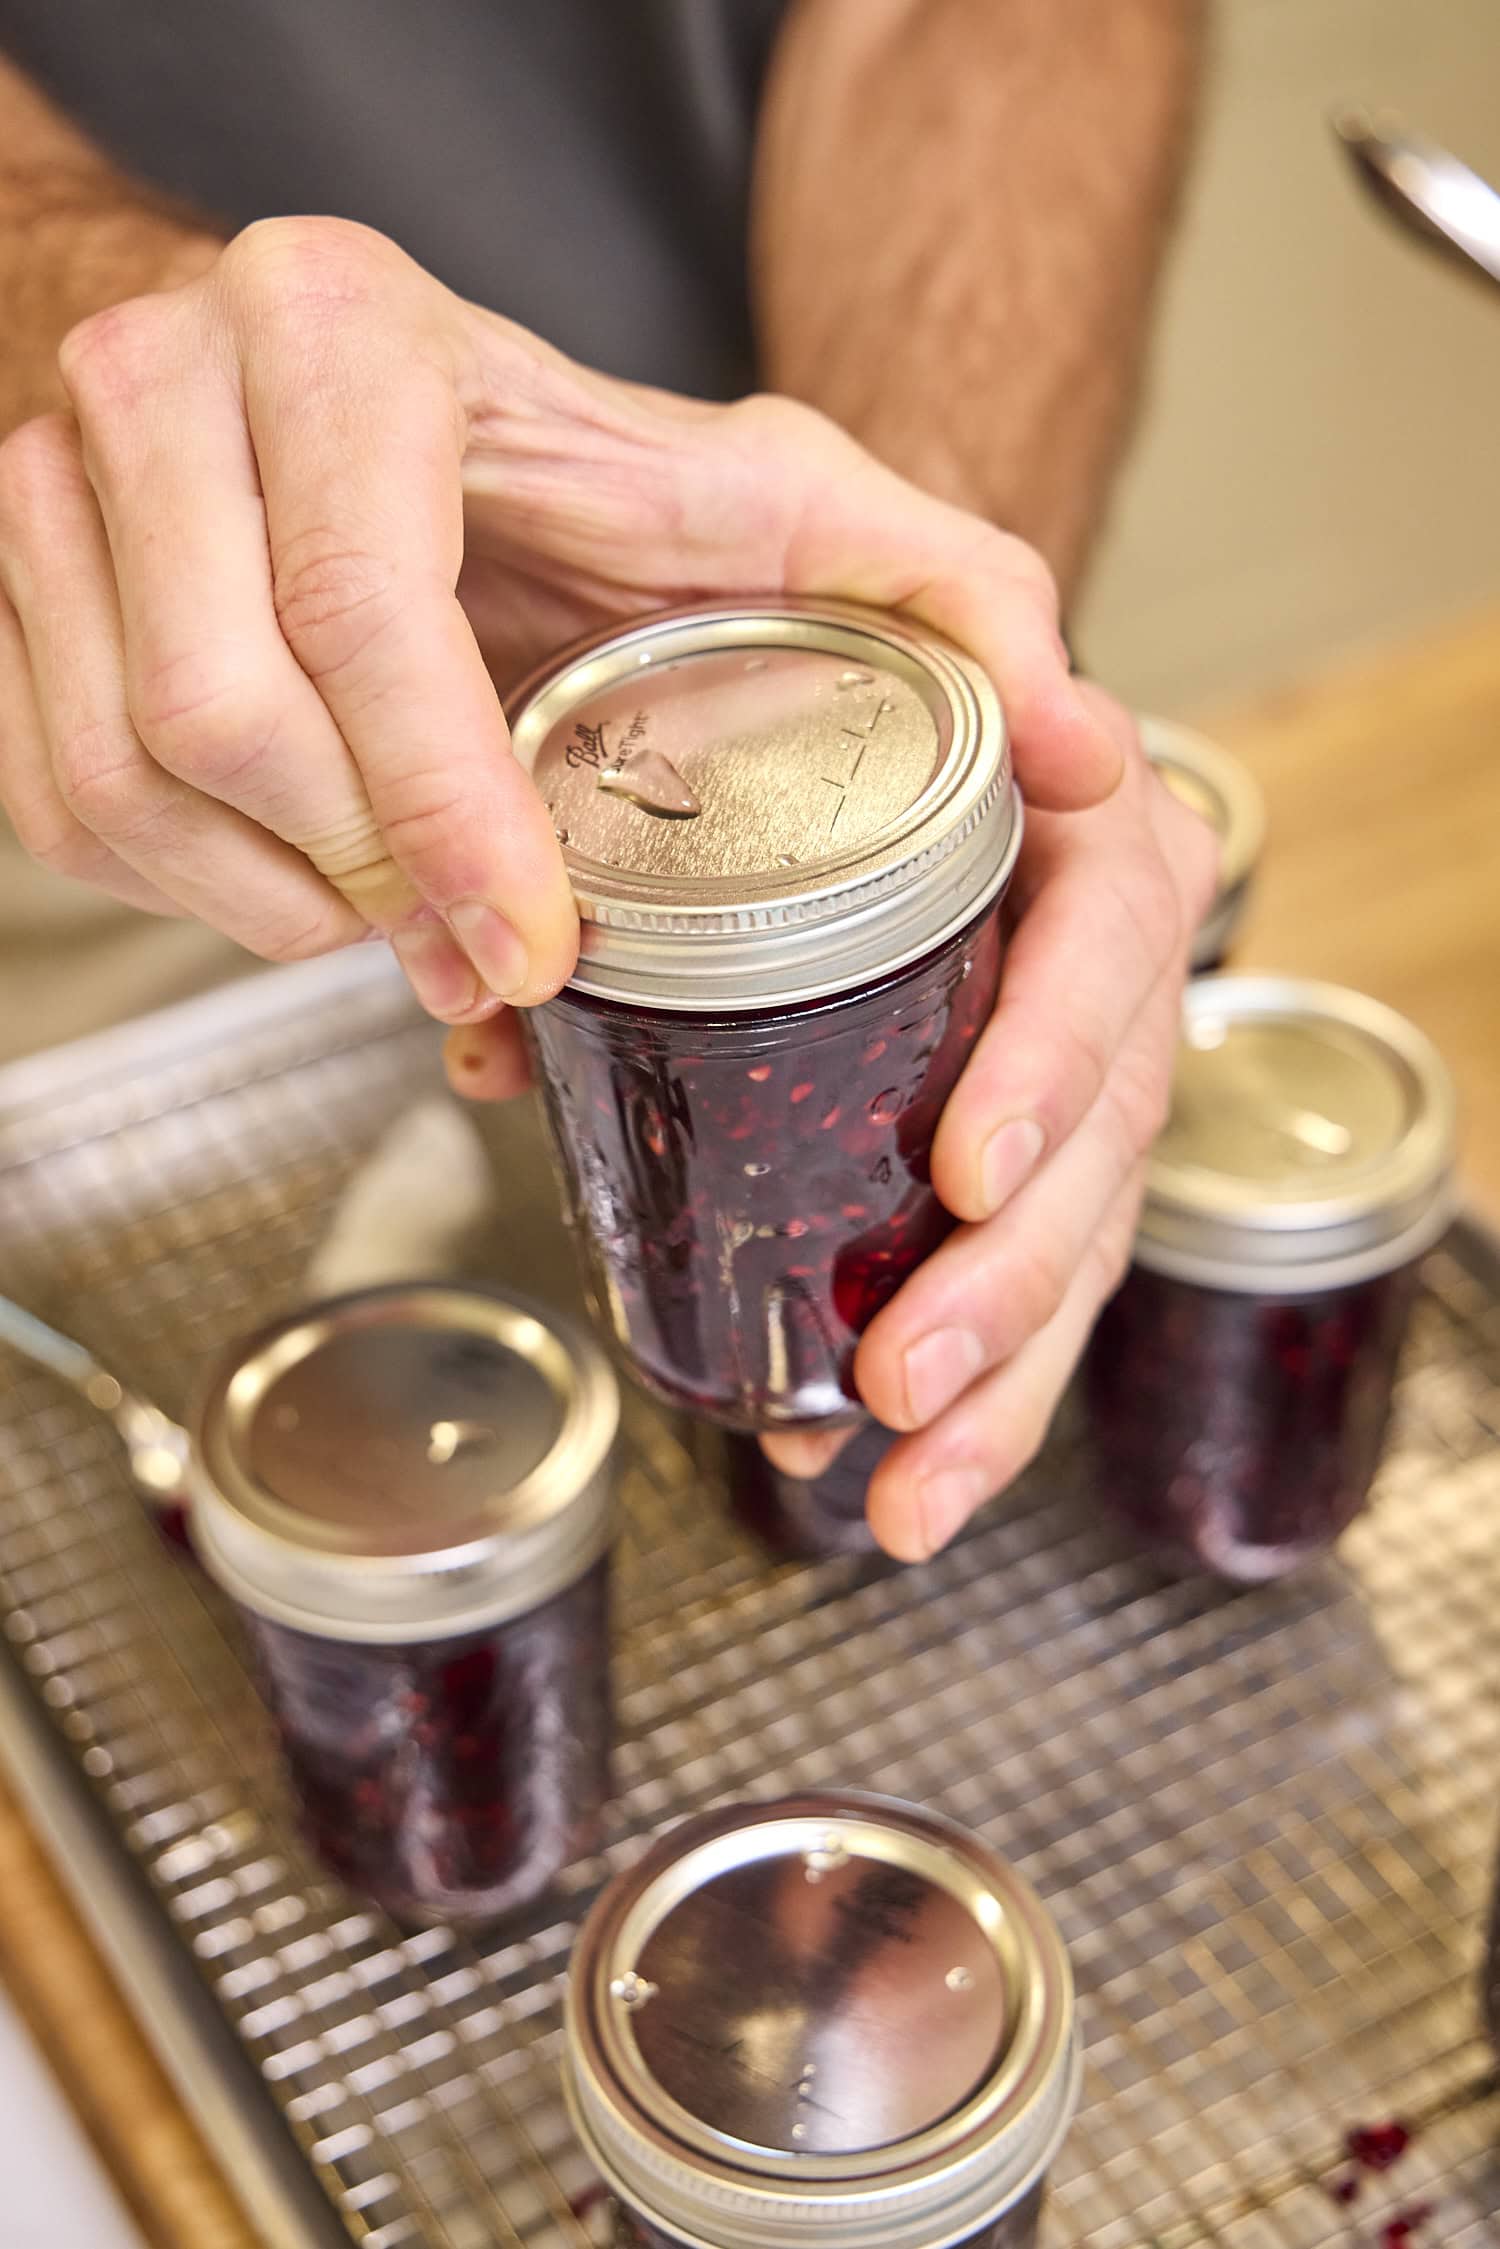
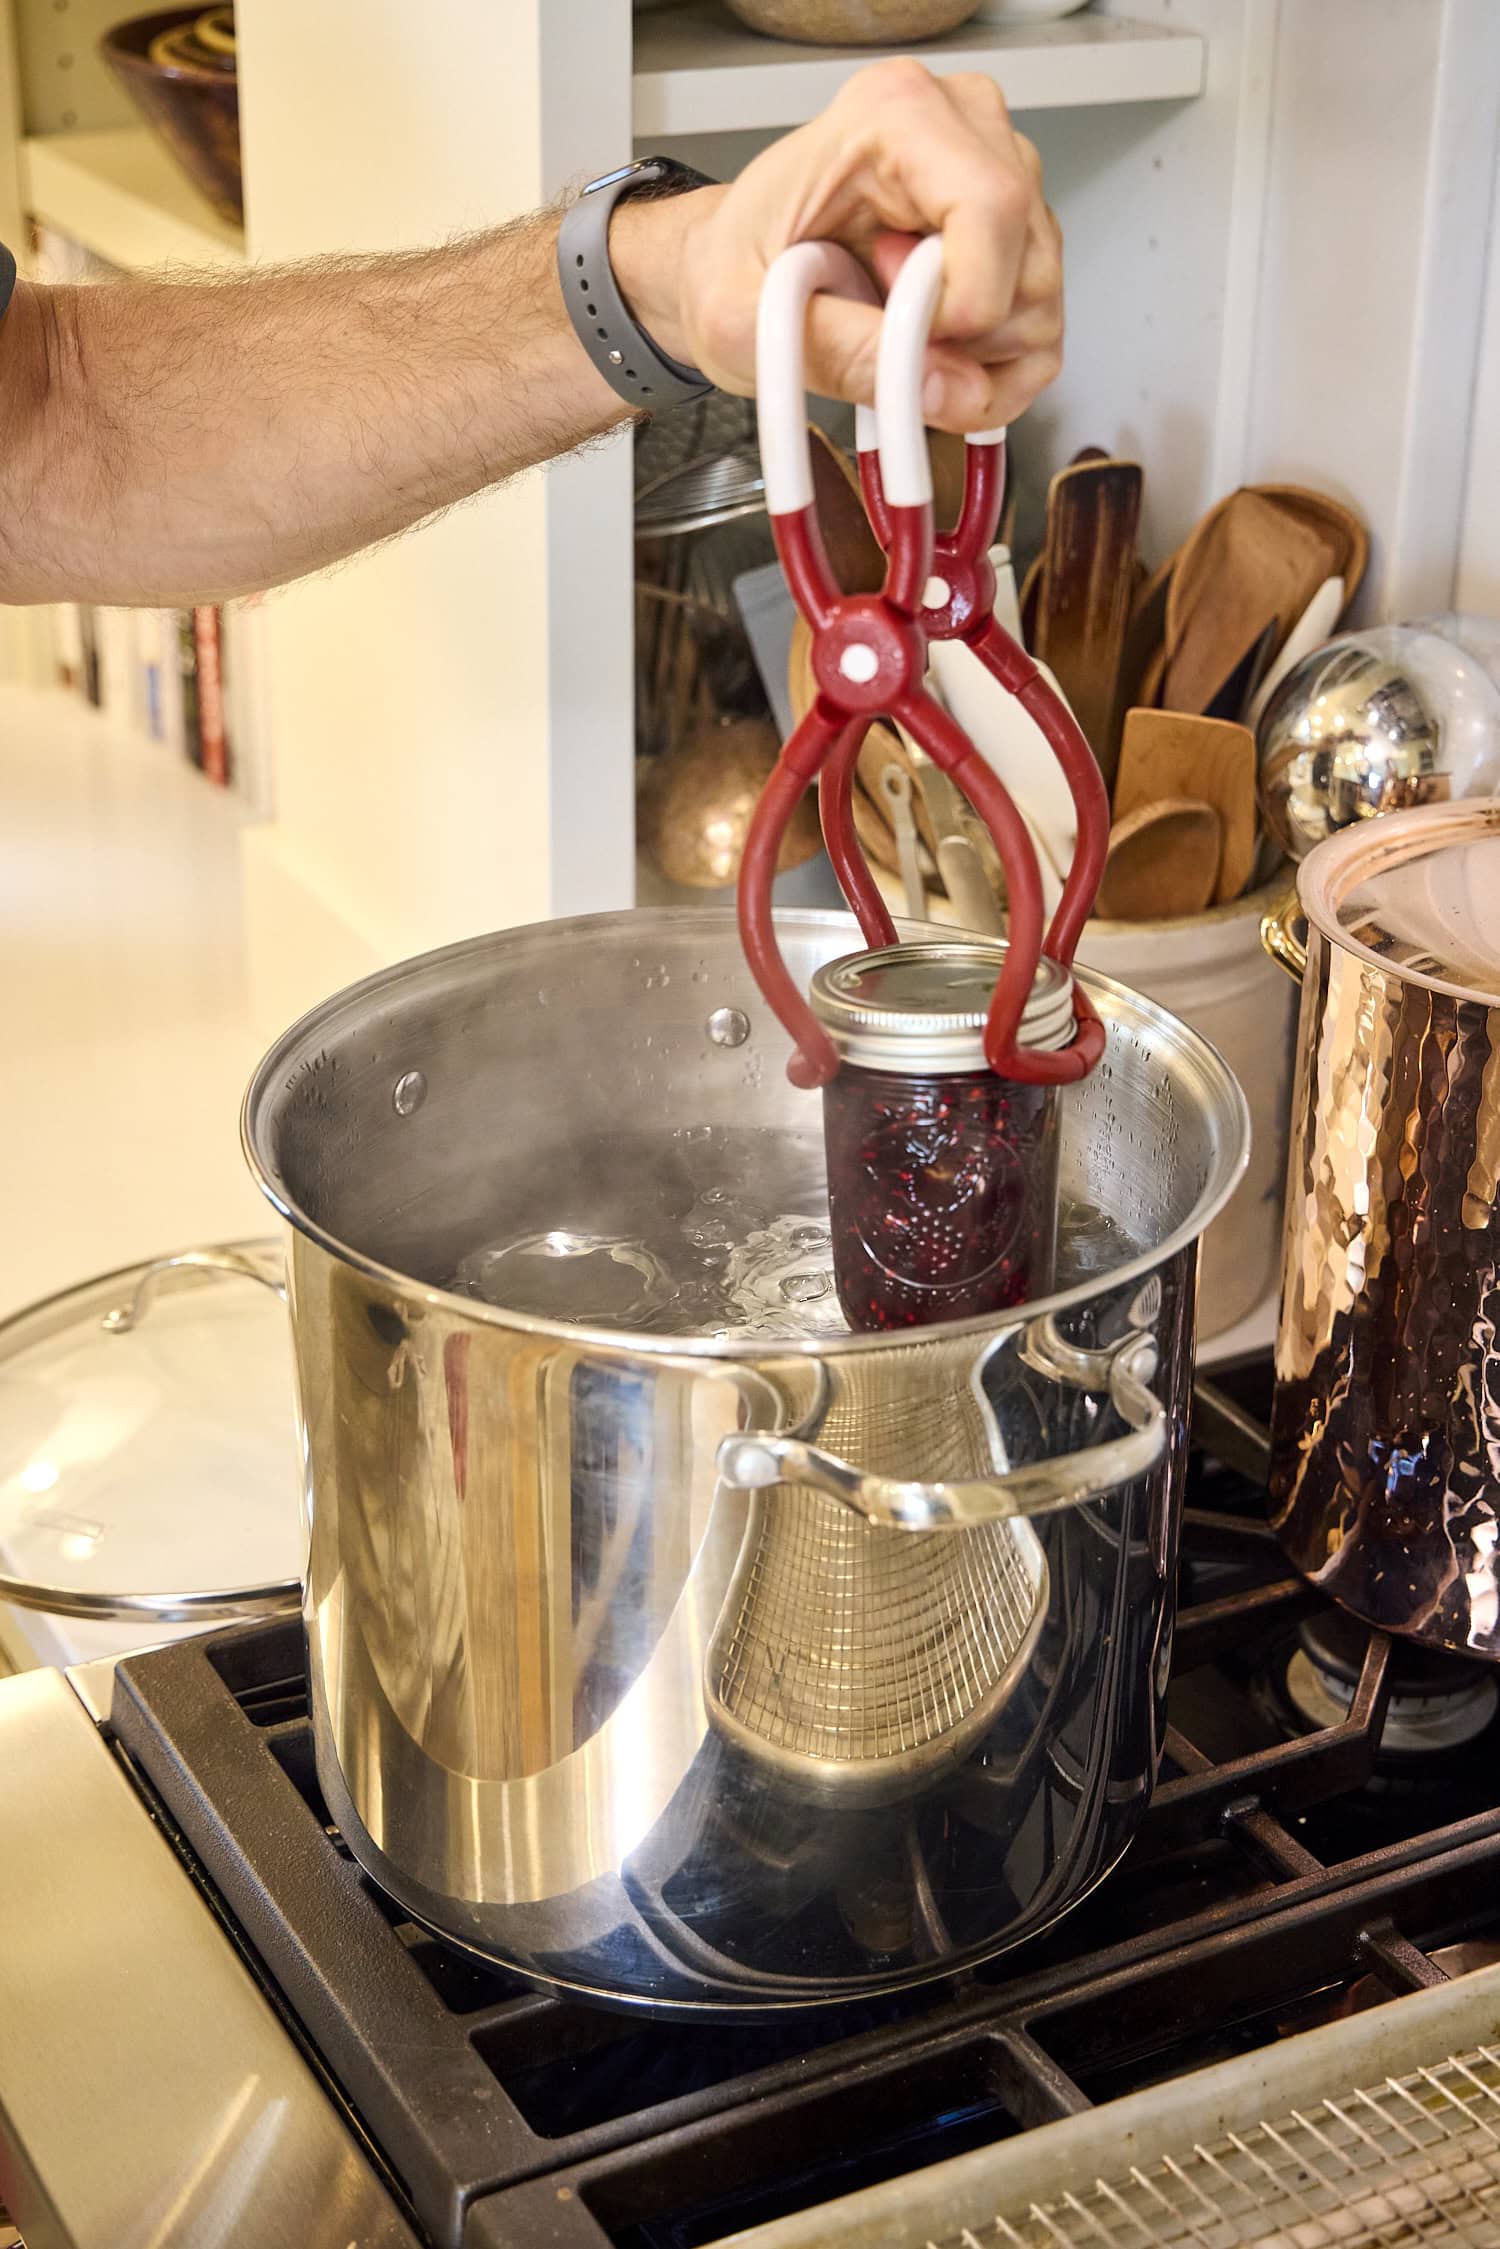
Step 3: Fill the jars – Ladle the jam into sterilized jars, leaving ¼ inch of headspace. Wipe the rims clean so nothing interferes with the seal. Add the prepared lids and rings, then tighten to fingertip tightness.
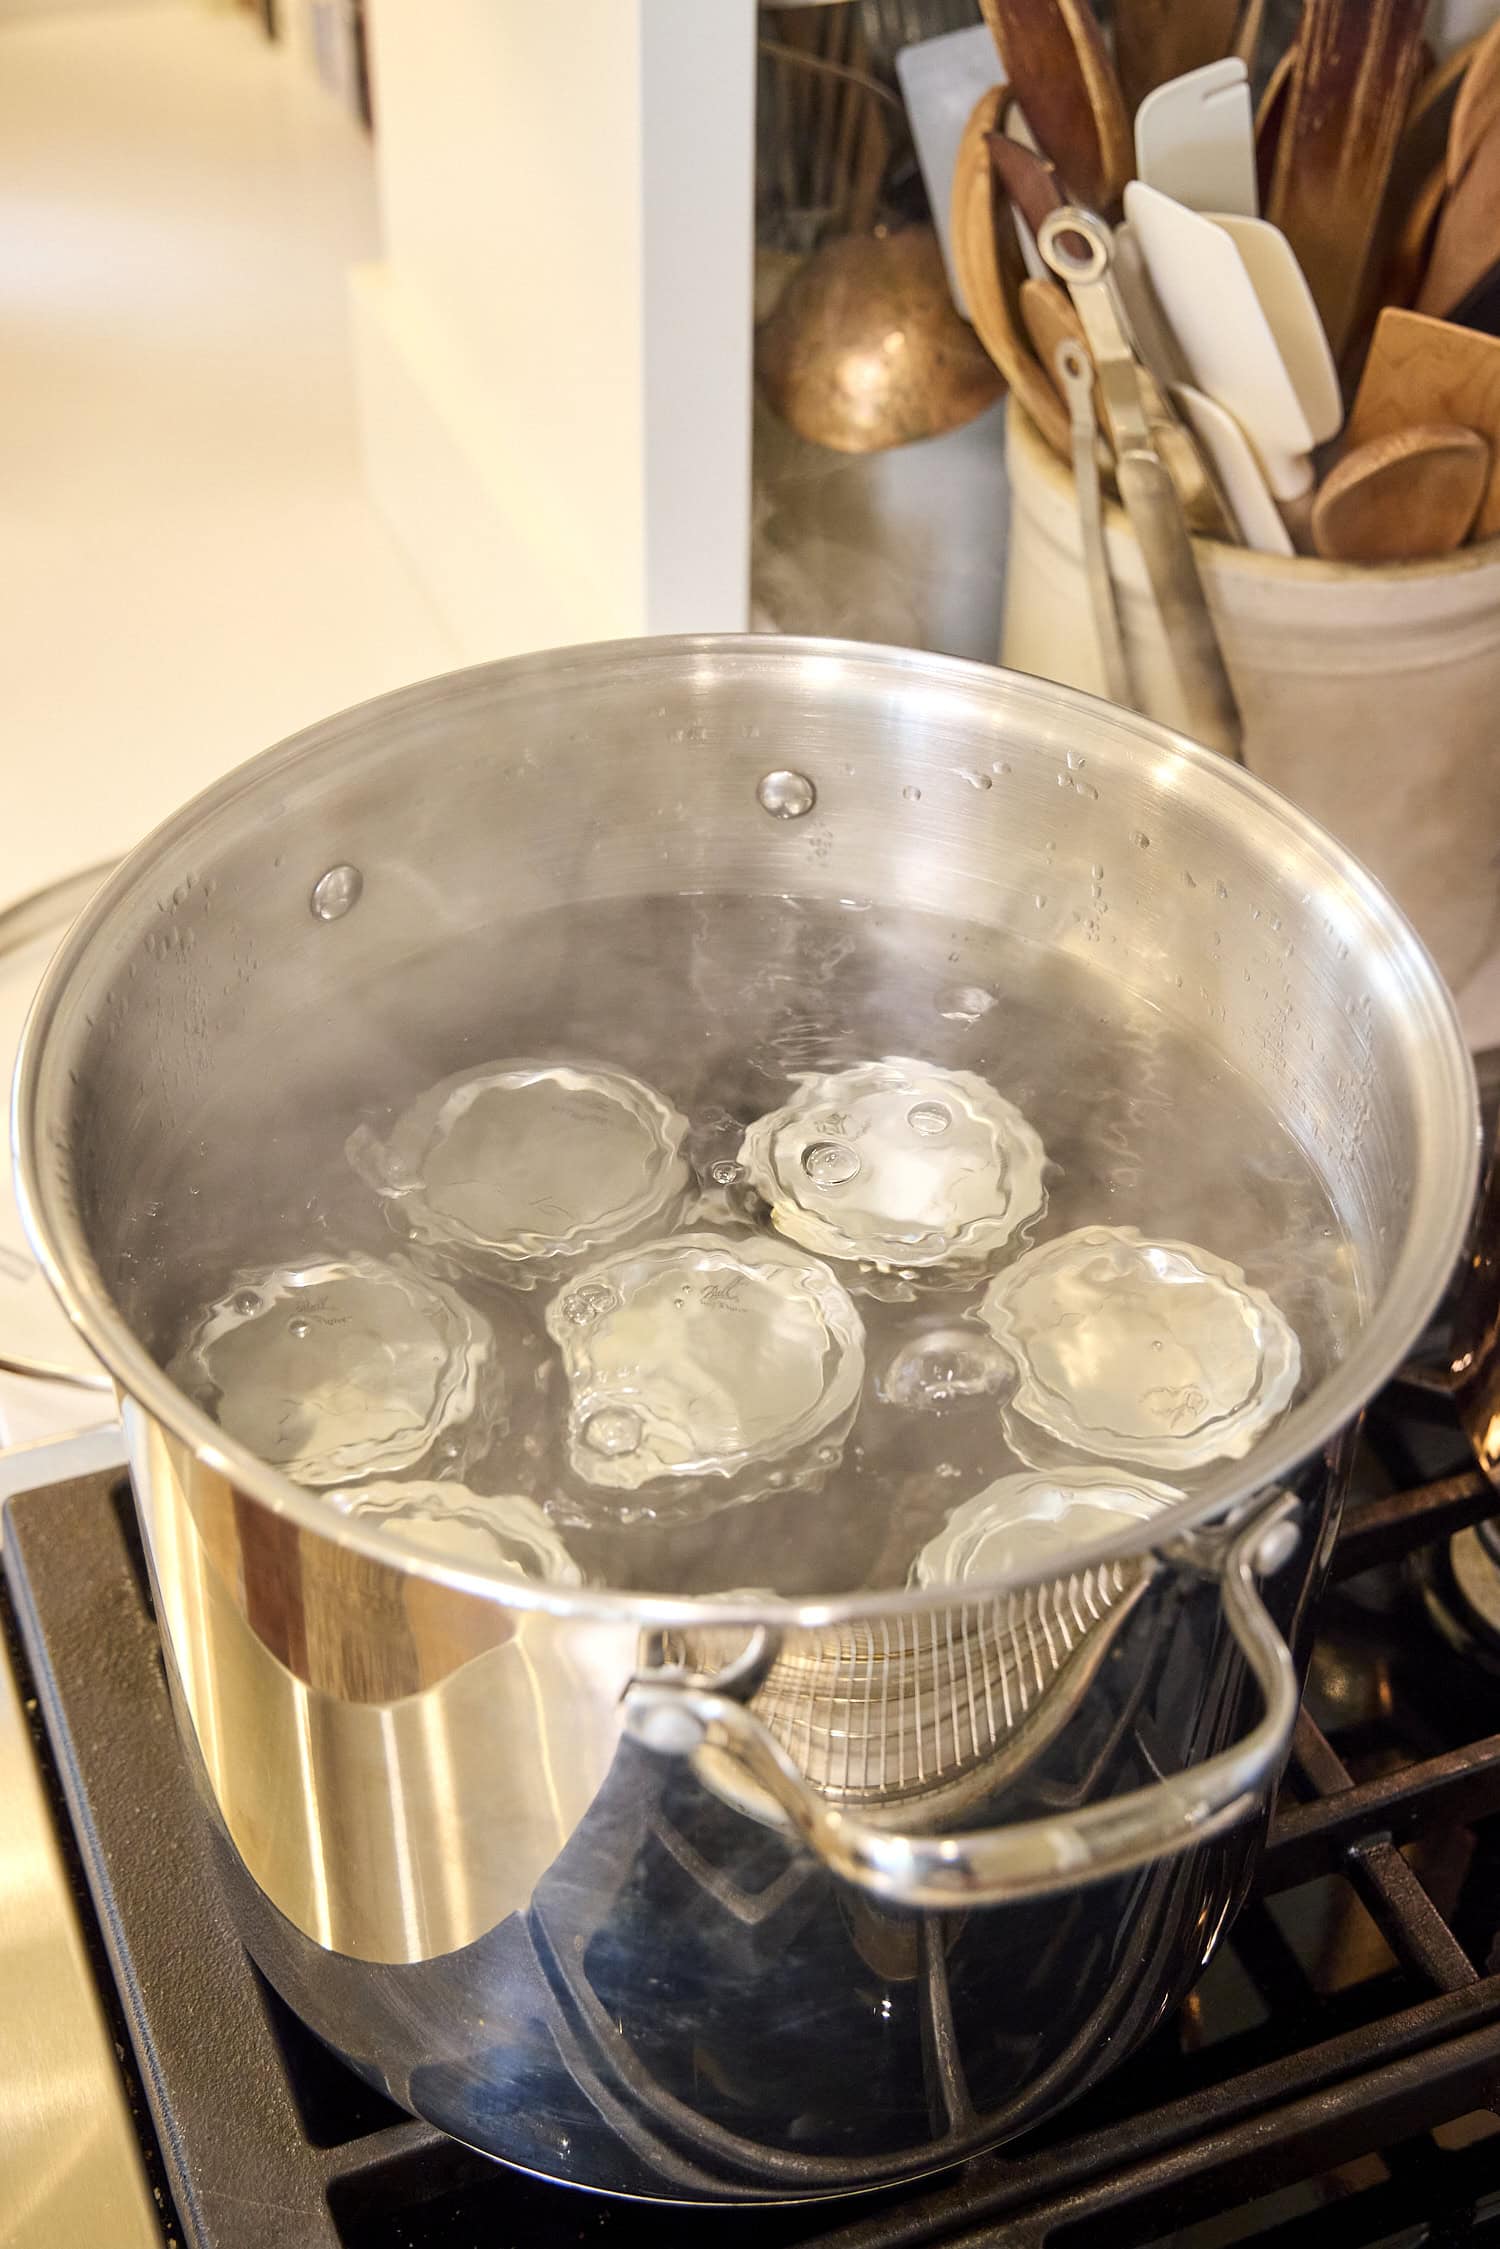
Step 4: Water bath the jars – Place the jars into a prepared water-bath canner fitted with a rack. Bring the water to a boil and process for 10 minutes. Remove the jars and place them on a cooling rack. Let them cool for 12 hours before checking the seals.
Tips and Tricks for the Perfect Blackberry Jam
- Measure the crushed berries exactly – This is one of the keys to a jam that sets properly.
- Have the sugar pre-measured – Once the mixture comes to a boil, things move quickly, so it’s good to have everything all ready to go.
- Do not skip the rolling boil – It is essential for activating the pectin and getting the right consistency.
- Skim any foam if needed – The butter helps, but you may still get a little on top. Removing the foam will create a cleaner, clearer jam.
- Wipe jar rims well – Even a small smear of jam can keep a lid from sealing correctly.
- Remove the rings before storage – This lets you confirm the jars are truly sealed and prevents a false seal.
Tips for Testing and Achieving Desired Consistency
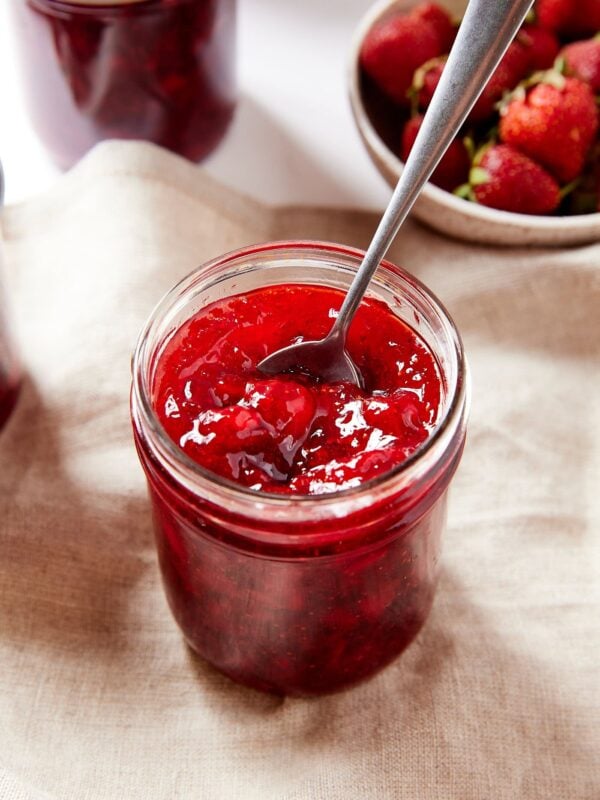
The beauty of the pectin method lies in its reliability. Unlike other jam methods that rely on a frozen plate or spoon test, like my French-style blueberry jam and strawberry jam, this recipe is designed to set based on the ingredient ratio and exact boiling time. As long as the measurements are accurate and the jam reaches a rolling boil, the texture should come out perfectly, making this jam recipe almost foolproof.
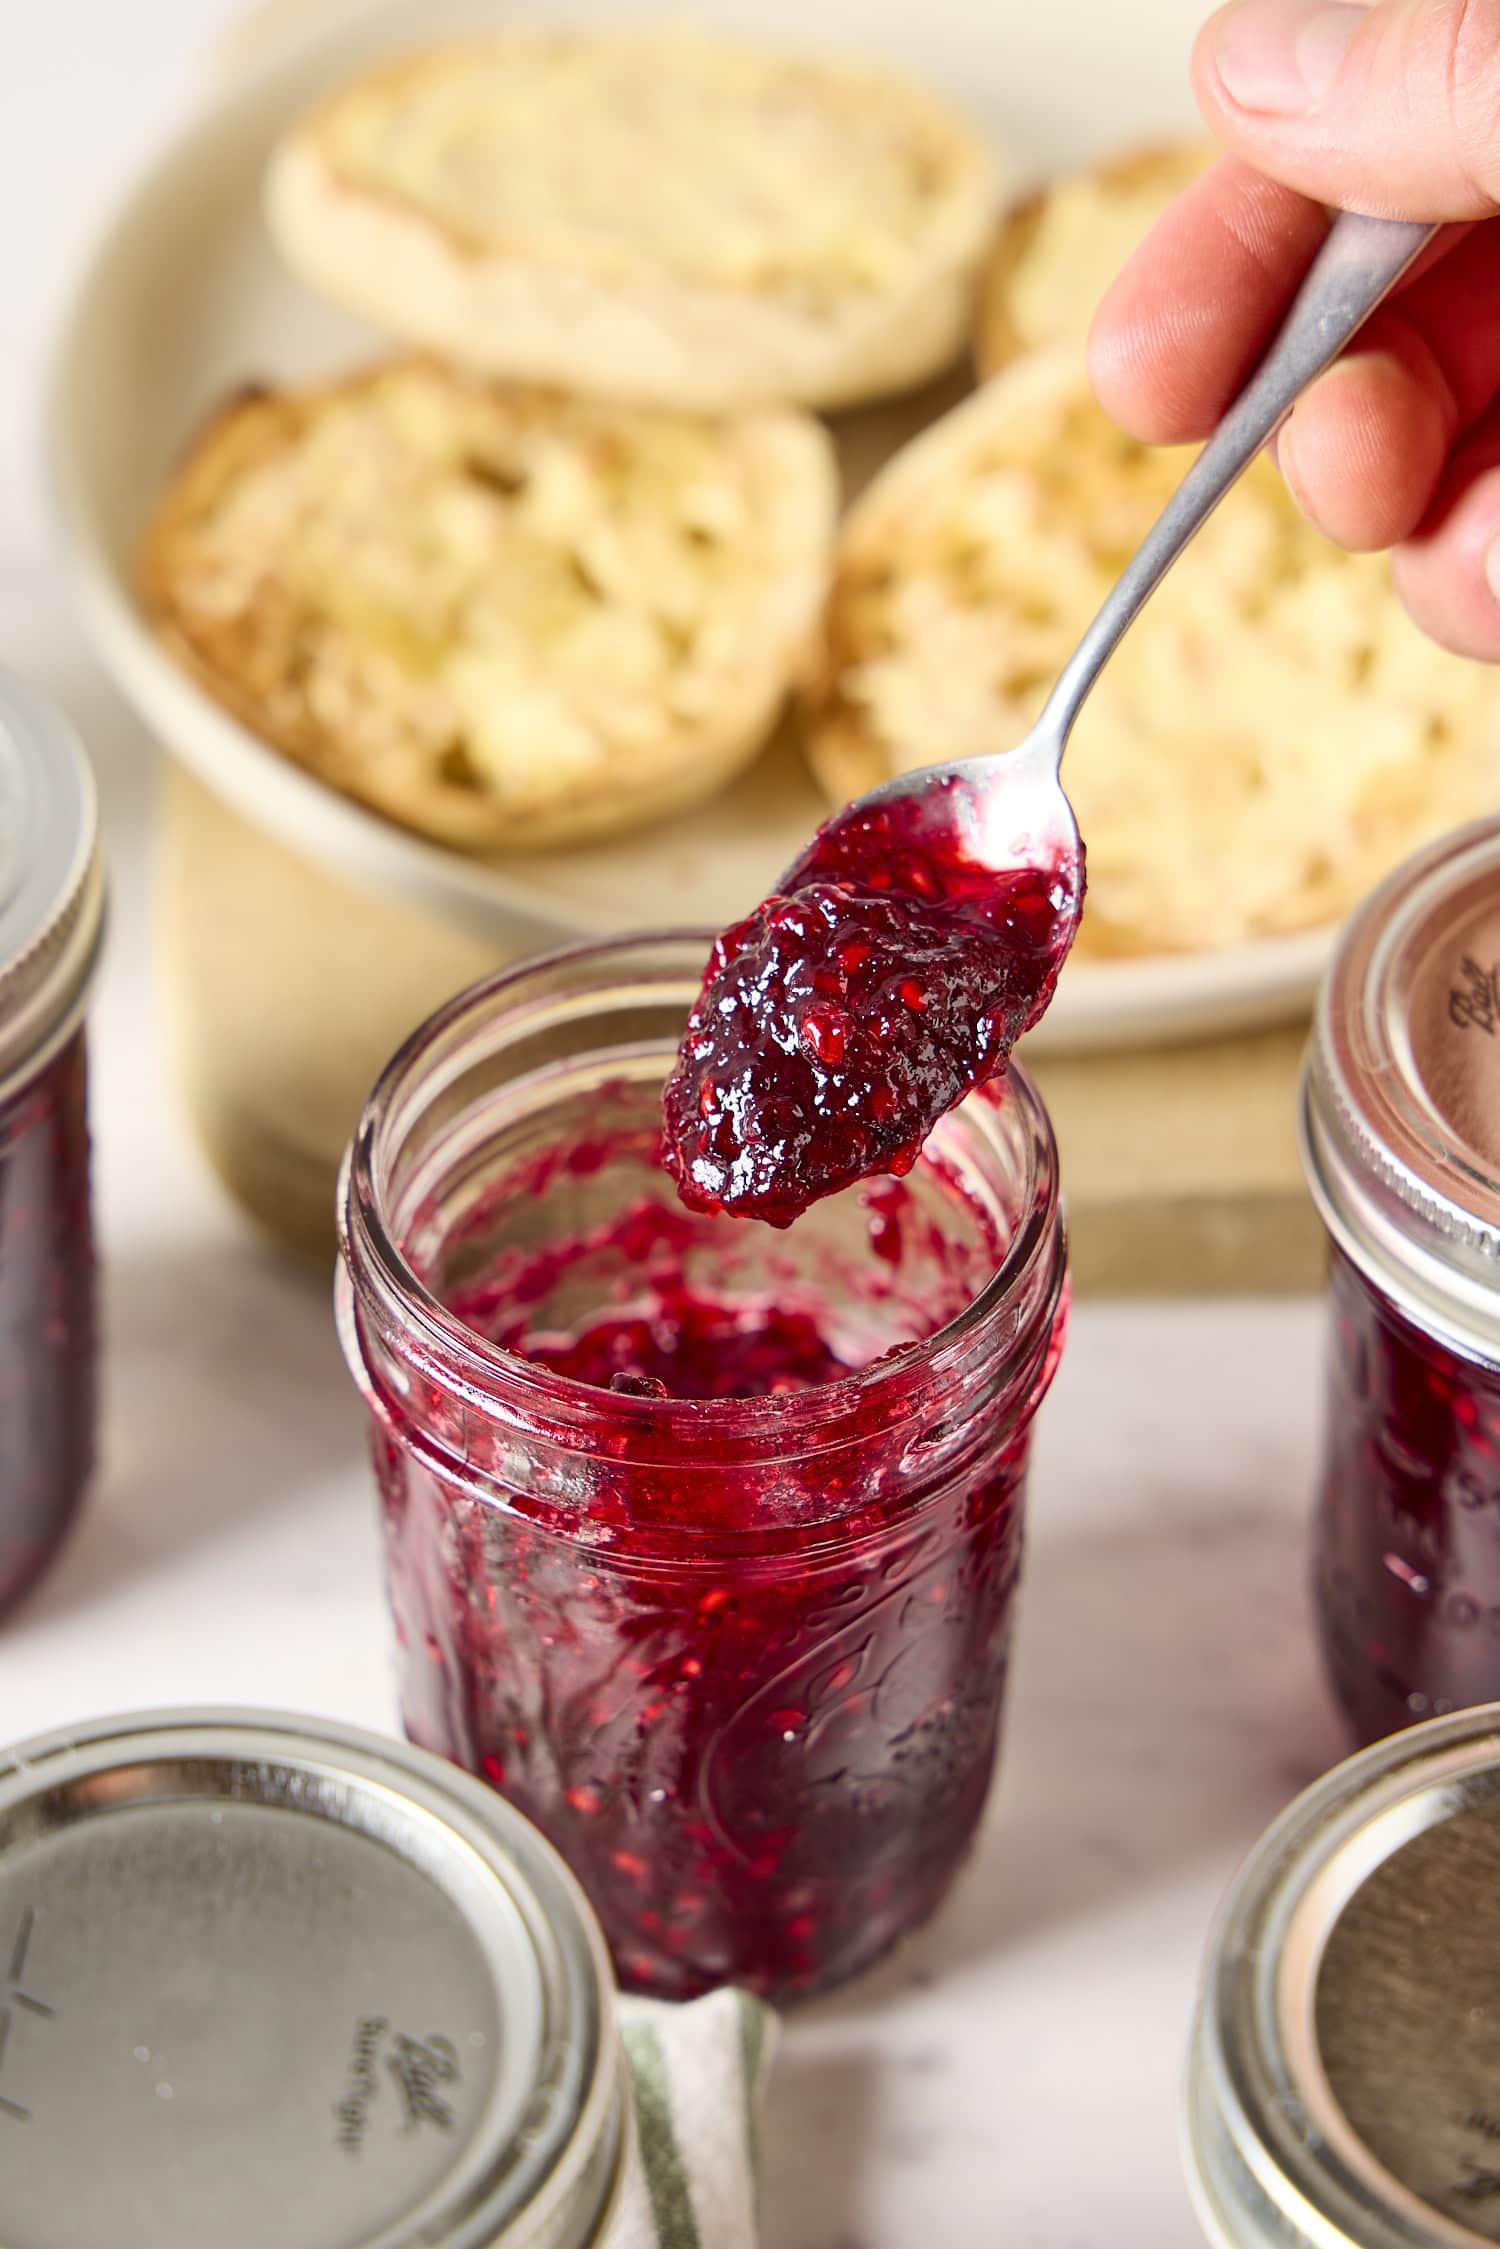
Keep in mind that hot jam will always look thinner in the stockpot than it will when it’s in the jar. Once it cools, it will thicken into a spreadable consistency. Trust the process and resist the temptation to overcook it.
Follow These Tips
Proper Preparation & Storage
Canning method – After the jars are processed, let them cool for 12 hours, then check the seals. The center of each lid should be depressed and should not flex when pressed. Remove the rings before storing the jars. Once sealed, store the jam in a cool, dark place for up to 1 year. If any jar does not seal, place it in the refrigerator and use it first.
Refrigerator method – If you prefer not to process this jam in a water bath (so it is shelf-stable), it can be stored in the refrigerator instead. This recipe makes about 8 jars, which is a pretty large amount to keep in the fridge. When kept cold, the jam should last for 3-4 weeks.
Freezer method – This jam can also be frozen in freezer-safe containers. Store it in the freezer for 3-4 months. Thaw in the refrigerator, then use within 3-4 weeks.
How to Use Blackberry Jam
The ways to use this jam are endless, but here are a few suggestions:
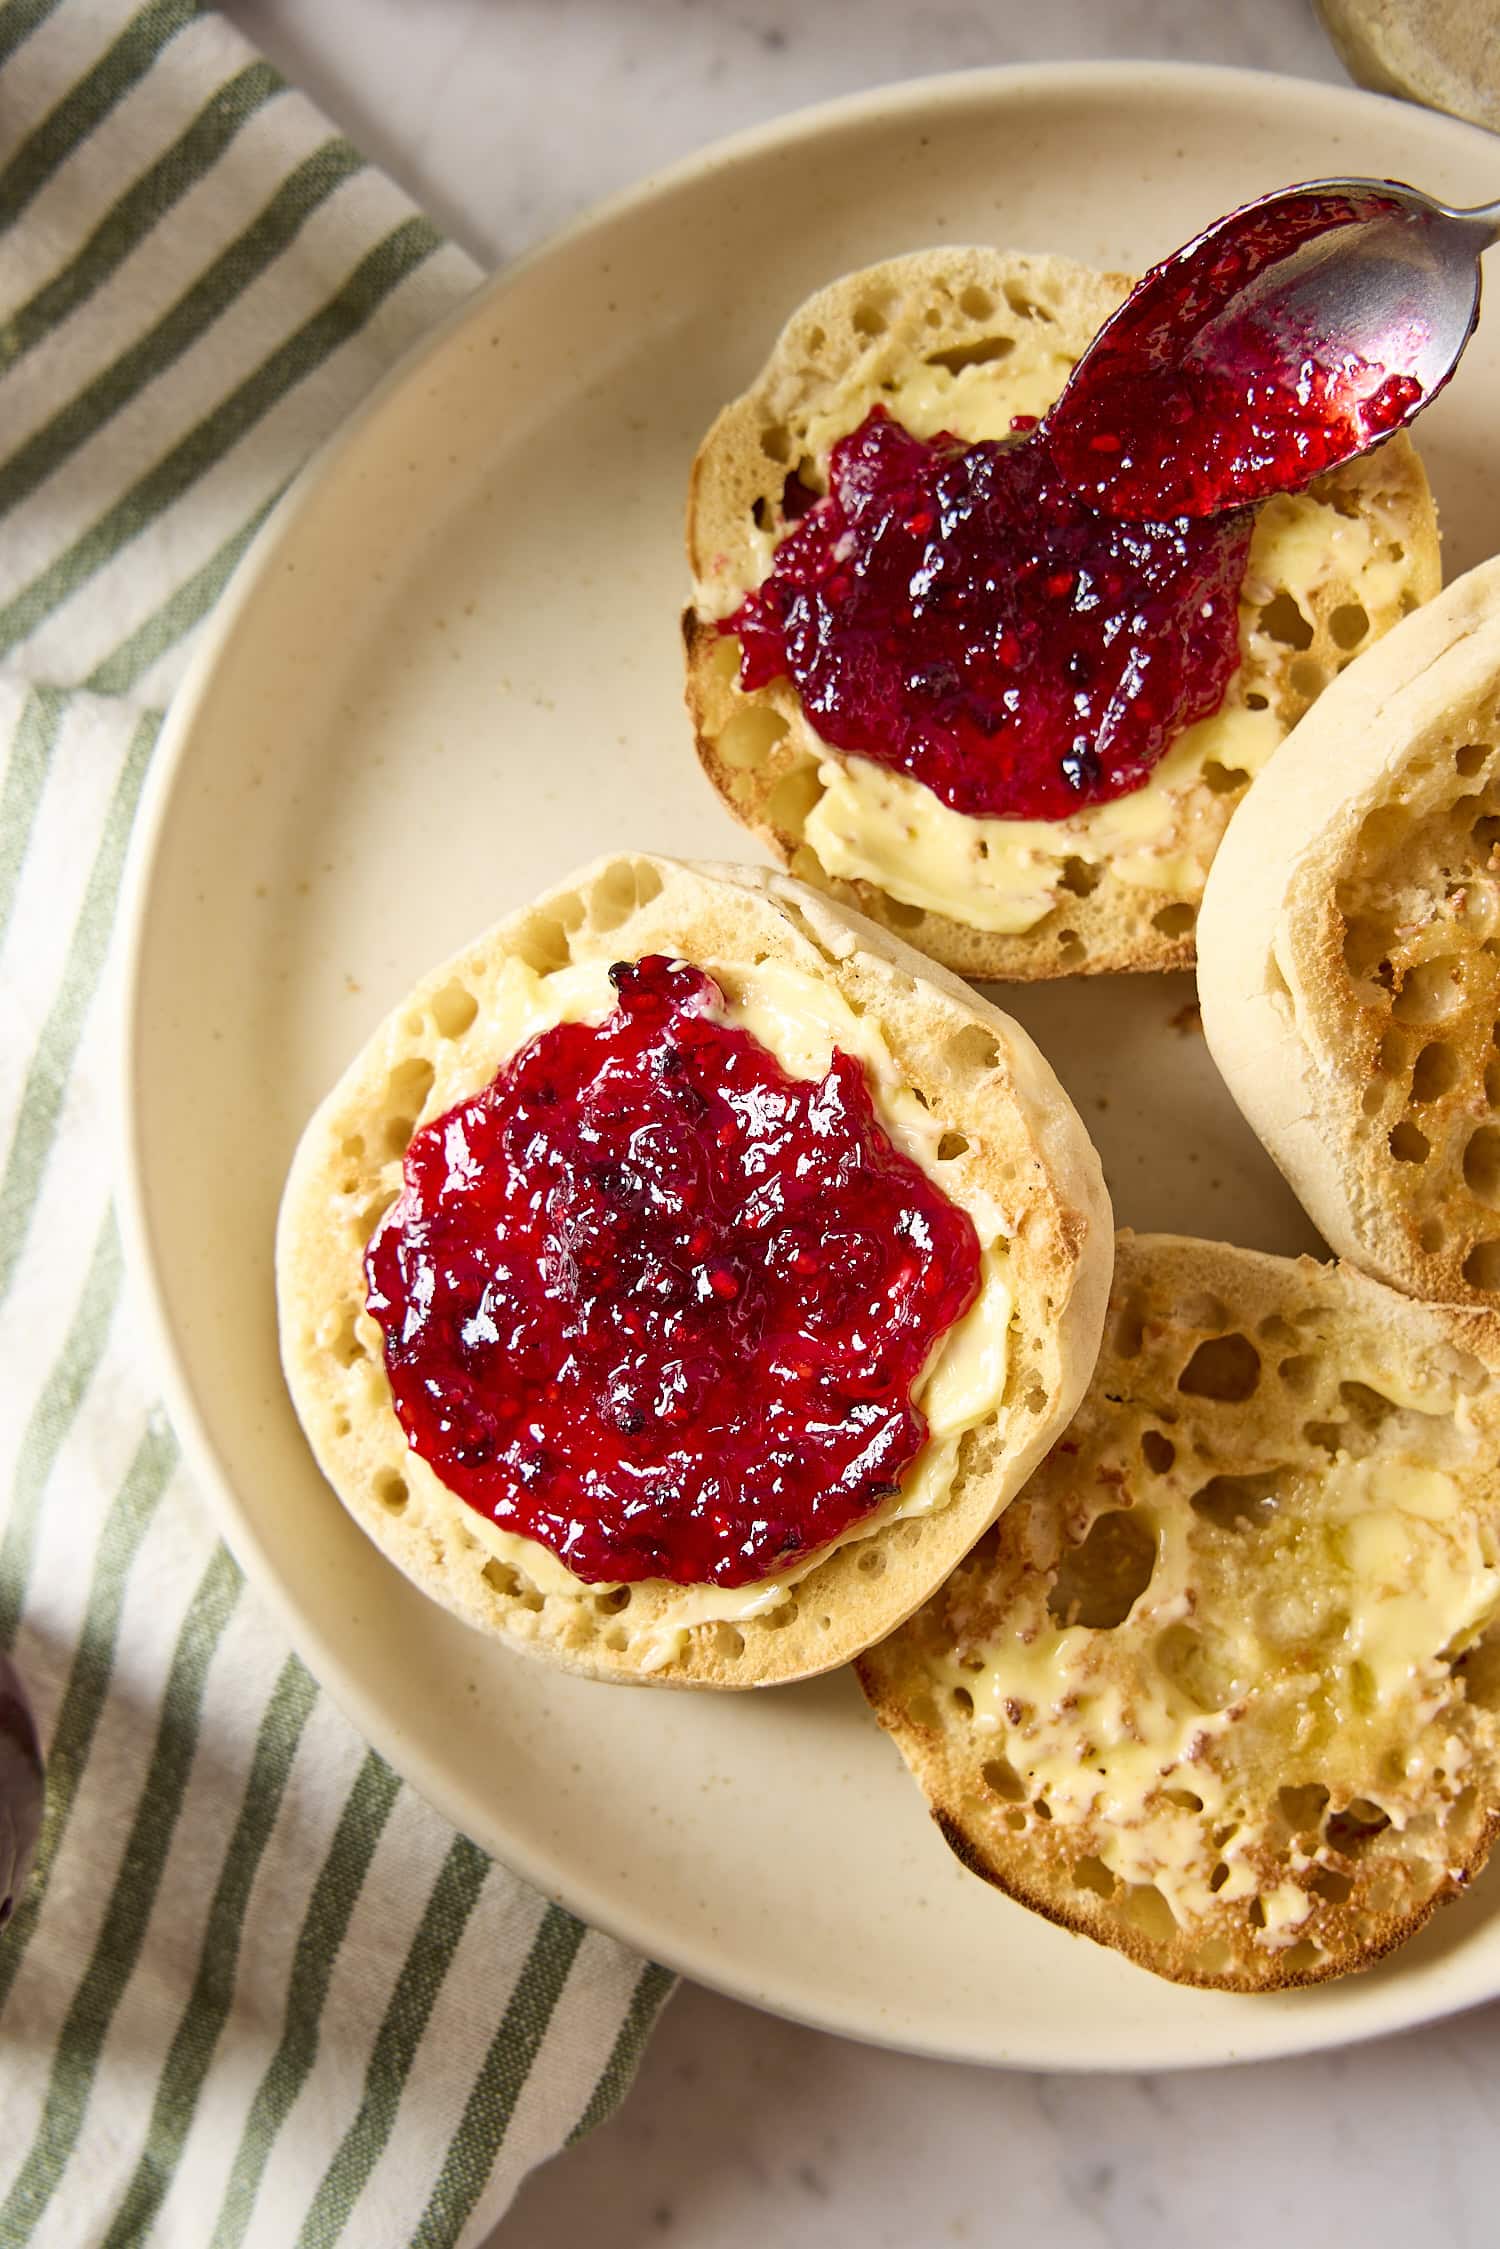
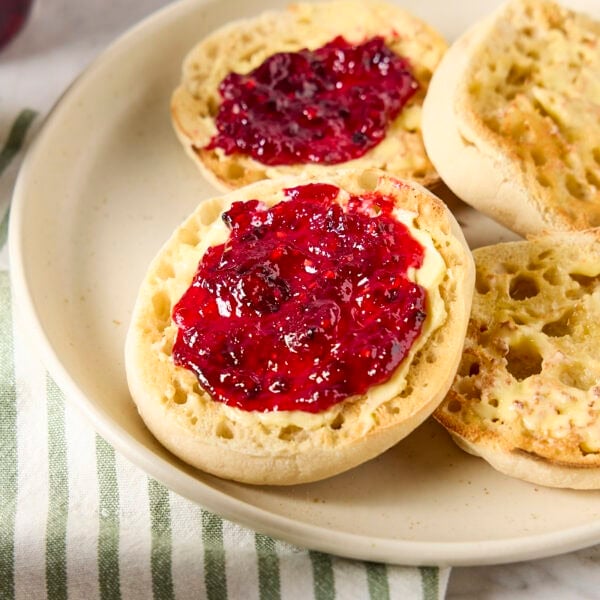
- Spread it on toast, biscuits, or English muffins.
- Add it to yogurt or oatmeal with a little granola.
- Spoon it over vanilla ice cream for an easy summer dessert.
- Serve it with pancakes or waffles instead of the traditional maple syrup.
- Pair it with a cheese board, especially with goat cheese or brie.
Frequently Asked Questions
Yes. Frozen blackberries work well here. Thaw them enough to crush and measure accurately.
No. This recipe is written as a traditional blackberry jam with the seeds left in for texture. If you prefer seedless jam, the fruit would need to be strained.
When stored in a cool, dark place, the shelf-stable canned jam should last for about 1 year.
No, there are no deviations you can make to the amount of sugar. You need to use the amount of sugar specified in the recipe due to how the fruit, sugar, and pectin work together. If you want to minimize the amount of sugar in the recipe, look for the low-sugar pectin.
No, this jam can be frozen or refrigerated. It can last for about 3-4 months in the freezer and 3-4 weeks in the fridge.
This can happen to even the most experienced canner. Simply put that jar in the fridge and enjoy it immediately. Alternatively, you can put it in a freezer-safe container and keep it in the freezer for a few months.
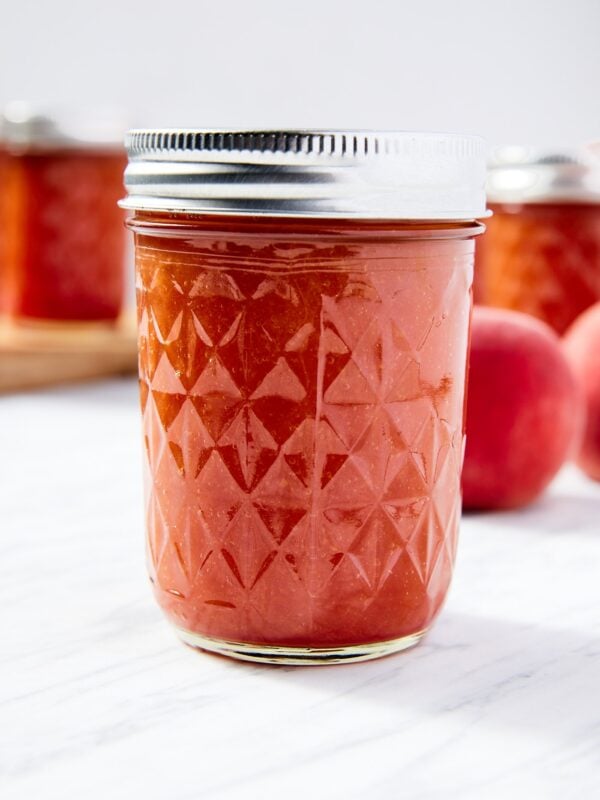
The answer is complicated. Each jam recipe has some variables due to the nuances of each type of fruit, but they’ll all be similar. For example, my recipes for strawberry, blueberry, and peach jam made with pectin are very similar, but it’s best to follow a specific recipe for each fruit to achieve the best results.
More Jam Recipes
- Canned French-style blueberry jam
- Strawberry jam (pectin method)
- Canned rhubarb jam
- Canned French-style cherry jam
- Peach jam (pectin method)
- Canned orange and rhubarb jam
- If you’re interested in canning, make sure to check out my preserving guide.
Have I Convinced You to Make This Recipe?
I hope you make this recipe and put some food on your table. Leave a comment and share a star rating so you can let others know how much you love this recipe. This helps show others that this is a recipe they, too, can make, enjoy, and love!
Blackberry Jam (Pectin Method)
Ingredients
- 8 cups blackberries
- 4 ½ cups granulated sugar separated
- 1 box (1.75 oz) Sure-Jell less sugar pectin (see notes)
- ½ tsp unsalted butter
- 1 tbsp fresh lemon juice
Instructions
- Prepare the blackberries: Crush the blackberries with a masher until they are mostly broken down. Measure out exactly 5 cups of the crushed fruit. In a small bowl, combine ¼ cup of sugar and the Sure-Jell.8 cups blackberries, 4 ½ cups granulated sugar, 1 box (1.75 oz) Sure-Jell less sugar pectin (see notes)
- Cook the blackberries: In a heavy-bottomed kettle, add the 5 cups crushed blackberries, Sure-Jell and sugar mixture, butter, and lemon juice. Heat the mixture while stirring to combine. Allow the mixture to come to a rolling boil, which is a boil that does not cease when stirring, 8-12 minutes. When the mixture is at a rolling boil, add the remaining 4 ¼ cups of sugar. Allow the mixture to return to a rolling boil and boil for exactly 1 minute. Then, remove from the heat.4 ½ cups granulated sugar, ½ tsp unsalted butter, 1 tbsp fresh lemon juice
- Fill the jars: Ladle the jam into sterilized jars, leaving ¼ inch of headspace. Clean the rim of each jar to ensure none of the jam interferes with the jar's sealing. Place a prepared lid and ring on each jar. Tighten to finger-tip tightness.
- Water bath the jars: Lower the jars into a prepared water bath canner fitted with a rack. Bring to a boil and boil for 10 minutes. Then, remove the jars from the canner and set them on a cooling rack. The jars should seal quickly. Allow to cool for 12 hours before checking the seals.
Notes
Nutrition
Nutrition information is automatically calculated, so should only be used as an approximation.

Did you make this? Leave a comment below!