
This post may contain affiliate links. If you make a purchase through links on our site, we may earn a commission. Please read our disclosure policy.

Why I Love To Make French Bread
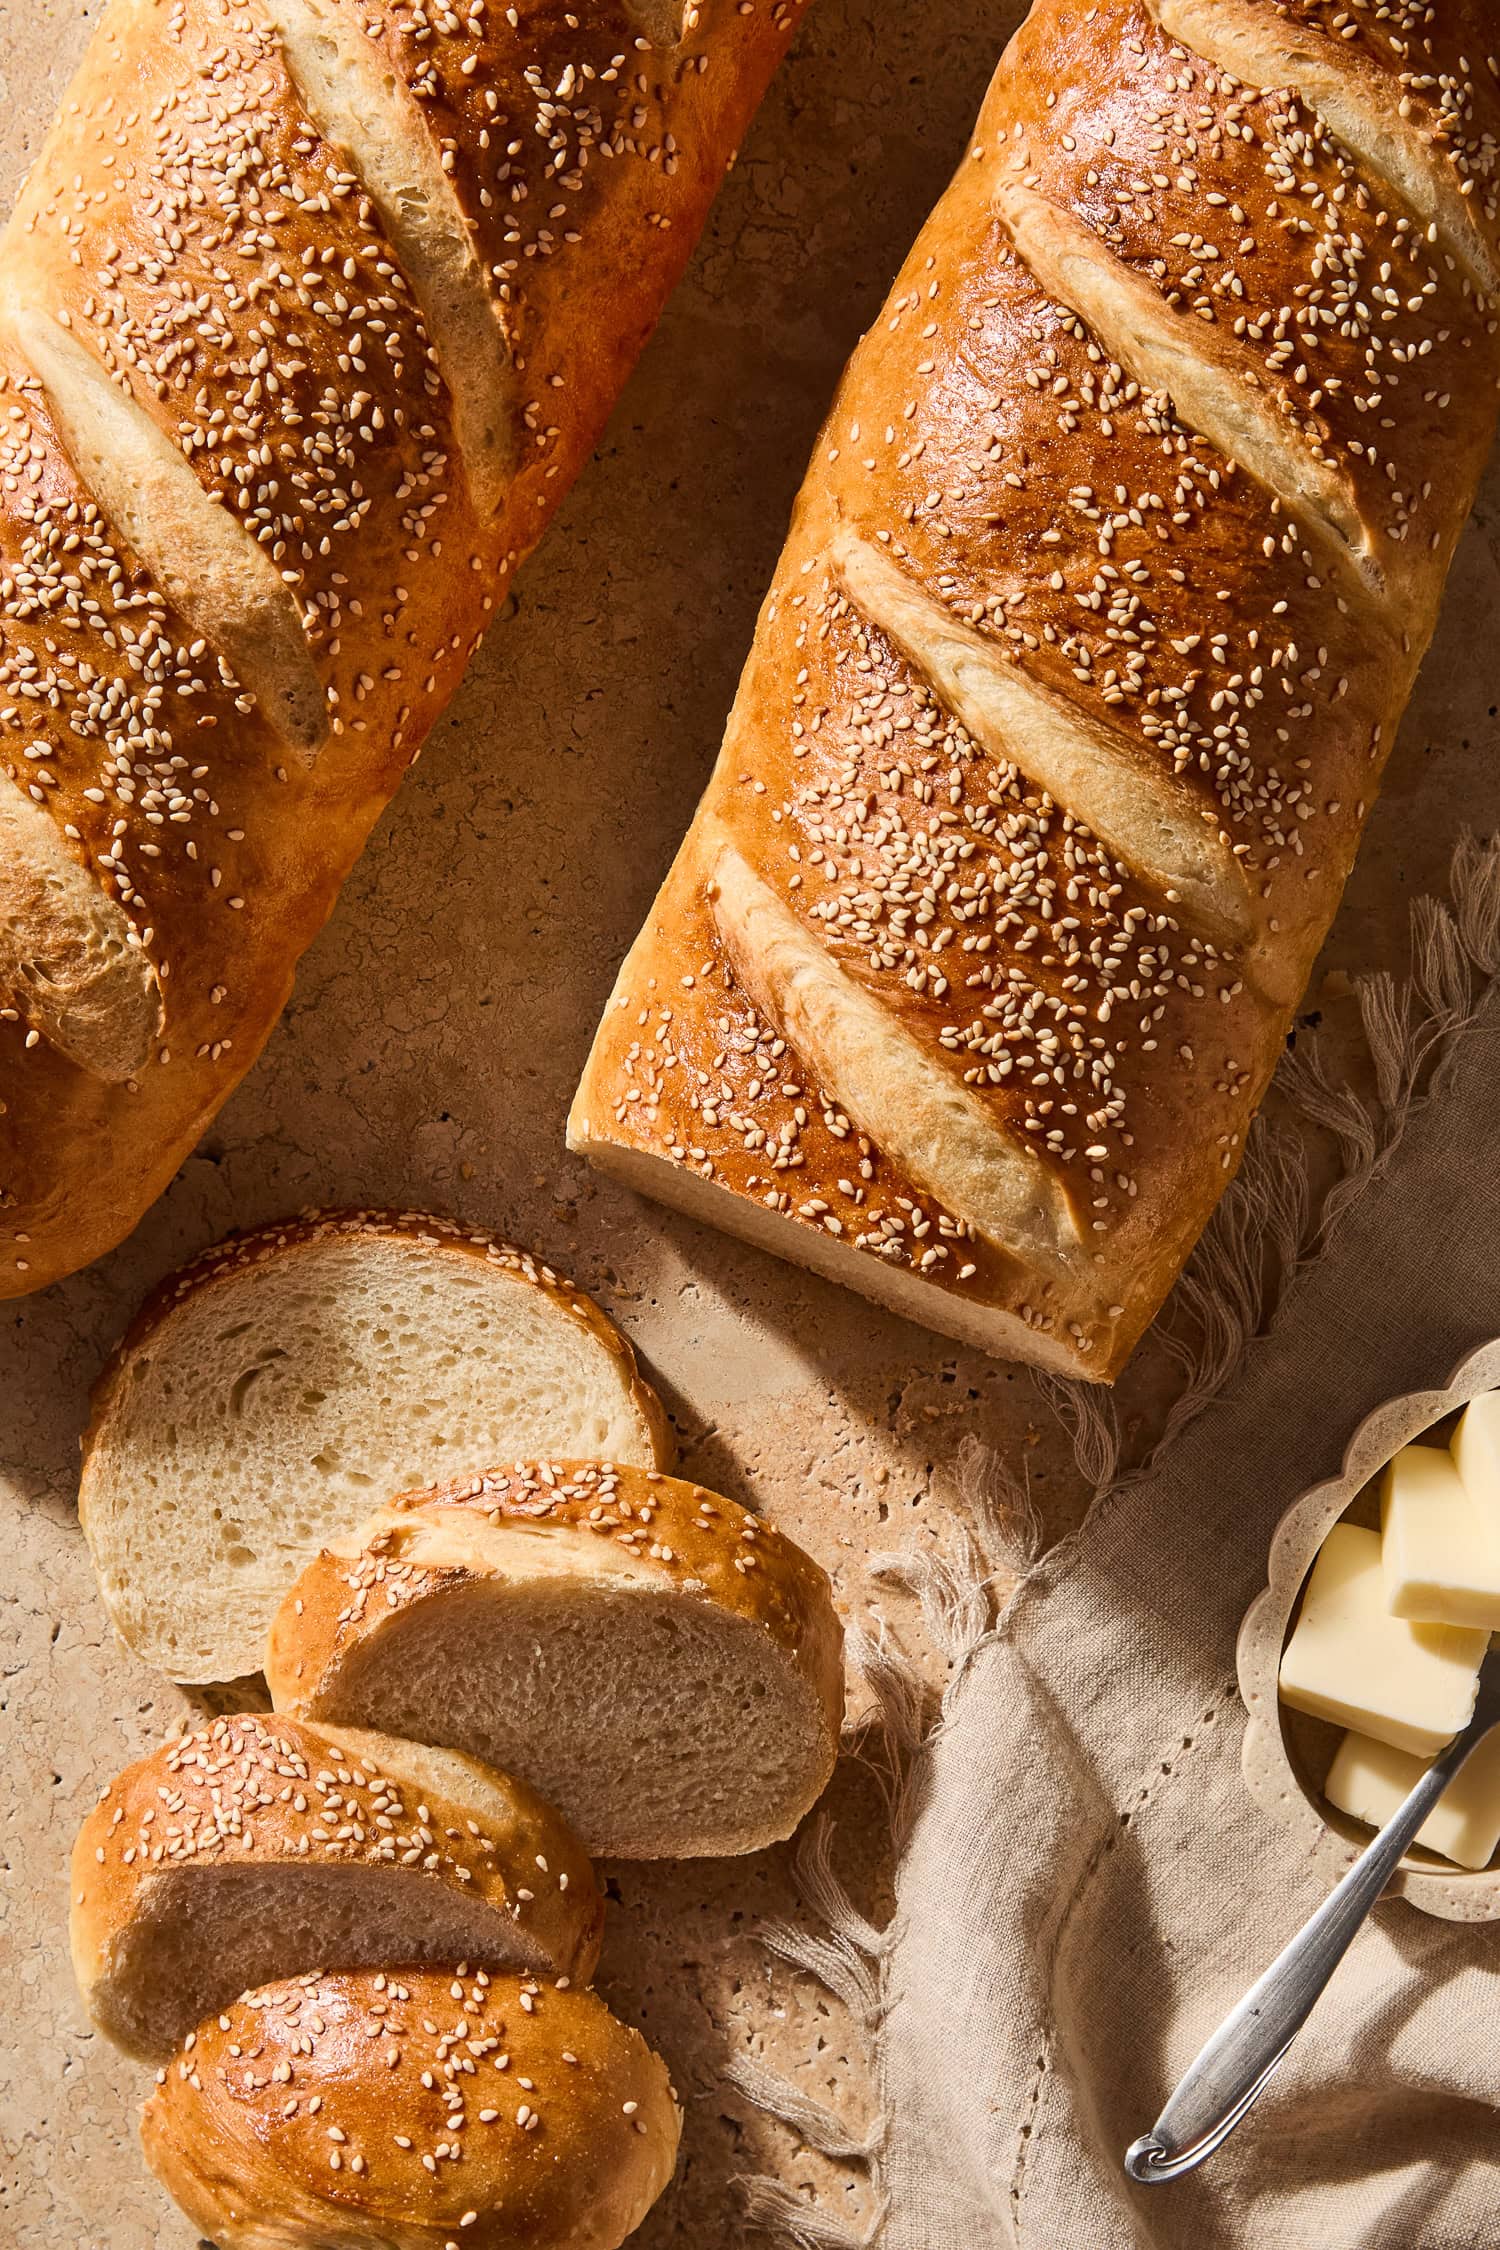
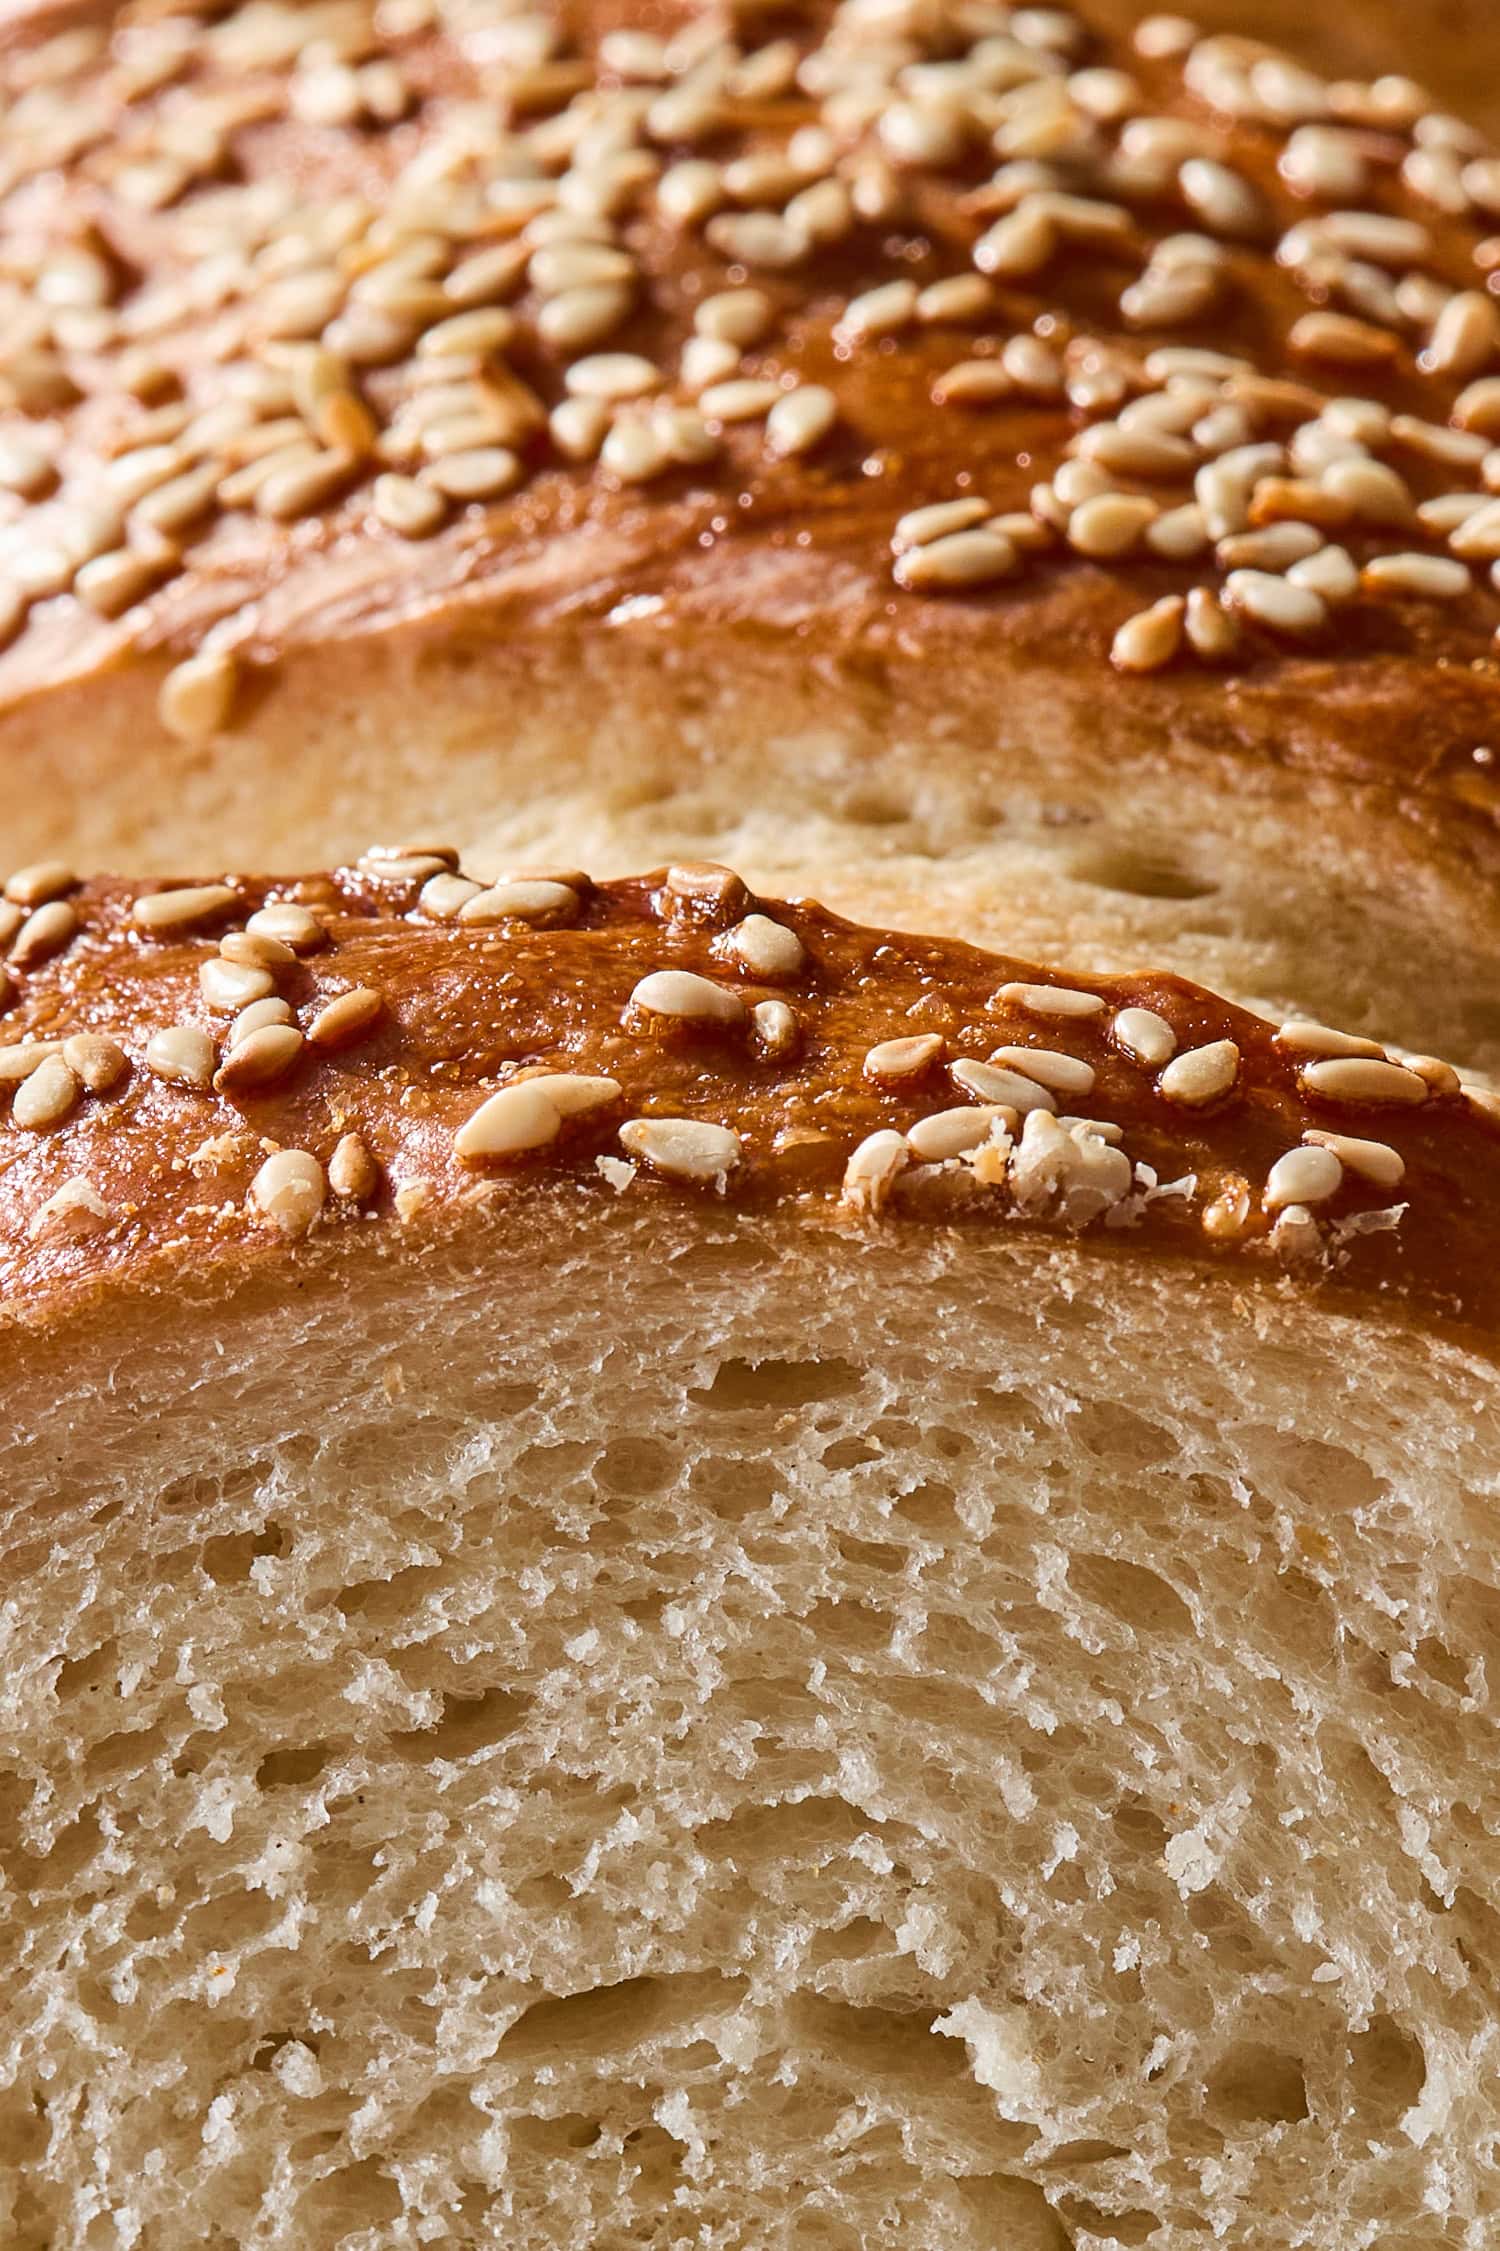
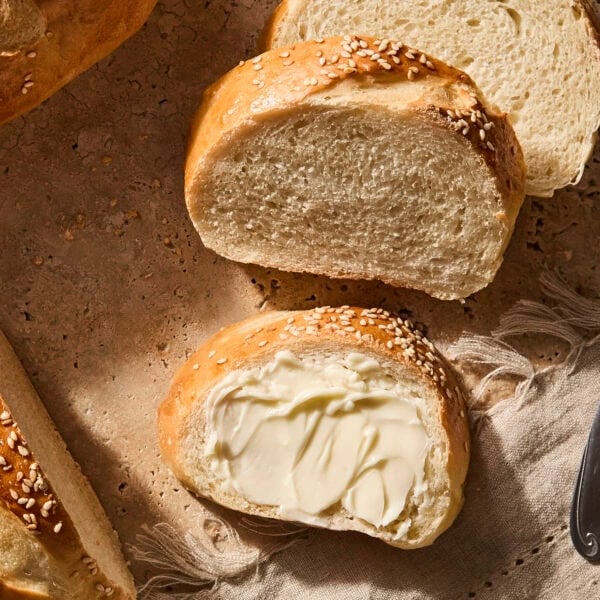
There’s something truly satisfying about making a loaf of bread with your own two hands, and this easy American-style French bread is the one I always return to. It’s not a fancy French baguette, but rather a simple, home-style country loaf with a soft crumb and crisp, golden crust. The kind of bread that feels warm and welcoming before you even take the first bite!
I love that this bread is so versatile. While it’s not a traditional French baguette, this version borrows the best parts: a chewy, golden crust, a light but sturdy interior, and that classic shape with slashes on top. But it’s easier to make than an artisan loaf! So whether it’s being turned into garlic bread, used for hearty sandwiches or open-faced pizza, or just enjoyed warm with a pat of salted butter, it’s the foolproof recipe to bake.
Here’s why this bread recipe is a keeper:
A Note About this Bread
Bread Types
While this loaf is labeled “French bread,” it’s important to clarify that this is not a true French baguette in the artisan sense: the crisp, narrow, very long, crusty shape you’d find in Paris. Instead, this is an American‑style French bread: the shape and slashed top evoke the French loaf, but the formula is more forgiving, richer (thanks to the butter), and uses instant yeast for ease.
In the broader bread world, a baguette is very lean, very crusty, quick bake, while an artisan sourdough might have long fermentation and wild yeast.
This loaf is a wonderful recipe for something in between. It has a nice crust, good crumb, and you can make it reliably without specialized equipment.
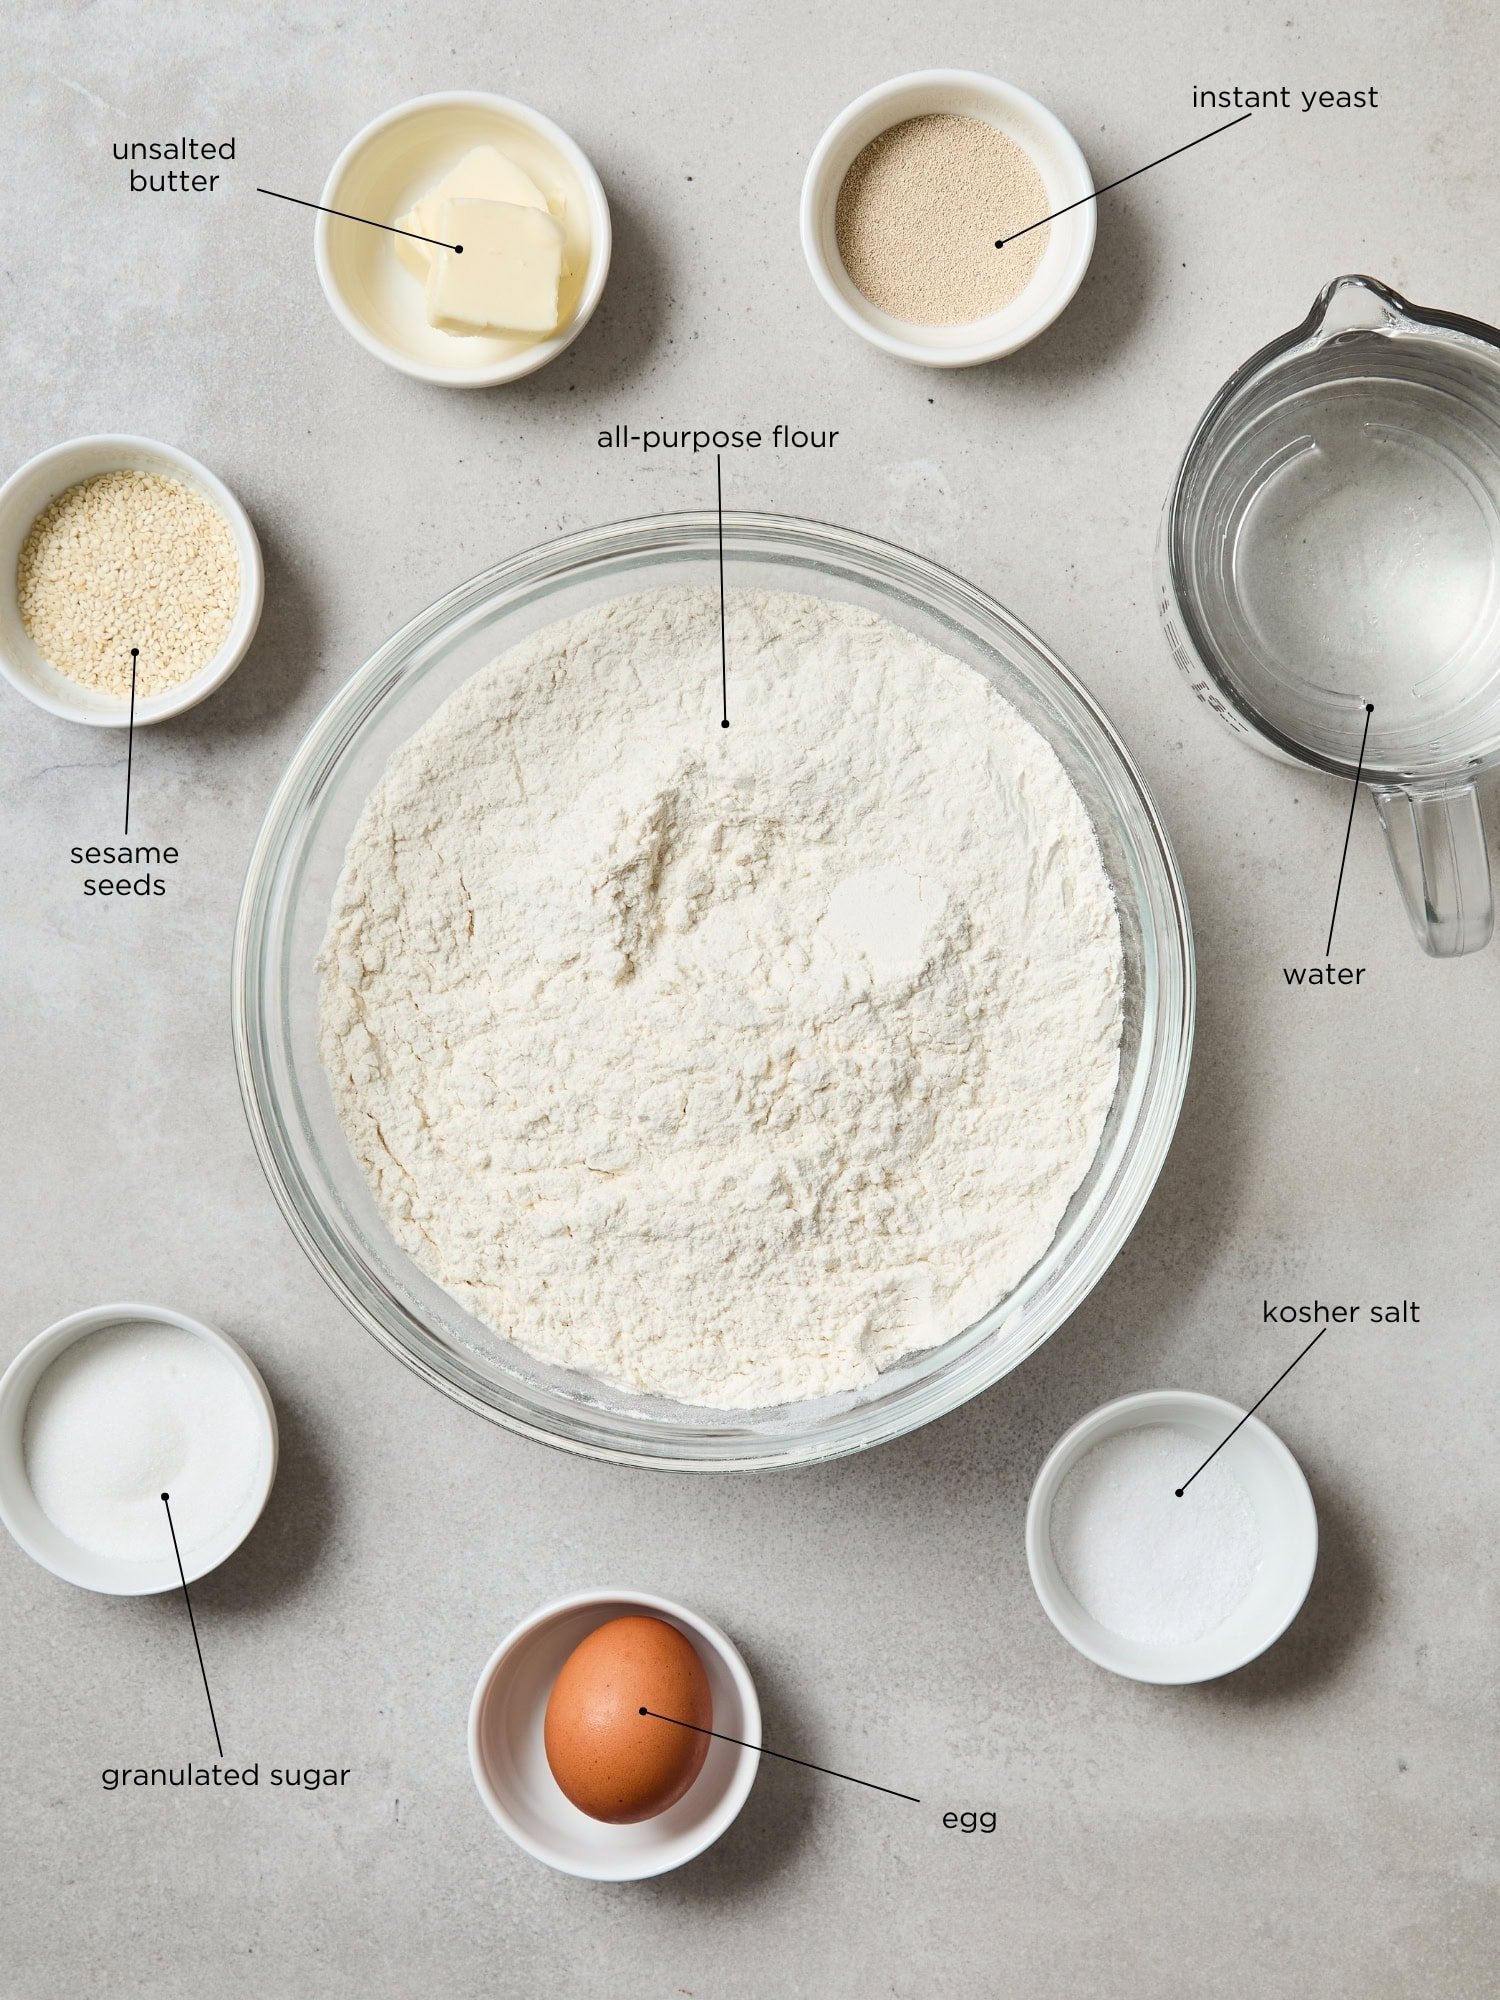
Easy French Bread Ingredients
This French bread uses 7 ingredients (plus 1 optional) to form a kitchen staple:
- Sugar – Lightly sweetens the dough and helps feed the yeast.
- Salt – Enhances flavor and strengthens the dough’s structure.
- Butter – Adds richness and creates a tender, soft interior.
- Water – Dissolves the sugar and salt and melts the butter; cool before adding yeast.
- All-purpose flour – The backbone of the bread’s structure and crumb.
- Instant yeast – Gives a reliable rise and is easy to work with (since there’s no blooming required).
- Egg – Brushed on top for a golden and glossy finish.
- Sesame seeds – Add texture and a rustic touch on top. These are optional, but I really think they add something nice, both aesthetically and in each bite.
The full amount of each ingredient can be found in the recipe card below.
How to Make Easy French Bread
I’ve included pictures of the 7 steps to make this French bread because I want this to be a foolproof recipe for you!
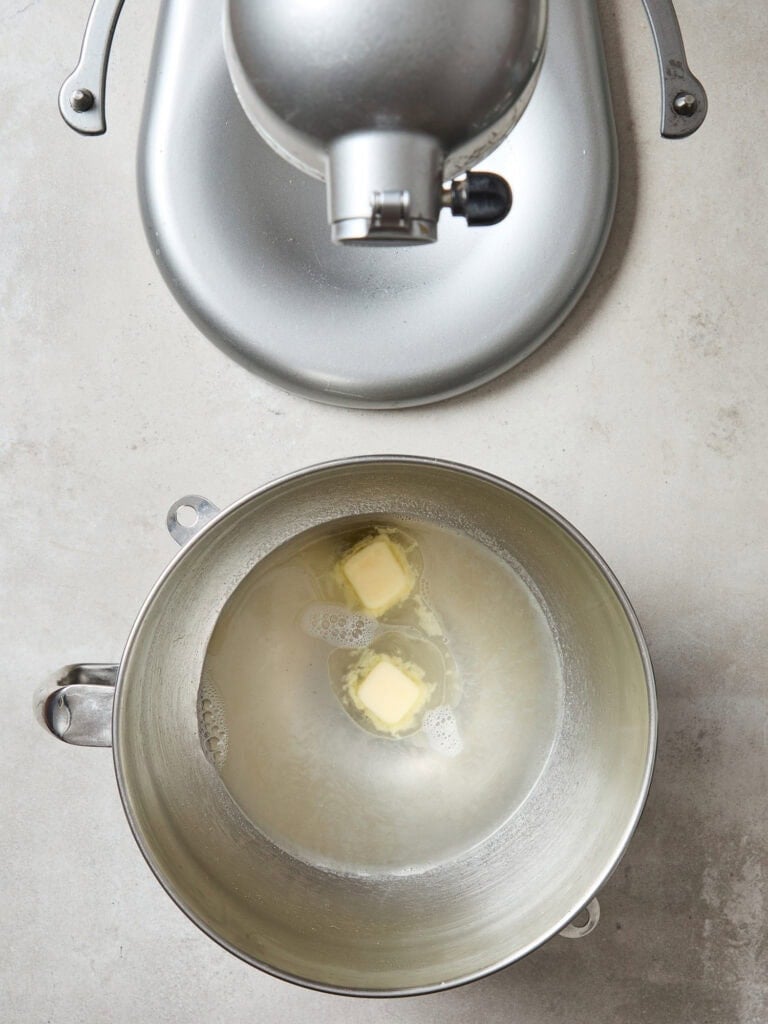
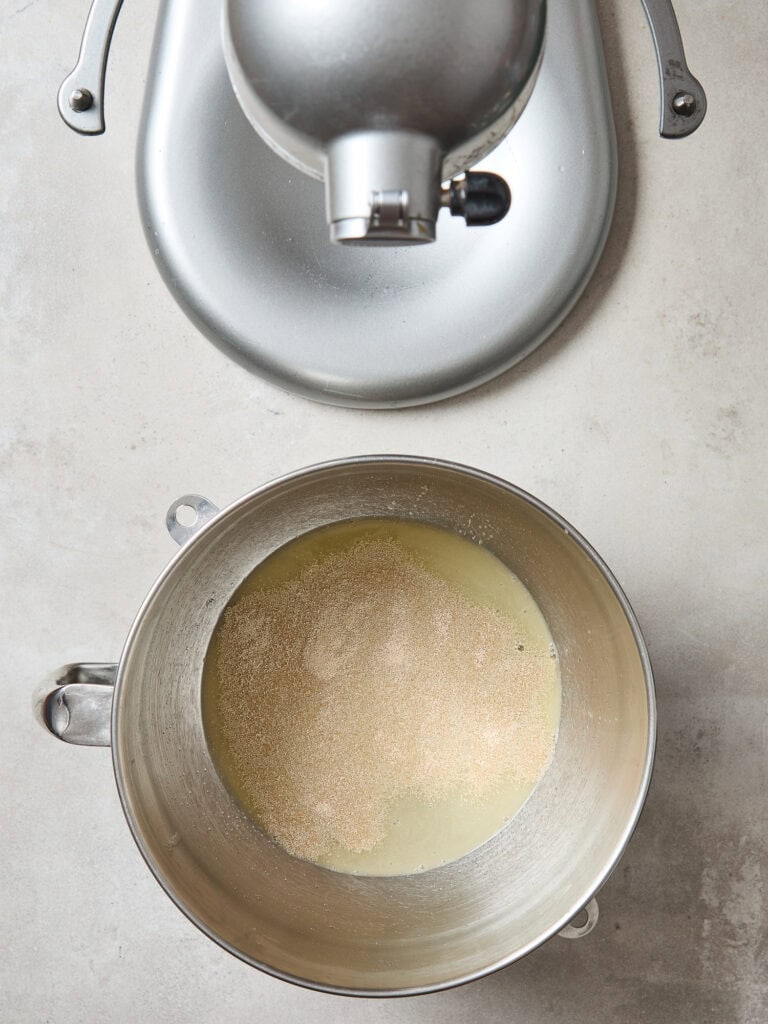
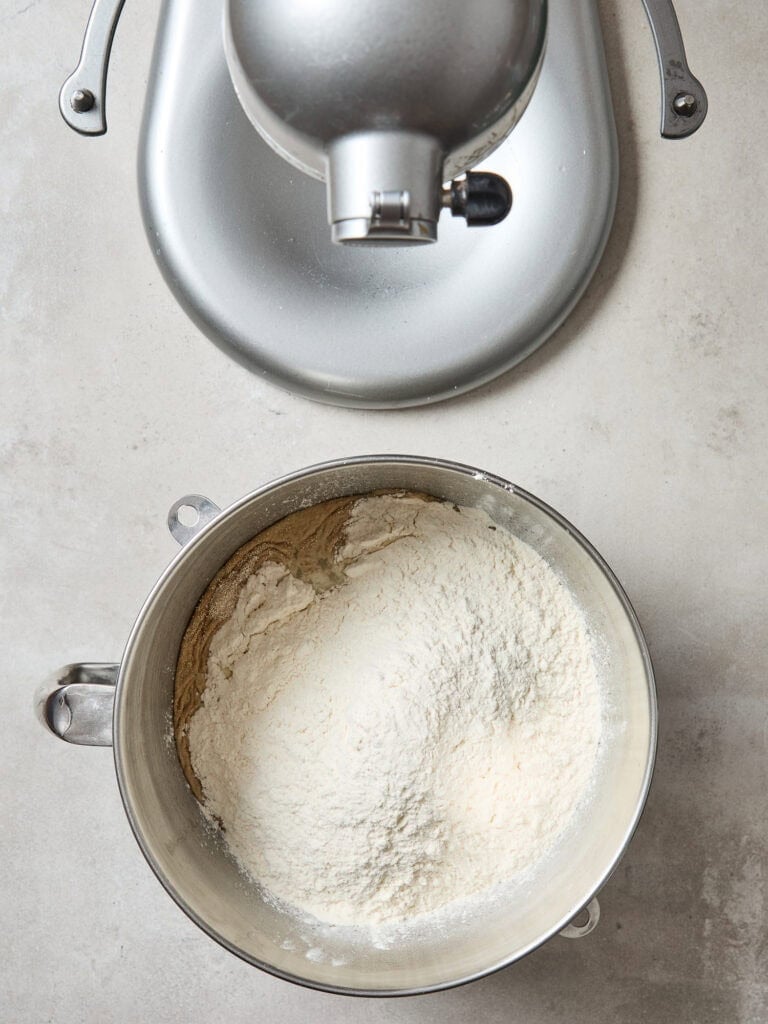
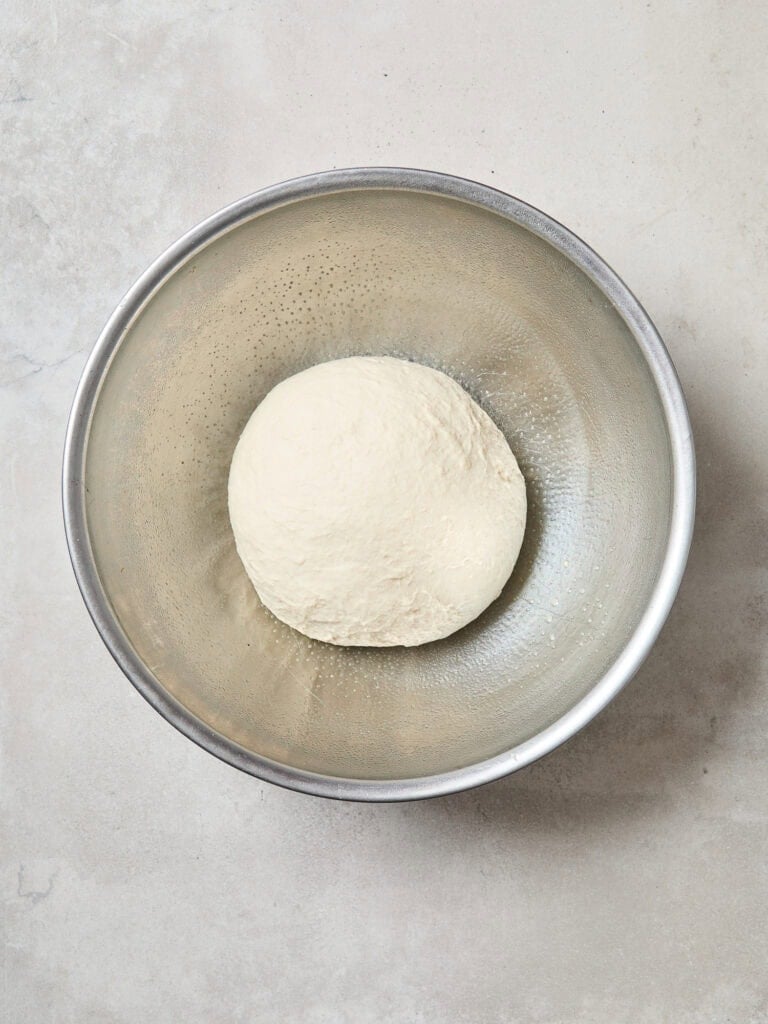
Step 1: Make the dough – In a large bowl or stand mixer, combine sugar, salt, butter, and boiling water. Let it sit for a few minutes to melt the butter, then stir to dissolve. Cool the mixture to 100°F to 110°F. Sprinkle in the yeast.
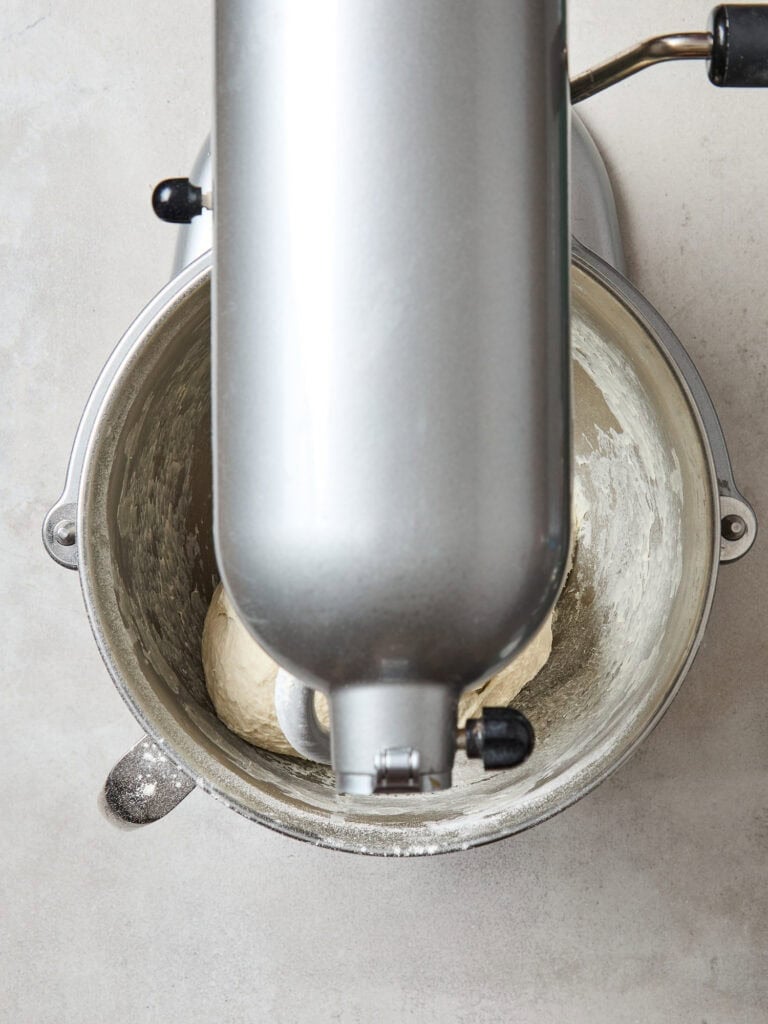
Step 2: Add the flour – Add 6 cups of flour. Using a dough hook, mix on medium to incorporate, then increase speed until a cohesive dough forms. Check the dough after 5 minutes. If it is shaggy and sticky, add ¼ cup of flour and mix for an additional 2-3 minutes. Check again and add an additional ¼ cup of flour if necessary.
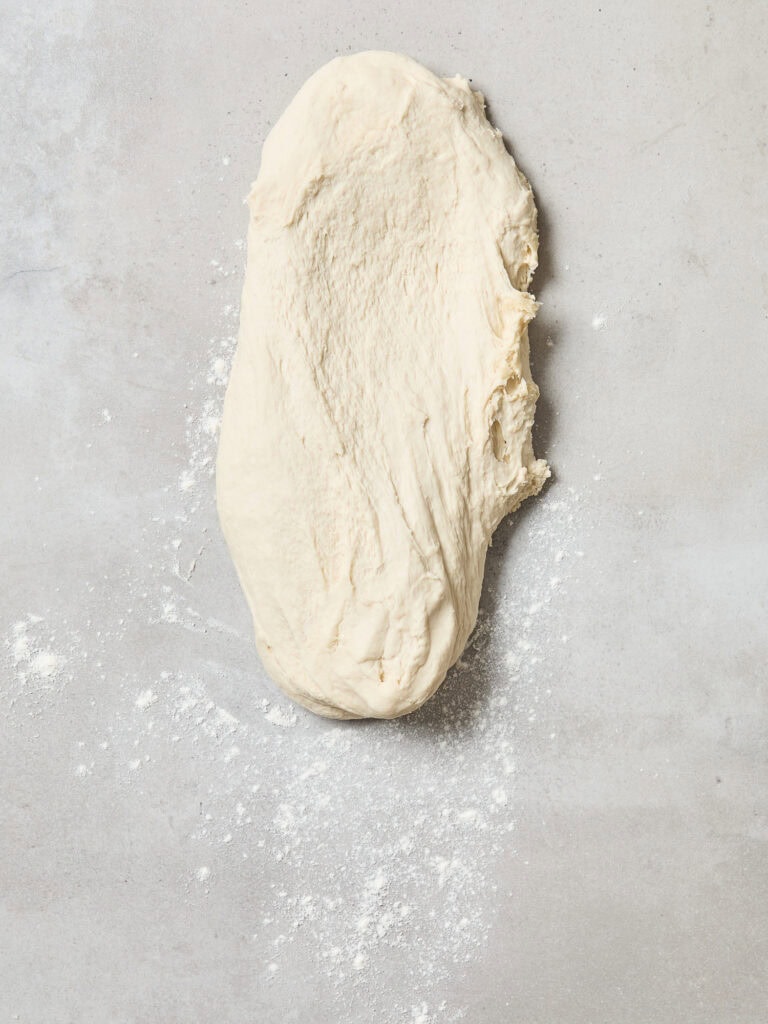
Step 3: Knead the dough – Turn the dough onto a lightly floured surface and knead by hand for several minutes until smooth, elastic, and soft.
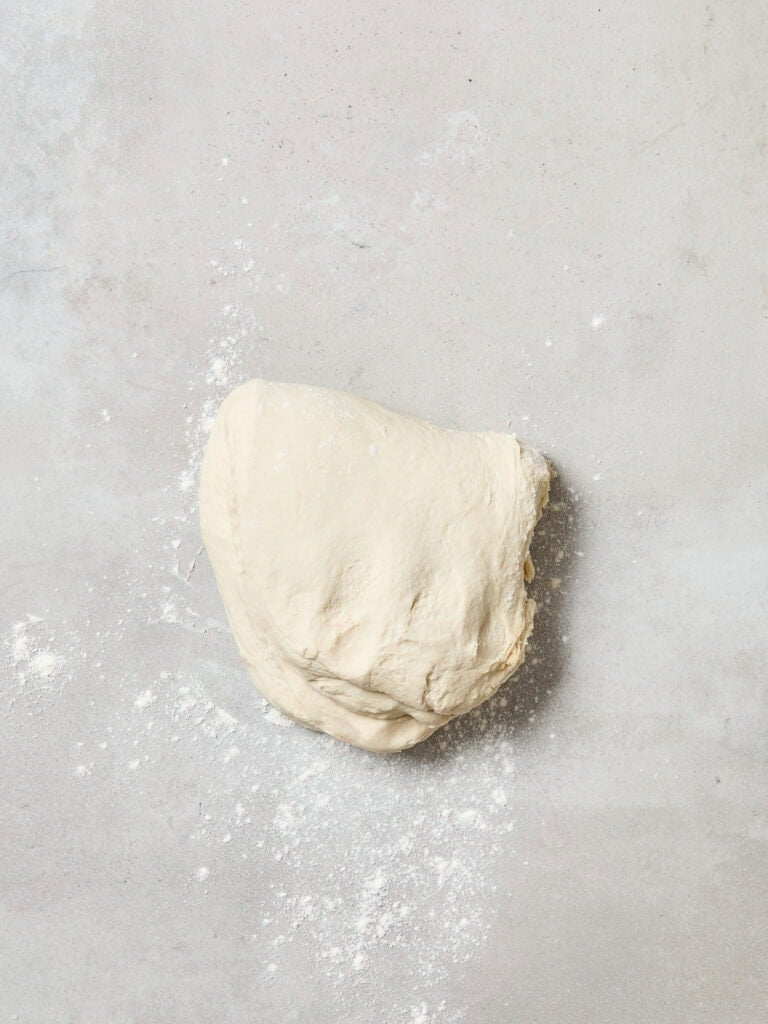
Step 4: Allow the dough to rise – Place the dough in a greased bowl, turn to coat, cover, and let rise in a warm spot for 1 to 1 ½ hours, or until doubled in size.
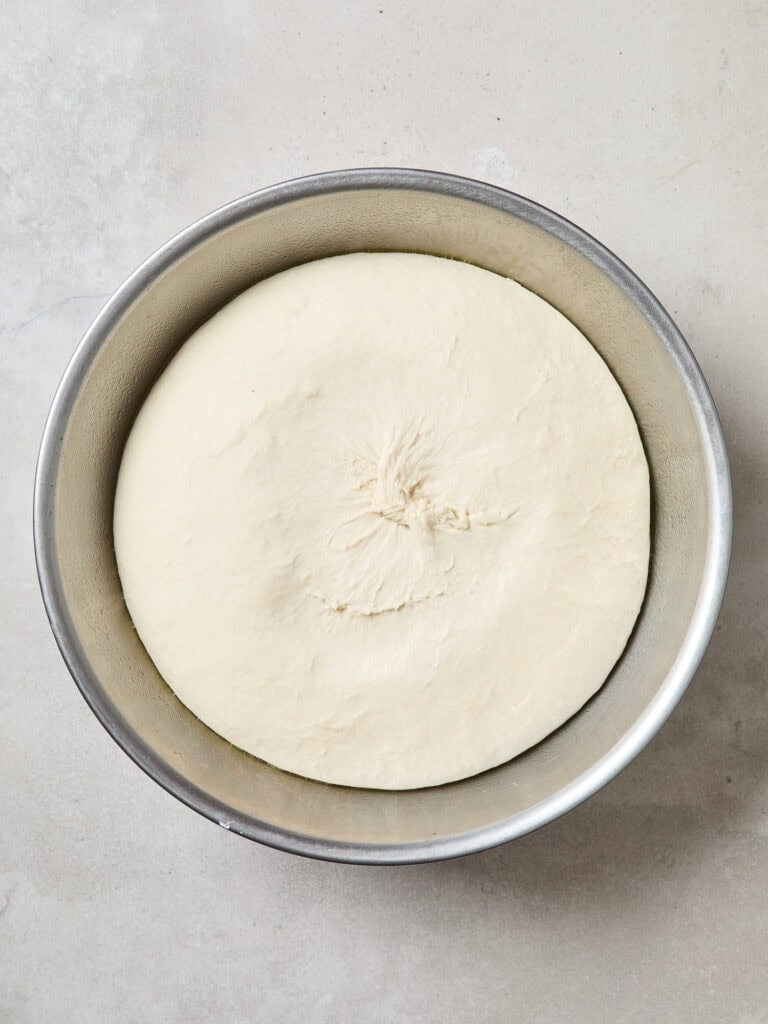
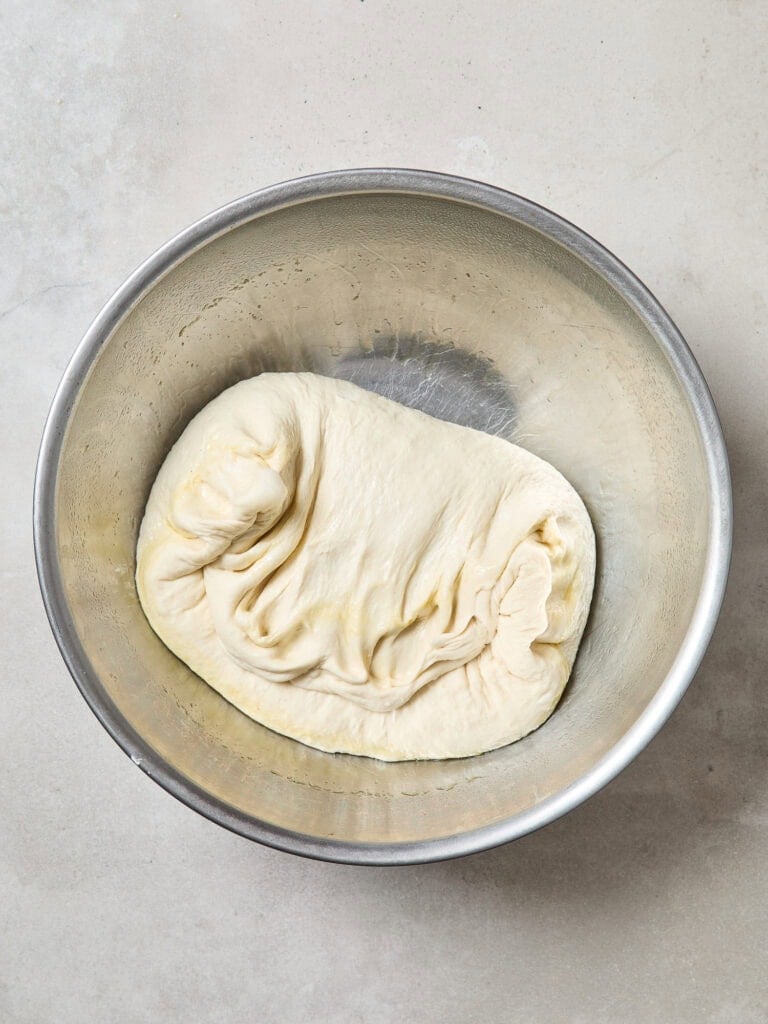
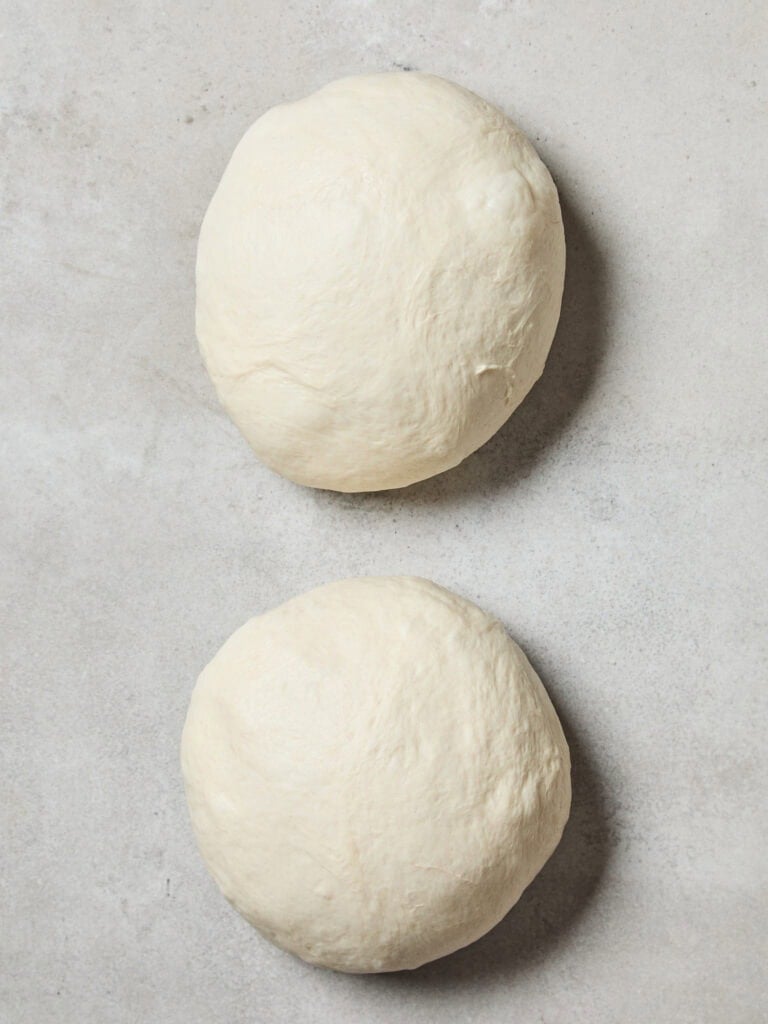
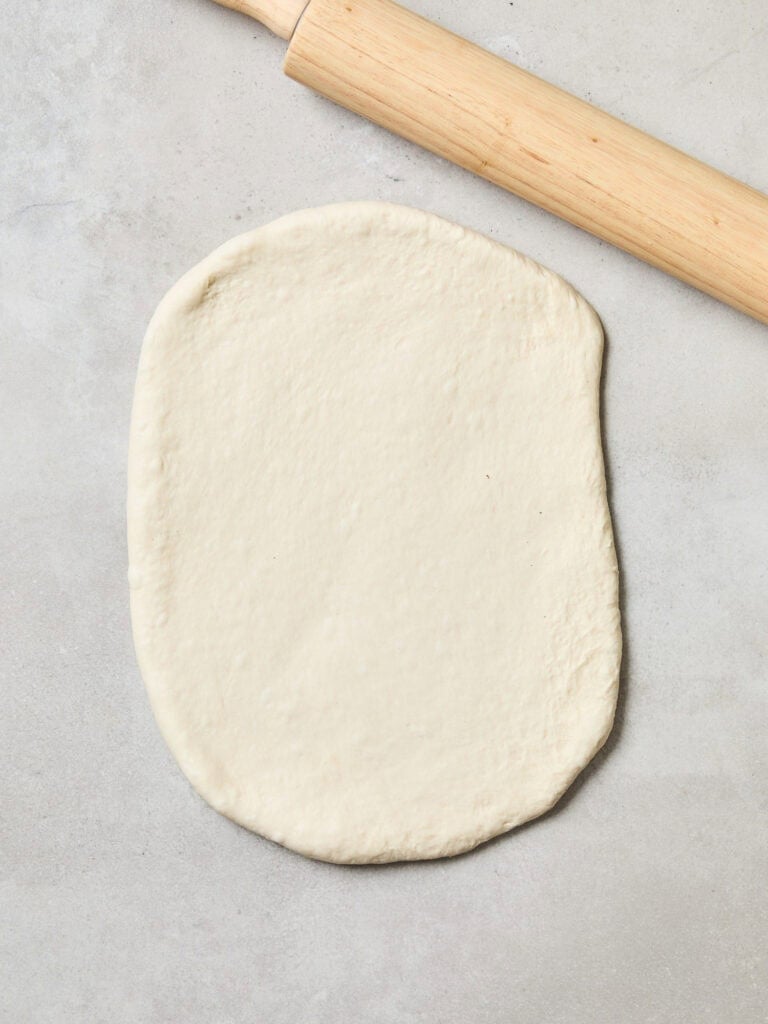
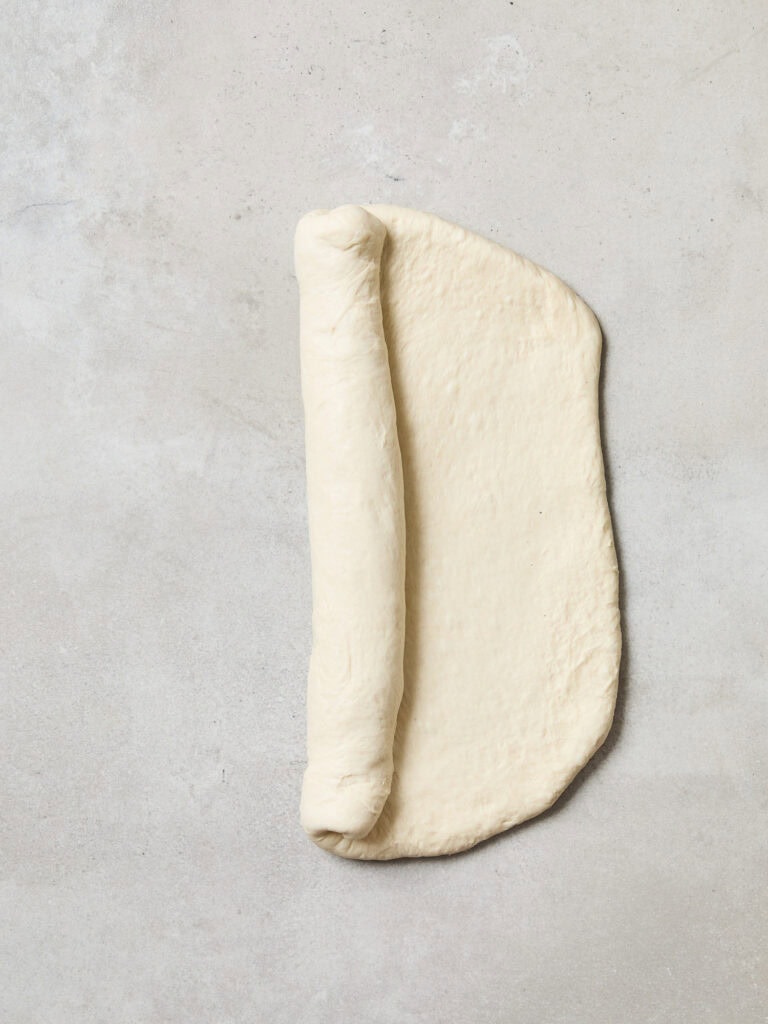
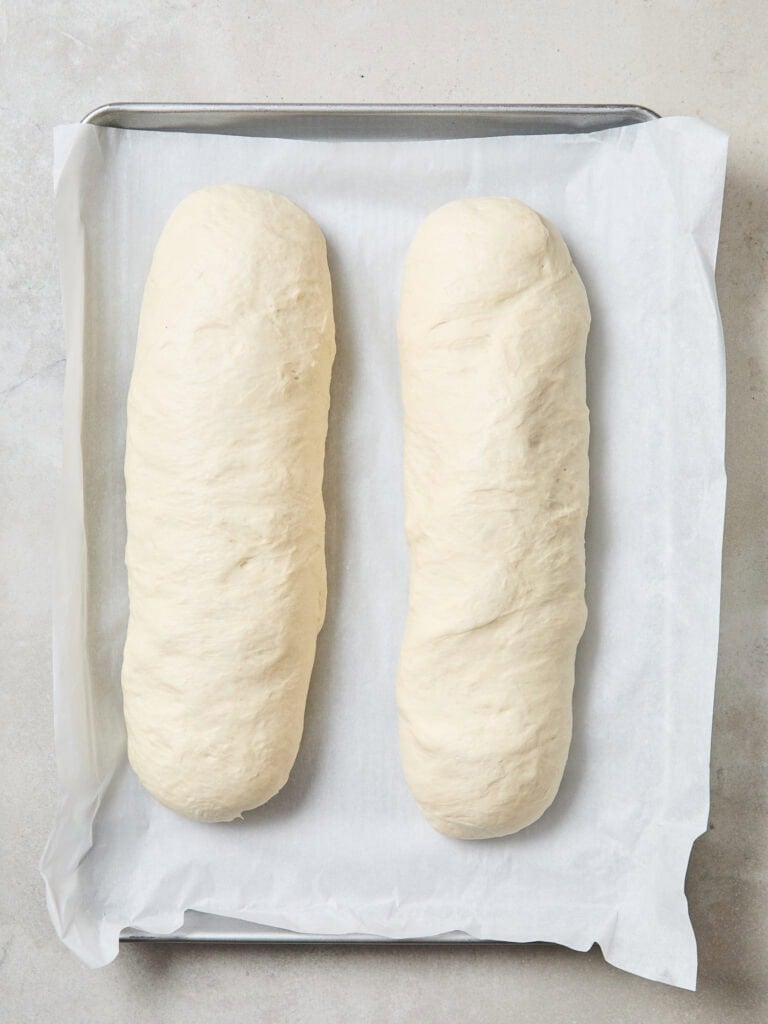
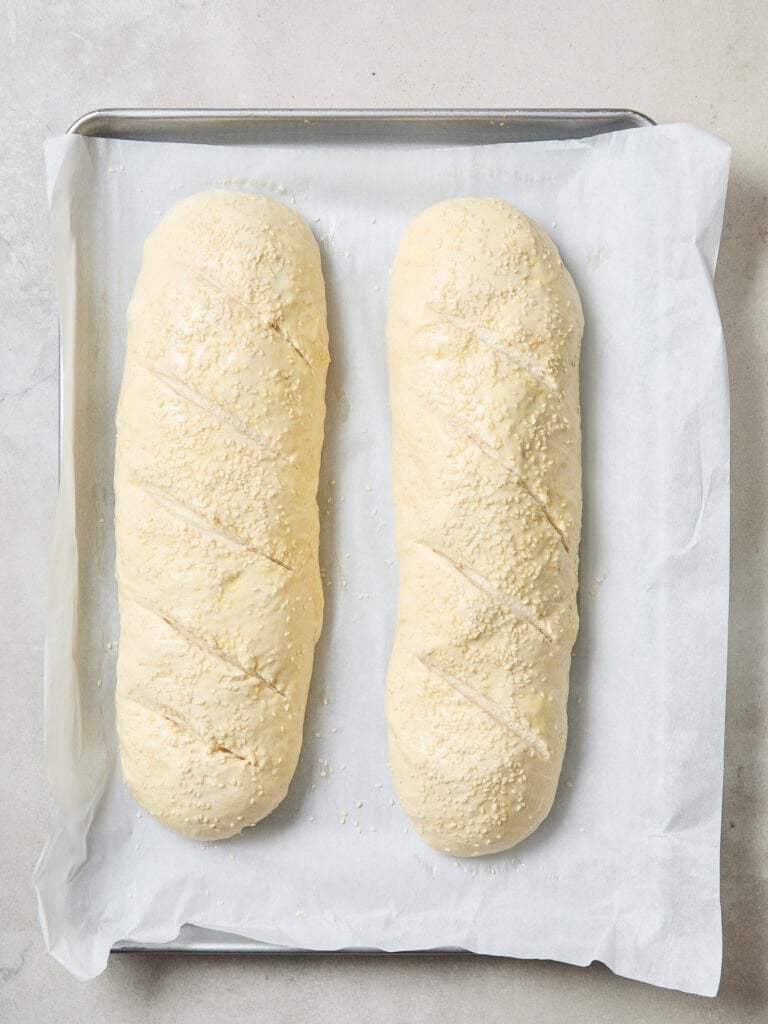
Step 5: Prepare the dough – Punch down the dough, divide into 2 equal portions, and shape into loaves by rolling into 10 x 13-inch rectangles and tightly rolling up. Pinch the seams and ends closed. Place loaves on parchment-lined baking sheets with the seams and pinched edges face down.
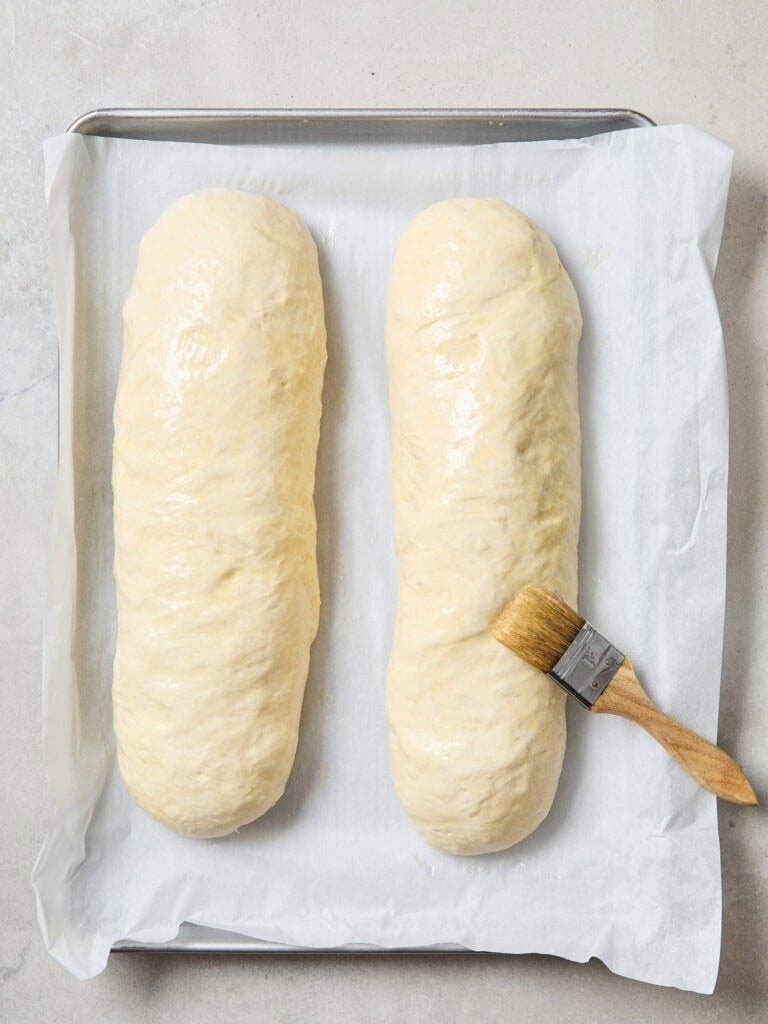
Step 6: Shape the loaves – Brush with a beaten egg and sprinkle with sesame seeds, if desired. Create relief cuts diagonally on the tops with a serrated knife. Let rise again in a warm place until slightly puffy. Meanwhile, preheat the oven to 375°F.
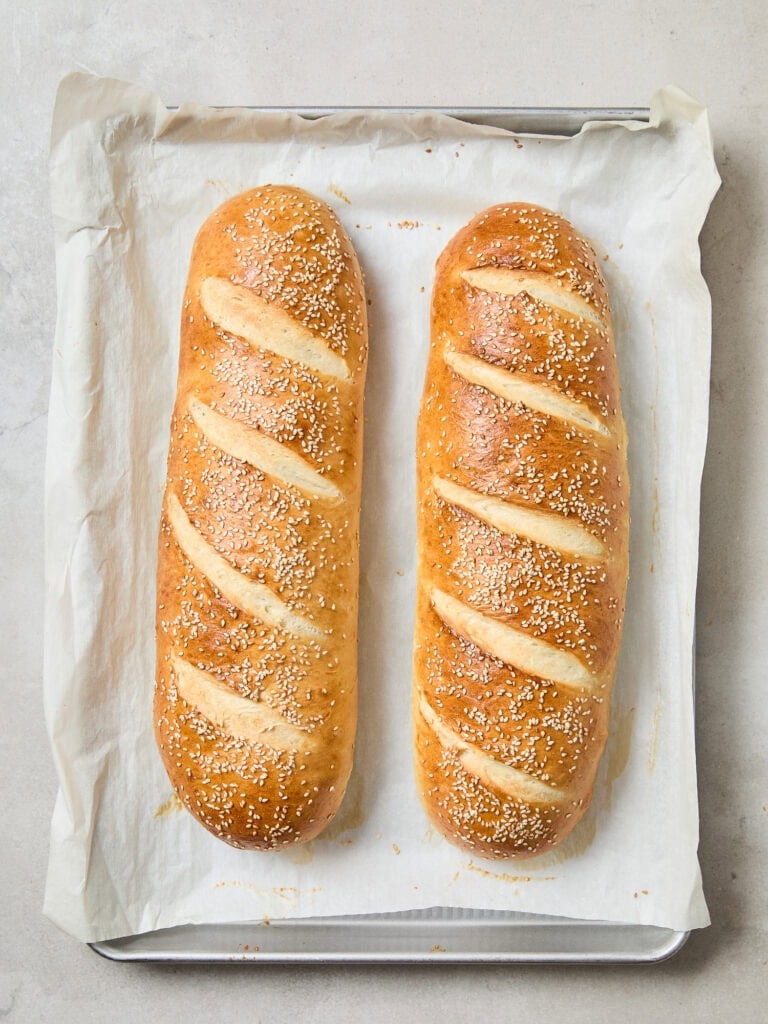
Step 7: Bake the dough – Once the dough has risen, bake for 20-30 minutes until golden brown and the internal temperature reaches 200°F. Cool on a wire rack for 30 minutes before slicing.
Recipe Tips
- Watch the temperature of your liquid – Let the hot water mixture cool slightly before adding yeast. Temperatures above 110°F could kill the active component of the yeast.
- Reserve some flour – Hold back the last cup of flour to add gradually. The amount of humidity and the season can affect how much you need. The flour is the one component that does require some touch and feel to know what’s correct.
- Knead by hand at the end – Finishing by hand gives you better control over the dough’s texture and helps avoid overmixing.
- Use the oven trick for rising – A quick warm-up of your oven (then turn it off) creates a great proofing environment! I pretty much always do this when proofing dough.
- Slash before baking – Those relief cuts help control how the bread expands and add a professional touch.
Follow These Tips
Serving & Storage
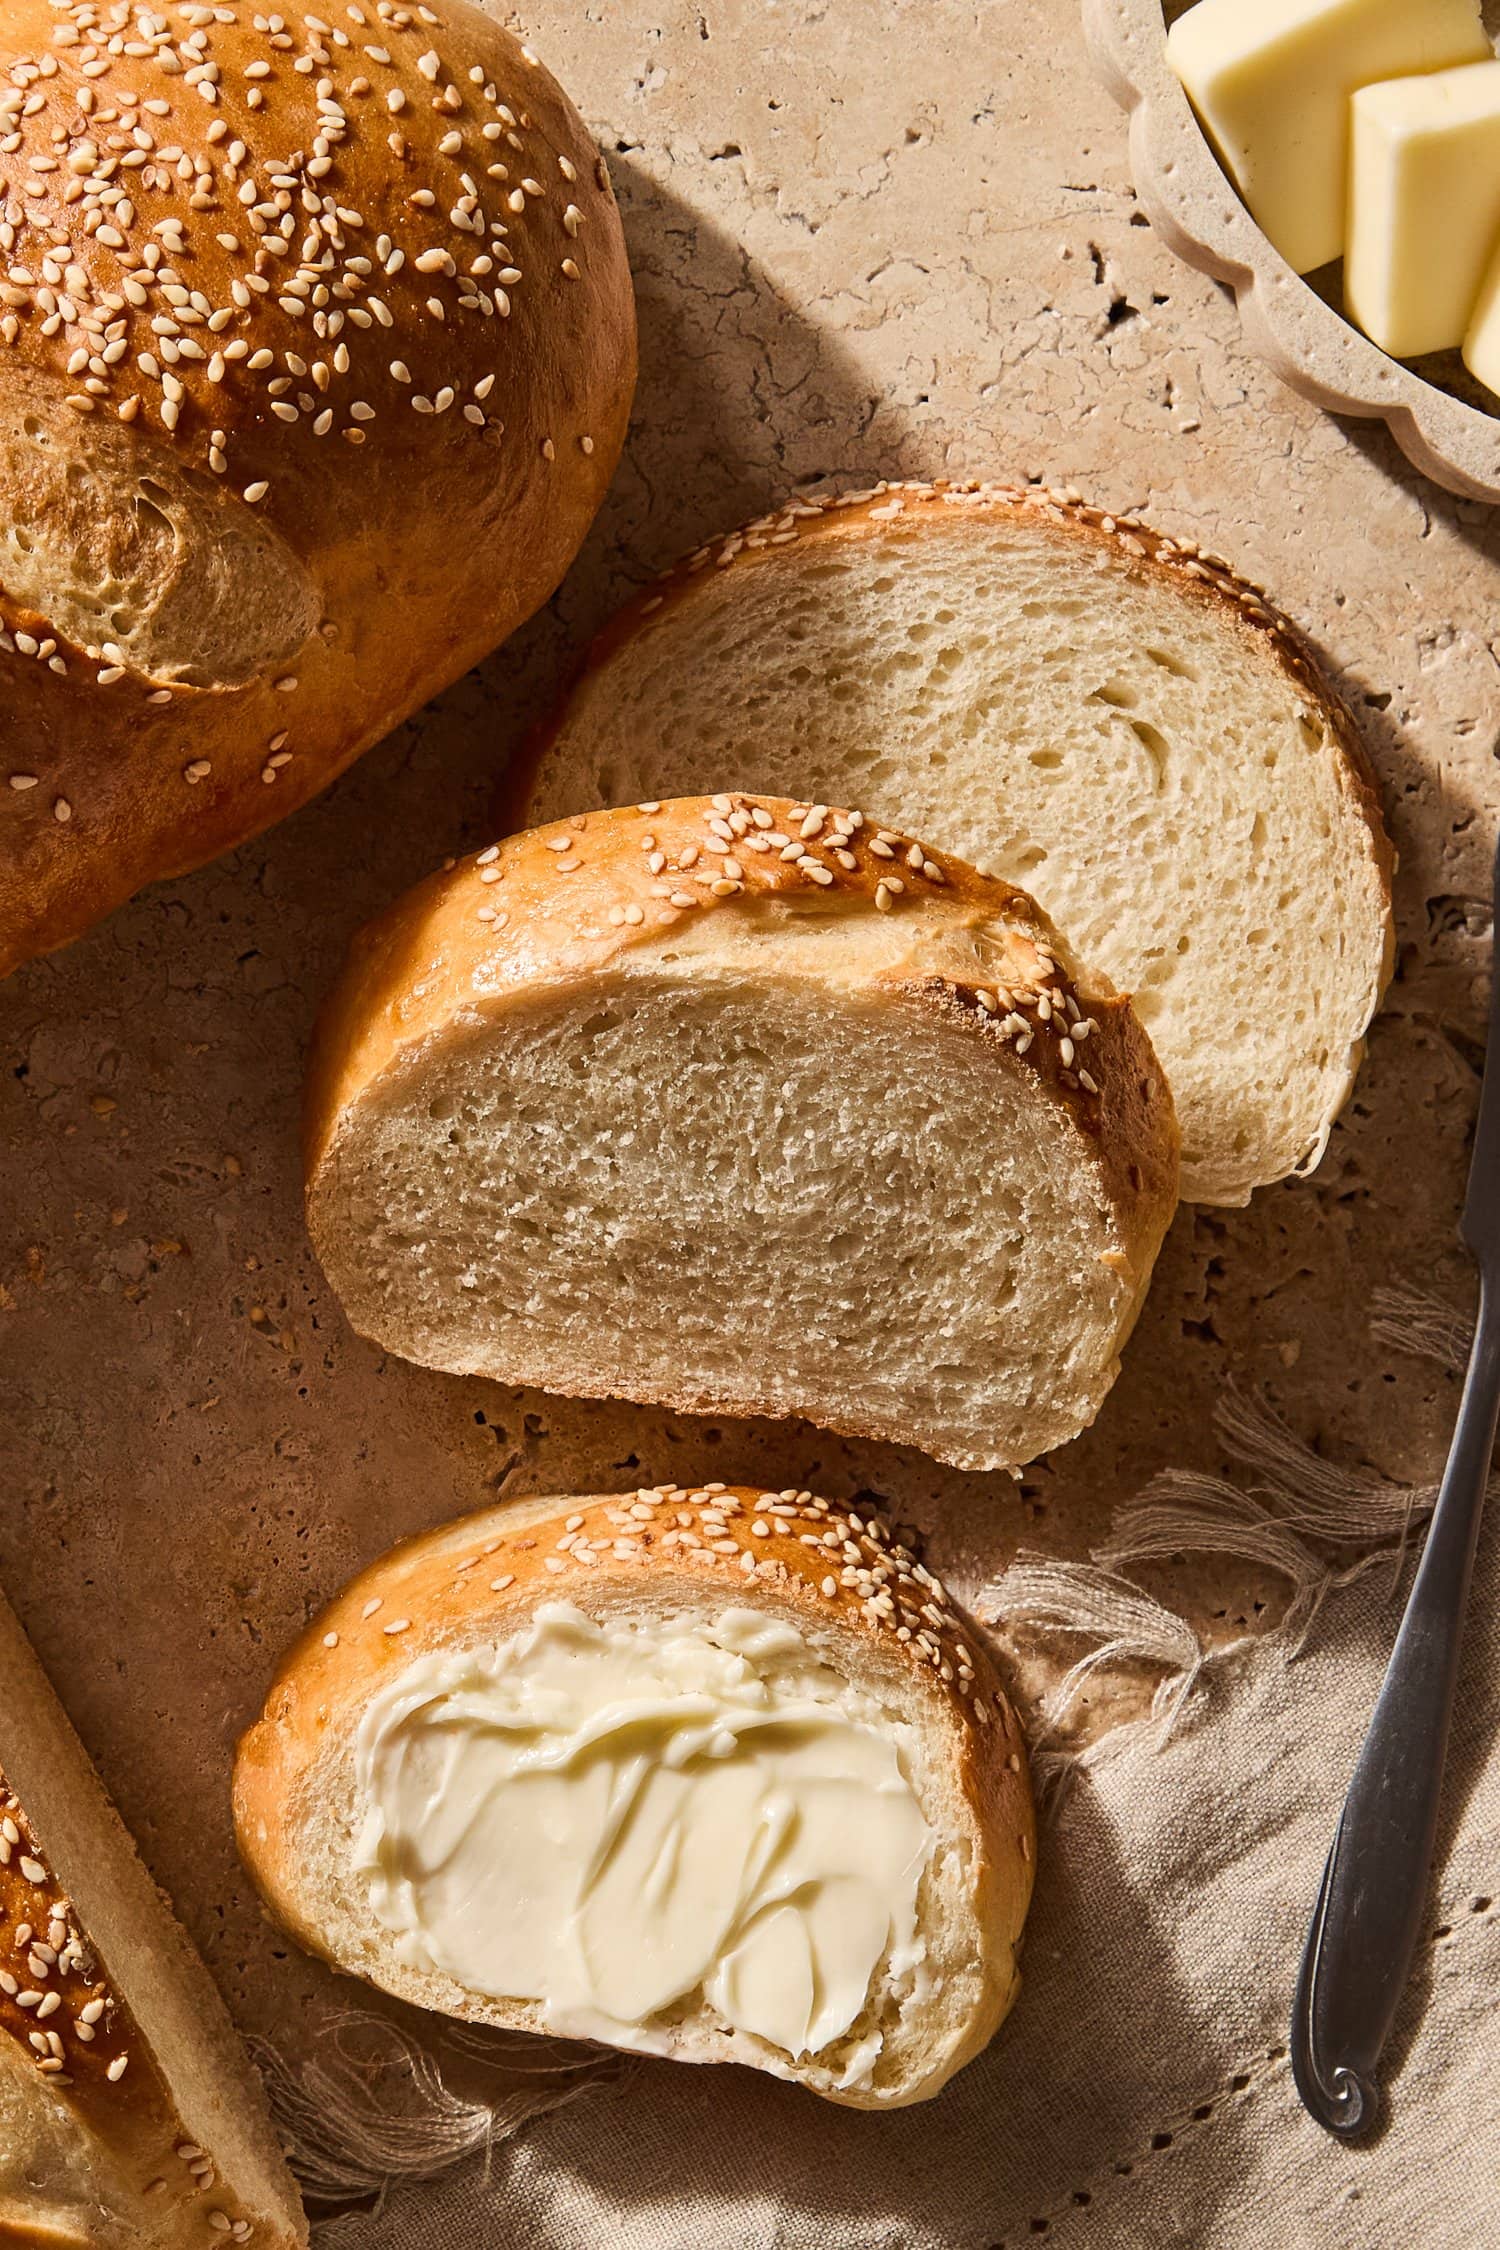
Serve – Slice and serve the bread warm with some salted butter or garlic butter slathered on top. The options of how to use this recipe as truly endless. This bread is perfect for sandwiches, paninis, or when toasted as a side for soups and stews.
Store – Store in a bread bag or an airtight container at room temperature for up to 3 days. I’d avoid putting it in the fridge because it tends to dry out bread. Freeze whole or sliced loaves in a freezer-safe bag/container for up to 2 months. Let thaw for about 30 minutes at room temperature, or microwave on low power for 15-30 seconds.
Frequently Asked Questions
Yes, the dough can be made by hand. The amount of time to knead will vary, but it can be easily executed.
Partially. It can be difficult to achieve the correct texture when using 100% whole wheat flour. In this recipe, you can substitute up to 1 ½ cups of whole wheat flour without too much effect on the texture. Any more than this, and the texture will begin to change noticeably.
Yes. The dough can be shaped into smaller loaves or more loaves. Just keep in mind that rising time may vary. If you scale it up, make sure your bowl size, shaping space, and oven loading are adjusted so each loaf still has room to grow and bake evenly.
Bake until the internal temperature hits 200°F. It’s worth using an instant‑read thermometer if you have one, as that gives confidence that the loaf is fully baked rather than underdone in the center.
Yes, this is the perfect bread to make and freeze so that the loaves can last longer. I prefer to slice the loaf before freezing to make removing the amount desired as easy as possible.
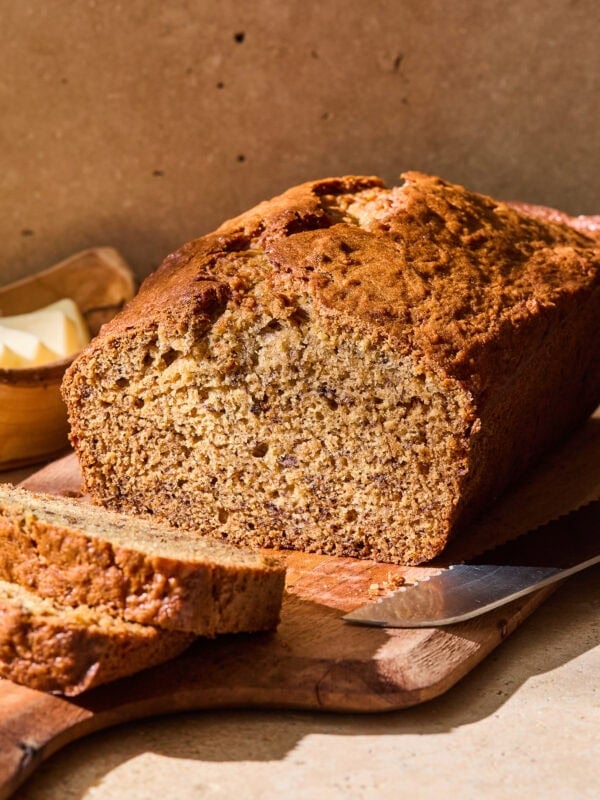
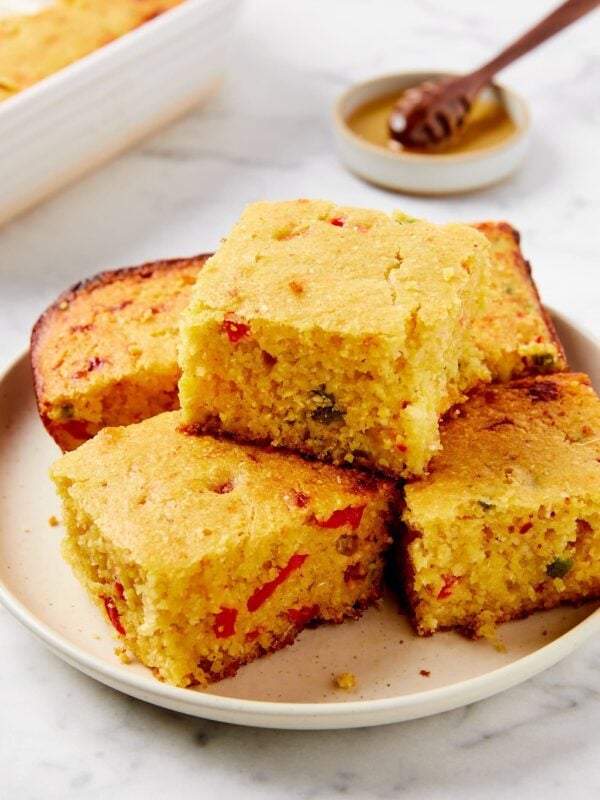
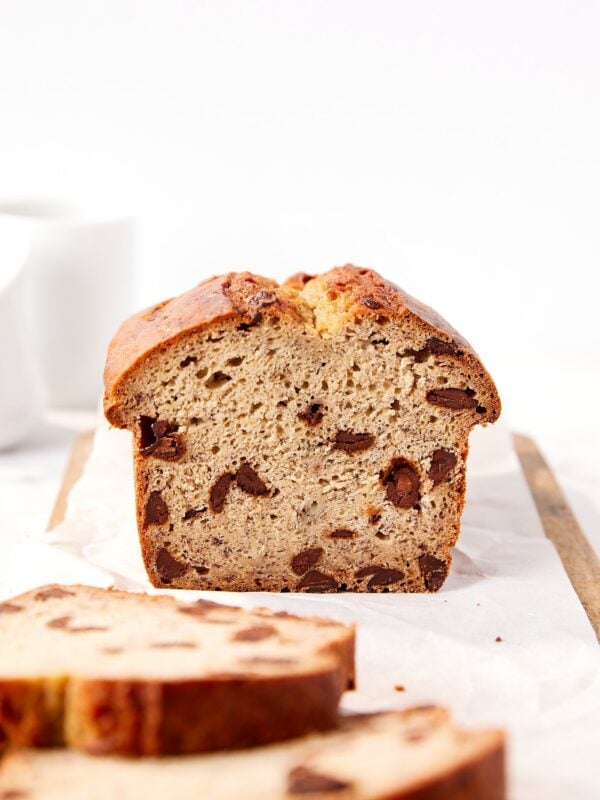
More Bread Recipes
Have I Convinced You to Make This Recipe?
I hope you make this recipe and put some food on your table. Leave a comment and share a star rating so you can let others know how much you love this recipe. This helps show others that this is a recipe they, too, can make, enjoy, and love!
Easy French Bread
Ingredients
- 2 tbsp granulated sugar
- 2 tsp kosher salt
- 2 tbsp unsalted butter
- 2 ½ cups boiling water
- 6-7 cups all-purpose flour
- 2 ¼ tsp (1 pkg) instant yeast
- 1 large egg
- 1 tbsp sesame seeds (optional)
Instructions
- Make the dough: In the bowl of an electric mixer, combine the sugar, salt, butter, and boiling water. Allow the butter to melt and stir to dissolve the sugar and salt.2 tbsp granulated sugar, 2 tsp kosher salt, 2 tbsp unsalted butter, 2 ½ cups boiling water
- Add flour: When the mixture has cooled off to 100°F-110°F, add 6 cups of flour and the instant yeast. Using the dough hook on the mixer, knead the dough on medium speed for 5 minutes. After the dough has been kneaded, stop the mixer and check the dough. If it is shaggy and sticking to the sides of the bowl, add ¼ cup of the reserved flour. Work the flour into the dough for 2-3 minutes and check again, adding more flour as needed.6-7 cups all-purpose flour, 2 ¼ tsp (1 pkg) instant yeast
- Knead: When the dough starts to clear the sides of the mixing bowl and cling to the dough hook, remove it from the mixer. Sprinkle 1 tbsp flour on the counter and knead the dough, pushing it away, then folding it back on itself, and repeating the process. The dough should slightly stick to the counter when sitting but easily become smooth when being kneaded.
- Let rise: Place the dough in a lightly oiled large bowl and cover. Set the bowl in a warm place, such as an oven that has been warmed to 100°F and turned off. Allow the dough to rise until doubled, 1 to 1 ½ hours.
- Shape the dough: Once the dough has risen, punch it down. Split into two even amounts. Working with one piece at a time, roll the dough into a 10-inch by 13-inch rectangle. Roll the dough up lengthwise, like rolling cinnamon rolls or a jelly roll. Pinch the seam tightly as well as the ends to seal. Set the loaf on a parchment-lined baking sheet with the seam side down and the pinched ends placed underneath the loaf. Repeat with the second piece of dough.
- Second rise: Beat the egg in a small bowl until smooth. Brush the loaves with the beaten egg. Sprinkle with sesame seeds if using. Use a sharp knife to make five diagonal ½-inch deep cuts in each loaf. Place the loaves in a warm place to rise for 1 hour. Also, preheat the oven to 375°F.1 large egg, 1 tbsp sesame seeds (optional)
- Bake: Once the dough has risen, place the loaves in the preheated oven. Bake for 20-30 minutes until the bread is a deep golden color on the top and bottom. If using an instant-read thermometer, the center of the bread should read 200°F once baked. Remove the loaves from the oven and cool for 30 minutes before slicing.
Video

Nutrition
Nutrition information is automatically calculated, so should only be used as an approximation.

Did you make this? Leave a comment below!
Styling: Addelyn Evans | Photography: Dera Burreson


The best bread recipe, wonderful and easy to make