


This post may contain affiliate links. If you make a purchase through links on our site, we may earn a commission. Please read our disclosure policy.

Why I Love Apple Pie Bars
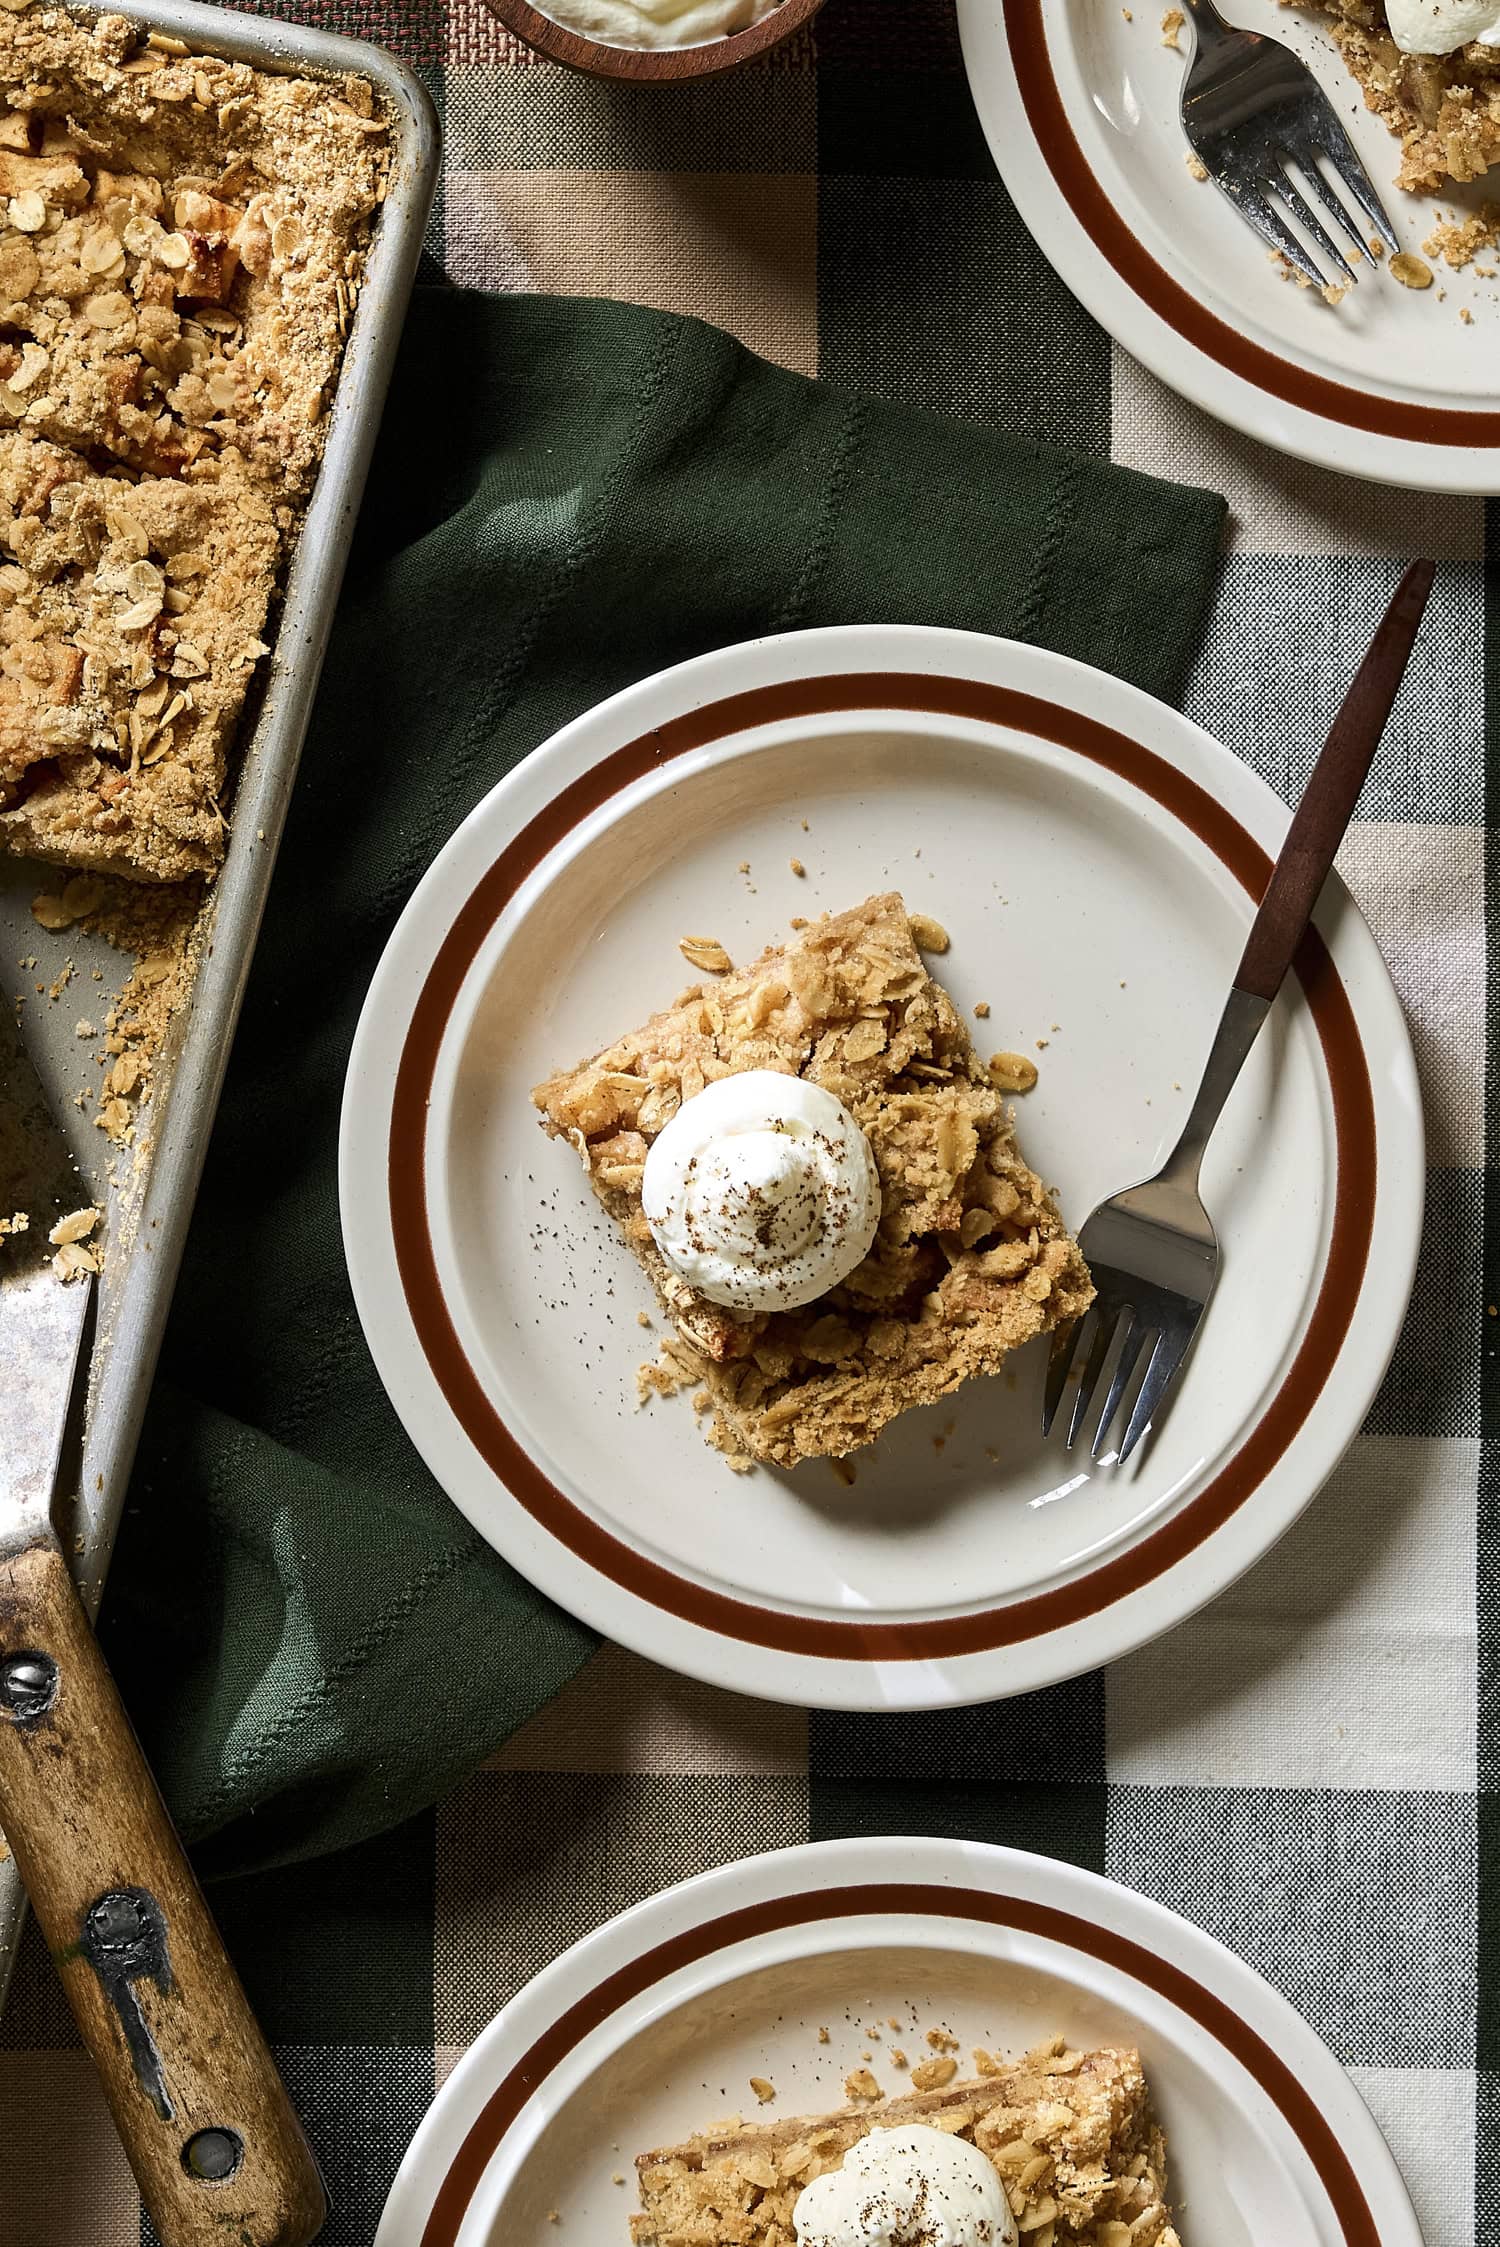
When the apples are ready in my orchard, I know that the fall baking season has officially started. I love a classic apple pie, but there are plenty of times when I want all of that warm apple flavor without rolling out pastry and assembling an entire pie. These apple pie bars are my answer! An apple pie needs to bake until it is bubbling throughout, but these bars bake much quicker with an even layer of filling. The result is all you want in an apple pie, but quick and easy.
I’ll warn you now, though: make these once, and you’ll be hooked!
What makes them especially easy is that one mixture does two jobs. The butter-filled oat mixture gets pressed into the pan for the crust, then the reserved portion becomes the streusel topping. In between is a thin layer of cinnamon- and allspice-flavored apples. Once baked, you get a crisp, almost granola-like bottom, soft apples in the middle, and plenty of golden crumble on top (my favorite part!).
Here’s why you’ll love these bars, too:
- One mixture makes both the crust and streusel topping.
- It’s a great way to use up apples in the fall!
- There’s no pie dough to roll, chill, or crimp. That’s a definite selling point!
- They’re easy to slice and serve at gatherings and holiday meals.
- Make them ahead of time and keep them in the fridge or freezer.
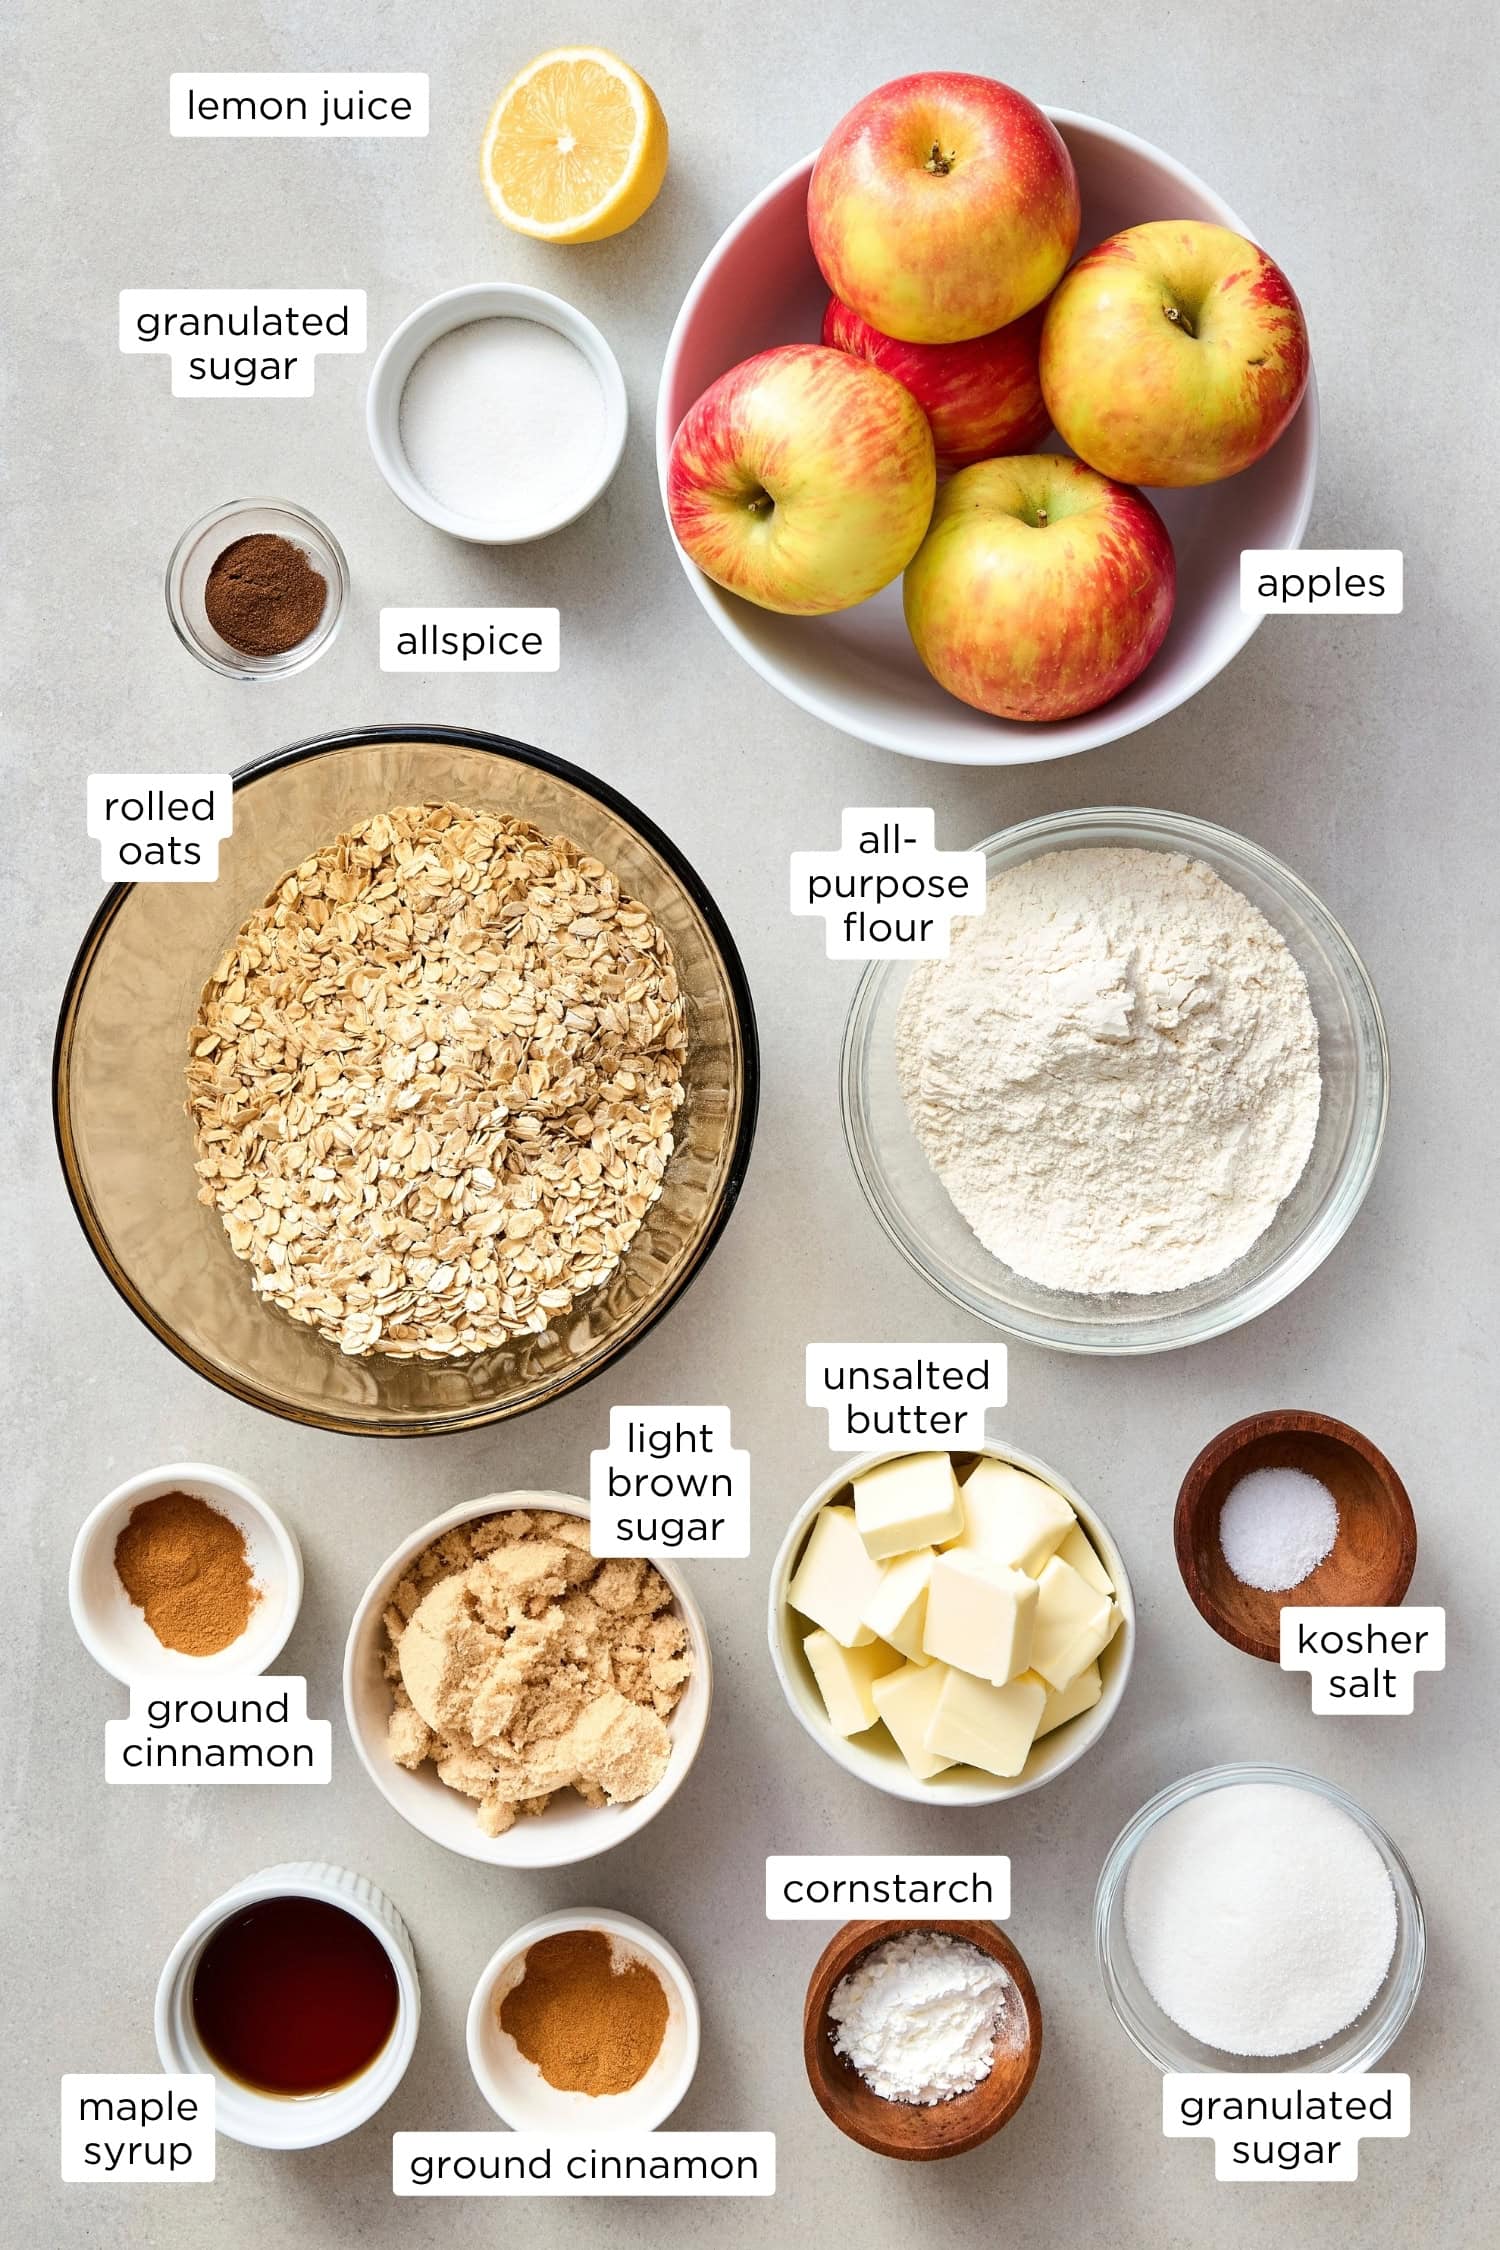
Apple Pie Bars Ingredients
The best part of the ingredient list for these bars is that they’re all pantry staples!
- Rolled oats – Create the hearty, granola-like texture in both the crust and topping. Skip quick-cooking oats here since they don’t have the same texture.
- All-purpose flour – Gives the crust its structure to hold the apple filling once the bars are sliced.
- Light brown sugar – Adds sweetness along with some subtle caramel and molasses flavor notes.
- Granulated sugar – Used in both the streusel and to sweeten the apples. It adds just enough sweetness while keeping the apples as the focus.
- Kosher salt – Always needed in any baked good!
- Unsalted butter – Cold butter binds the mixture while creating buttery pockets as the bars bake.
- Apples – Choose crisp, firm apples that hold their shape during baking, such as Granny Smith, Honeycrisp, Pink Lady, or Braeburn. The peels can be left on if you prefer. Make sure to check out the best apples for baking.
- Cornstarch – Thickens the natural juices released by the apples so the bars slice cleanly.
- Ground cinnamon and allspice – Two perfect spices to use during the fall baking time.
- Maple syrup – Flavors and sweetens the apple filling. Plus, it feels so incredibly “right” for the fall season.
The full amount of each ingredient can be found in the recipe card below.
How to Make Apple Pie Bars
There are 5 steps to make these bars:
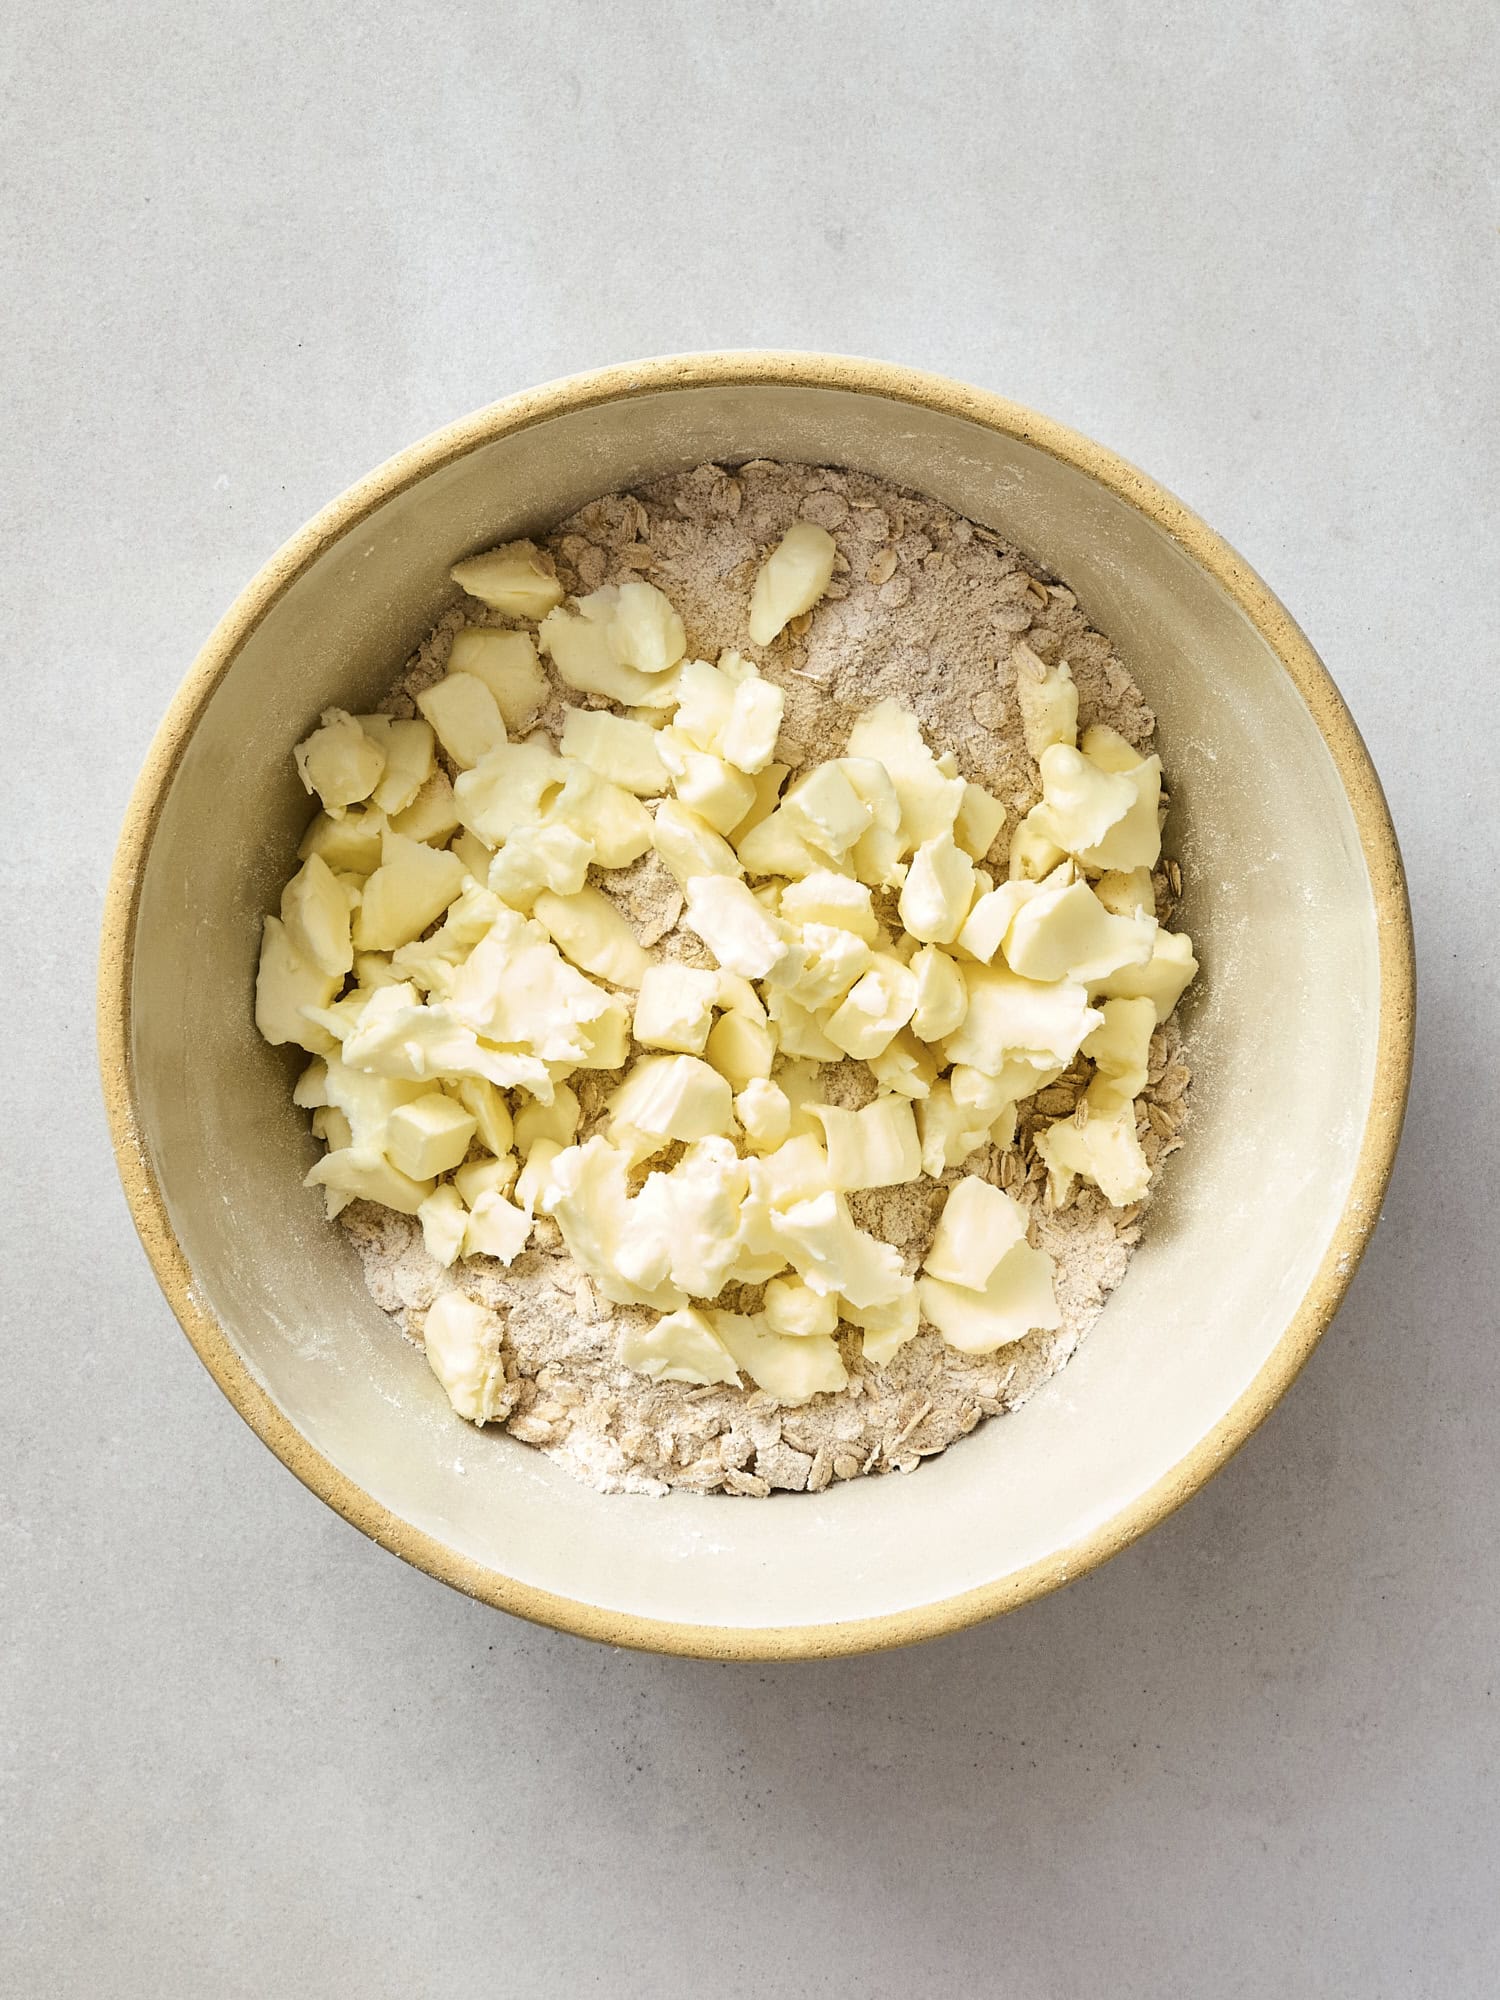
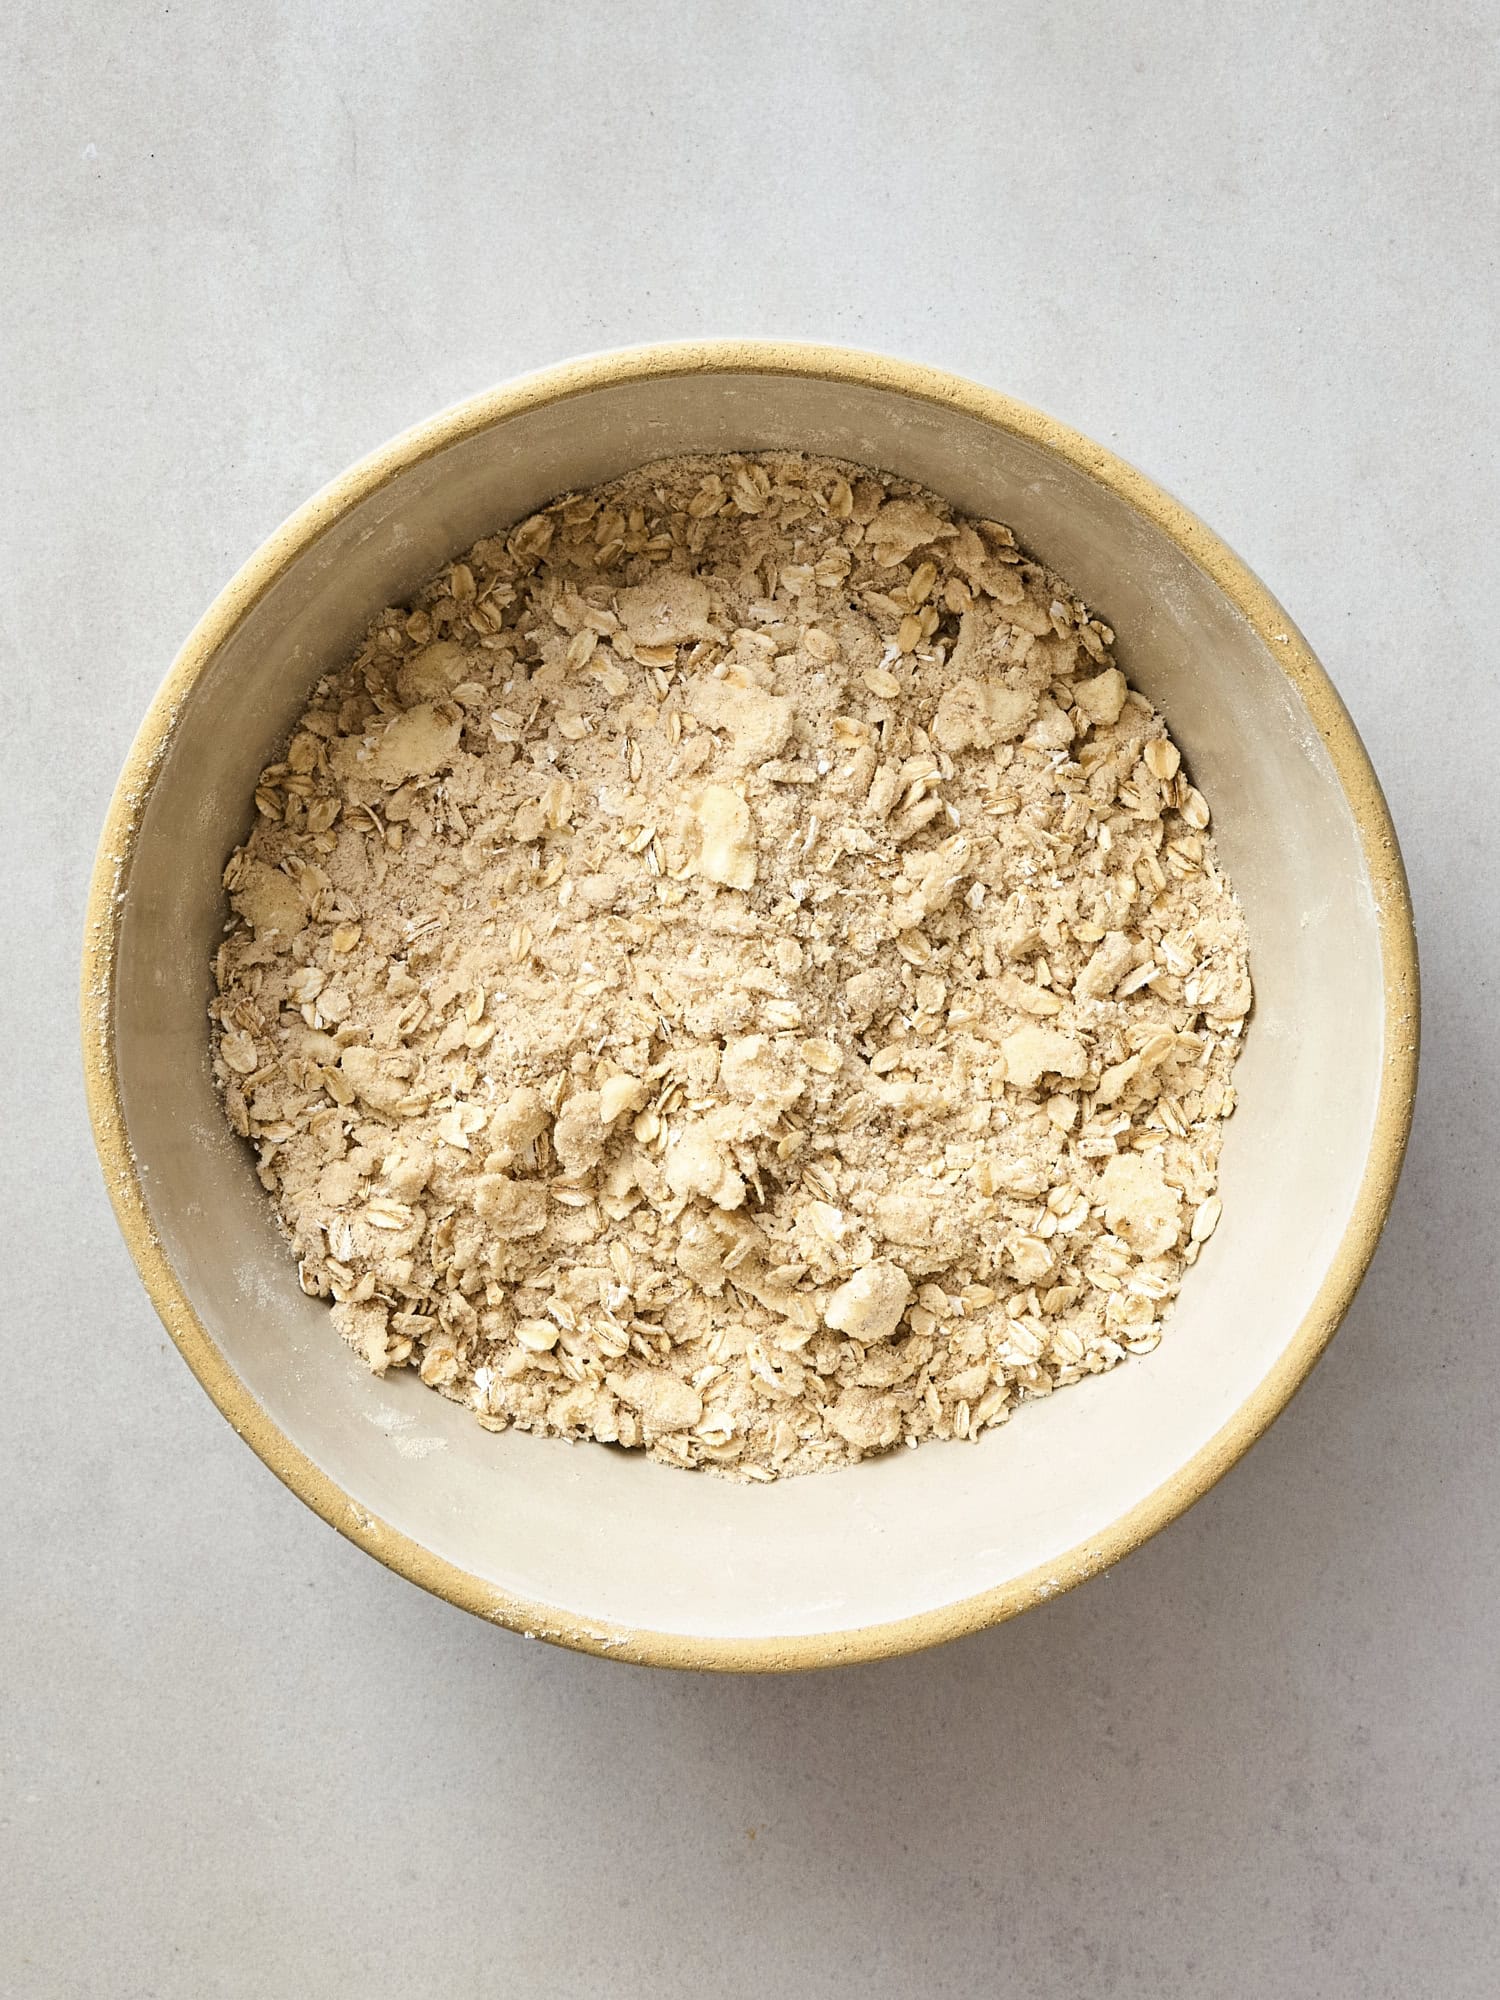
Step 1: Mix the crust and streusel – In a large bowl, combine the rolled oats, flour, brown sugar, granulated sugar, cinnamon, and salt. Add the cold butter cubes and toss to coat them with the dry ingredients. Work the butter into the mixture until it resembles damp sand with some pea-sized pieces of butter remaining. Measure out 2 cups of the mixture and reserve it for the topping.
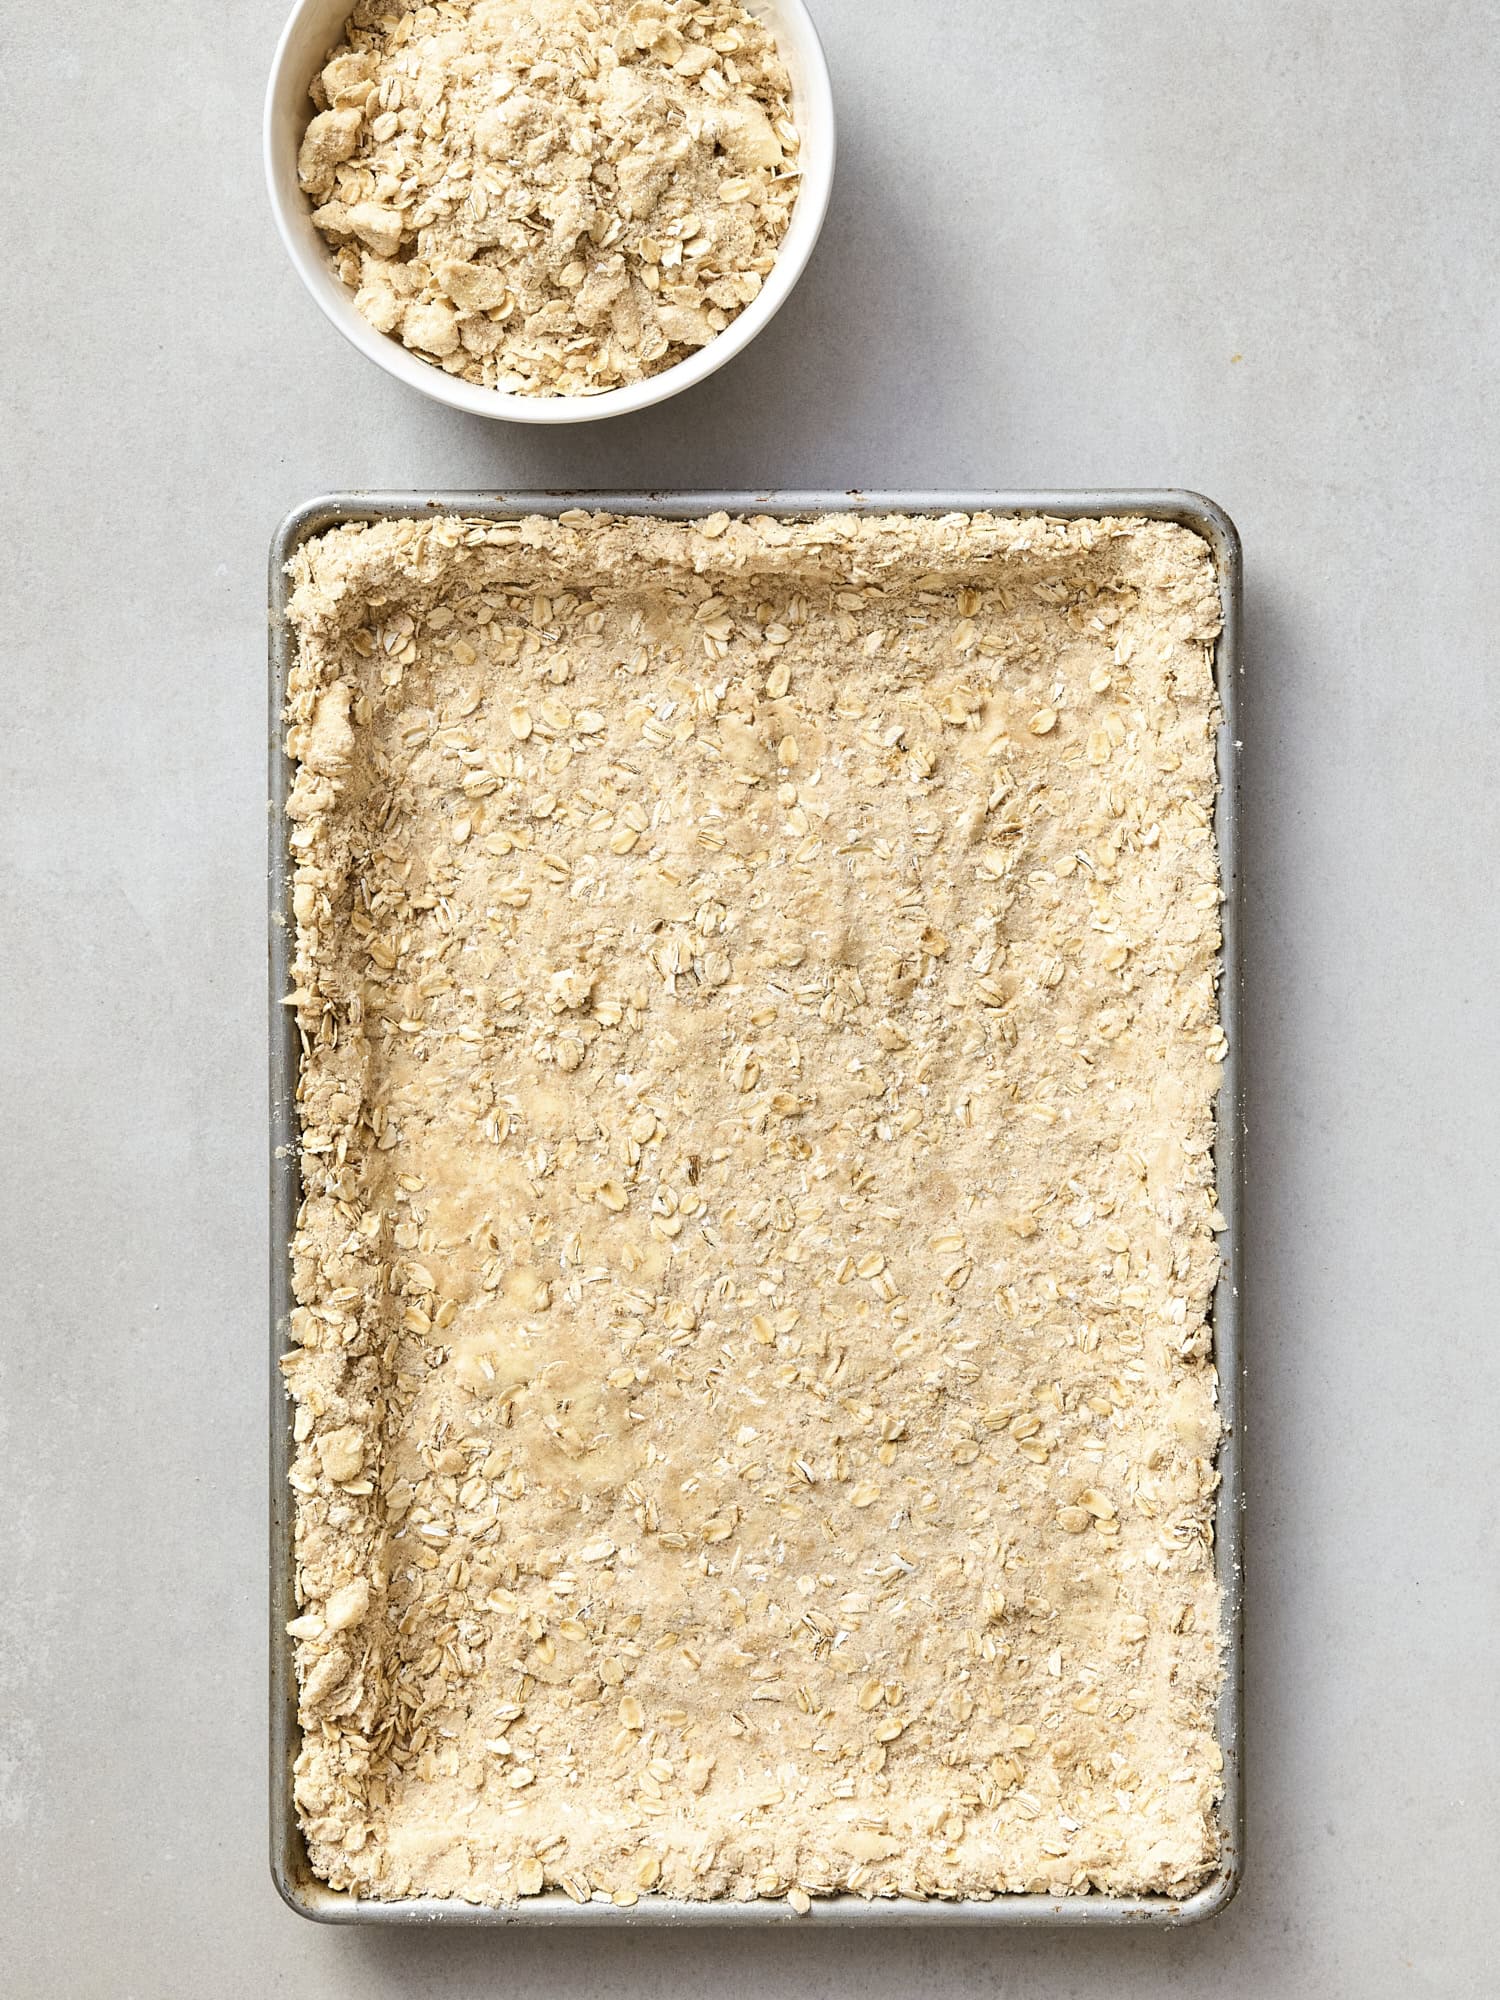
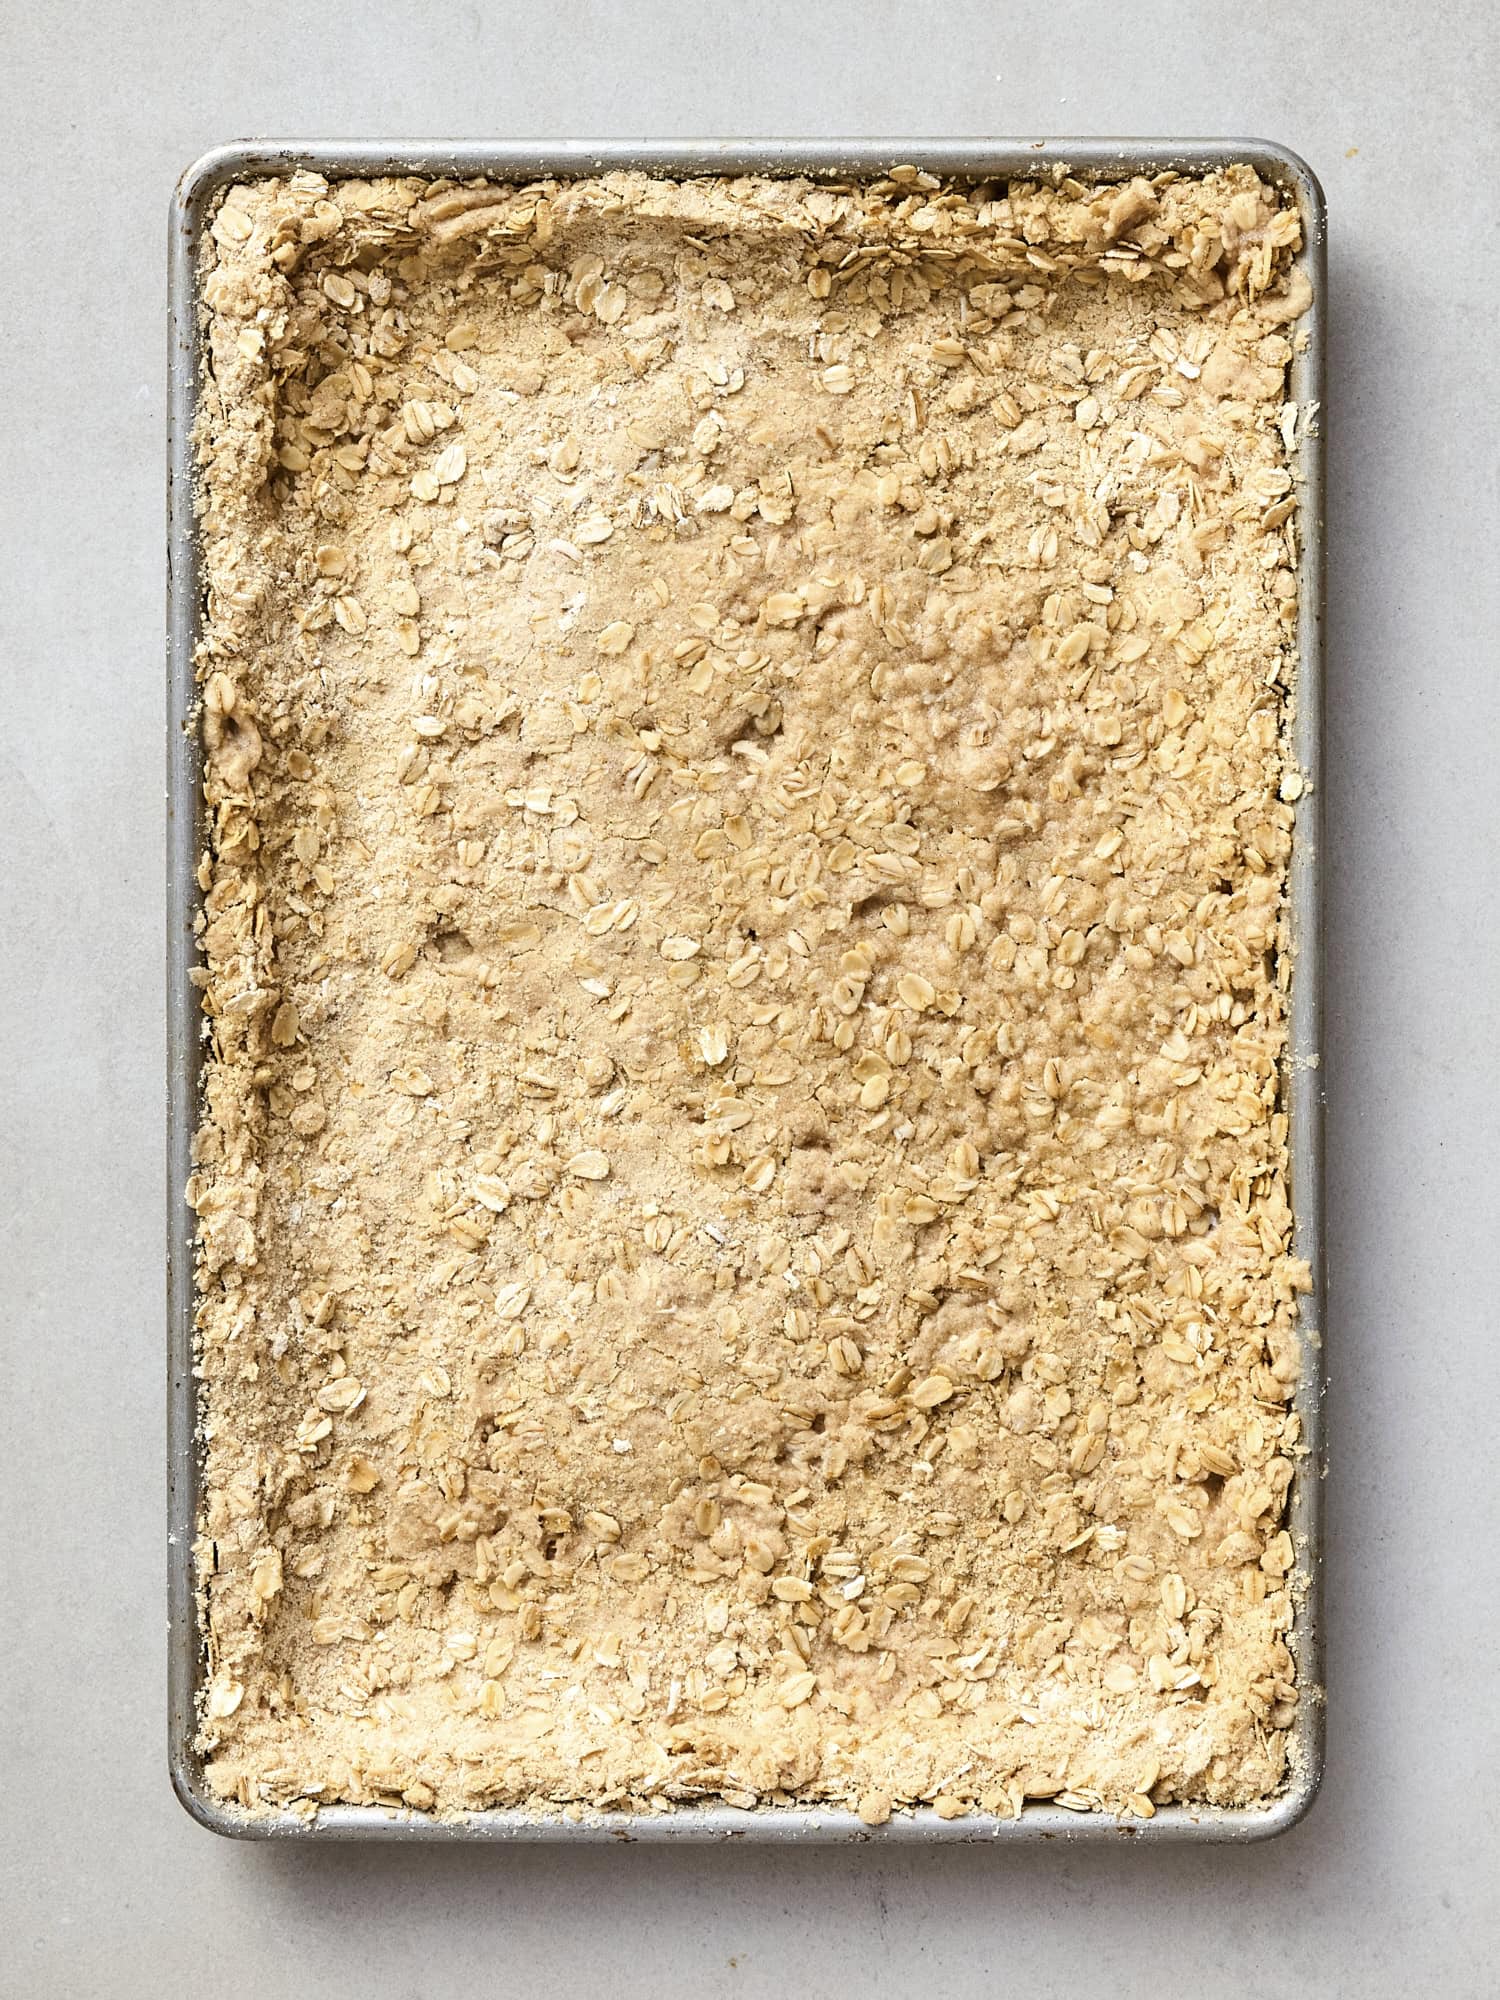
Step 2: Form and par-bake the crust – Press the remaining oat mixture firmly and evenly into a greased 10 x 14-inch baking pan, bringing a small amount up the sides to help contain the filling. Bake in a preheated 350°F oven for 15 minutes, until the crust is beginning to set and turn lightly golden around the edges.
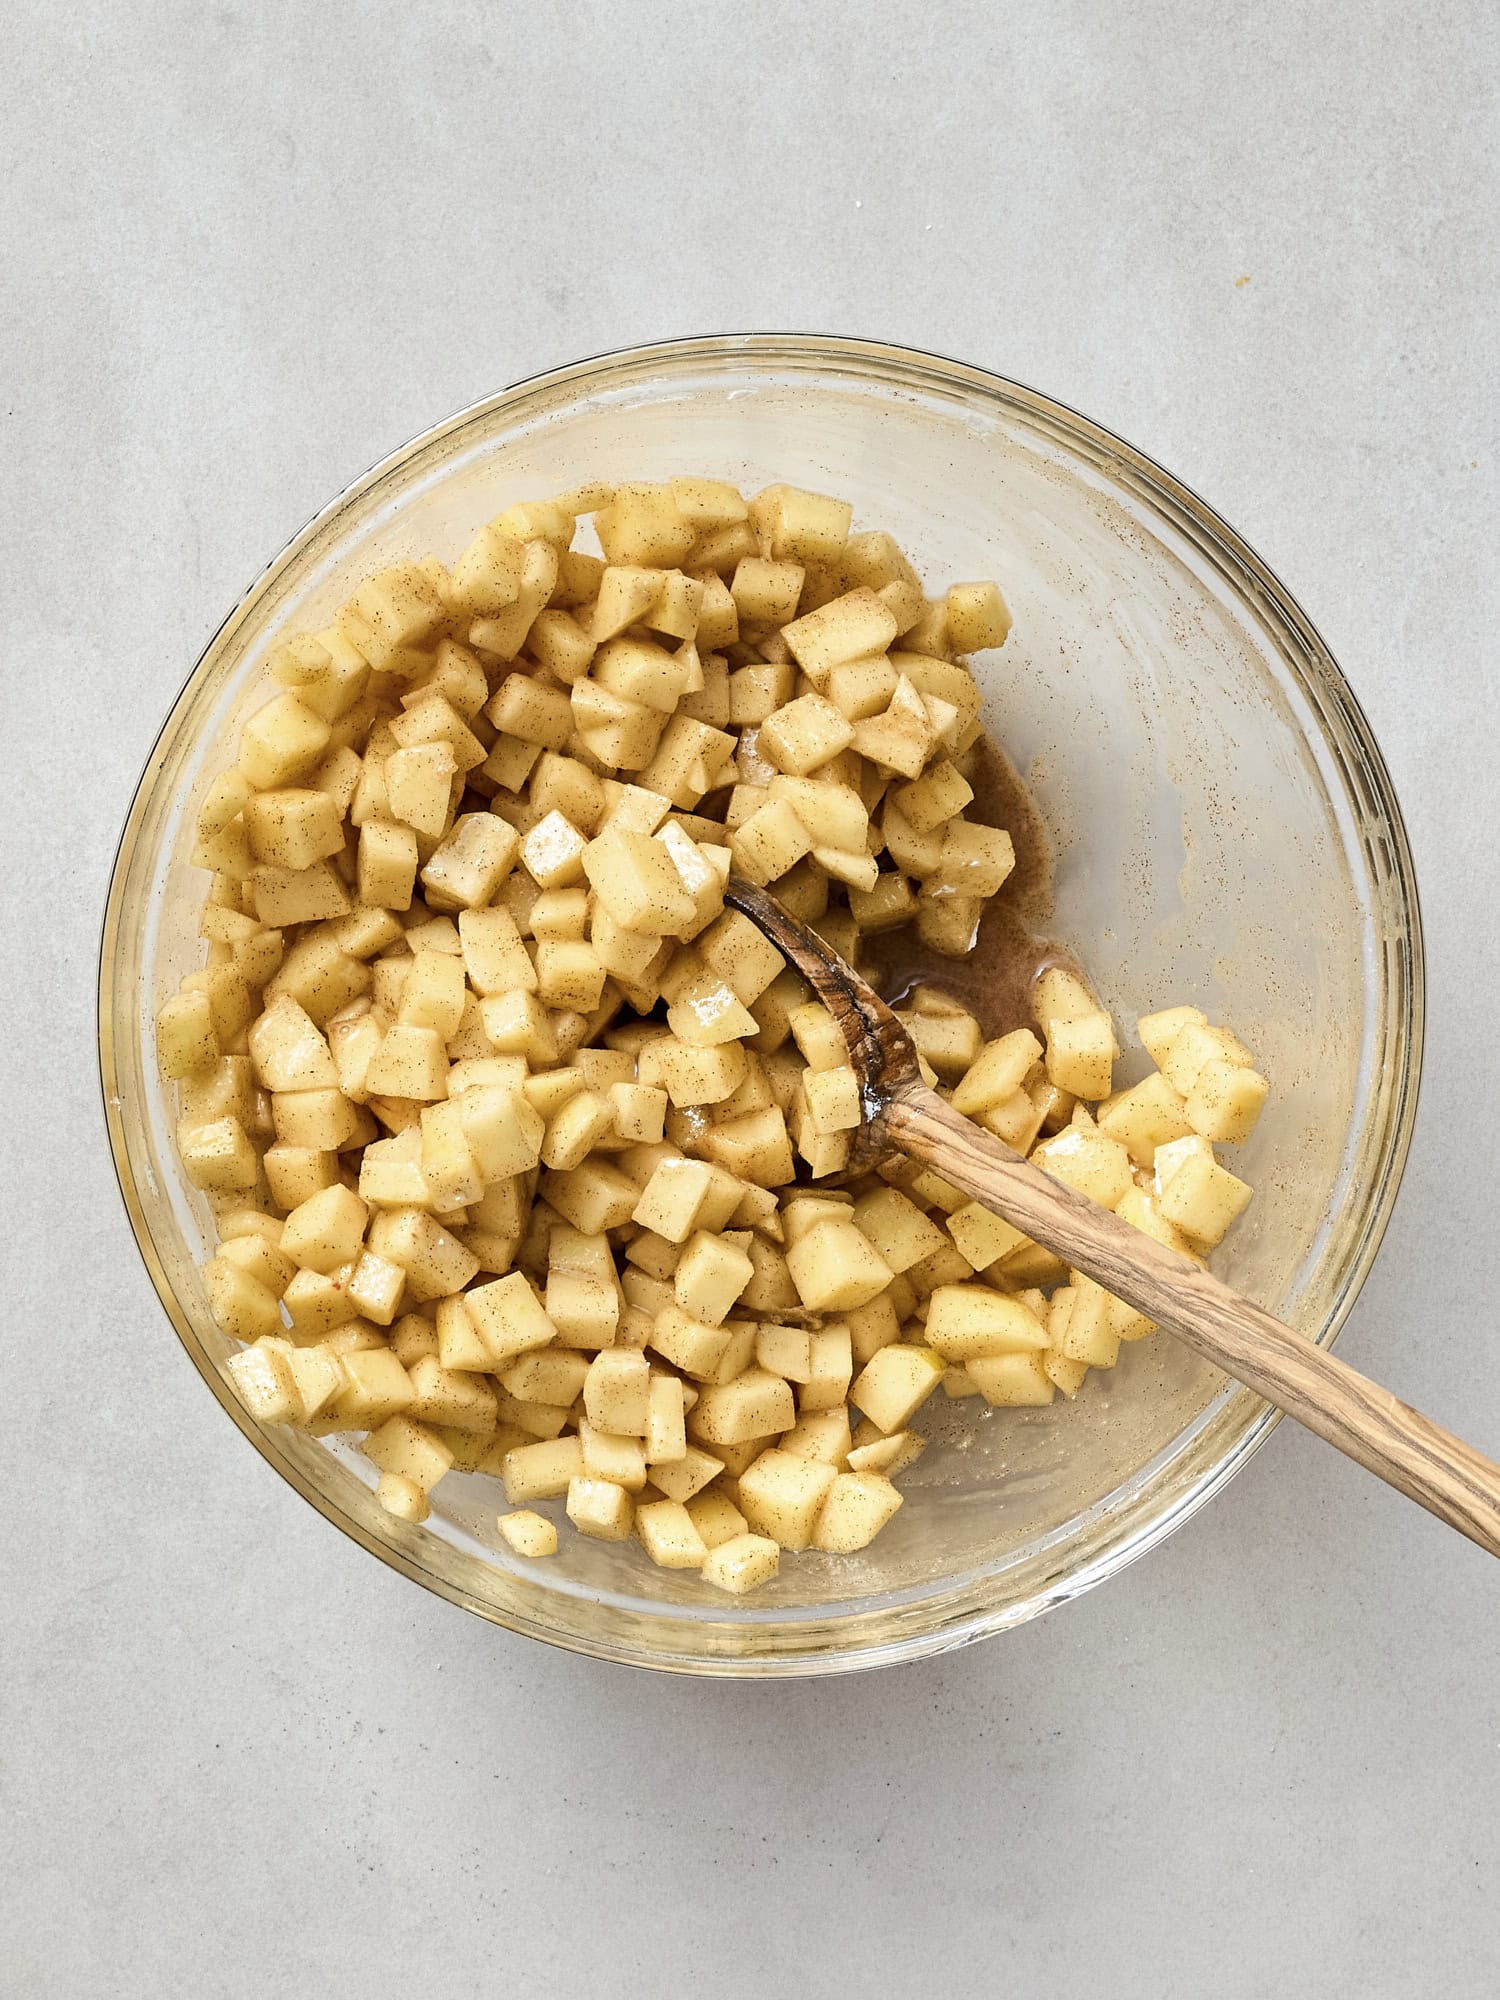
Step 3: Prepare the apple filling – Peel, core, and cut the apples into chunks. Place them in a large bowl and add the cornstarch, granulated sugar, maple syrup, cinnamon, and allspice. Toss until everything is evenly coated.
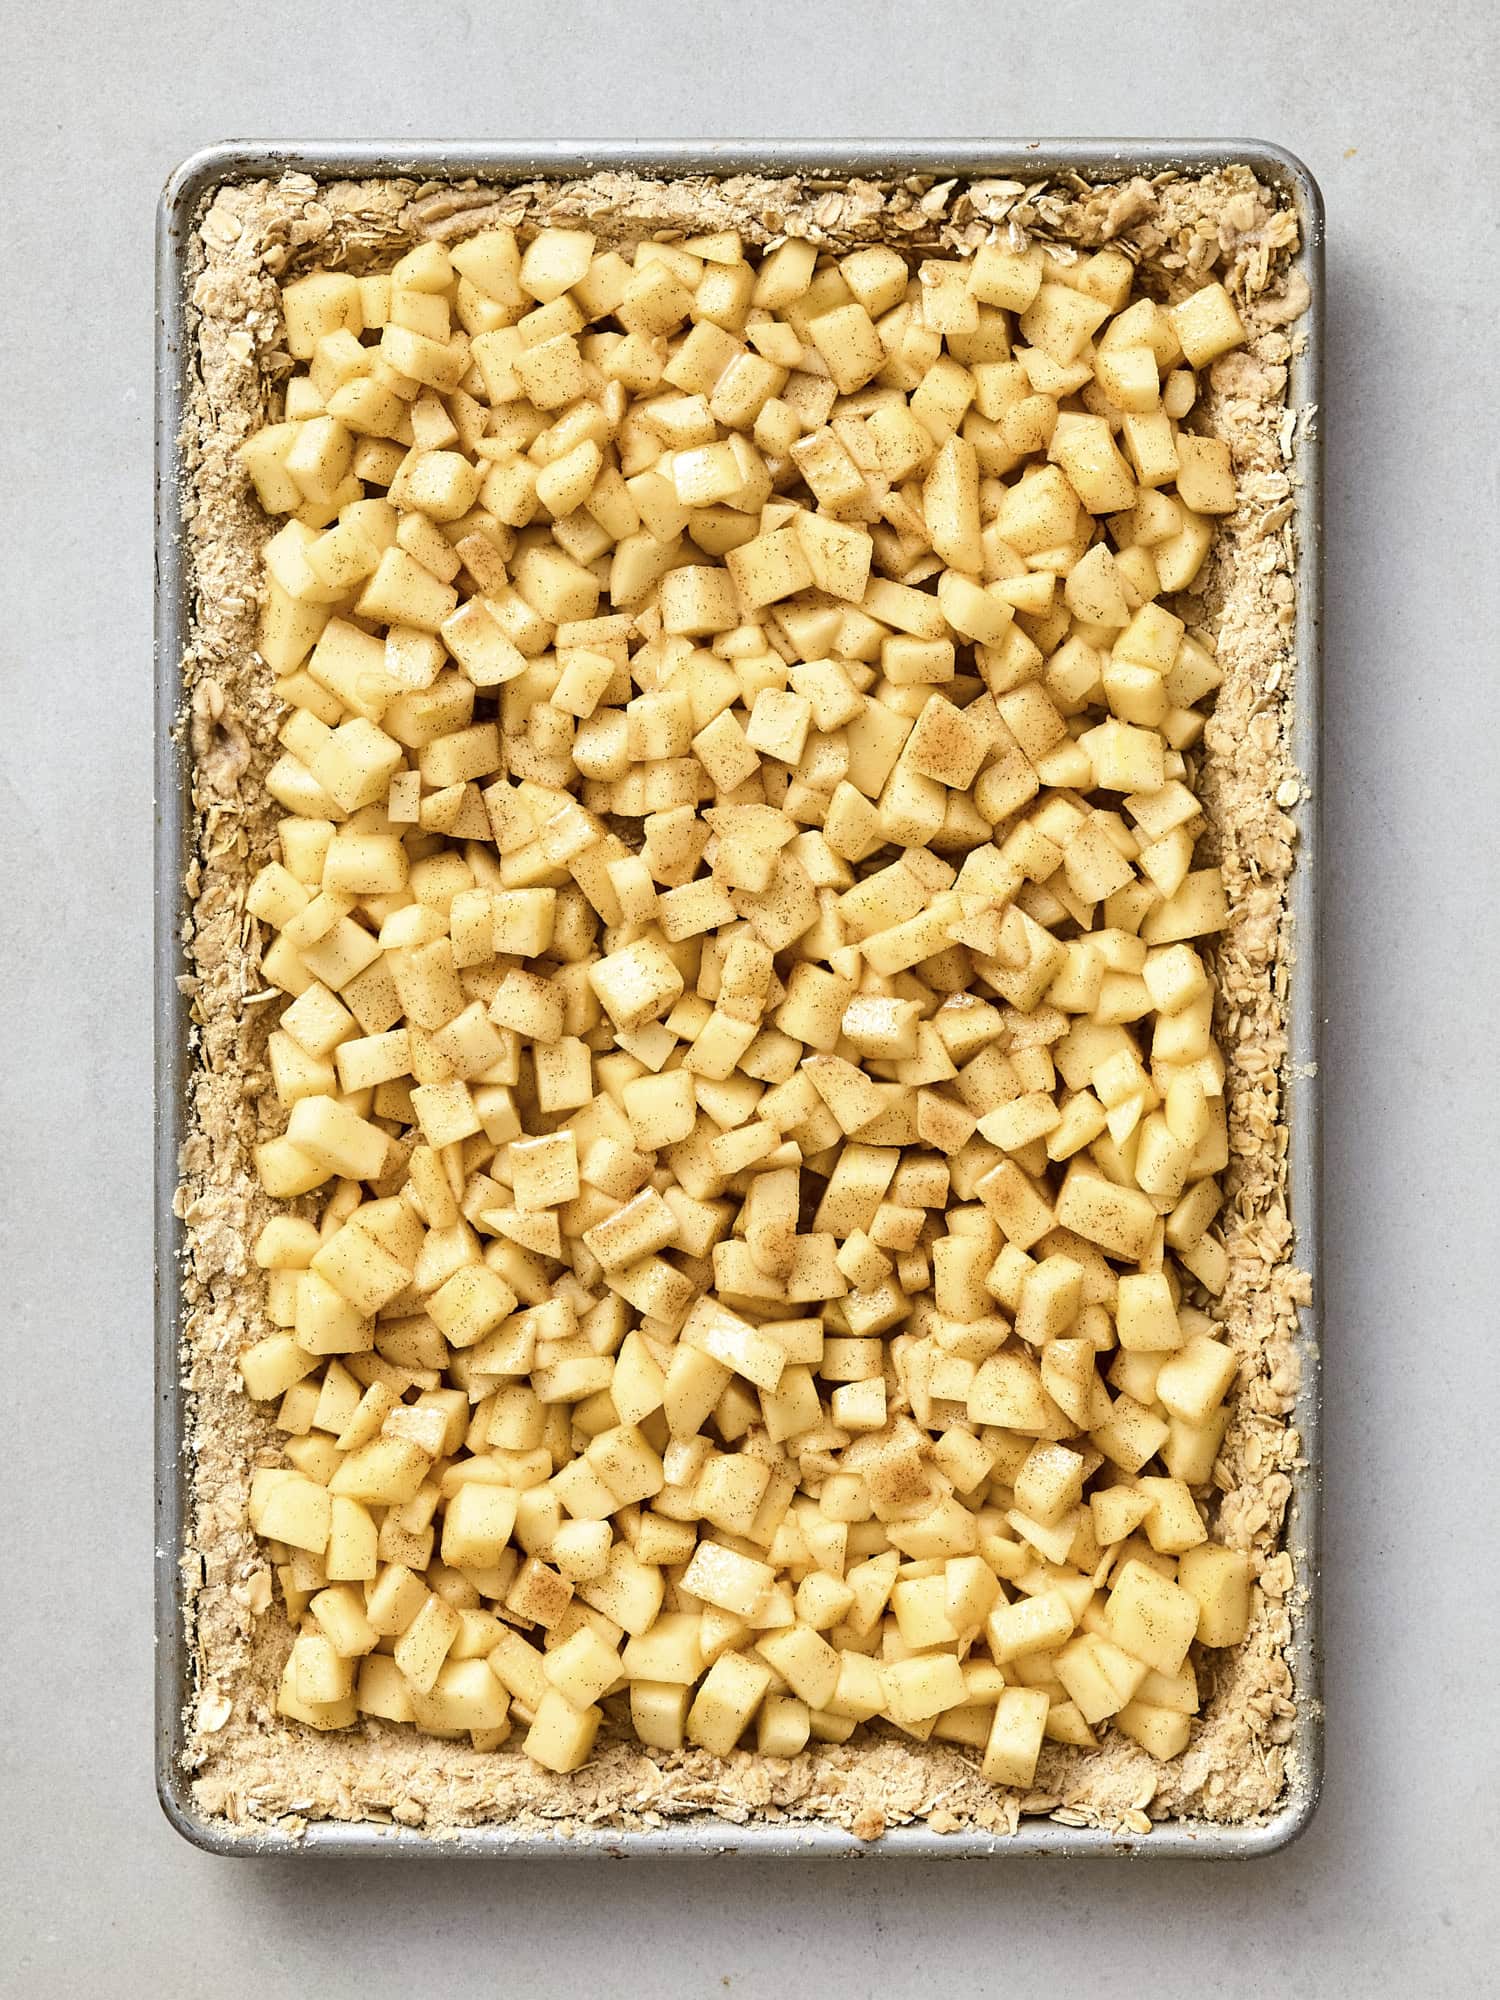
Step 4: Assemble the bars – Pour the apples over the warm crust, overlapping as needed. Crumble the reserved 2 cups of oat mixture evenly over the top.
Step 5: Bake – Return the pan to the preheated 350°F oven and bake for 35-45 minutes, until the streusel is golden and a knife slides easily into the apples. Remove the bars from the oven and cool for at least 1 hour before slicing.
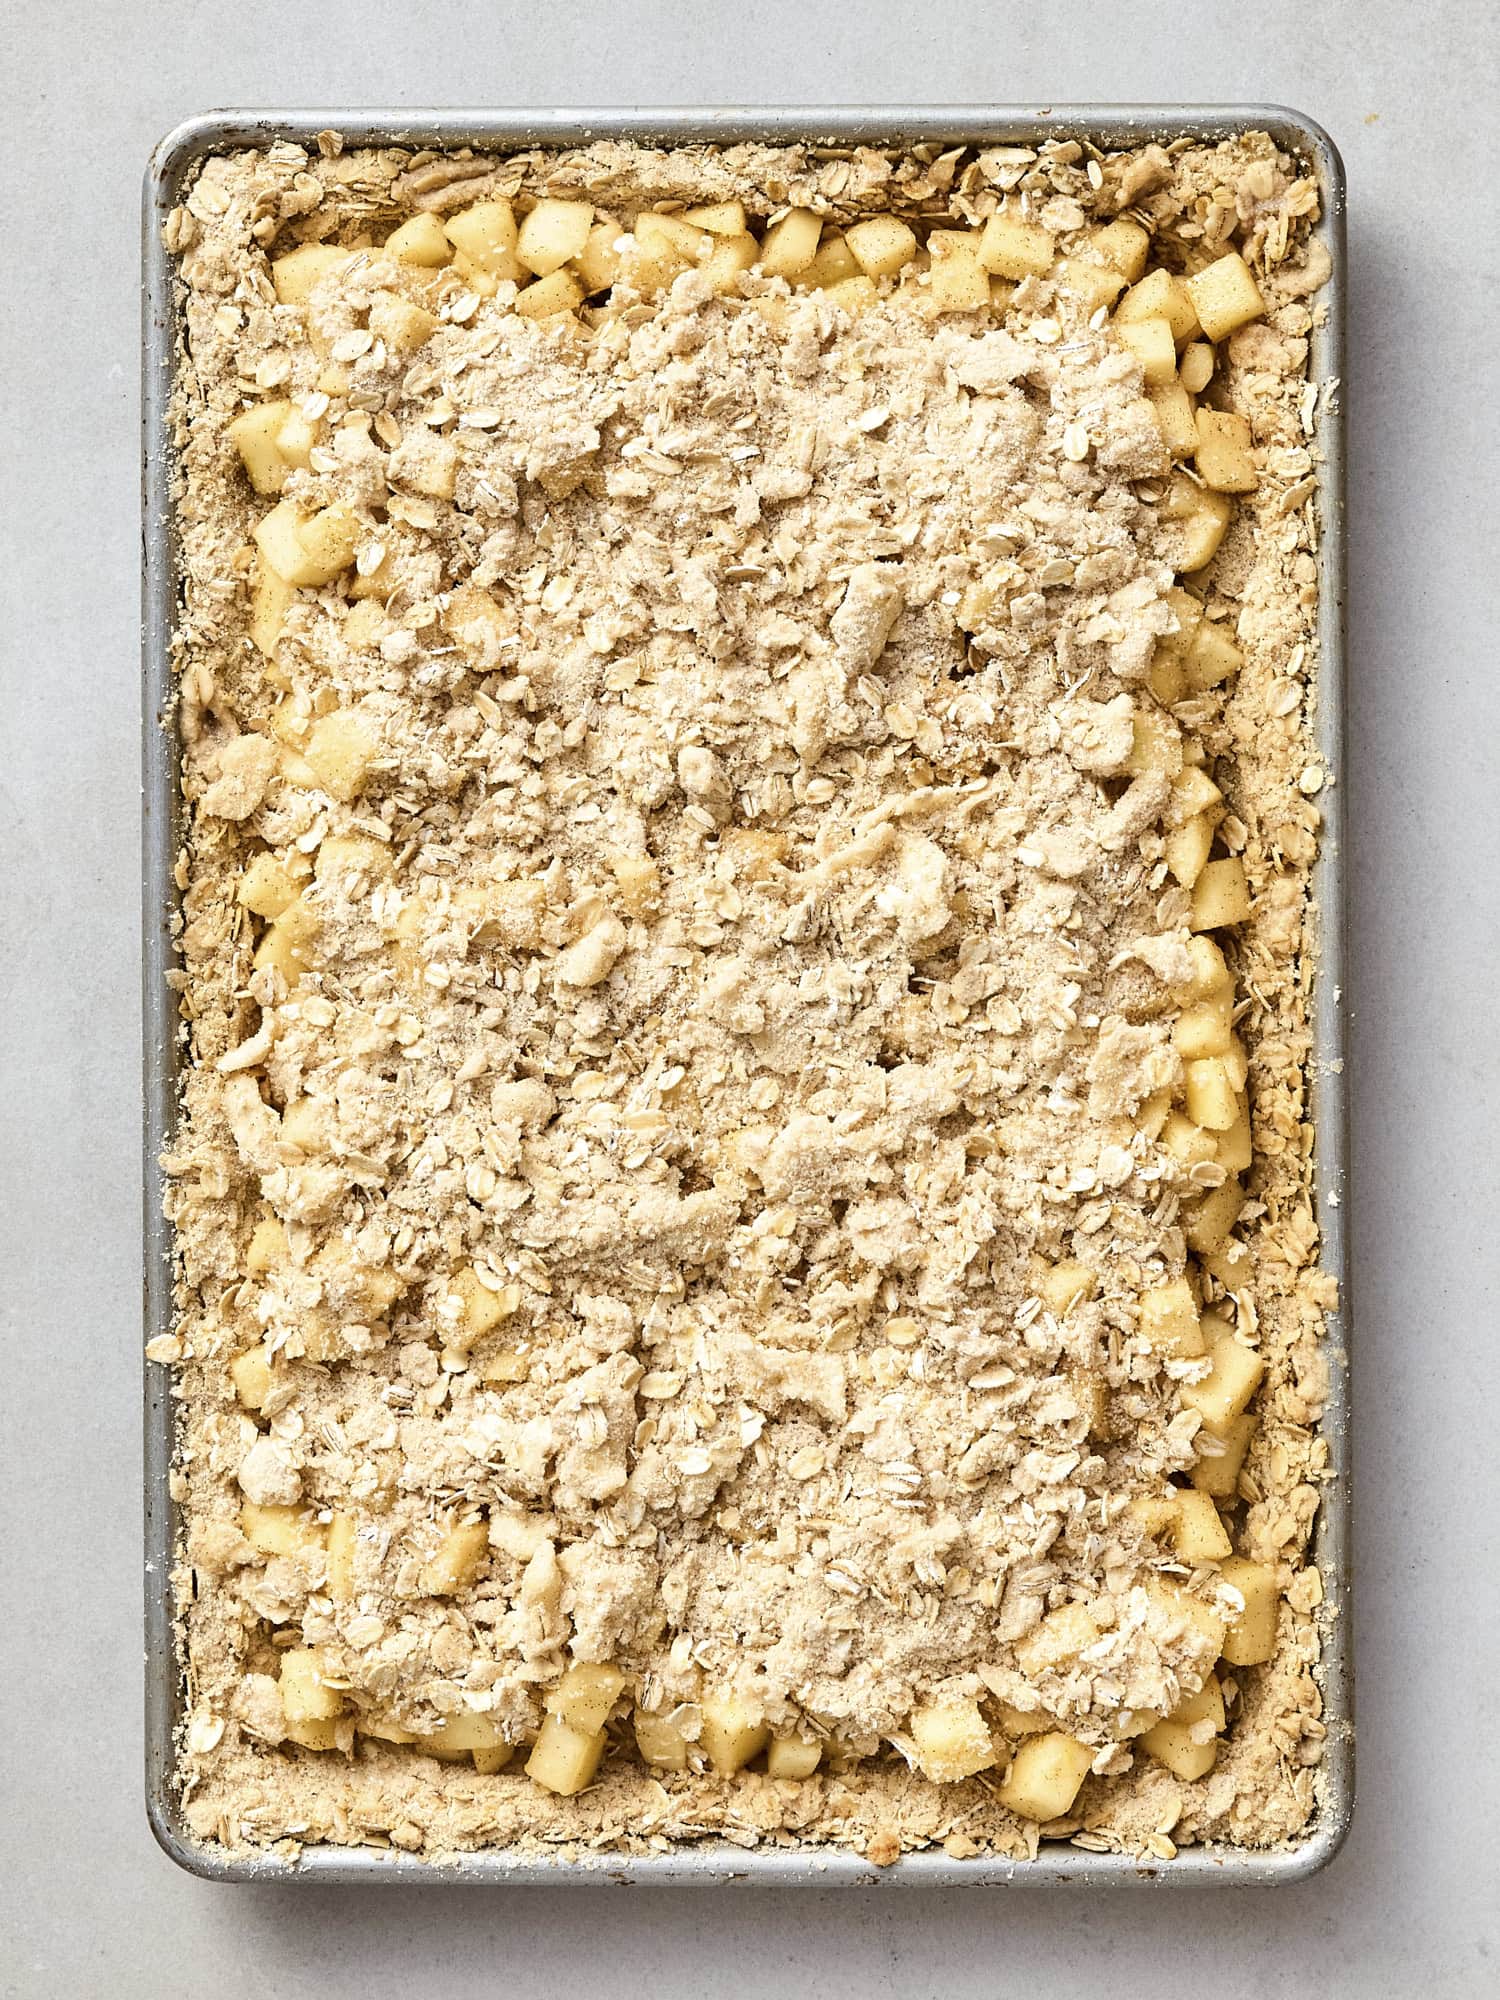
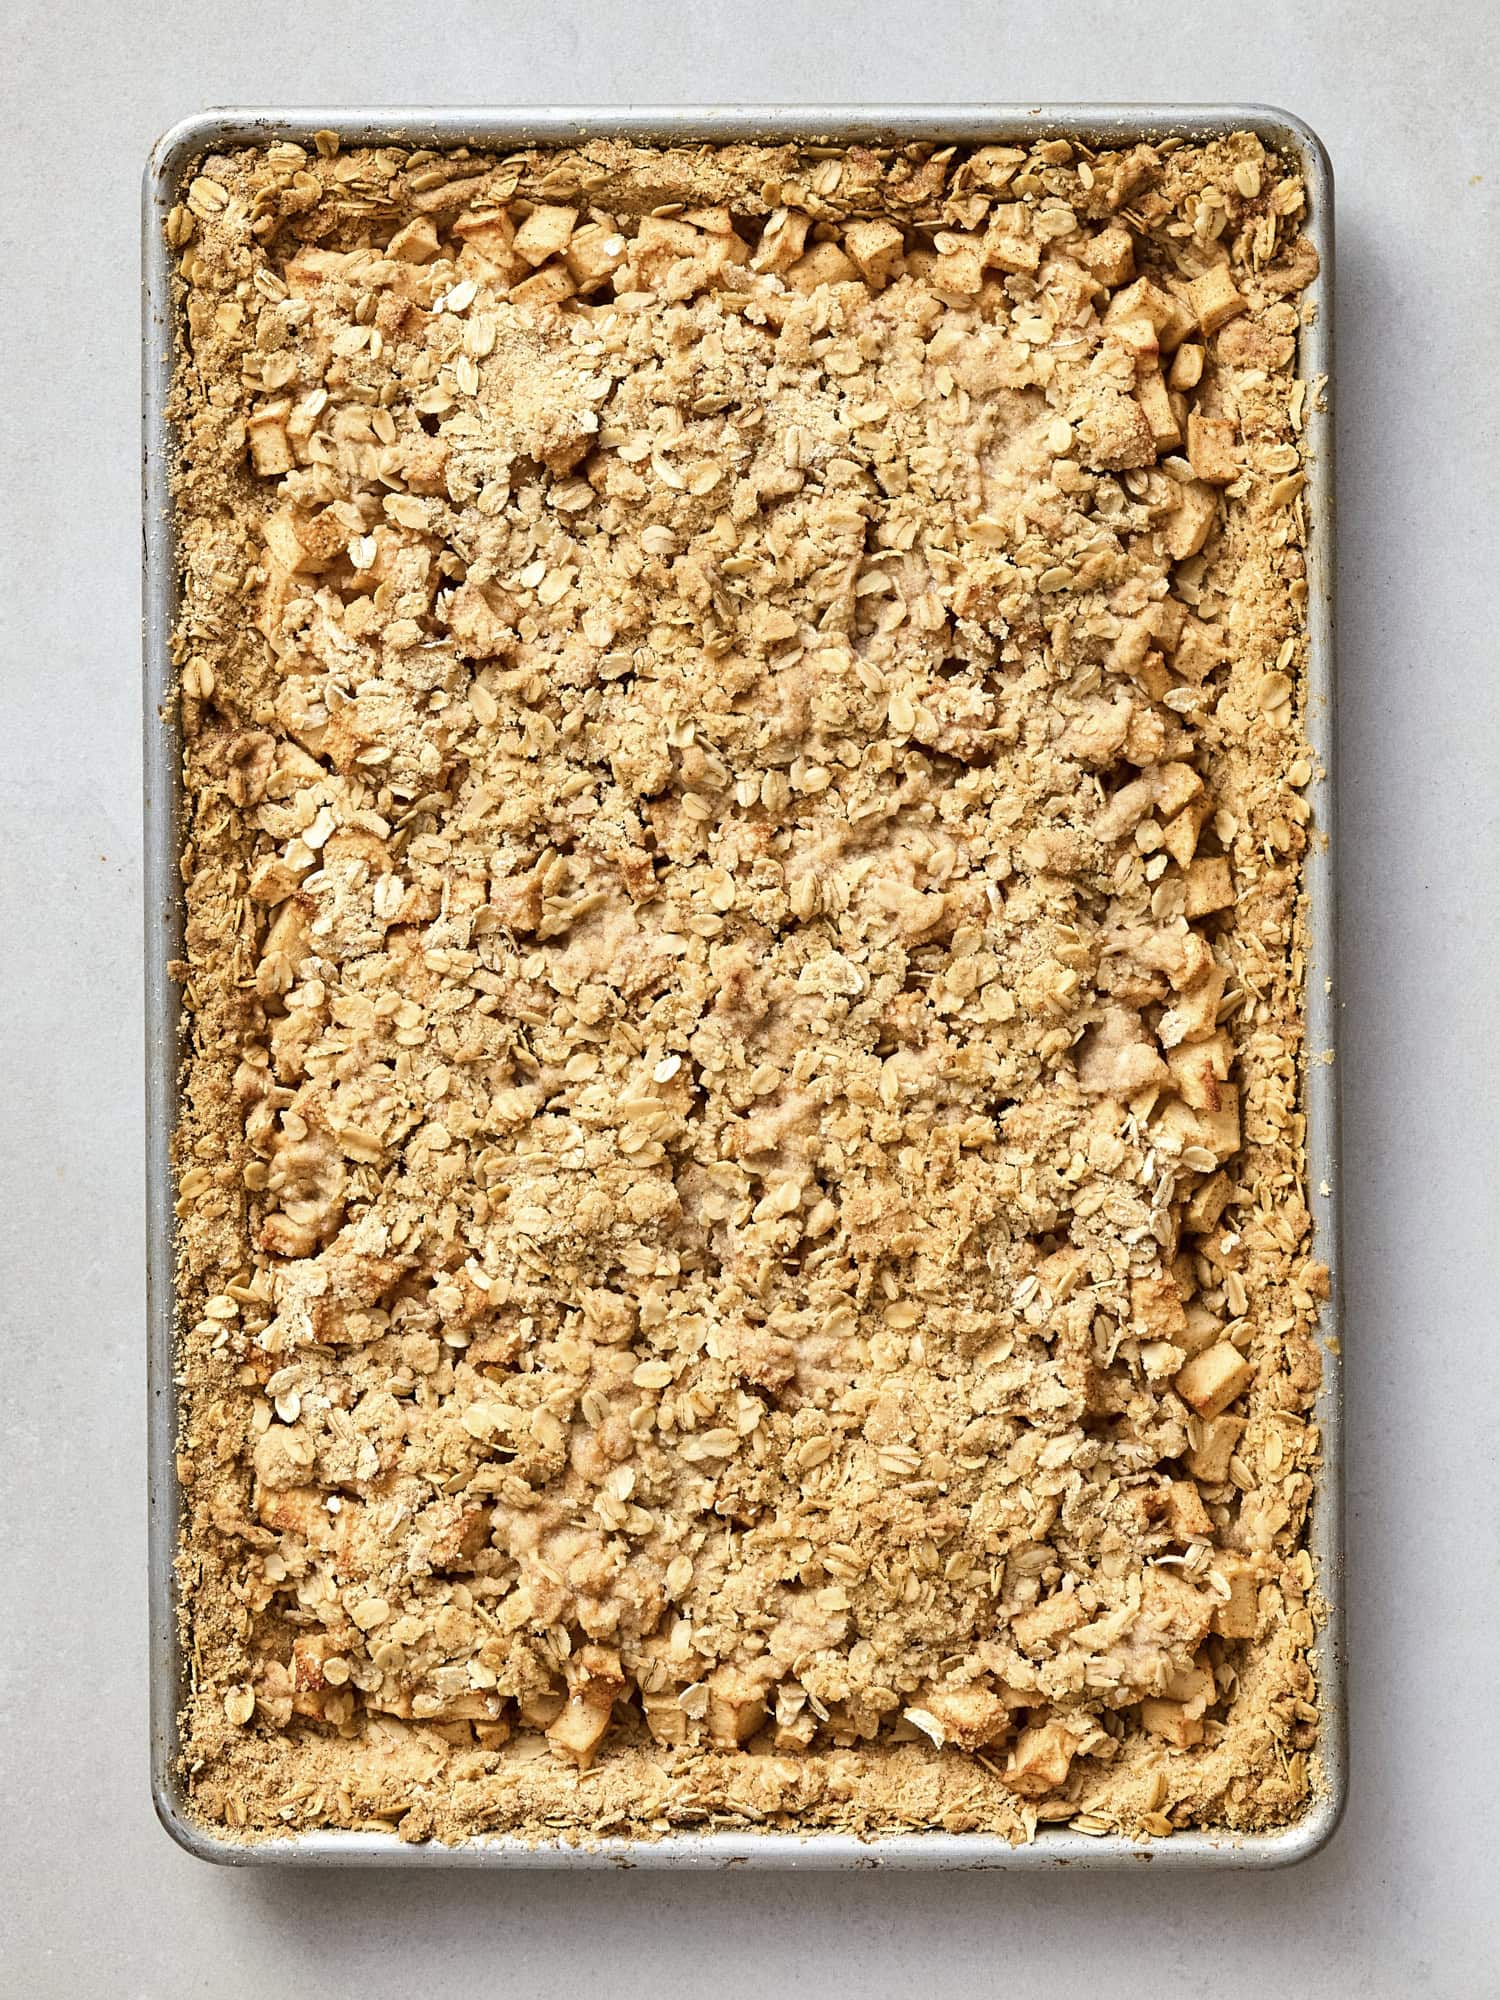
Recipe Tips
Let’s make sure your apple pie bars turn out perfectly:
- Use old-fashioned rolled oats – Their larger flakes give the crust and topping a heartier texture than quick-cooking oats.
- Keep the butter cold – Cold butter is what gives the oat mixture its crumbly texture. Cut it into small cubes so it can be incorporated without warming too much.
- Choose apples that can handle the oven – Granny Smith, Honeycrisp, Pink Lady, and Braeburn are all good choices because they hold their flavor and texture during baking.
- Peeling is totally optional – I usually tend to leave the peel on (although I removed it for these pictures because I know people don’t love it). It softens during baking, saves time, and adds a little more texture to the filling. The choice is yours!
- Let the bars cool before cutting – They’re softer when they first come out of the oven. An hour of cooling allows the filling and crust to firm up enough for cleaner slices.
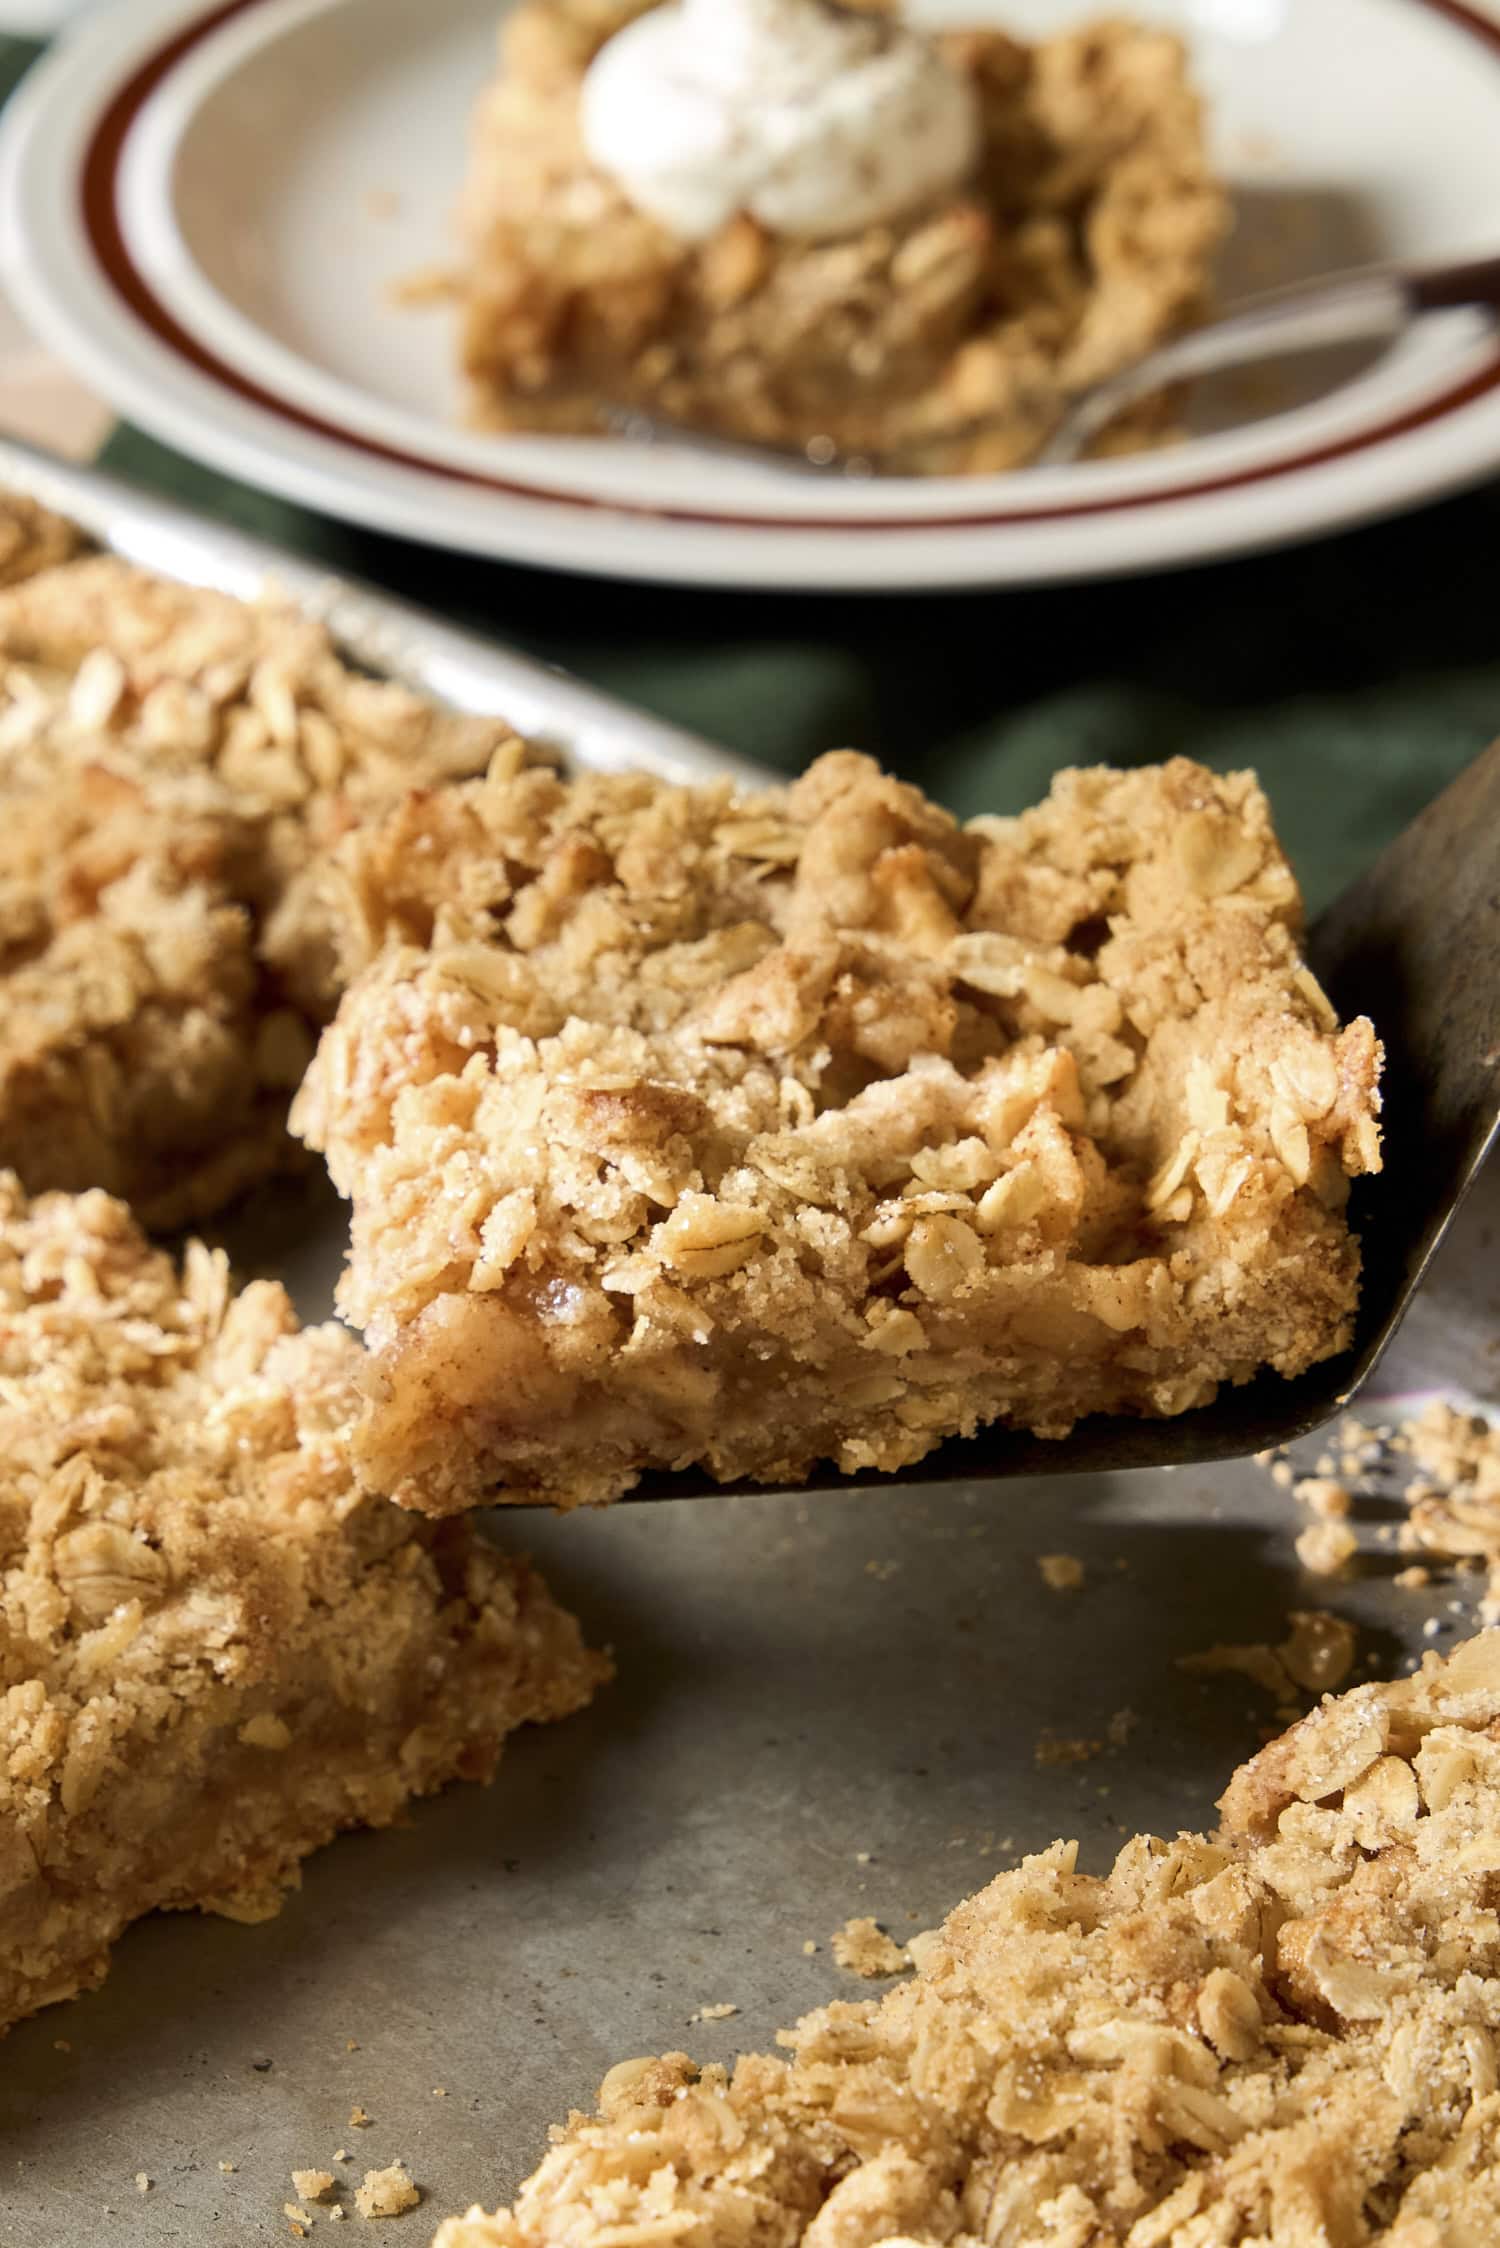
Frequently Asked Questions
Yes. Since the same mixture makes the crust and topping, it can be prepared in advance and stored covered in the refrigerator. Keep it cold until you are ready to press the crust into the pan and bake.
A good crisp and tart apple that holds some texture once baked is best. I prefer a Honeycrisp, Pink Lady, Braeburn, or Jonagold. Make sure to check out my guide to the best apples.
Absolutely. Chopped pecans or walnuts are both delicious with apples. Add them to the reserved streusel mixture before sprinkling it over the filling.
Yes. Cool the bars completely before slicing and freezing them in an airtight, freezer-safe container. They can be frozen for up to 1 month.
The recipe is developed for a 10 x 14-inch pan. A 9 x 13-inch pan has less surface area, so the crust and apple layer will be thicker and may require additional baking time. If using one, rely on the apples rather than the timer alone to determine doneness. A knife should slide easily into the center slices before the bars come out of the oven.
Apple variety and piece thickness both affect the baking time. Firmer varieties can take longer to soften, so continue baking until a paring knife easily pierces the apple slices. If the streusel is becoming too dark before the apples are tender, loosely cover the pan with foil.
I would not make a straight one-for-one substitution. Other fruits can release considerably more juice and would change the amount of thickener and possibly the baking time needed for the filling to set. For the best result, use a bar recipe developed specifically for a different type of fruit.
Follow These Tips
Serving & Storage
Serving – Once the bars have cooled, they can be sliced and enjoyed. What’s great about them is that they’re easy to pick up and eat just as they are. For dessert, warm a bar slightly and add a scoop of vanilla ice cream.
They’re an easy dessert for any falltime occasion, including Thanksgiving, because the bars can be baked ahead and sliced before serving.
Refrigerate – Once completely cool, place the bars in an airtight container and refrigerate for up to 5 days. Let them sit at room temperature briefly before serving if you prefer a softer texture.
Freeze – Arrange completely cooled and sliced bars in a freezer-safe container, separating layers with parchment if needed. Freeze for up to 1 month and thaw in the refrigerator or at room temperature before serving.
Reheat – For the crispest streusel, warm individual bars briefly in a low oven until just heated through. A microwave also works to defrost/reheat the bars.
More Fall Recipes
Have I Convinced You to Make This Recipe?
I hope you make this recipe and put some food on your table. Leave a comment and share a star rating so you can let others know how much you love this recipe. This helps show others that this is a recipe they, too, can make, enjoy, and love!
Apple Pie Bars
Ingredients
For the granola crust
- 2 ¾ cups rolled oats
- 1 ¾ cups all-purpose flour
- ¾ cup light brown sugar
- ½ cup granulated sugar
- 1 teaspoon ground cinnamon
- 1 teaspoon kosher salt
- 16 tablespoons (2 sticks) unsalted butter cold and cut into small pieces
For the apple pie filling
- 5 large baking apples (about 6 cups diced) (such as Granny Smith, Honeycrisp, Pink Lady, or Braeburn)
- 2 tablespoons cornstarch
- ¼ cup granulated sugar
- ¼ cup maple syrup
- 1 teaspoon ground cinnamon
- ½ teaspoon allspice
- 1 ½ tablespoons fresh lemon juice
Instructions
- Preheat oven to 350°F. Grease a 10 x 14-inch baking pan (jelly roll-size pan) and set it aside.
- Prepare the crust: In a large bowl, mix together the rolled oats, flour, brown sugar, granulated sugar, cinnamon, and kosher salt. Add the cubes of cold butter and toss with the dry ingredients. Work the butter into the dry mixture until it resembles wet sand with some pea-sized pieces of butter. Reserve 2 cups of the prepared crust and set it aside.2 ¾ cups rolled oats, 1 ¾ cups all-purpose flour, ¾ cup light brown sugar, ½ cup granulated sugar, 1 teaspoon ground cinnamon, 1 teaspoon kosher salt, 16 tablespoons (2 sticks) unsalted butter
- Form the crust: Firmly and evenly press the remaining crust into the prepared pan, pressing it up the sides. Bake the crust in the preheated 350°F oven for 15 minutes. Once baked, remove it from the oven and set aside to cool.
- Prepare the filling: Peel, core, and cut the apples into cubes. In a large bowl, combine the prepared apples, cornstarch, granulated sugar, maple syrup, cinnamon, allspice, and lemon juice. Stir until well combined, then pour the mixture onto the baked crust.5 large baking apples (about 6 cups diced) (such as Granny Smith, Honeycrisp, Pink Lady, or Braeburn), 2 tablespoons cornstarch, ¼ cup granulated sugar, ¼ cup maple syrup, 1 teaspoon ground cinnamon, ½ teaspoon allspice, 1 ½ tablespoons fresh lemon juice
- Assemble: Spread the apples out into an even layer, overlapping as needed to fit all the apples. Sprinkle on the reserved 2 cups of prepared crust topping.
- Bake in the 350°F preheated oven until the apples are tender, 35-45 minutes. Remove from the oven and cool for 1 hour before enjoying them!
Video

Notes
Nutrition
Nutrition information is automatically calculated, so should only be used as an approximation.

Did you make this? Leave a comment below!
Styling: Addelyn Evans | Photography: Henry Wortock


Easy and tasty! Made it with my arm in sling post shoulder surgery. Made my recovery better. My caregiver was not pleased that I made it. But when you a good recipe you gotta try! Thank you so much for sharing this great fall recipe.
I cut my 4 apples quite thin – 1/8-1/4 inch and after 45 minutes they are still somewhat firm and protruding through the crumb topping. I expected the apples to melt more. Thoughts?
This recipe was a huge hit for a women’s Bible study. Some women took seconds and others wrapped up bars to-go. They are perfect in 2” squares. These would make a great addition to brunch buffet.
Kaleb, yourl website is quickly becoming my go-to for recipes that always deliver as promised. That’s Ina Garten status in my kitchen!
Do you think these can be made, frozen and then thawed for later use?
The perfect quicker, faster and crunchier topped Apple Pie Bar. Perfect for fall. Reminded me of when we were young. We went down in our pasture for Grandma to pick her 20oz apples. She made pie, we made these.
Can I substitute fresh blueberries with this great recipe????
I’m going to make some soon
I can’t wait to try it. I imagine I must sprinkle the reserved topping over the apple filling before I bake it? It seems like the reasonable thing to do. Thank you for your yummy recipes.
Will these be too thick if baked in a 13×9 pan?
you knocked it out of the park with this one! YUM.
ps your hair rocks