


This post may contain affiliate links. If you make a purchase through links on our site, we may earn a commission. Please read our disclosure policy.

Why I Love These Ultimate Chocolate Chip Cookies
Back in the day, chocolate chip cookies were only made from the recipe on the back of the chocolate chip bag, right? Usually, I would shy away from anything printed on the back of a package. But that’s the beauty of a chocolate chip cookie: they’re always perfect. No matter when or where, most of us will say yes to a cookie. Sure, we all have preferences and variations we lean towards, but a cookie is a treat for all of us.
I started baking chocolate chip cookies when I was about 15 years old. At the time, I worked in a commercial kitchen and probably made 200+ cookies a week, baking them in a commercial convection oven. Over the years in that kitchen, I slowly altered and played with the recipe. I wanted them to have three key things: look perfect, taste amazing, and be unforgettable.
I doubt they really ever reached such high standards. But what the experience taught me was how to work with a recipe to manipulate it. This is not something you have to do, but when making something so often, it becomes second nature to notice changes and find out why they occur.
What I Love in a Chocolate Chip Cookie
- I want a chocolate chip cookie to be sweet but not too sweet.
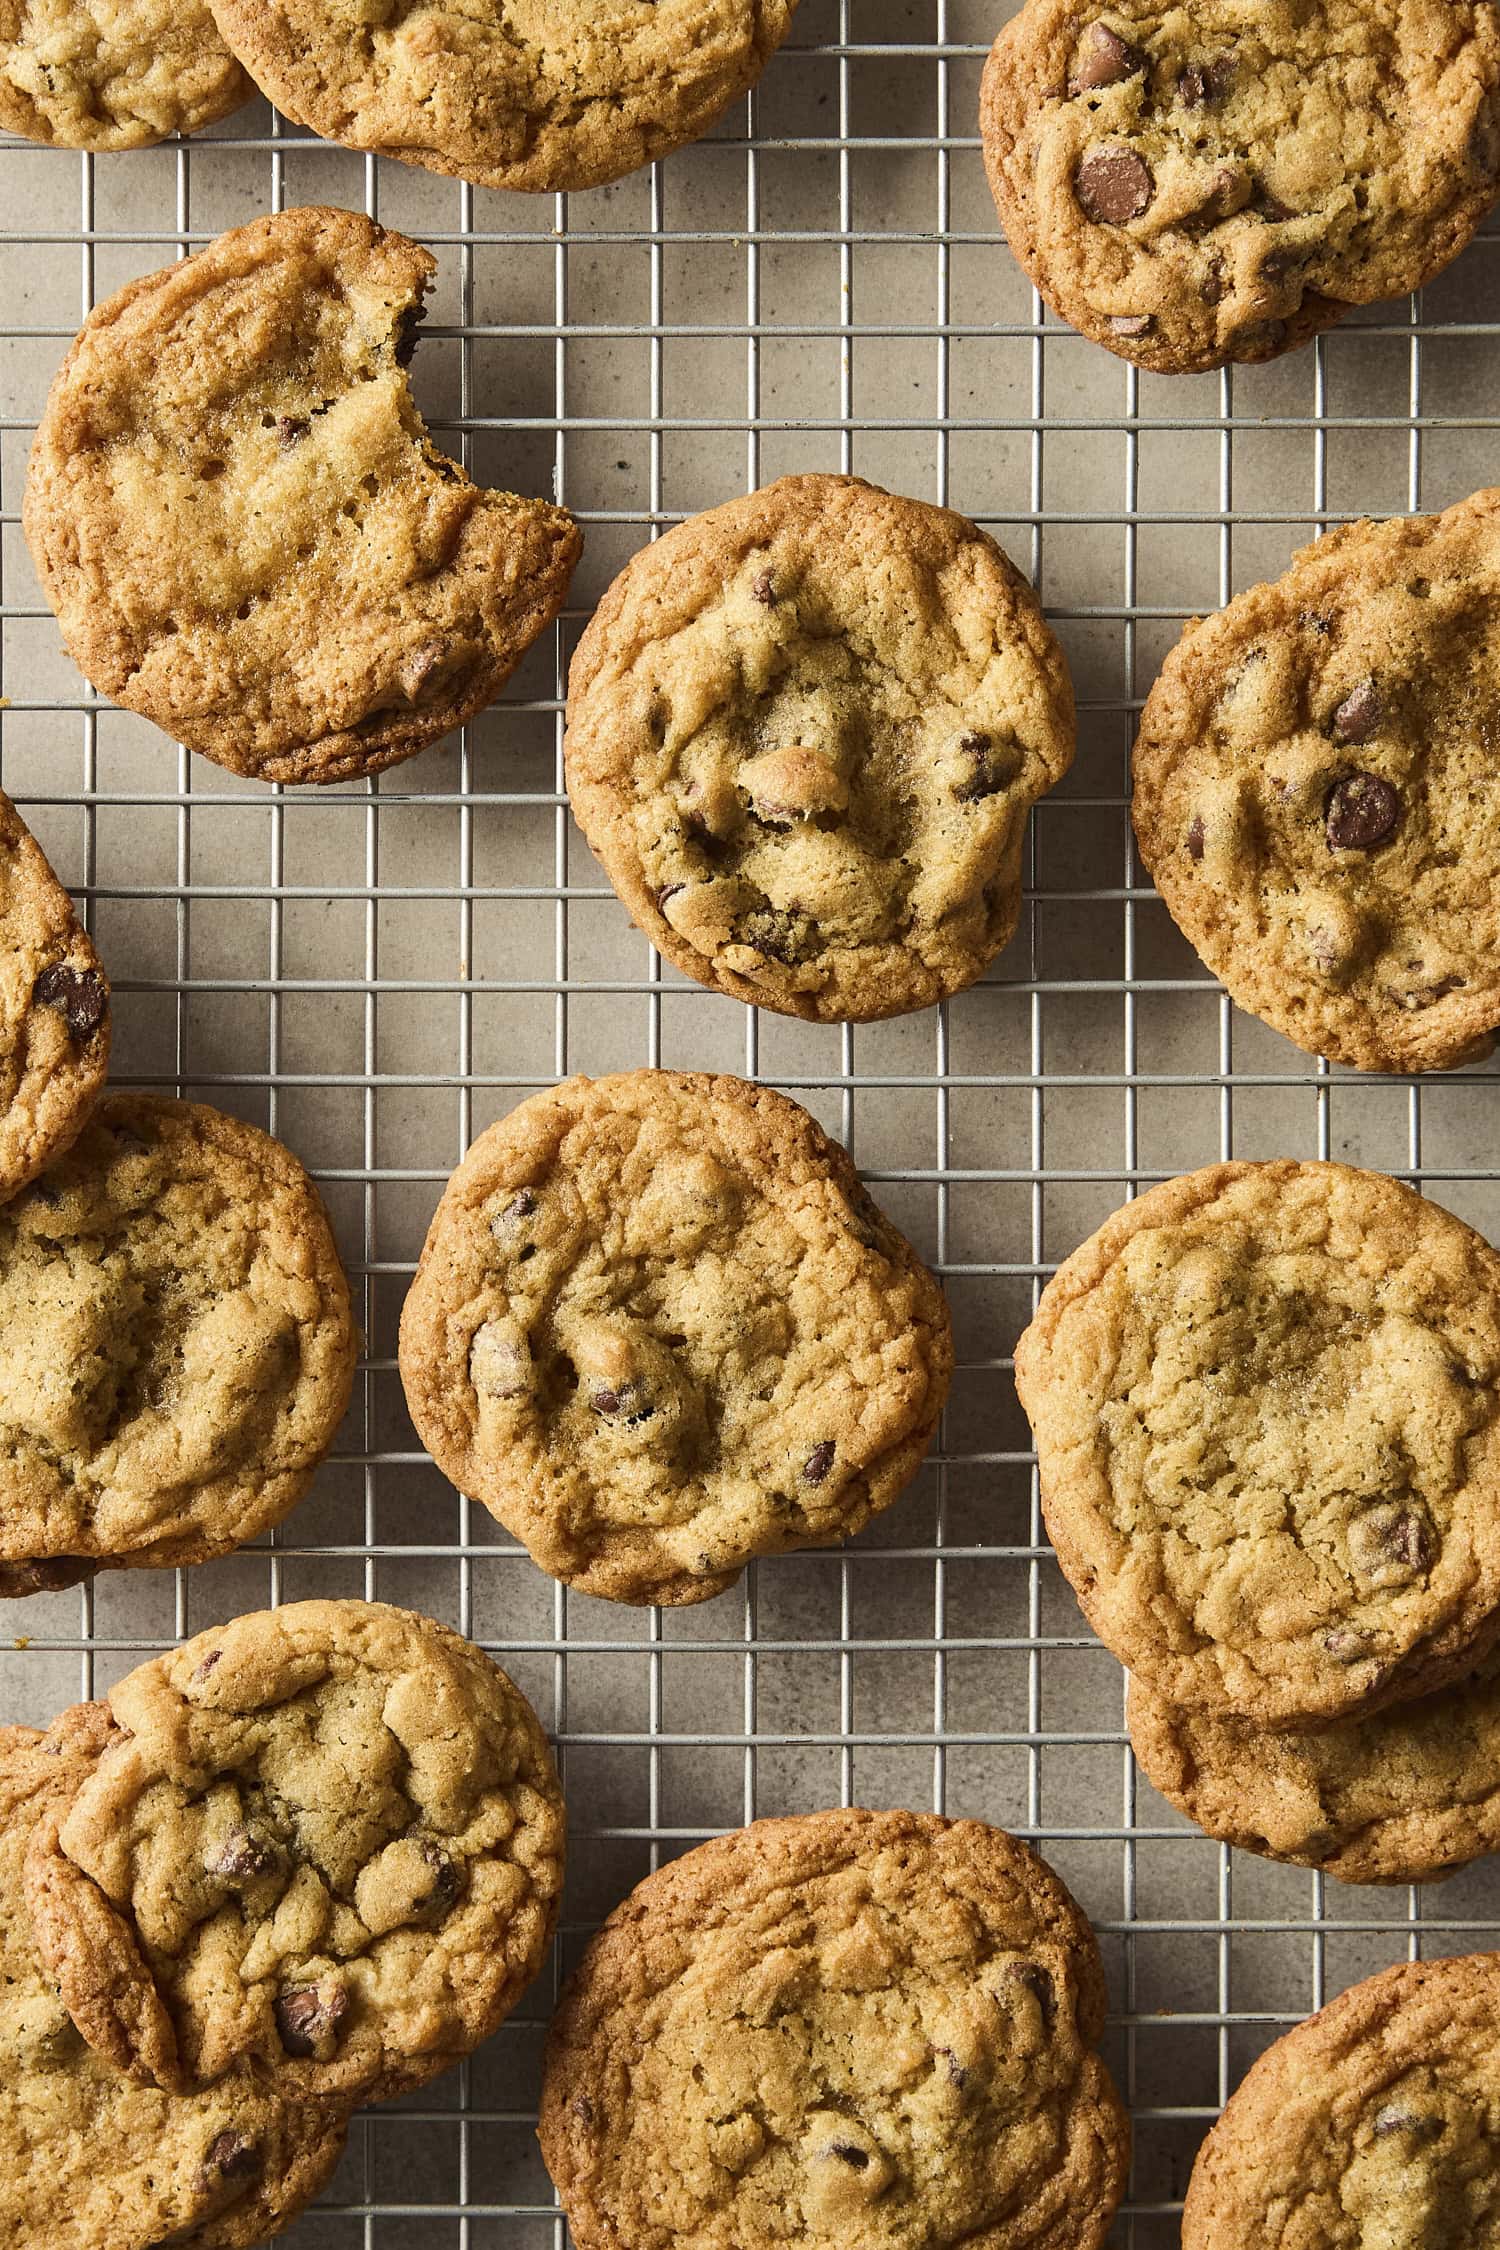
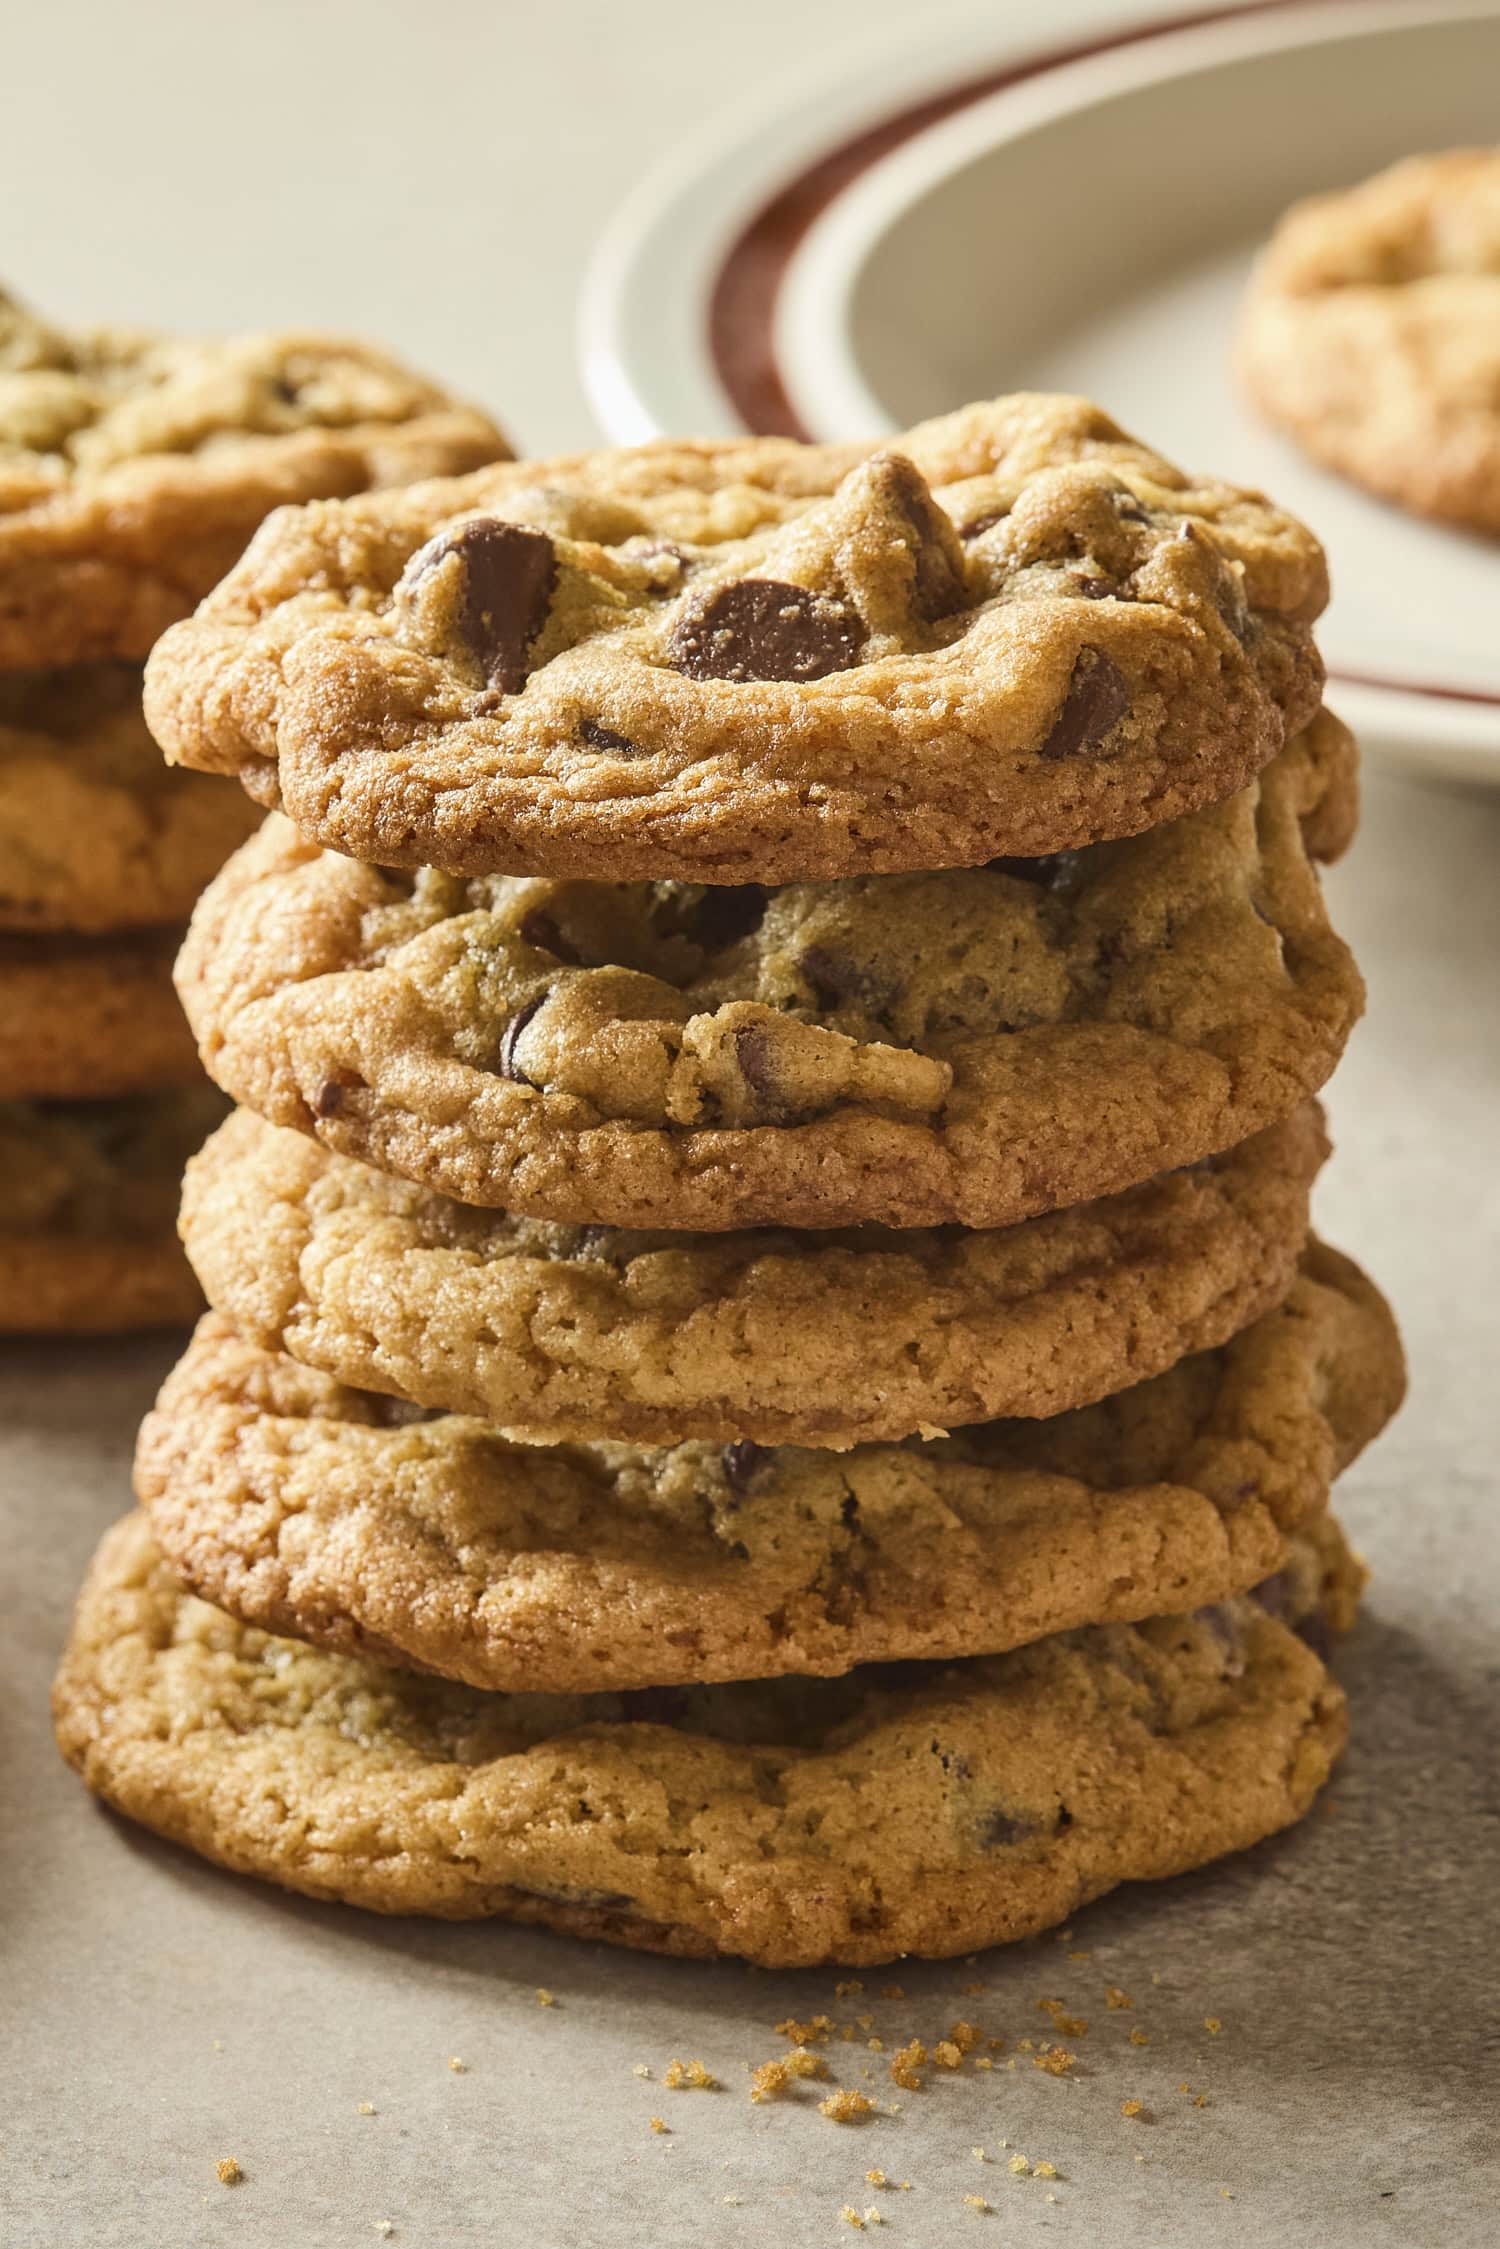
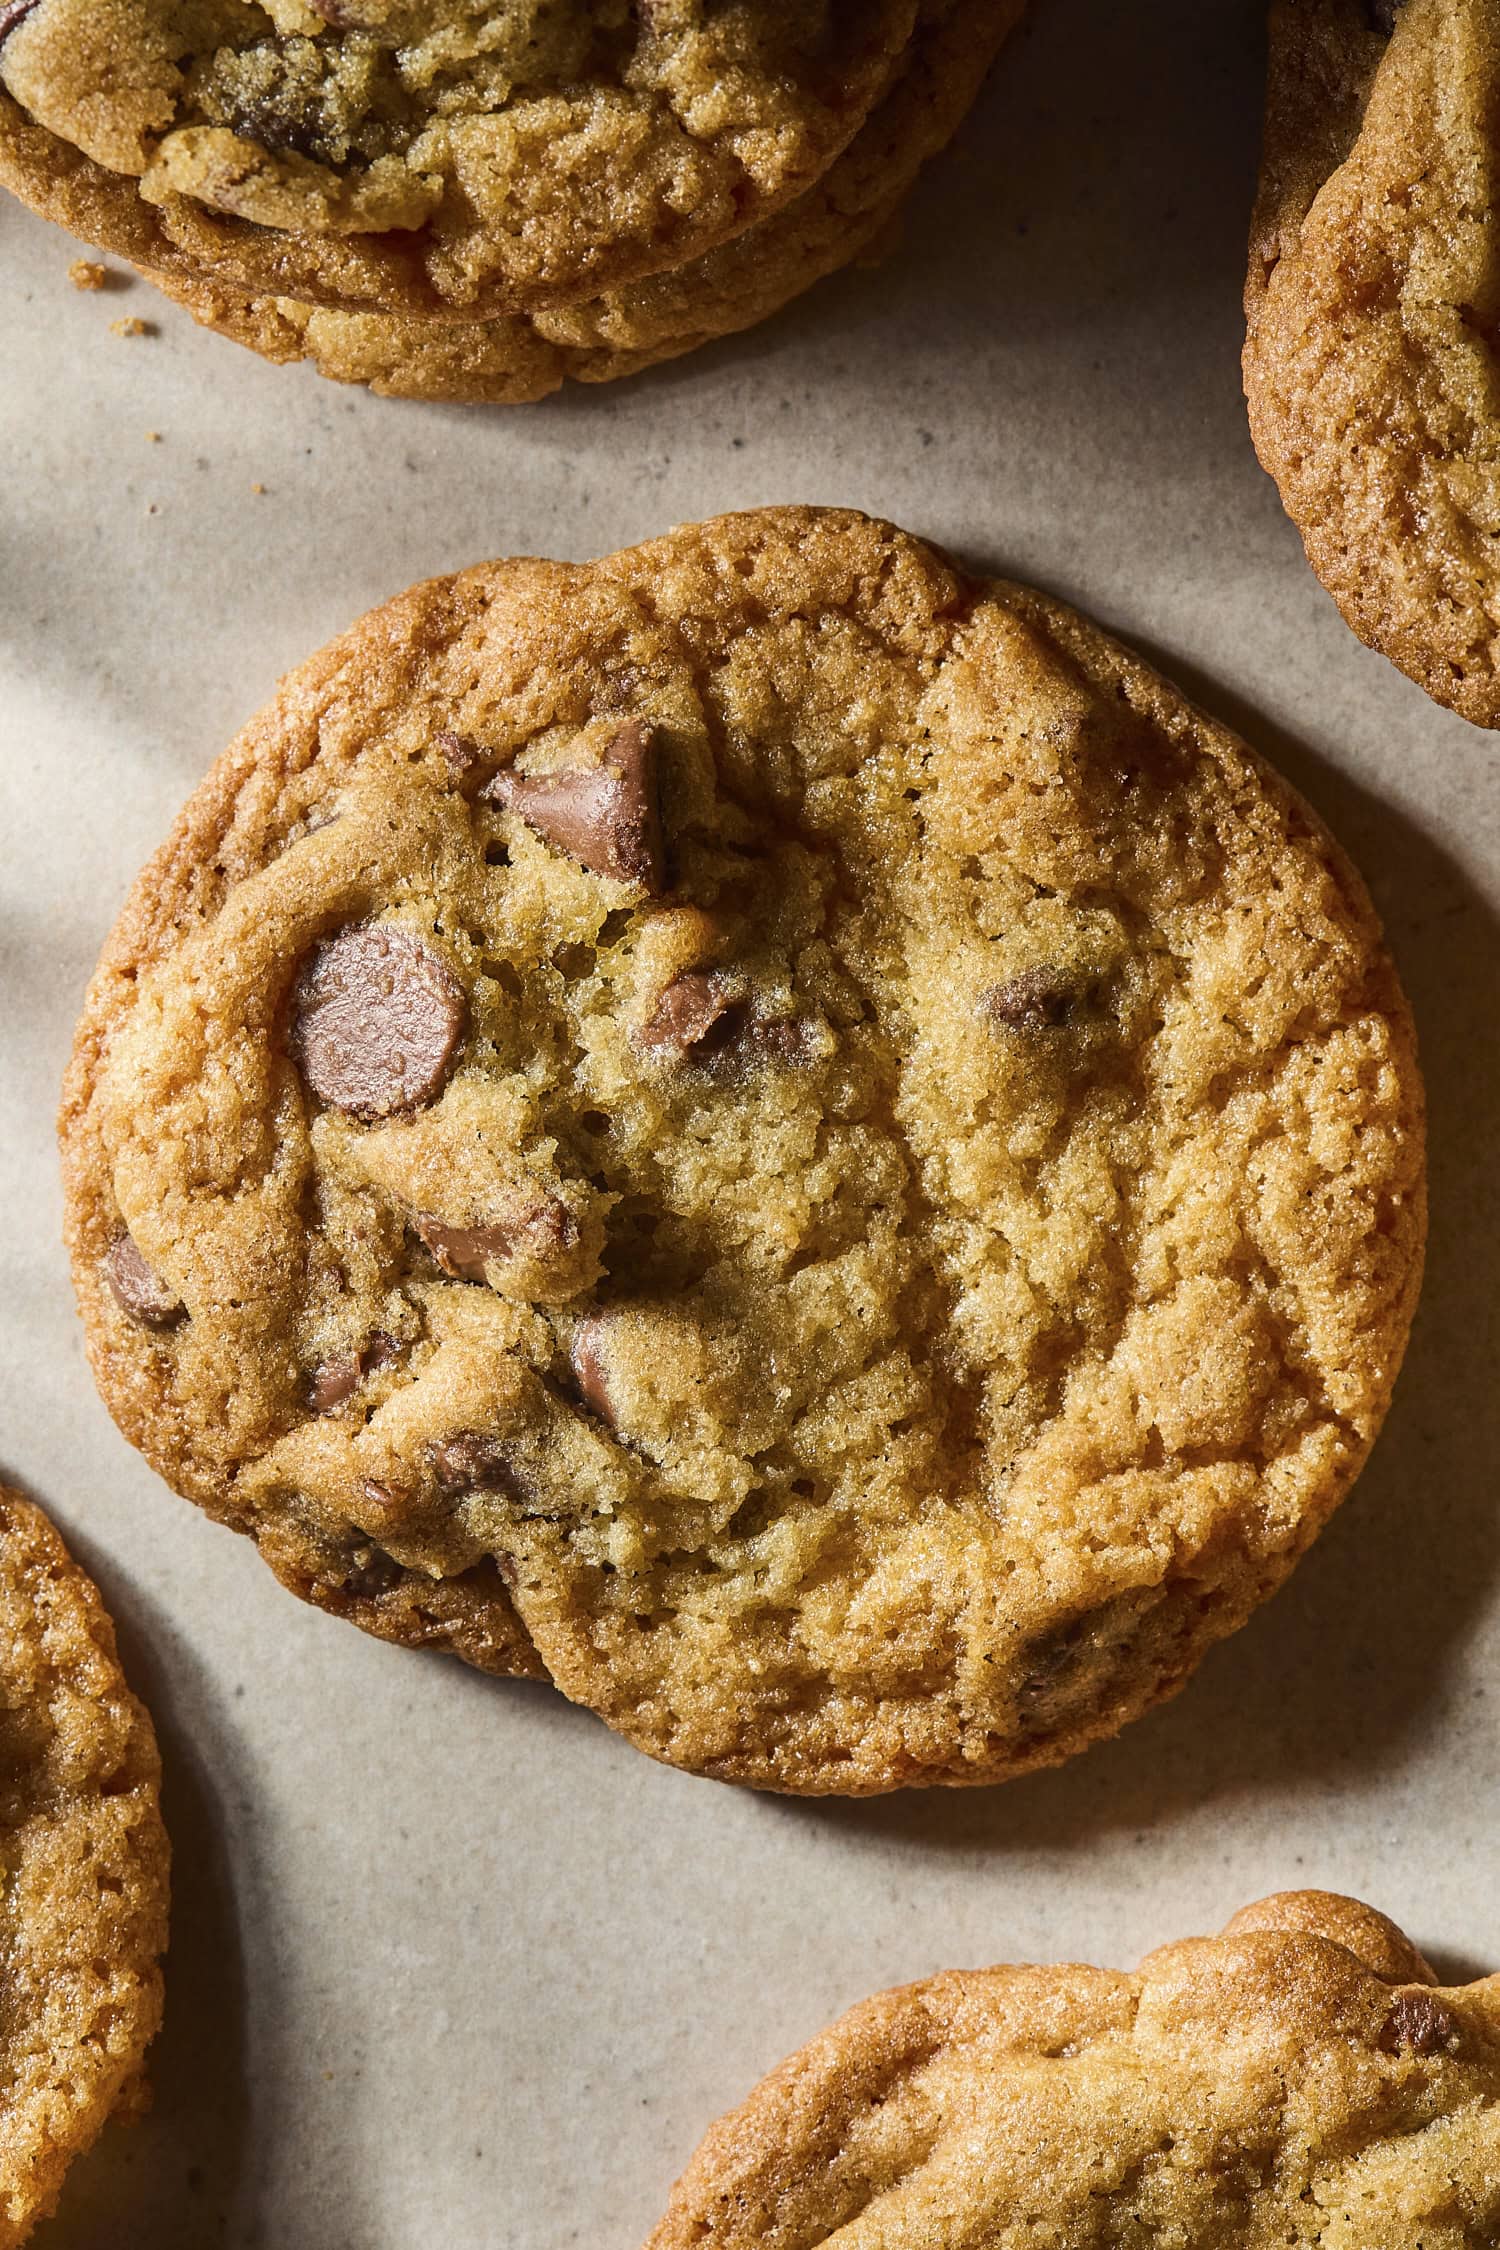
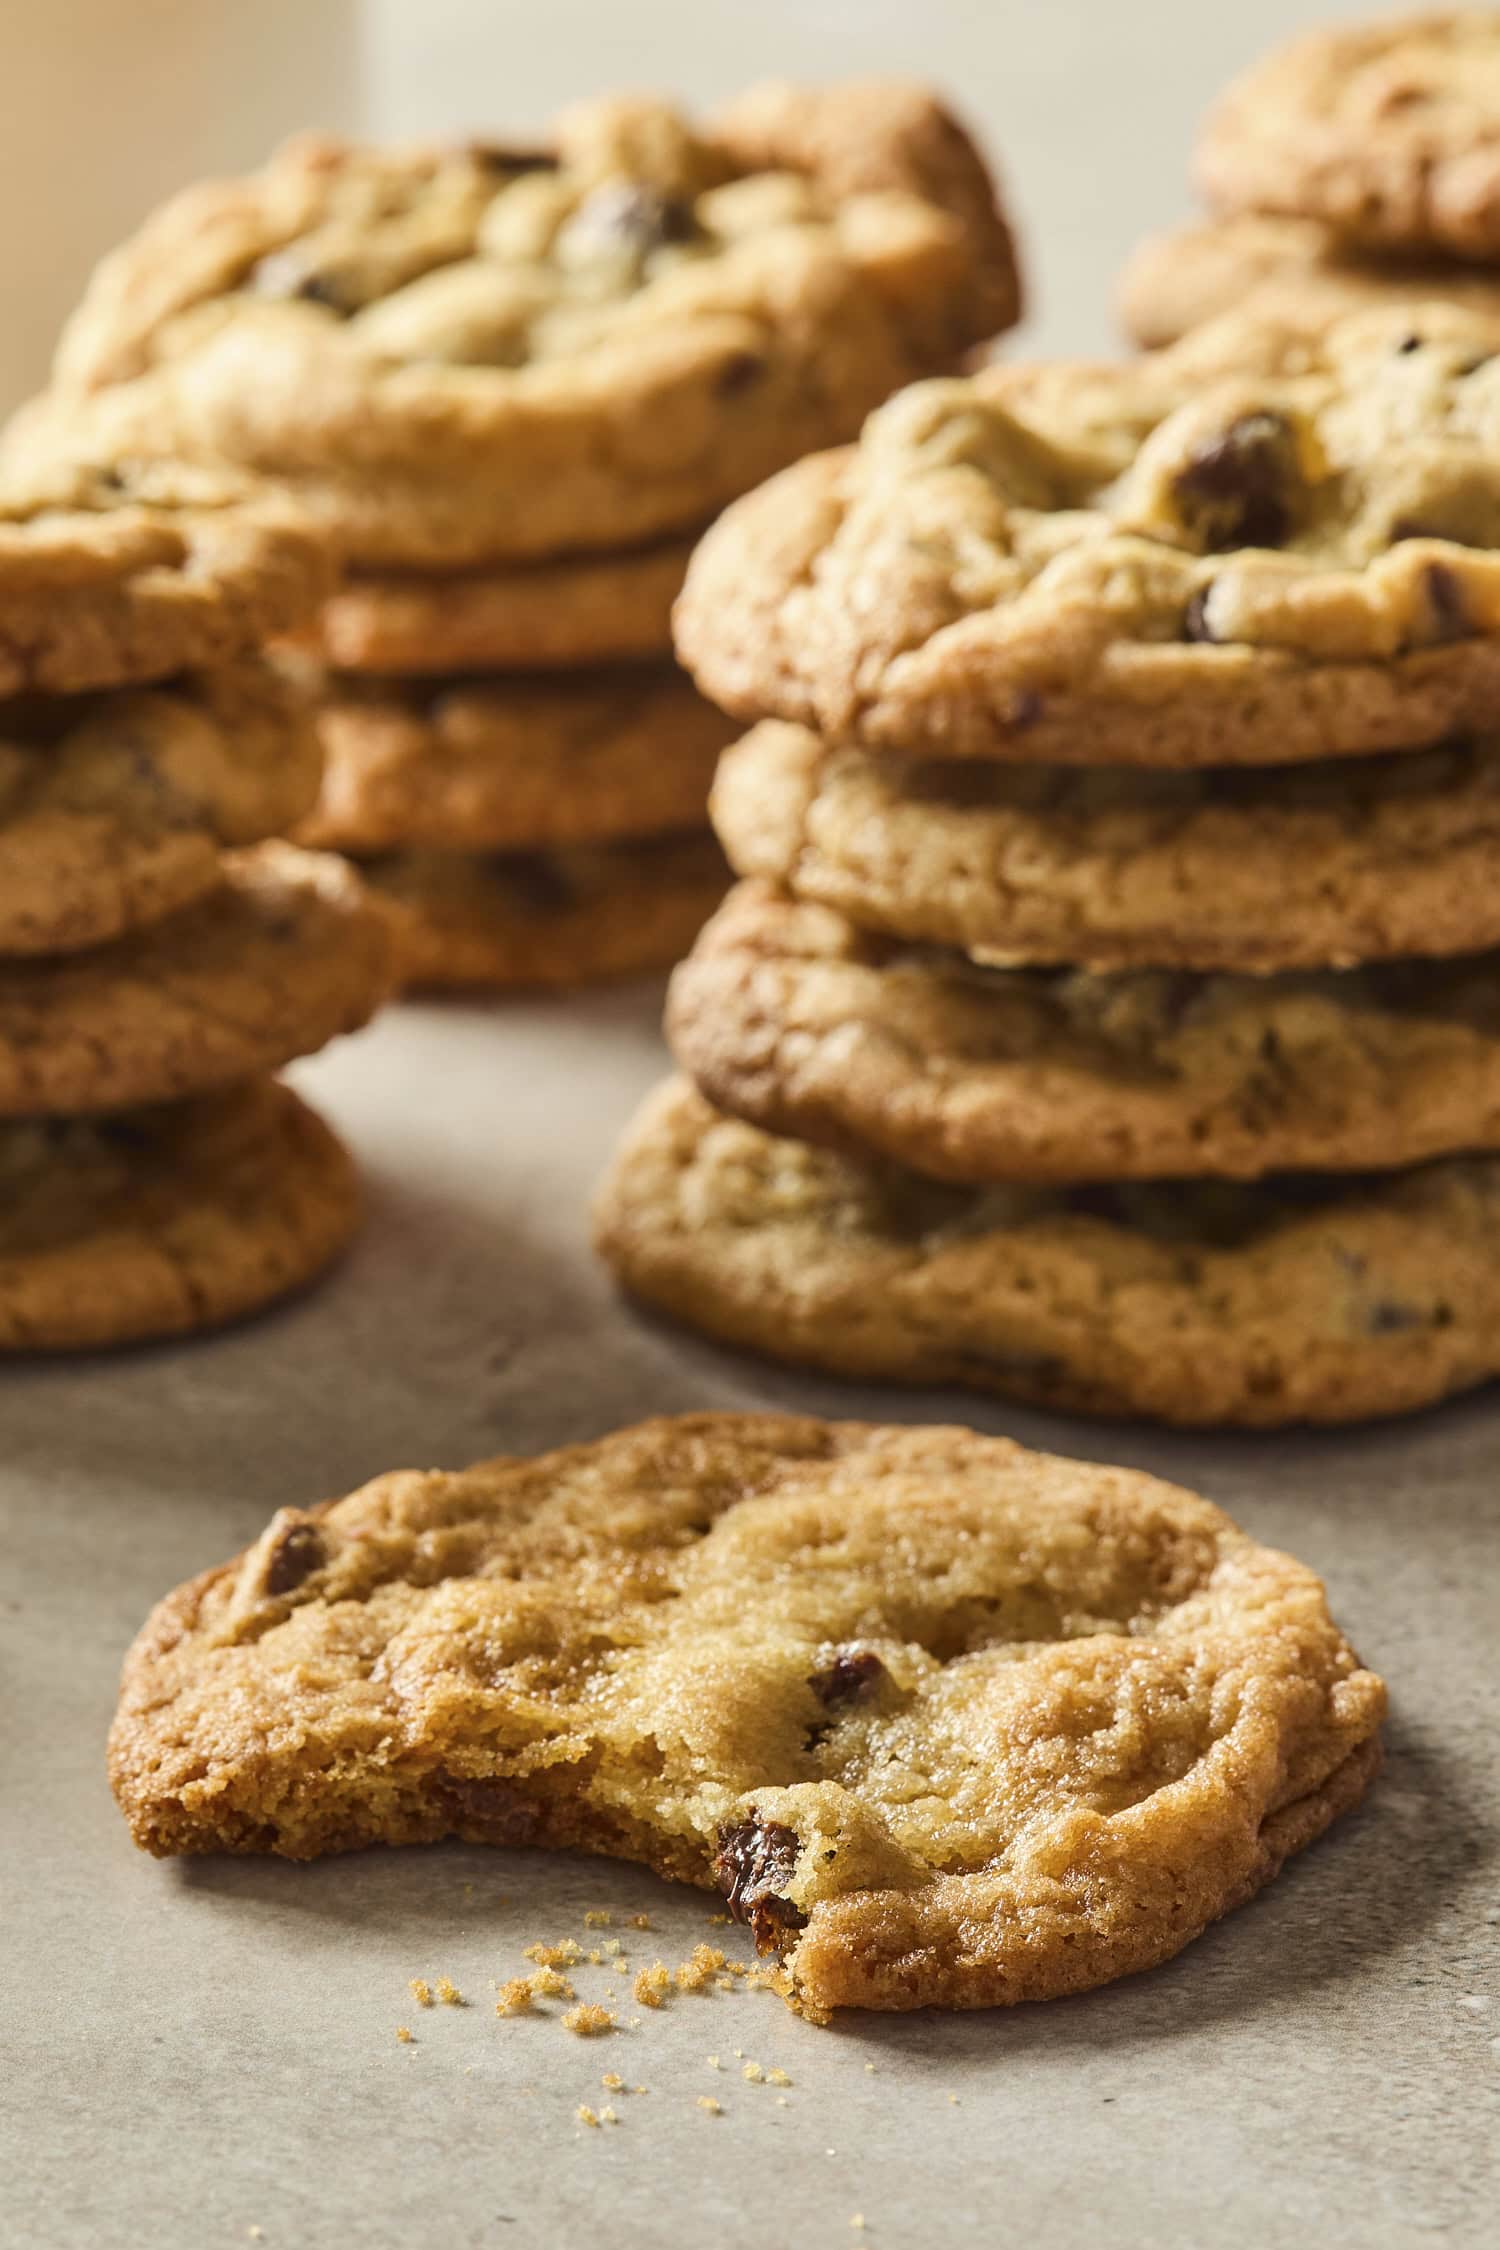
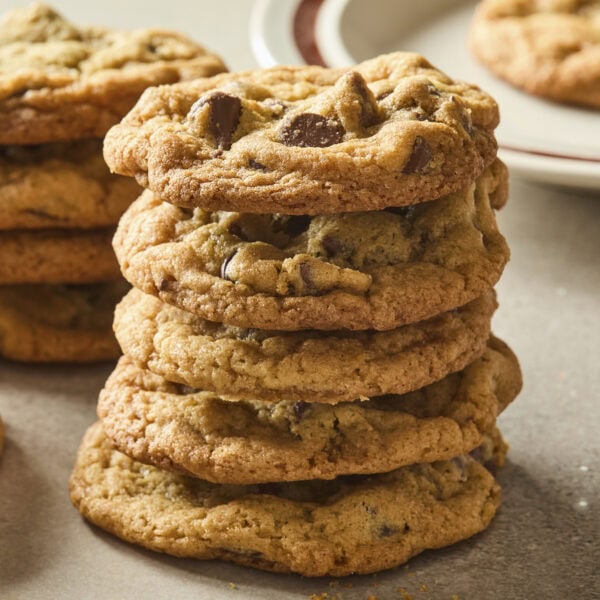
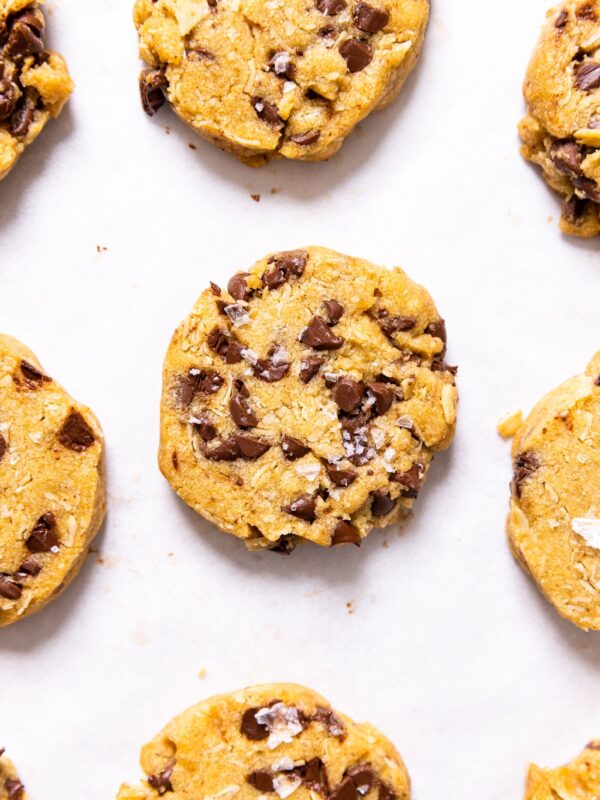
- I want it to be thick so that once it’s baked, the center is chewy, and the edges are crisp. I hate flat cookies.
- I want to taste the vanilla but also have a deeper flavor of caramel and almost butterscotch without being able to say that is what I’m tasting.
Obviously, I have high expectations.
Chocolate Chip Cookies Ingredients
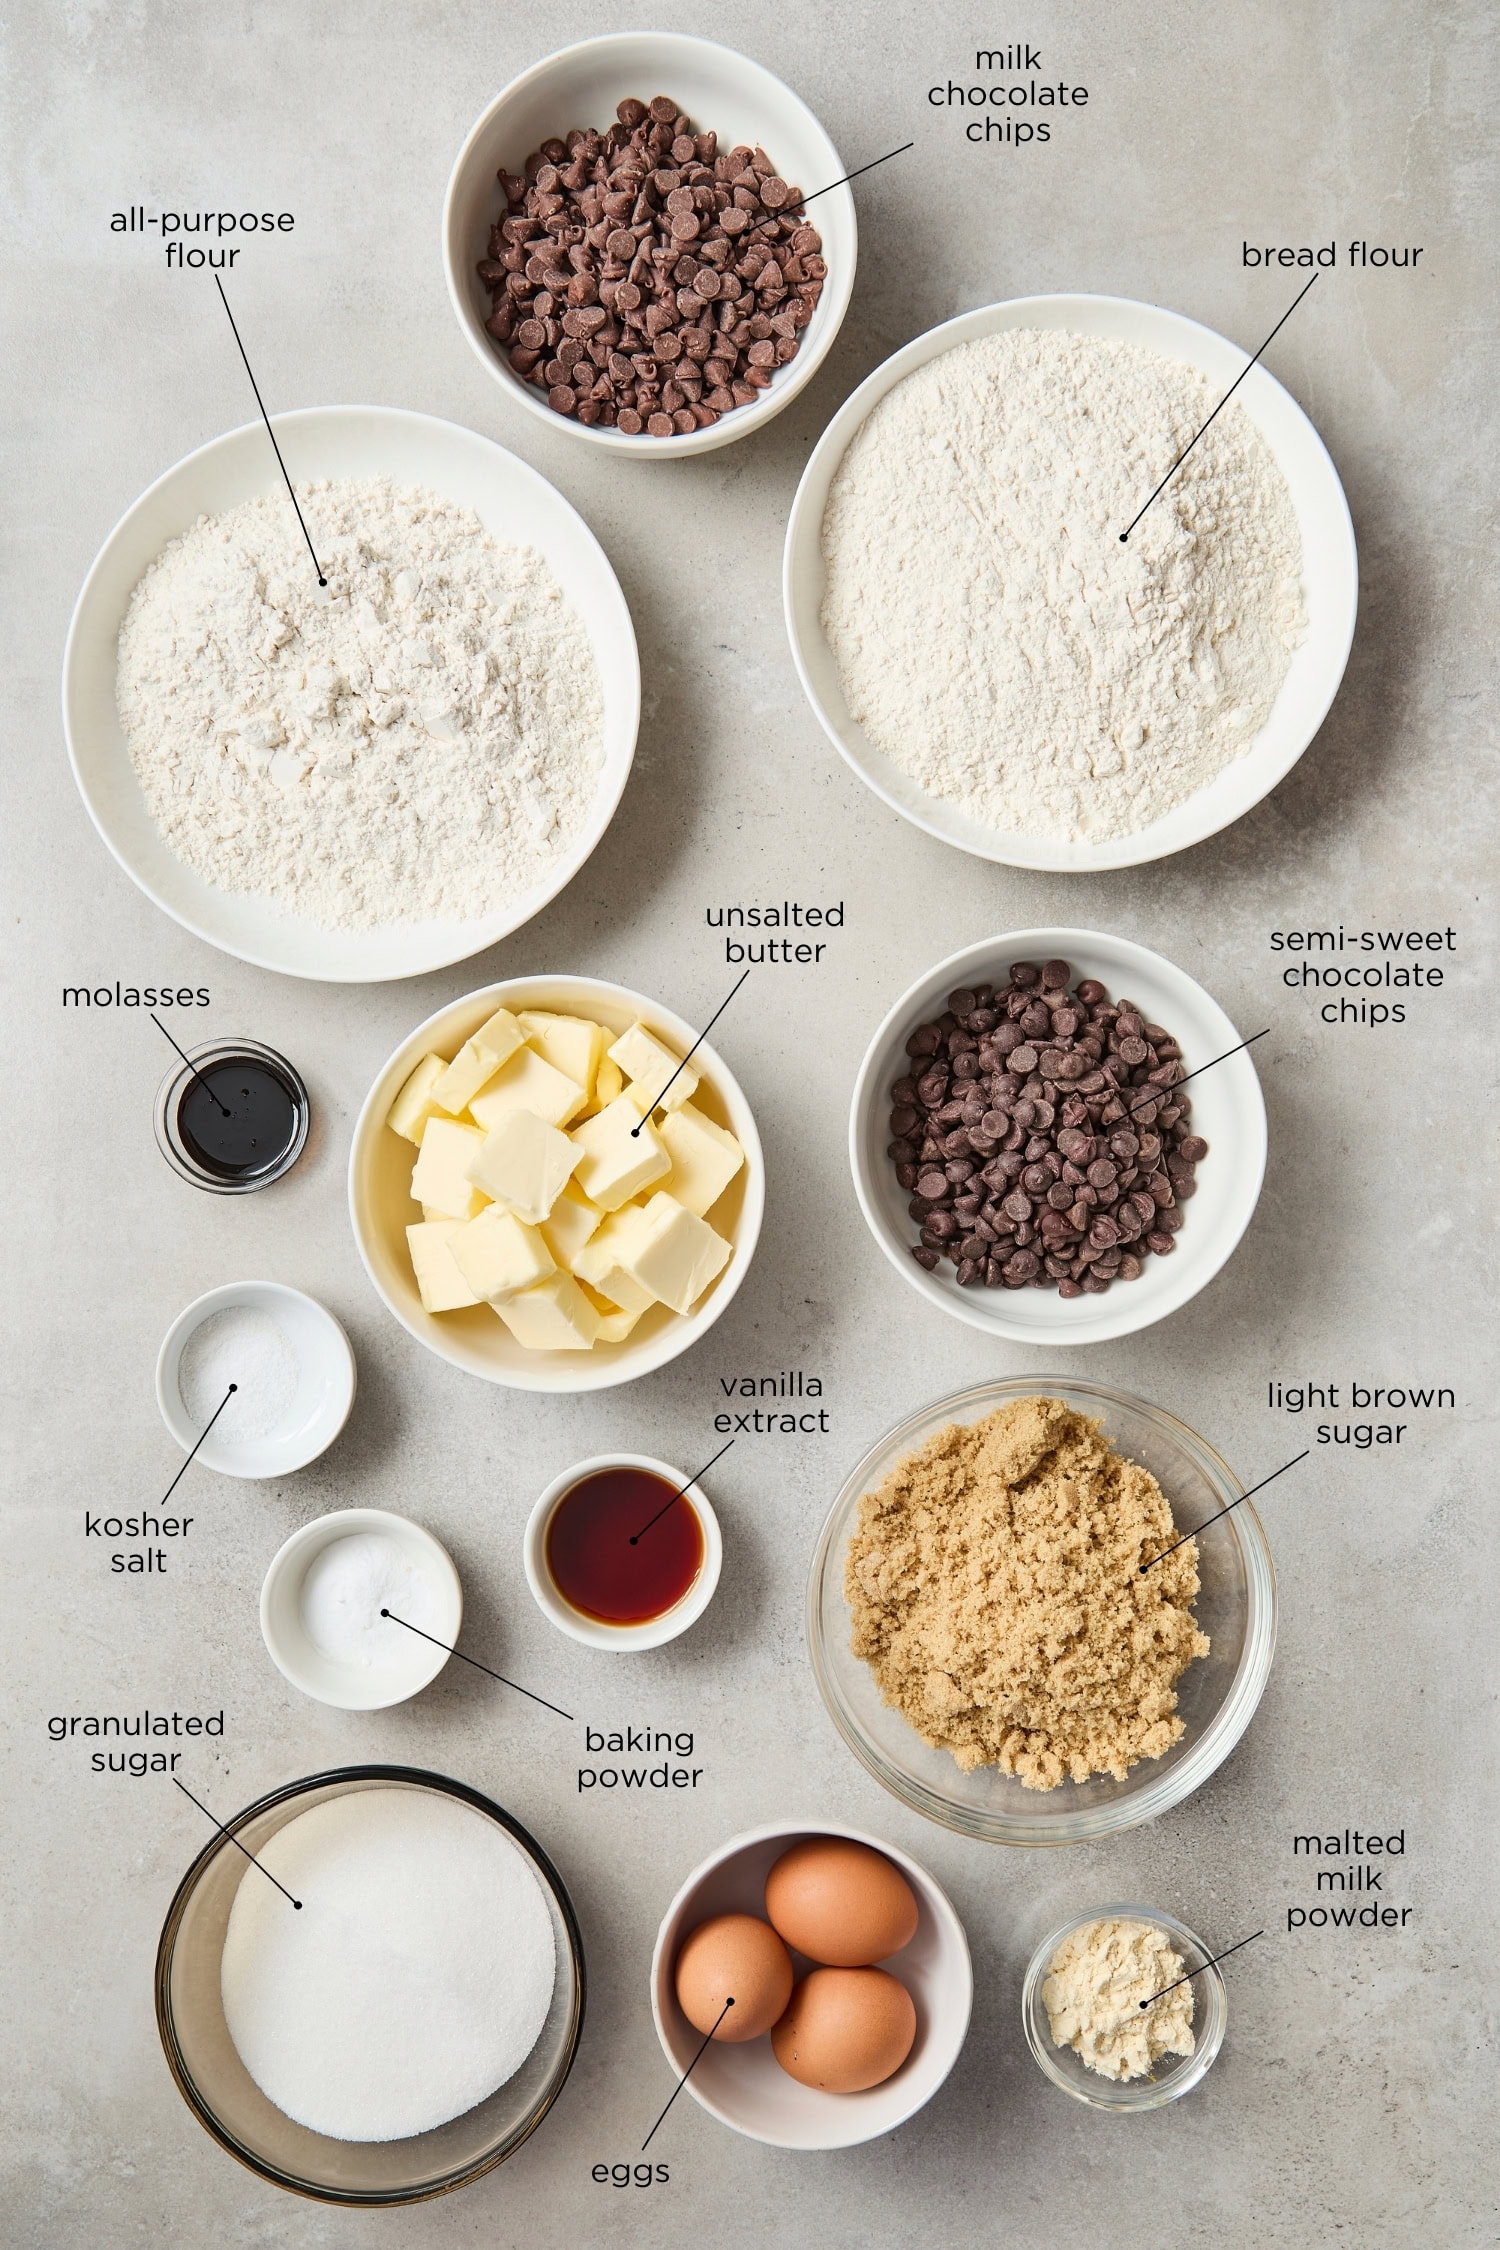
- White granulated sugar – provides the right texture and structure for the cookies.
- Brown sugar – adds lots of flavor to the cookies, with notes of caramel and a gooey texture. Using only brown sugar, though, would cause the cookies to be too soft, so both white and brown sugar are necessary.
- Vanilla extract – while a common addition to cookies, it’s mandatory in these cookies. This should be obvious, but only use real vanilla extract, and be prepared to use a lot. This is a large batch of dough that needs vanilla.
- Molasses – imparts a deep, caramel flavor that reinforces the molasses undertone in the brown sugar. A little bit goes a long way.
- All-purpose flour – essential in any cookie recipe.
- Bread flour – has one of the highest protein levels when it comes to flour. This higher amount of protein adds structure to the cookies, which does make a difference. Personally, I love to use the bread flour from King Arthur Flour.
- Malted milk powder – a mixture of dry milk, malted barley, and wheat flour extract, which adds a bit of a malted flavor to these cookies. To ensure that my malted milk powder lasts as long as possible, I keep it in the freezer.
- Baking soda – helps brown the cookies as they bake while also adding the correct texture.
- Semi-sweet and milk chocolate chips – essential for a chocolate chip cookie! Mixing two different types of chocolate adds complexity and a slightly stronger chocolate flavor while still retaining some sweetness.
How to Make Chocolate Chip Cookies
There seem to be many steps, but they’re really pretty simple. Do all of these, and you will have my ultimate chocolate chip cookie, I promise!
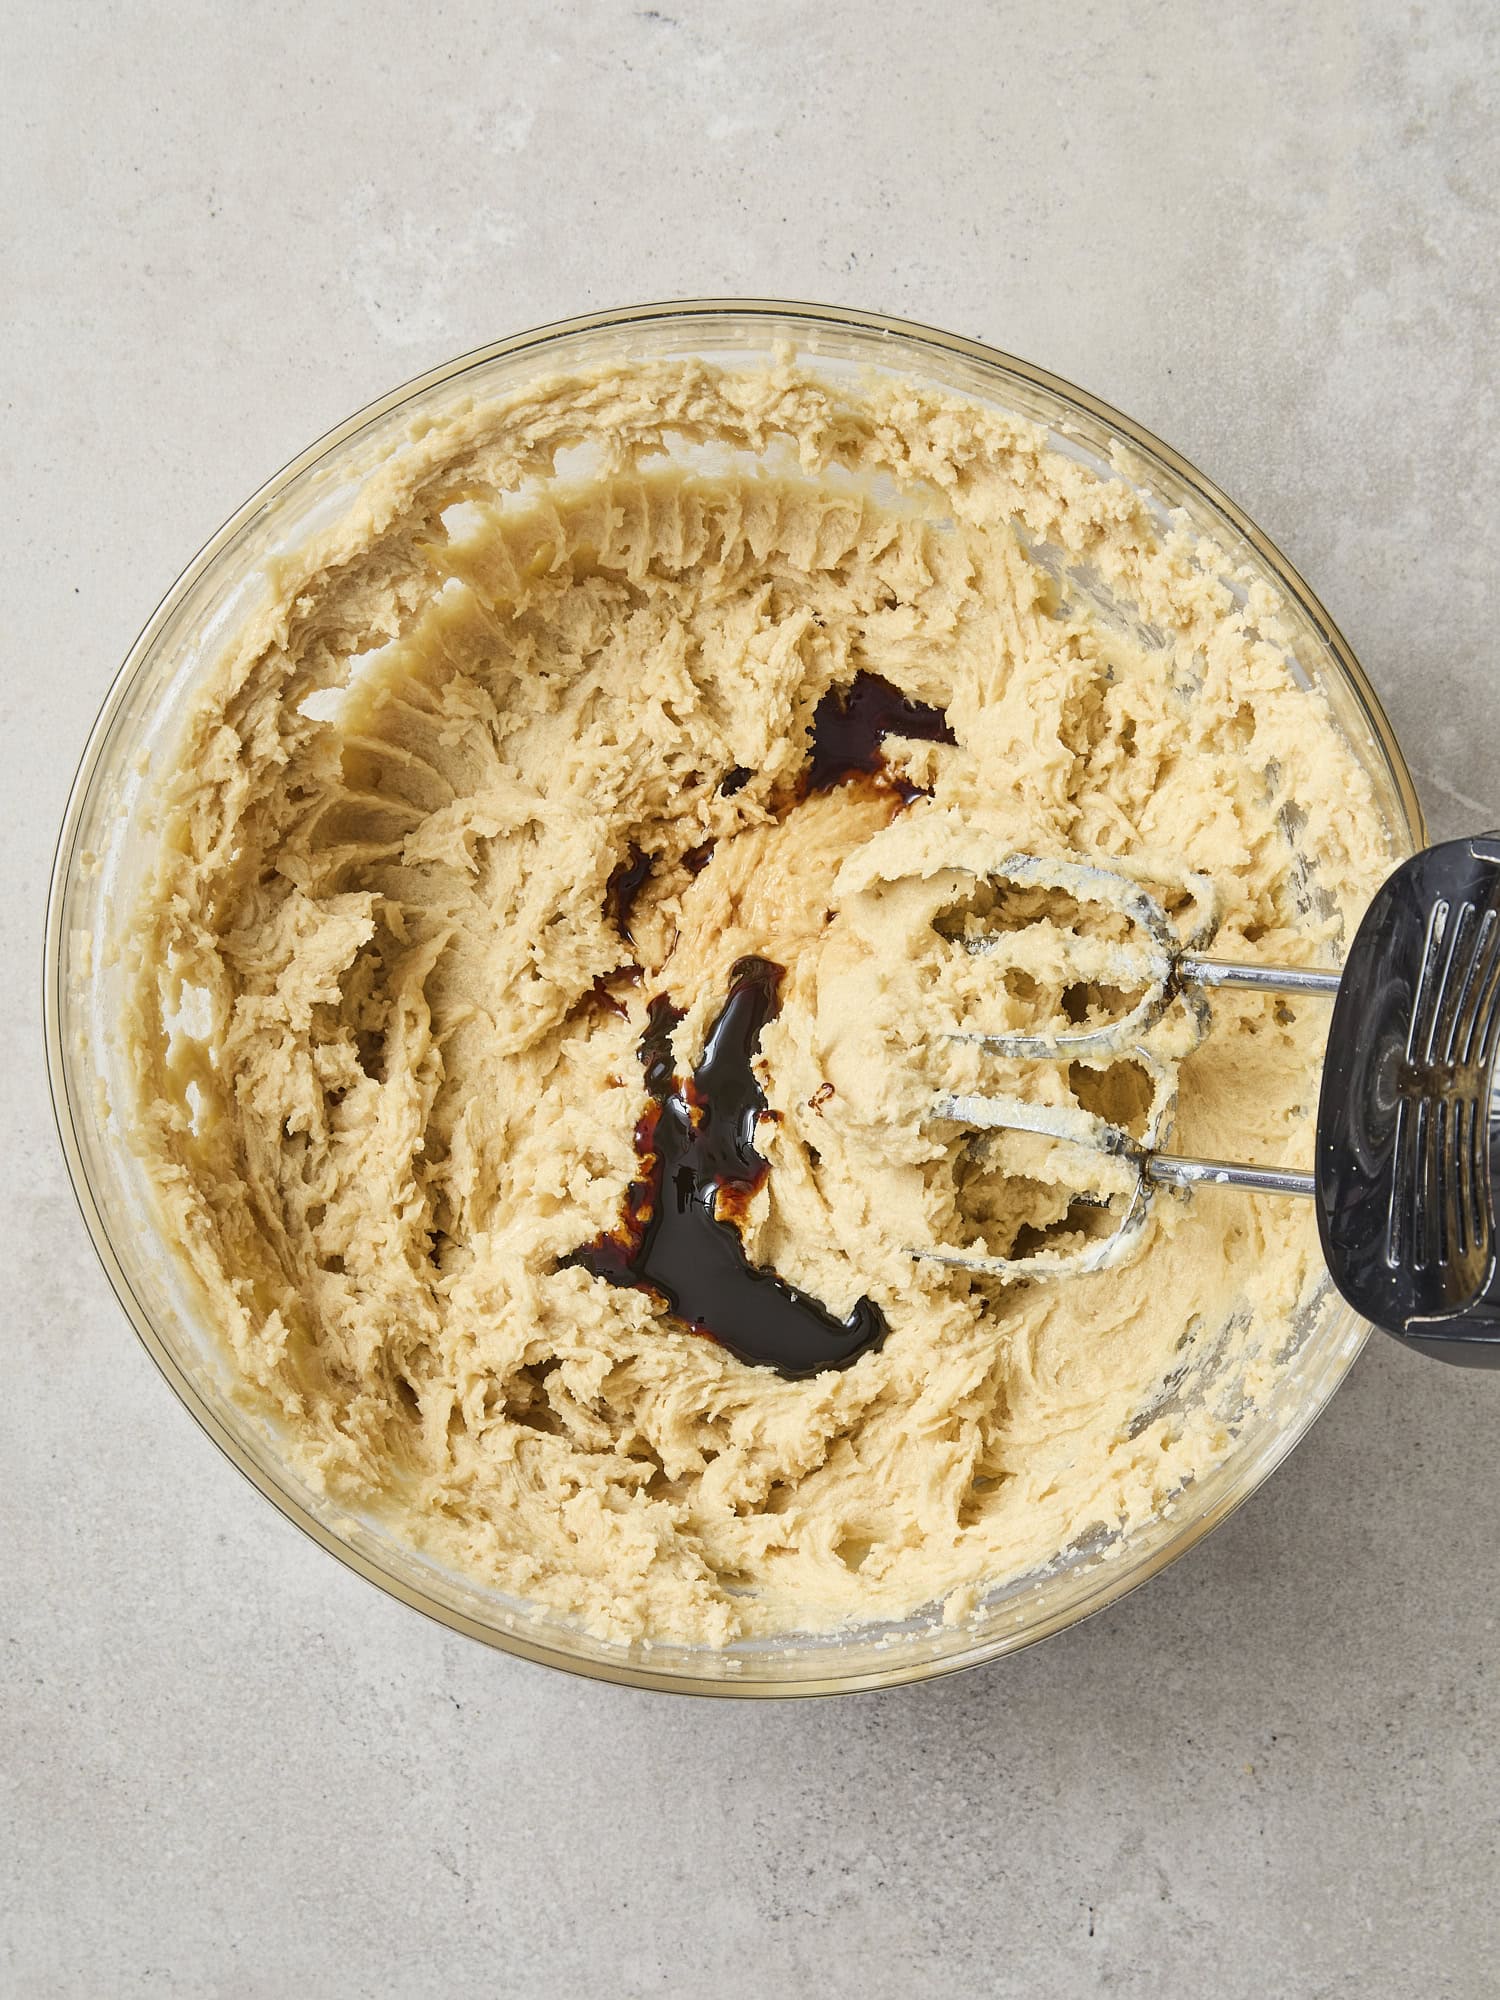
Step 1: Prepare the wet ingredients – In the bowl of a stand mixer, add the butter, white granulated sugar, and brown sugar. Mix for about 3-5 minutes until the butter and sugars are fully creamed and are light and fluffy in texture. Scrape down the sides of the bowl and add the eggs one at a time, mixing in between each addition. Then add the vanilla extract and molasses and mix until incorporated.
Step 2: Add the dry ingredients – To the wet ingredients, add the all-purpose flour, bread flour, malted milk powder, baking soda, and salt. Start mixing at low speed, turning up the speed until everything is mixed together. Once done mixing, scrape down the sides of the bowl.
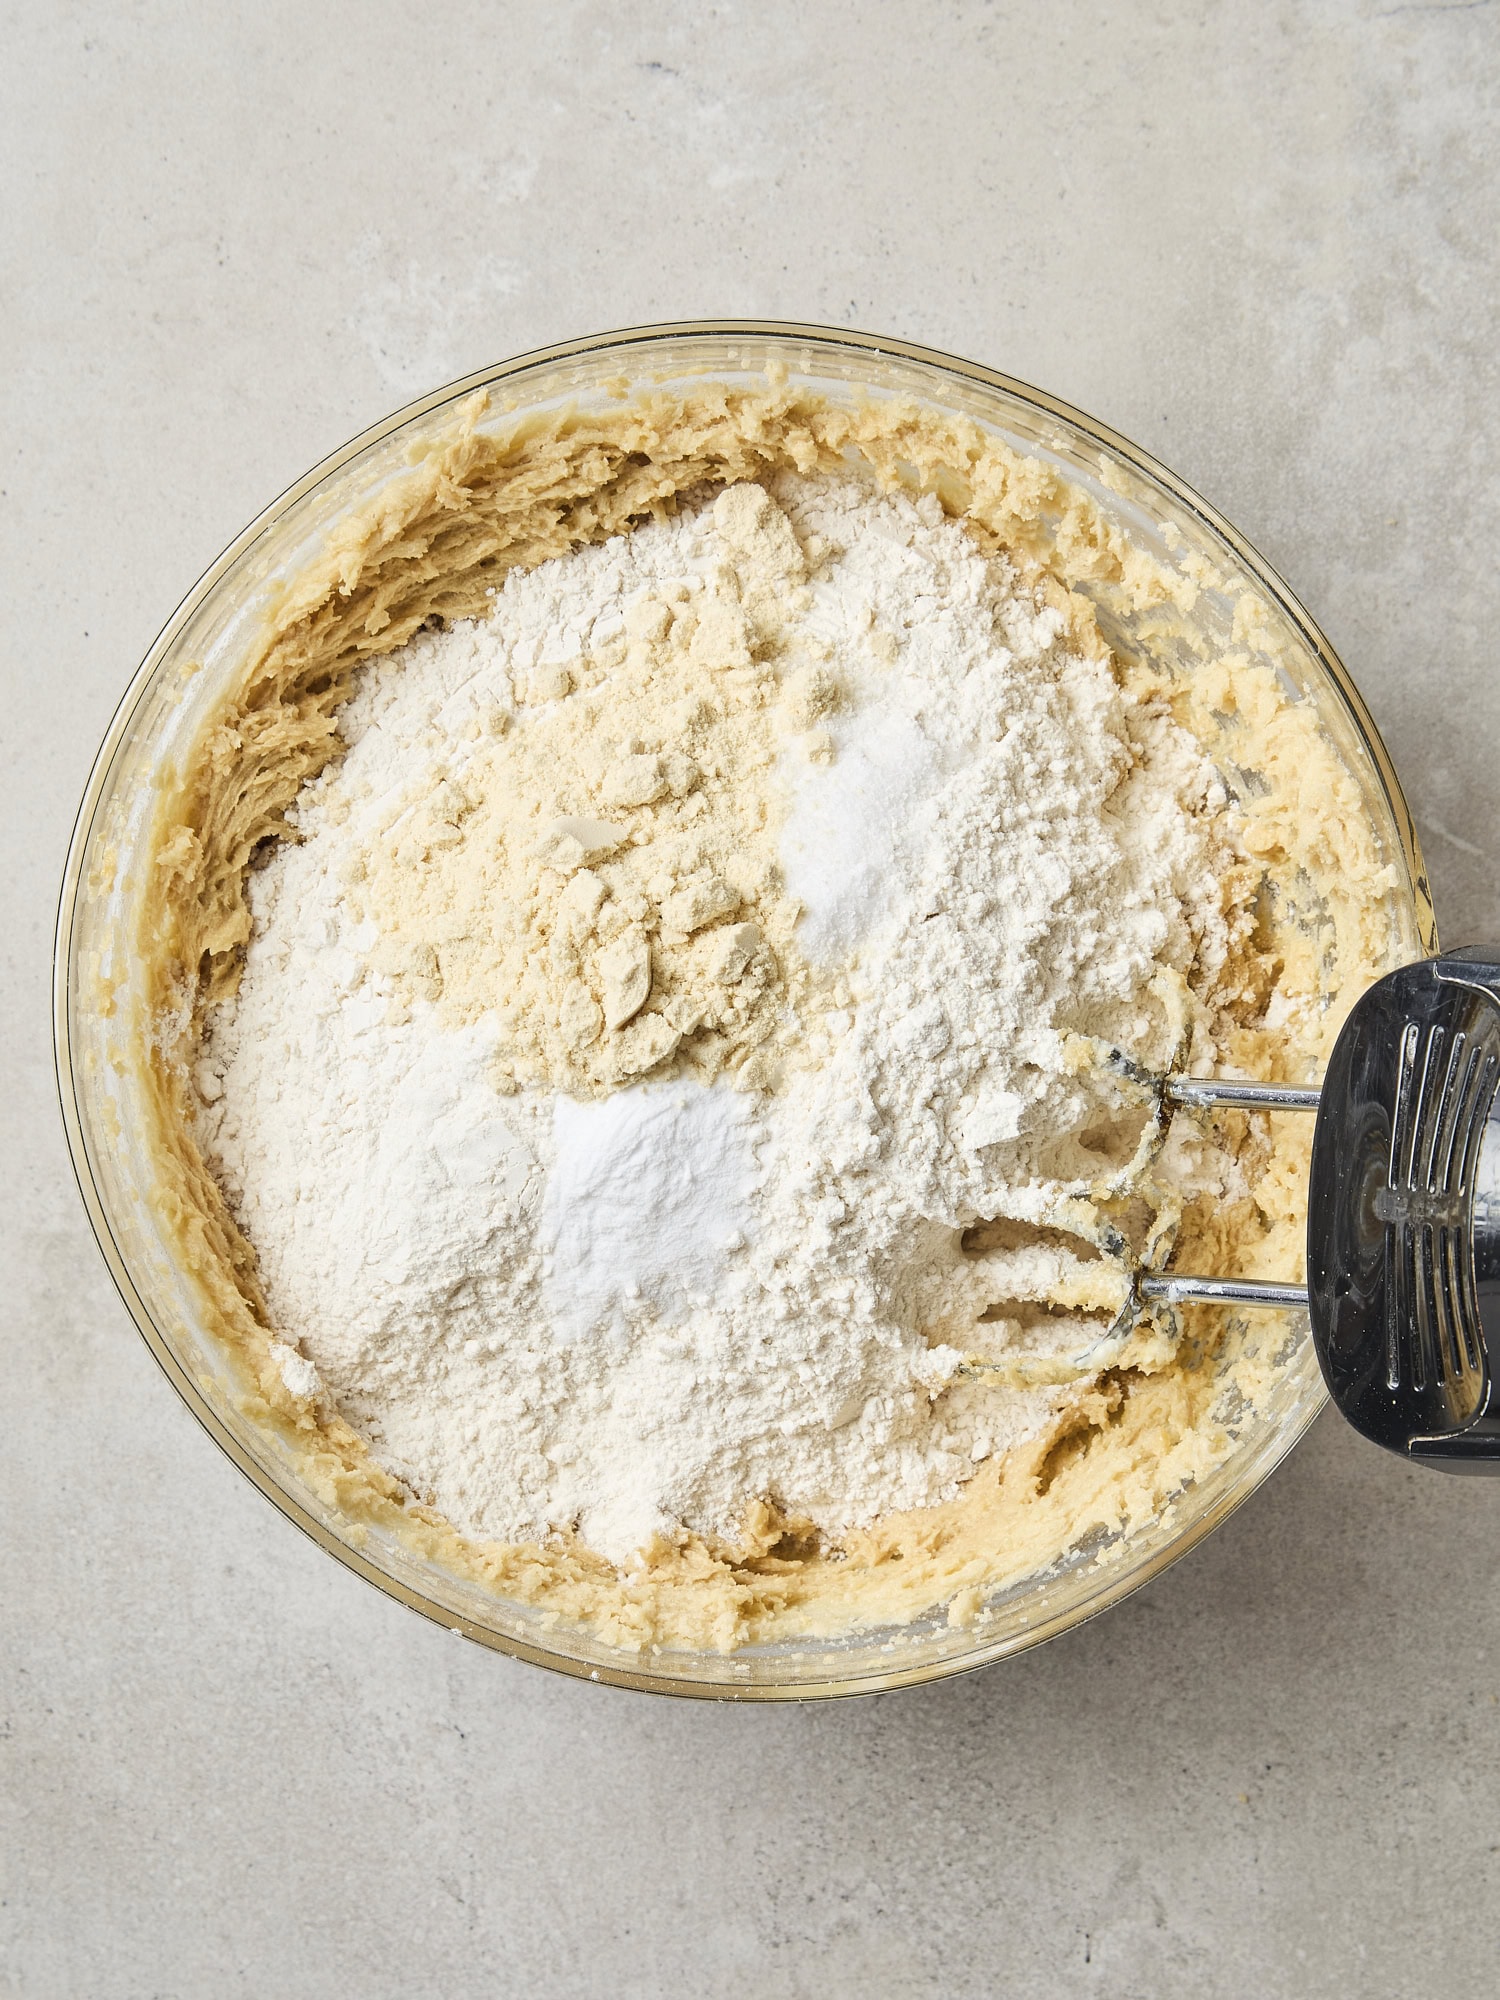
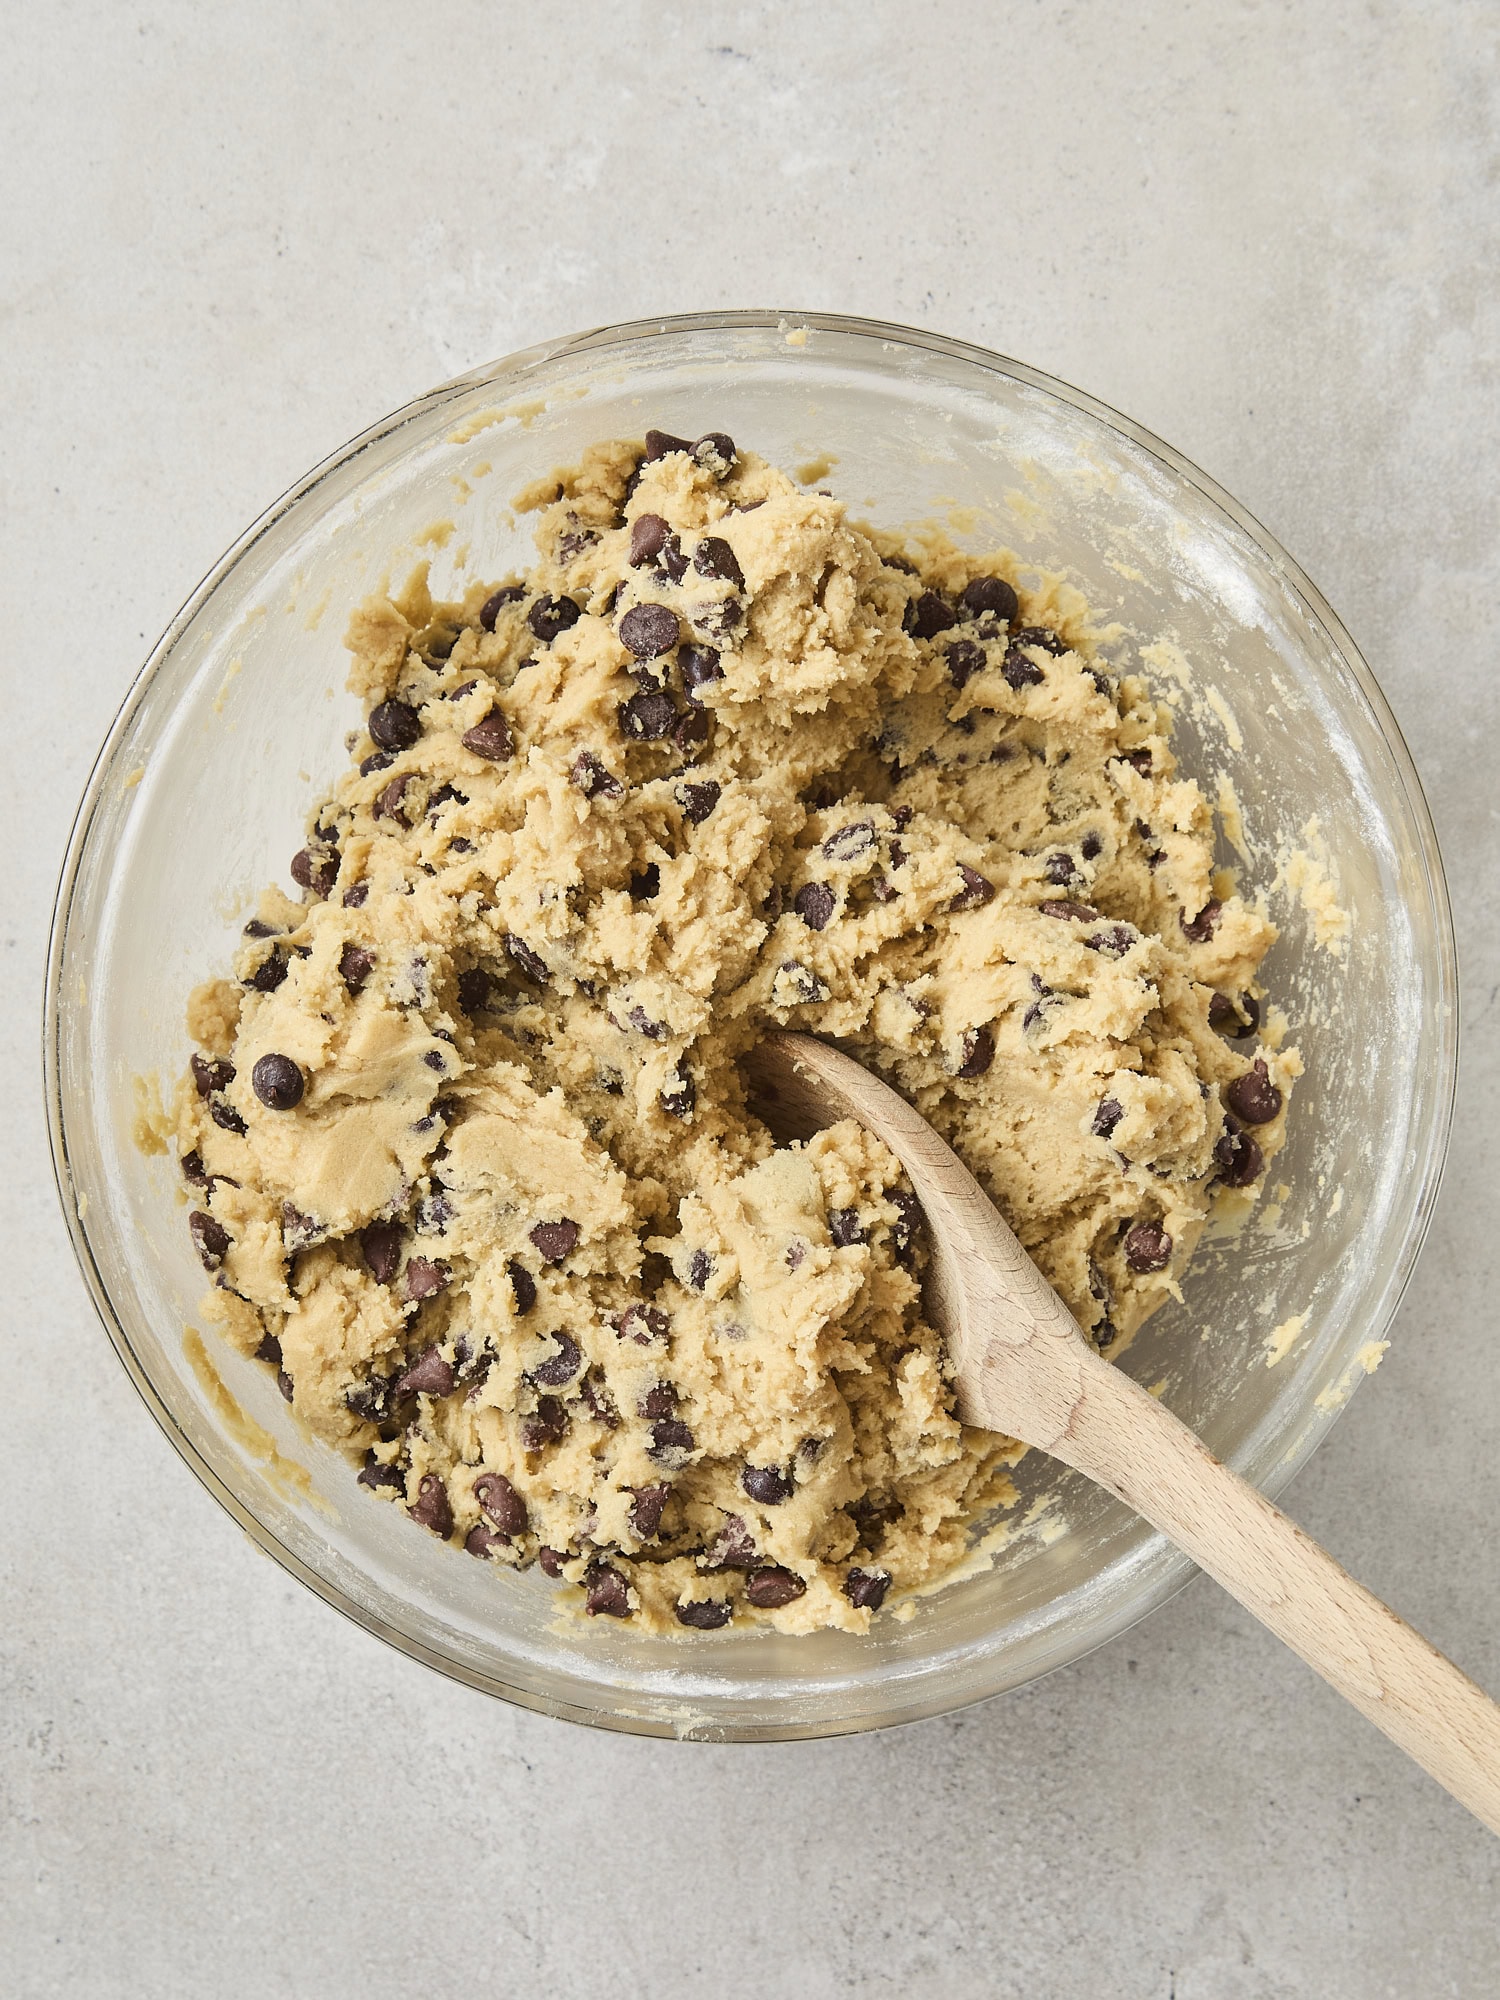
Step 3: Add the chocolate chips – To the dough, add both the milk chocolate chips and the semi-sweet chocolate chips. Mix the chips into the dough either using the stand mixer or with a handheld spatula.
Step 4: Scoop the dough – Using a #40 ice cream scoop, form dough balls and place them on a parchment-lined baking sheet. The dough balls can be placed directly beside each other, as they will not be baked at this point. Once all of the dough has been scooped, place the covered baking sheet into the refrigerator and let it sit for 24 hours.
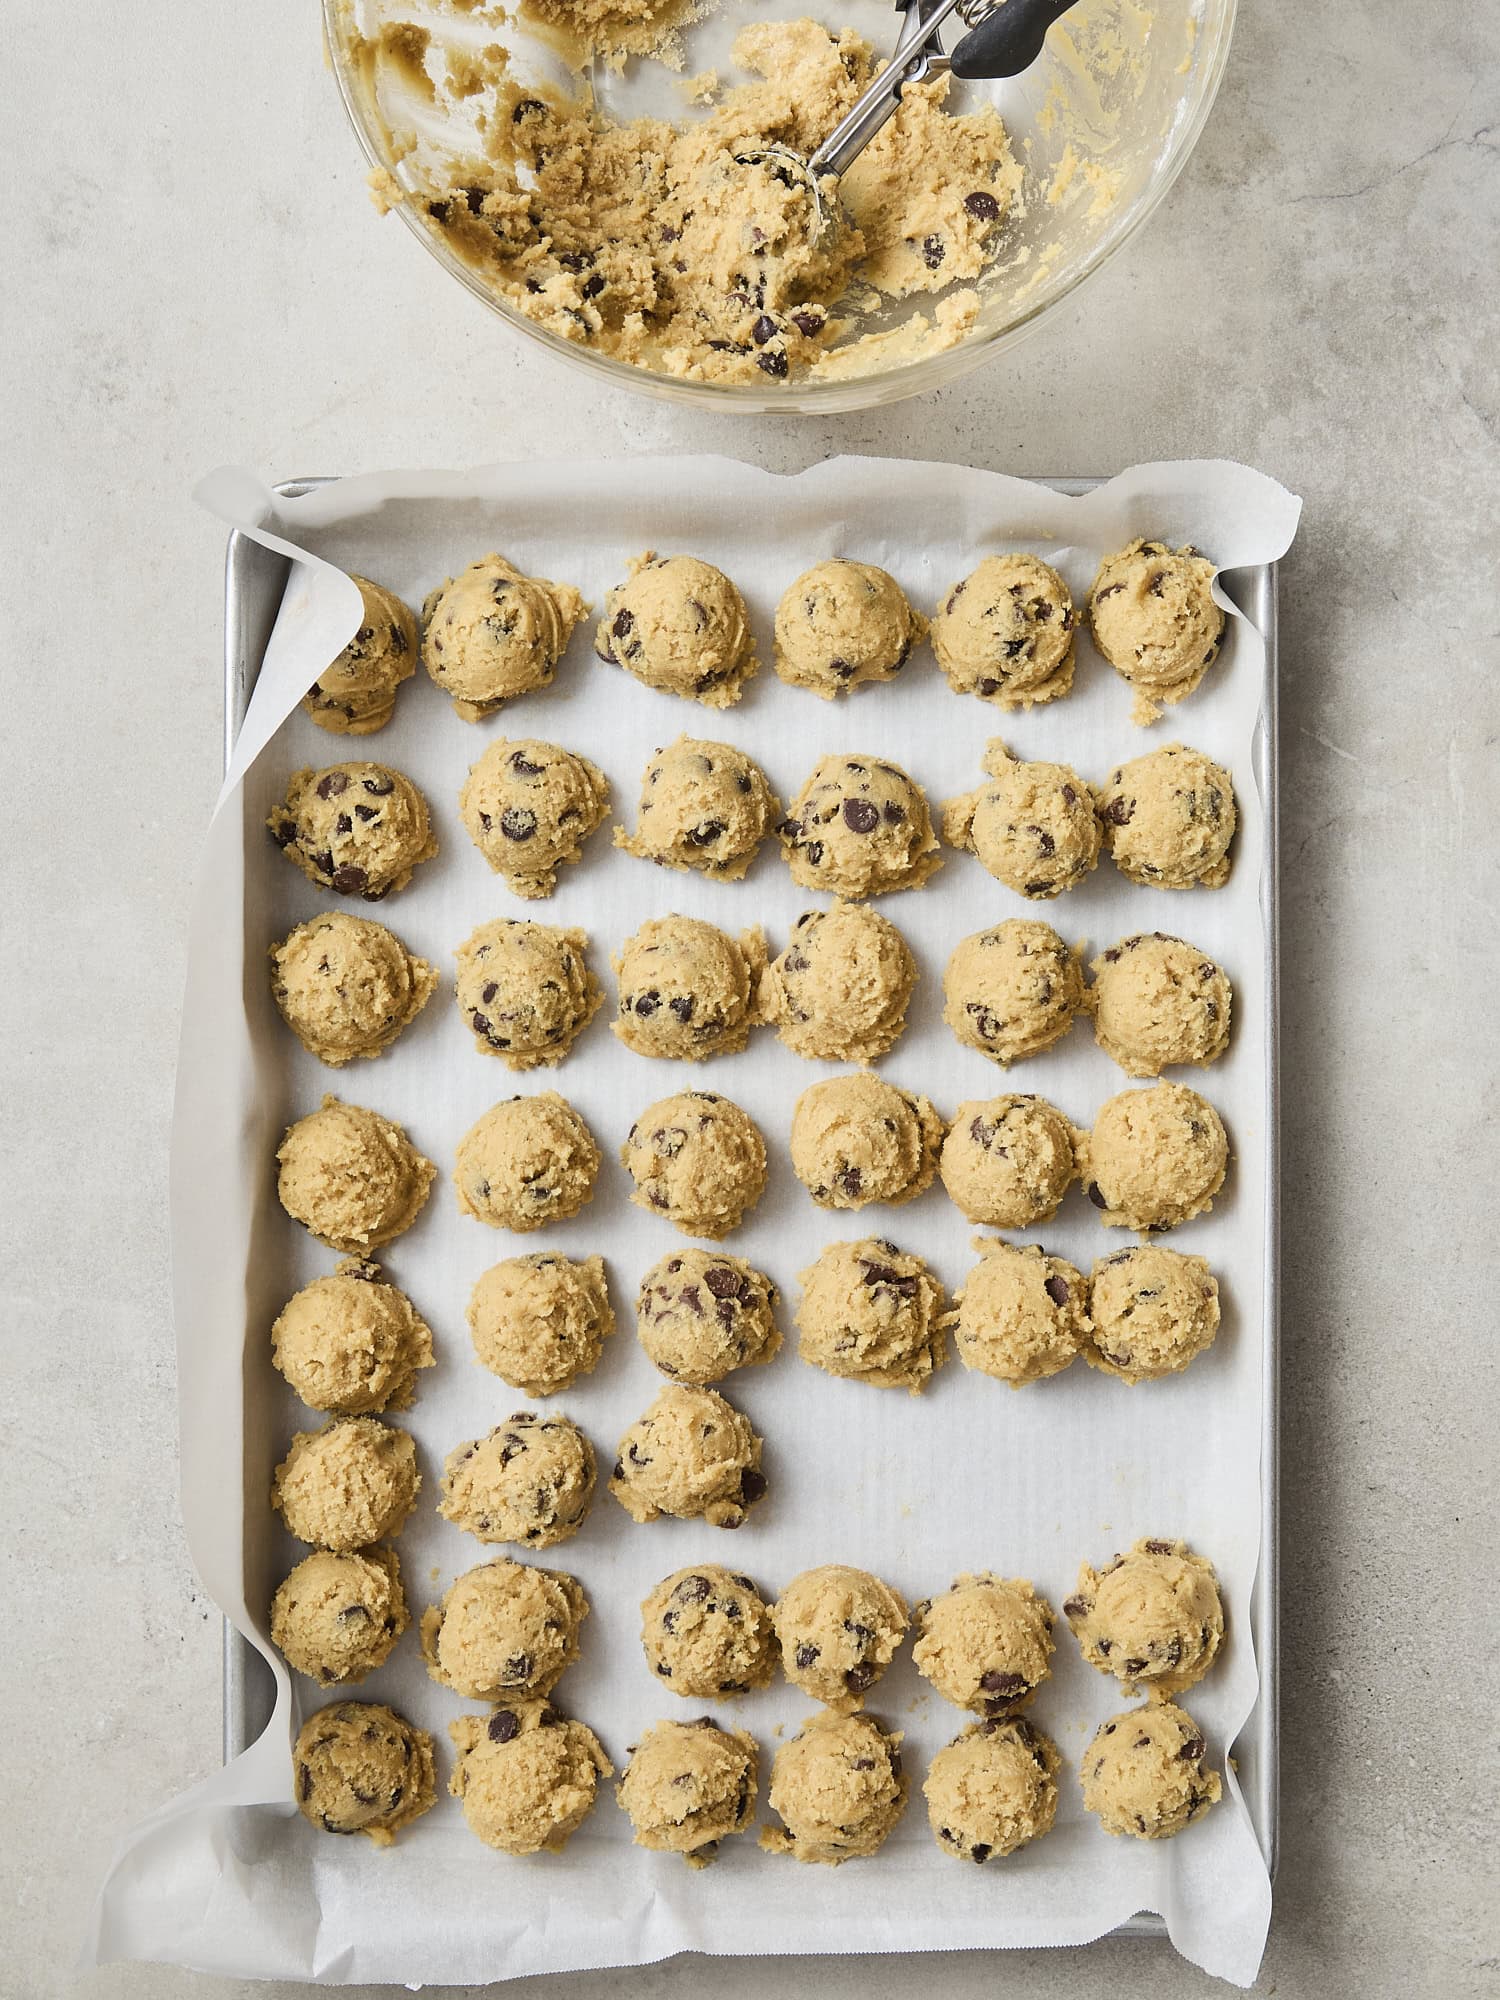
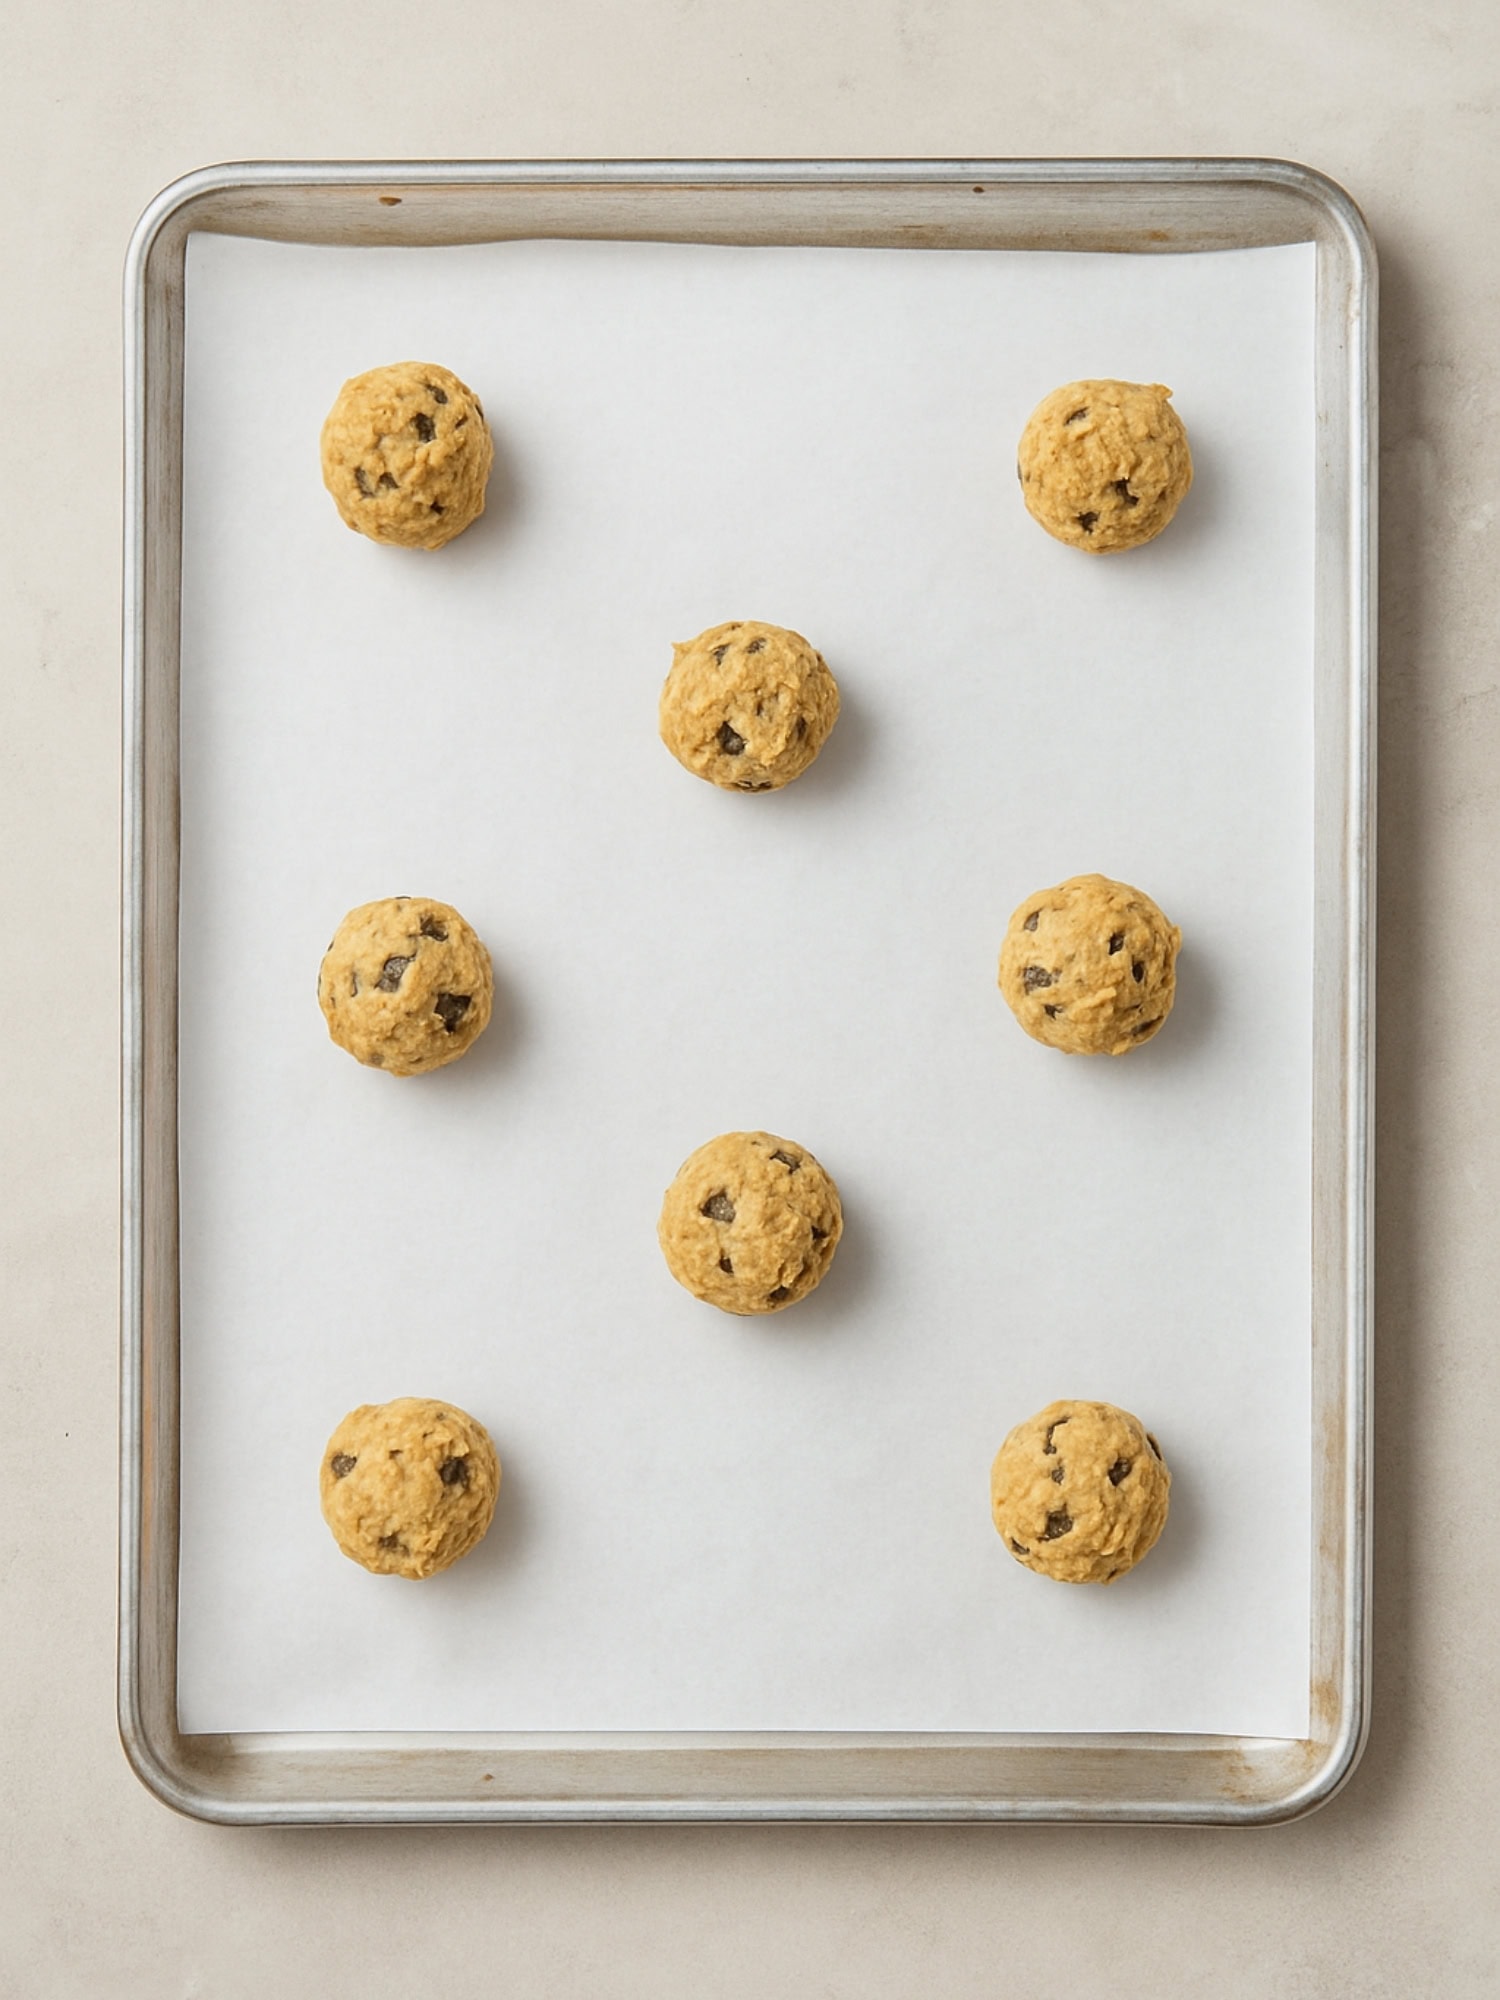
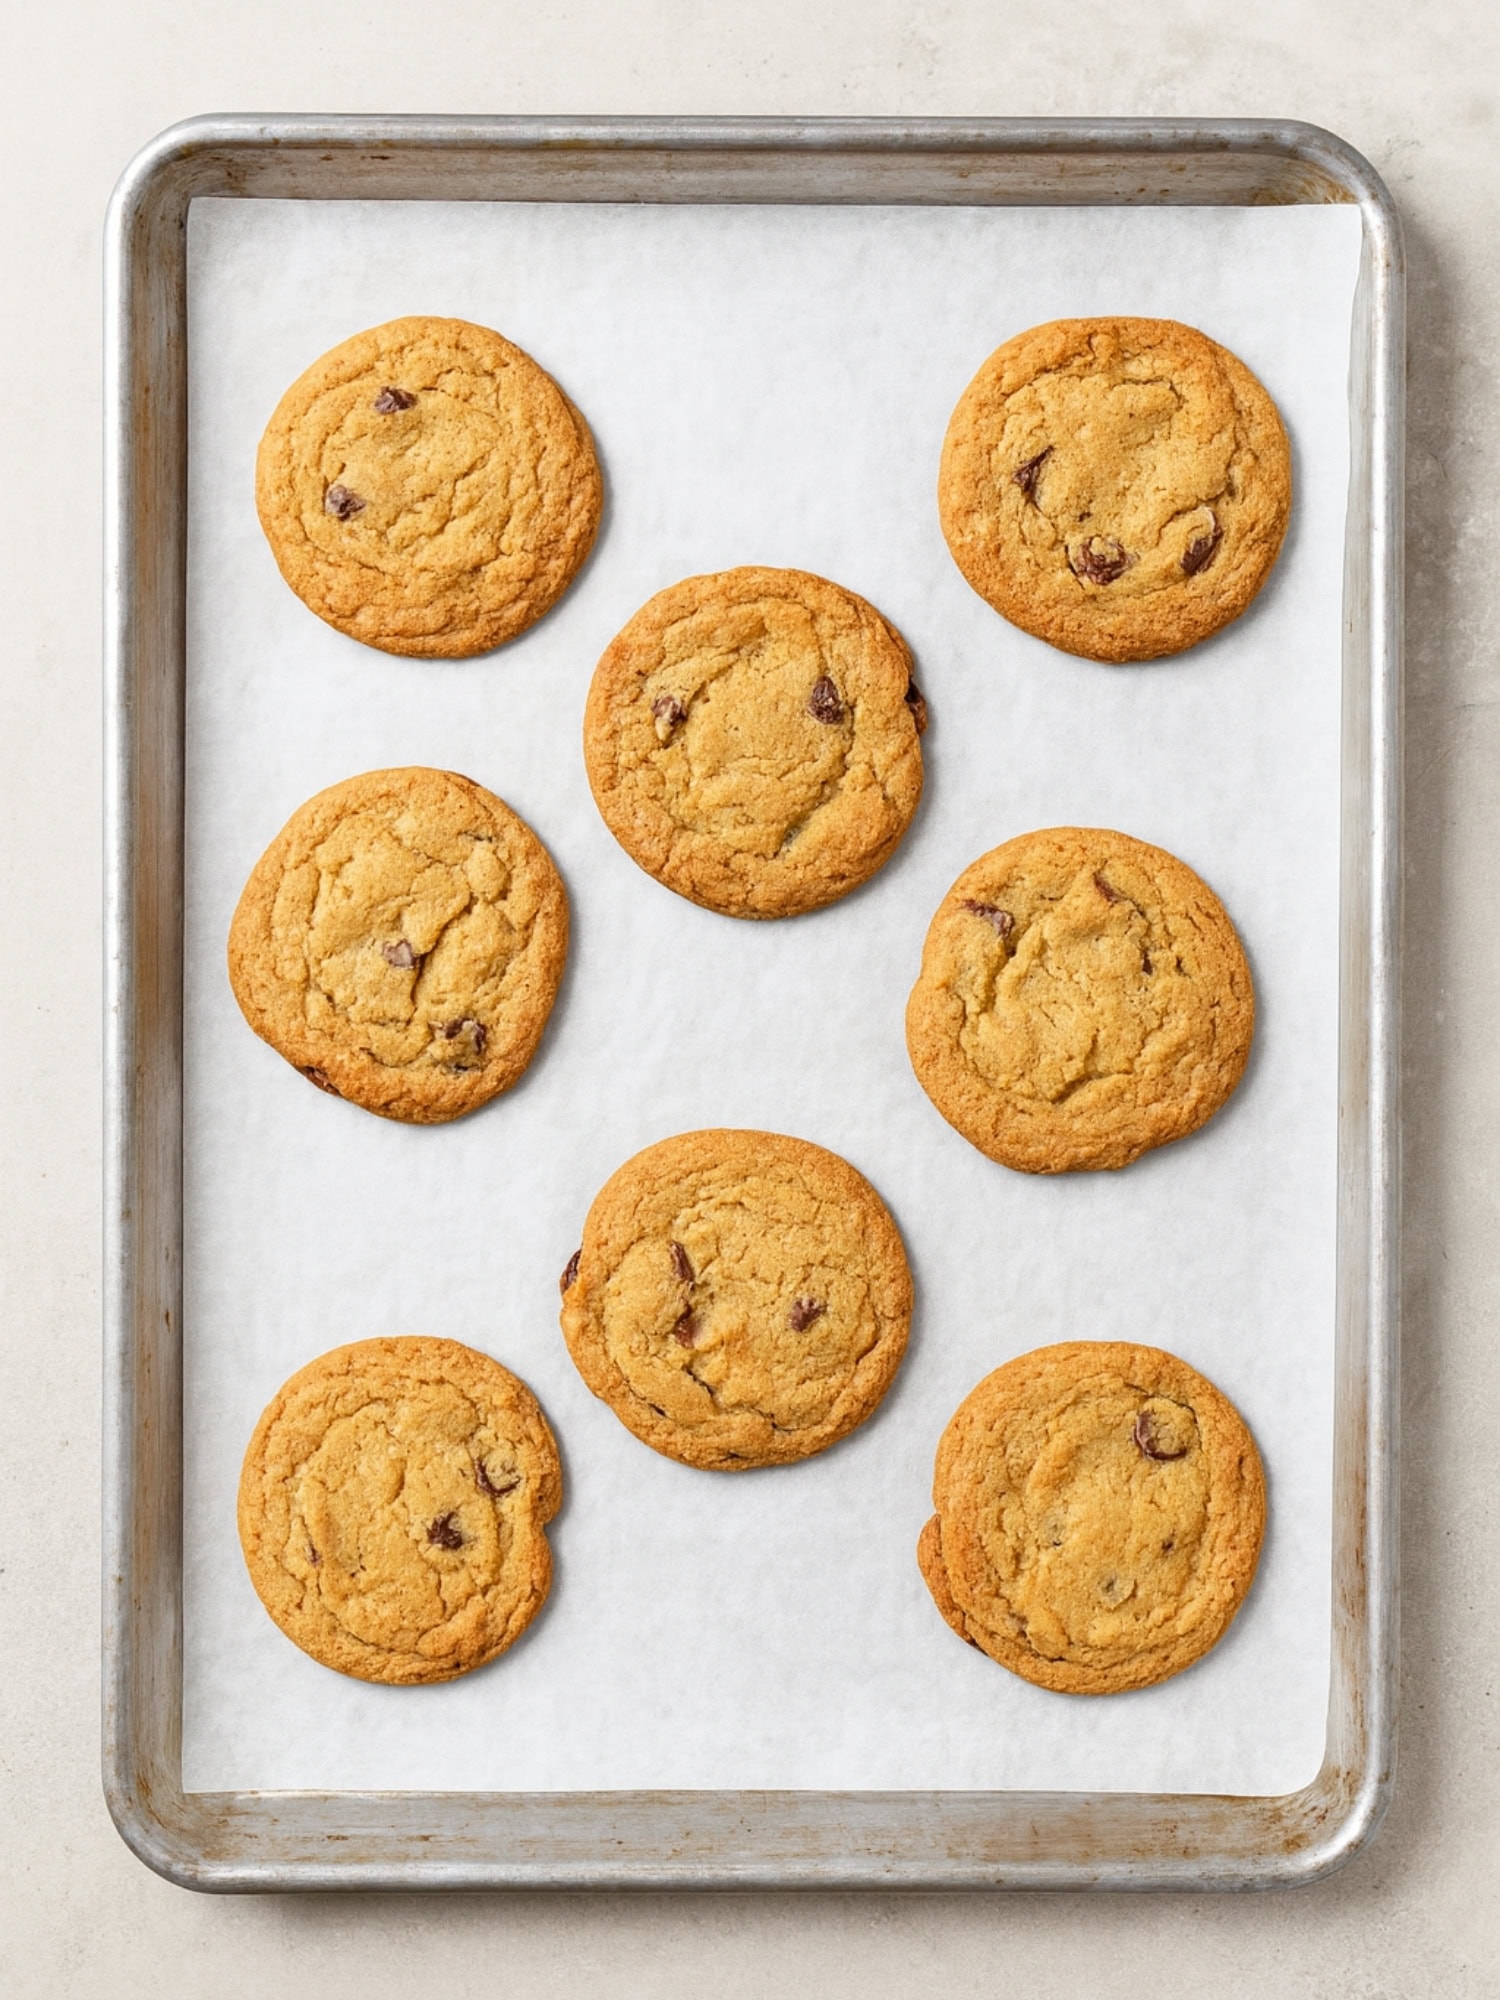
Step 5: Bake the cookies – When ready to bake the cookies, preheat the oven to 350°F. Place about 6-8 dough balls on a parchment-lined baking sheet and bake for 12-14 minutes. Remove from the oven, let cool on the pan for 5 minutes, then remove and let cool completely on a wire cooling rack. While the cookies are cooling, continue baking batches of cookies until all of the dough has been baked.
Recipe Tips
- Each time an ingredient is added and mixed in, scrape down the sides of the bowl. This will ensure that the ingredients are well-mixed without any pockets of unmixed flour.
- The cookies need to be scooped into large rounds. The size should be a #40 ice cream scoop (0.875 oz or 1.75 tbsp). This helps them dome just enough and spread just right.
- It’s important to let the cookies sit in the refrigerator for 24 hours. This will ensure that the ingredients are well-hydrated and create the perfect texture when baked. If this step is skipped, the cookies will bake flatter and a bit more cake-like.
- When the cookies are removed from the oven after baking, they may appear a bit loftier than expected. This is normal. I will even bang the hot baking sheet on the counter after removing it from the oven just to quicken the deflation process. After about 5 minutes of cooling on the pan, they should be deflated and will continue to deflate once placed on the cooling rack.
Frequently Asked Questions
The bread flour is a key component of the cookies and the end result. However, all-purpose flour can be used for the entire amount of flour if bread flour is not on hand and cannot be purchased. Be warned that the end result will not be the same as intended for this recipe, and bread flour should be used when possible.
Yes, if possible, you should aim to refrigerate them for this period of time. The dough melds together, hydrating the ingredients and creating a much better cookie in the end!
For the easiest scooping, simply scoop the cookies before putting them in the refrigerator. The dough will be at room temperature right after it’s mixed, making the scoops easy to create. Then, place all of the scoops on a parchment-lined baking sheet, cover, and refrigerate.
Yes! Once the cookies are scooped, place them in a freezer-safe container and freeze. When ready to bake, remove the desired number of cookies, let them thaw for 20 minutes at room temperature, then bake per the recipe instructions.
No, make sure to only put one pan of cookies in the oven at a time. While it does seem like having multiple pans in the oven at once wouldn’t change anything, it really does!
Of course! These cookies freeze beautifully and are the perfect baked good to have on hand for any time that dessert is needed. Simply remove a cookie (or however many are needed) from the freezer and let it thaw for 30 minutes to 1 hour on the counter.
If your cookies are spreading more than you’d like, here are some common issues:
The dough wasn’t chilled long enough – The scooped dough balls need time to firm up in the refrigerator. Make sure they chill for 24 hours until they feel firm all the way through when gently pressed.
Wrong amount of flour – How you measure flour really matters. For best results, spoon the flour into the cup and level it off instead of scooping straight from the bag.
Pan and oven differences – Always bake on parchment-lined baking sheets (do not grease the pan). If your oven runs a little cool, the cookies may spread before they have a chance to set. An inexpensive oven thermometer can help you check.
Follow These Tips
Serving & Storage
To serve – Once the cookies have baked, let them cool for 5 minutes on the pan, then remove and let cool on a cooling rack. Then, they’re ready to eat! You can enjoy them however you want, but I do love them just slightly warm with a cold glass of milk, blazing hot coffee, or a delicious vanilla latte.
If you wanted to, you could add a sprinkle of flaky salt right after the cookies come out of the oven for a salty finish.
To store – The cookies can be kept in an airtight container at room temperature for 3-5 days. They can also be frozen after they’re cooled for long-term storage. Simply place them in a bag or freezer-safe container and store for 2-3 months. When ready to enjoy, pull out the number needed and let thaw for 30 minutes at room temperature, or defrost in the microwave.
More Cookie Recipes
- Chocolate chip and oatmeal refrigerator cookies
- Melt in your mouth sugar cookies
- Lemon shortbread cookies
- Date and nut pinwheel cookies
- Peanut butter fingers
- Oatmeal spice creme-filled cookies
- Brown sugar cookies
- Citrus glazed orange cookies
- Cornmeal and honey cookies
- Dried cherry, pistachio, and lime refrigerator cookies
- Spicy dark chocolate cookies
Have I Convinced You to Make This Recipe?
I hope you make this recipe and put some food on your table. Leave a comment and share a star rating so you can let others know how much you love this recipe. This helps show others that this is a recipe they, too, can make, enjoy, and love!
Ultimate Chocolate Chip Cookies
Equipment
Ingredients
- 24 tablespoons (3 sticks) unsalted butter room temperature
- 1 ½ cups granulated sugar
- 1 ½ cups light brown sugar lightly packed
- 3 large eggs
- 1 tablespoon vanilla extract
- 1 ½ tablespoons molasses
- 2 ½ cups bread flour
- 2 cups all-purpose flour
- 2 tablespoons malted milk powder
- 1 ½ teaspoons baking soda
- 1 ½ teaspoons kosher salt
- 1 ¼ cups semi-sweet chocolate chips
- 1 ¼ cups milk chocolate chips
Instructions
- Prepare wet ingredients: In the bowl of an electric mixer, combine the room temperature butter, white granulated sugar, and brown sugar. Beat on medium speed until the mixture is creamy and slightly lighter in color, 3-5 minutes. Scrape down the sides of the bowl and add the eggs one at a time, mixing until incorporated after each addition. Add the vanilla extract and molasses and mix until incorporated.24 tablespoons (3 sticks) unsalted butter, 1 ½ cups granulated sugar, 1 ½ cups light brown sugar, 3 large eggs, 1 tablespoon vanilla extract, 1 ½ tablespoons molasses
- Add the dry ingredients: Scrape the sides of the bowl and add the bread flour and all-purpose flour, malted milk powder, salt, and baking soda. Mix on low speed just until no dry streaks remain, 2 minutes.2 ½ cups bread flour, 2 tablespoons malted milk powder, 1 ½ teaspoons baking soda, 1 ½ teaspoons kosher salt, 2 cups all-purpose flour
- Add chocolate chips: Add the semi-sweet and milk chocolate chips and mix briefly, or mix in by hand.1 ¼ cups semi-sweet chocolate chips, 1 ¼ cups milk chocolate chips
- Scoop: Using a #40 cookie scoop (0.875 ounce or 1.75 tablespoons), place cookies on a parchment-lined baking sheet. Cover the scooped dough balls and place them in the refrigerator for 24 hours (as a minimum) or up to 2 days, until firm all the way through. Do not skip this waiting time!
- Bake: When ready to bake, preheat the oven to 350°F. Arrange the chilled dough balls on parchment-lined baking sheets (do not place directly on greased baking sheets), leaving space between them (usually 8 dough balls per sheet). Bake until the edges are golden brown and the cookies are slightly domed, 12-14 minutes. Remove from oven and cool on a pan for 5 minutes. Then, finish cooling on a cooling rack.
Video

Notes
Nutrition
Nutrition information is automatically calculated, so should only be used as an approximation.

Did you make this? Leave a comment below!
Styling: Addelyn Evans | Photography: Dera Burreson


I made & baked the Ultimate Chocolate chip cookie.
Turned out flat, not done in center & to brown on edges. What can be done? Baking powder? All brown sugar?
I followed you he recipe to a tee. They turn out flat. I’ll try to remake the recipe again but maybe weigh out the flour instead of dry measure. They taste fine just flat and I hate a flat cookie
If you swap out 1-stick of butter with 1/2 cup of butter flavored shortening that should solve the problem of the cookies being flat.
Can’t wait to try this recipe, love making new recipes and especially cookies because it’s so easy to share them. I would love to see all, or at least some, of the questions answered in the comments tho. There are a lot of great questions that I’m sure a lot of people would love to know the answers to….. and which would be helpful to everyone. Thank you for your consideration and your contributions to helping us all be better bakers! Much aloha
Just made your cookies today and they are scrumptious. Thank you for sharing your recipe. I love to bake and this will be my new chocolate chip cookie recipe. I baked mine for about 16 minutes and cooled on the pan for 5 min. Just like you said, crisp on the edge and soft on the inside.
Perfect cookie. Great texture. Just the way I like them. I think I’d prefer all semisweet or even bittersweet chips instead of some of the milk chocolate since I’m a dark chocolate fan. I love that it makes a big batch. ❤️😊
One of the most finest chocolate chip cookies I’ve ever made!!! Hands down!!
Took 20 cookies to a birthday celebration, had 5 different people ask for the recipe.
I had to make it twice to be honest, on the first batch I completely skipped the bread flour. That batter when cookie never formed, too greasy, buttery.
Quite honestly the best chocolate chip cookies to grace my kitchen. I followed Kaleb’s recipe exactly as he made them in his video, let the dough chill overnight (even though I thought it was weird) and voila! The size cookie scoop recommended is massive and bake time is perfect for that size. I’ve cut down the scoops by a third and baked less time. Also scooped and froze in balls for later use. This recipe makes enough for a crowd.
I have been watching you since Dec .you decoratingChristmas tree
Love watching planting flowers and veg
Also I met your mom on your show I forgot what youll were doing
These are the ultimate cookie. Just made them and they are awesome.
Hello, please let me know how much butter in grams we need for this recipe.
I’m not from the USA and don’t have this formate of butter.
Many thanks.
Ariella
Buy a digital scale. I use mine all the time. It’s also more accurate than measuring cups. OXO or Salton are great brands. It has kilograms or pounds. You can go back and forth. Amazon or Bed Bath and Beyond.