Table of Contents
This post may contain affiliate links. If you make a purchase through links on our site, we may earn a commission.
Living in a 130+-year-old home is a lifetime labor of love. And living in a home that your parents and grandparents lived in before you adds an additional layer of determination to keep the house in good shape while loving it even more than the previous generations.
Let’s go through a bit of backstory. My grandparents purchased my house in 1980. In 1982, my parents moved in after they married. In 1988, my parents purchased the generational farmhouse from my grandparents (right across the road), and they swapped houses. That sounds confusing, but it means that I grew up with my grandparents across the road and now live in the house where they lived during my childhood.
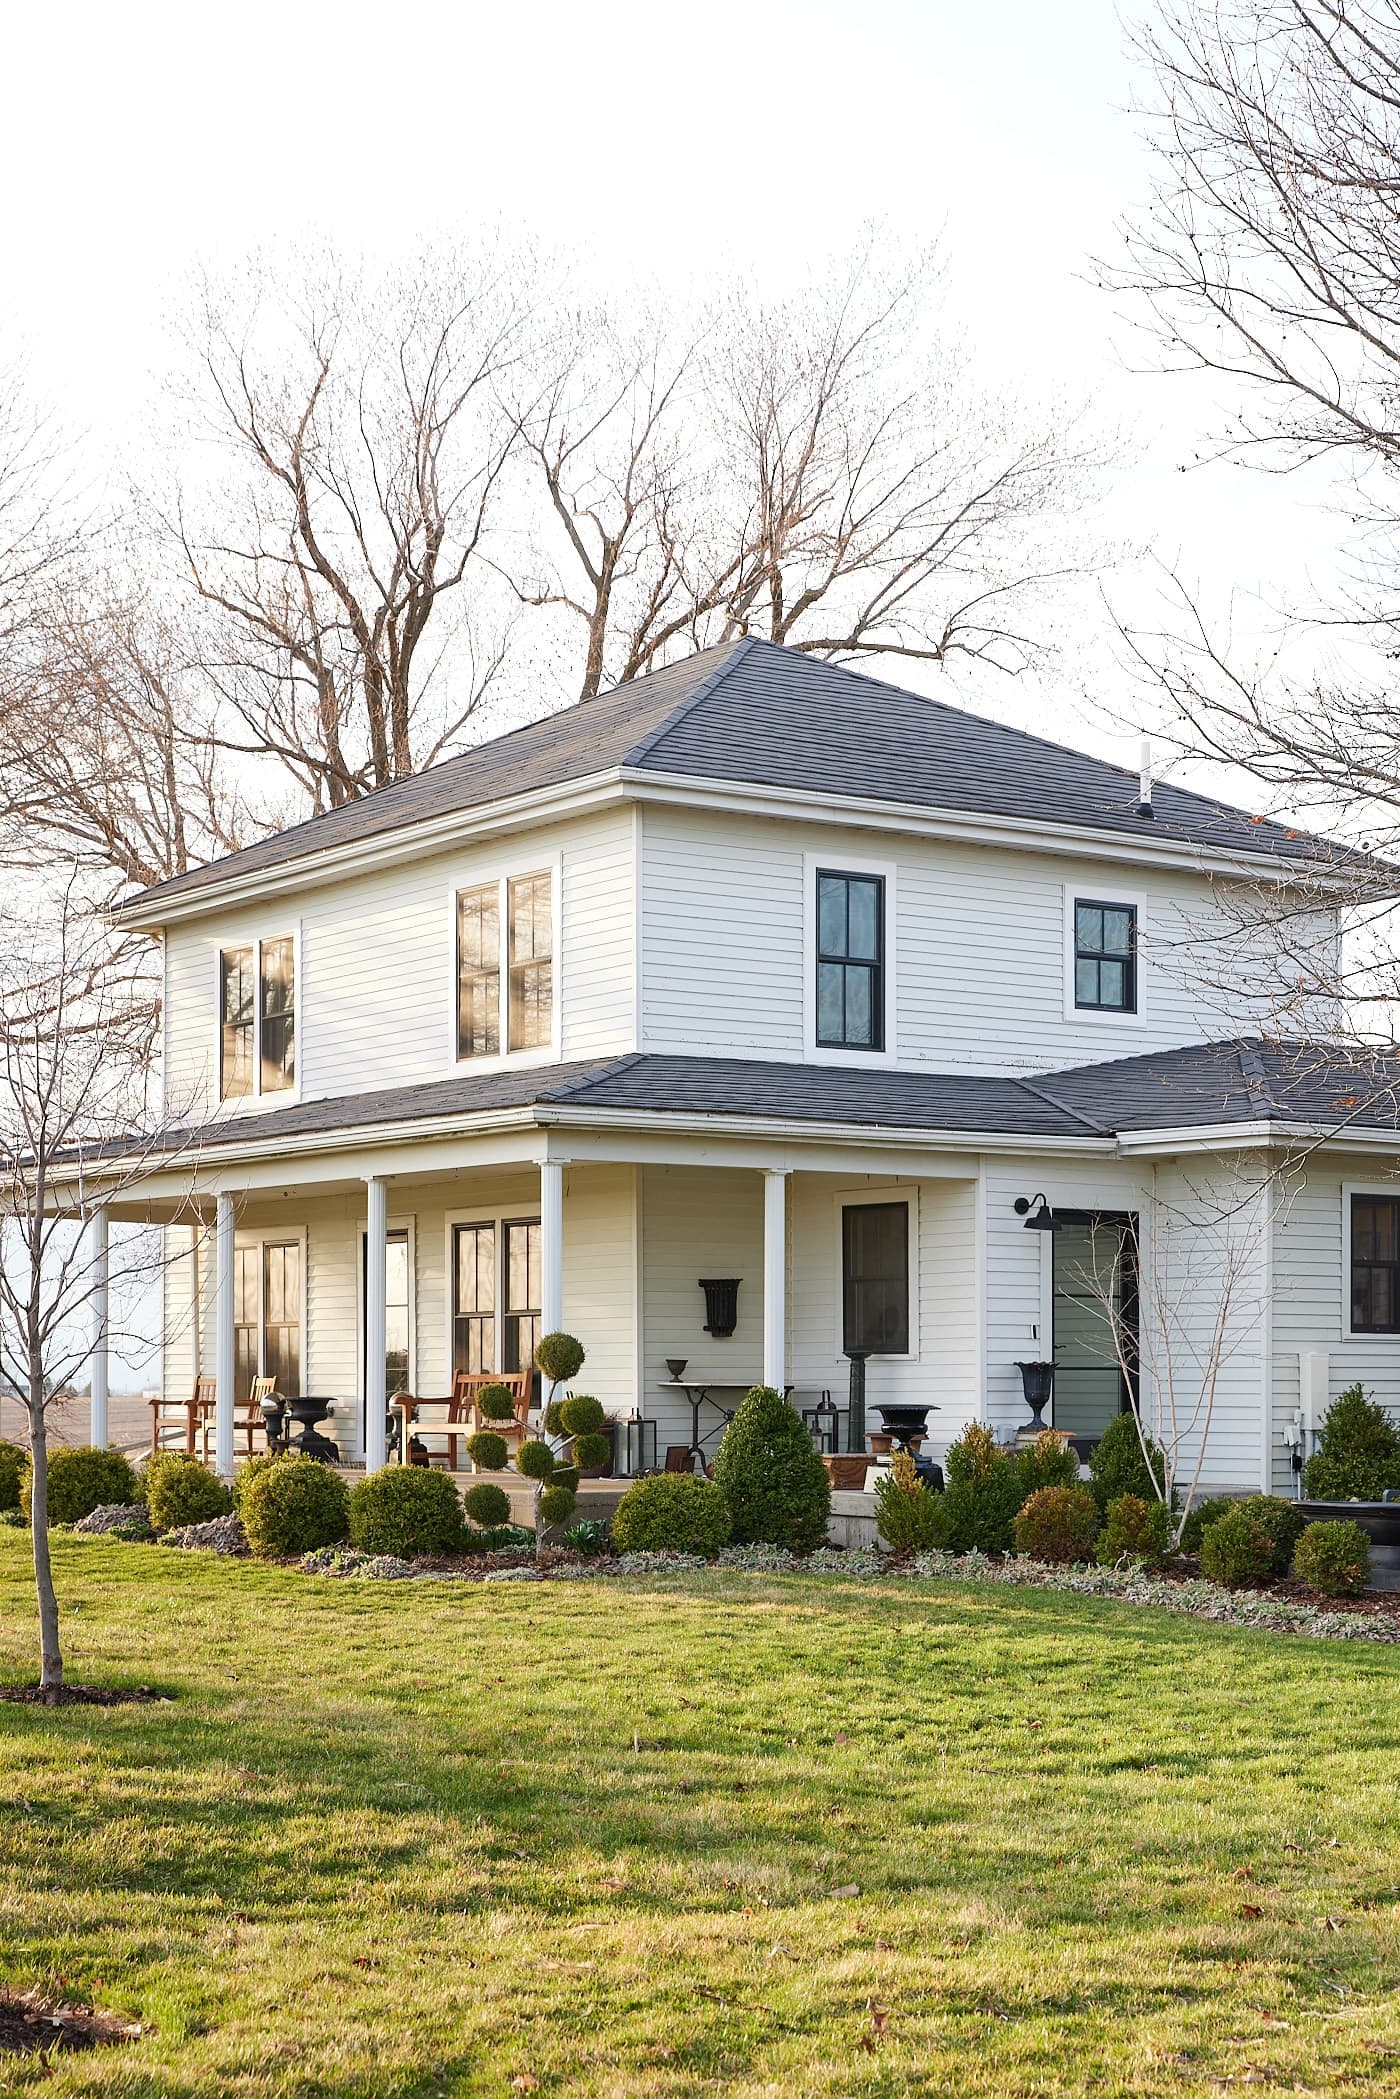
I purchased this home in 2010 and started working on the yard but didn’t touch the house until 2019, when I remodeled the kitchen and main floor. The kitchen was a primary focus as Wyse Guide needed a place where I could create and film weekly recipe videos.
The second floor should have been the priority but had to be put on the back burner at that time.
Since this house was built before electricity, indoor plumbing, or HVAC, a lot of retrofitting was done to accommodate the modernizing changes that each decade brought. The main floor had some renovations at various points, but the second floor had not been touched since electricity was first added. Knob and tube wiring with crumbling barriers was still in use and connected via a fuse box, which is not used anymore. There were two vents for HVAC, and they didn’t keep up with the near-zero insulation in the walls.
As things always seem to do, this spiraled the renovation. What started as a necessary update to electric and HVAC became a 10-month gut renovation.
But the result brought back original details, kept the heart of the home, and made it more useful for my daily life working at home.
General Sources
- Light switch plates – Traditional Single Gang Push Button Switch Plate in Forged Brass by House of Antique Hardware | Finish: Un-Lacquered Brass // Traditional Double Gang Push Button Switch Plate in Forged Brass by House of Antique Hardware | Finish: Un-Lacquered Brass // Traditional Triple Gang Push Button Switch Plate in Forged Brass by House of Antique Hardware | Finish: Un-Lacquered Brass
- Light switches – Premium Single-Pole Push Button Universal Dimmer Switch with True Mother-of-Pearl Buttons by House of Antique Hardware | Wattage: 600W // Premium 3-Way Push Button Light Switch with True Mother-of-Pearl Buttons by House of Antique Hardware | Wattage: 600W // Premium Push Button Light Switch with True Mother-of-Pearl Buttons by House of Antique Hardware // Premium 3-Way Push Button Universal Dimmer Switch with True Mother-of-Pearl Buttons by House of Antique Hardware | Wattage: 600W
- Electrical outlets – Leviton Standard Duplex Outlet/Receptacle by House of Antique Hardware | Color: Black // Leviton Standard GFCI Outlet/Receptacle by House of Antique Hardware | Color: Black
- Electrical outlet covers – Traditional Single Duplex Cover Plate in Forged Brass by House of Antique Hardware | Finish: Un-Lacquered Brass // Traditional Double Gang Duplex Cover Plate in Forged Brass by House of Antique Hardware | Finish: Un-Lacquered Brass // Traditional Single GFI Cover Plate in Forged Brass by House of Antique Hardware | Finish: Un-Lacquered Brass
- Door hardware – Solid Brass Horizontal Rim Lock Set with Small Round Knobs by House of Antique Hardware | Finish: Un-Lacquered Brass
- Door hinges – Baldwin 1135-I Full Mortise Plain Bearing Hinge by Cape Cod Brass | Finish: Non-Lacquered Brass
- Floors – 5-inch solid white oak hardwood with a natural finish
- Windows – Marvin Elevate Double Hung Window | Exterior Color: Ebony | Interior Color: Designer Black | Hardware: Matte Black | Divided Lites: Simulated Divided Lite with Spacer Bar (SDLS)
Primary bedroom
There are two bedrooms on the second floor of my farmhouse, and both are nearly identical. This one is a few feet larger than the other, so I call it the primary, even though it has no attached bathroom or walk-in closet. Due to space limitations, an ensuite bathroom was not an option for this renovation. I know that seems normal in new or remodeled homes, but this is an old house and doesn’t have the space to add anything to the current footprint. I worked within the same layout to keep the changes as easy as possible.
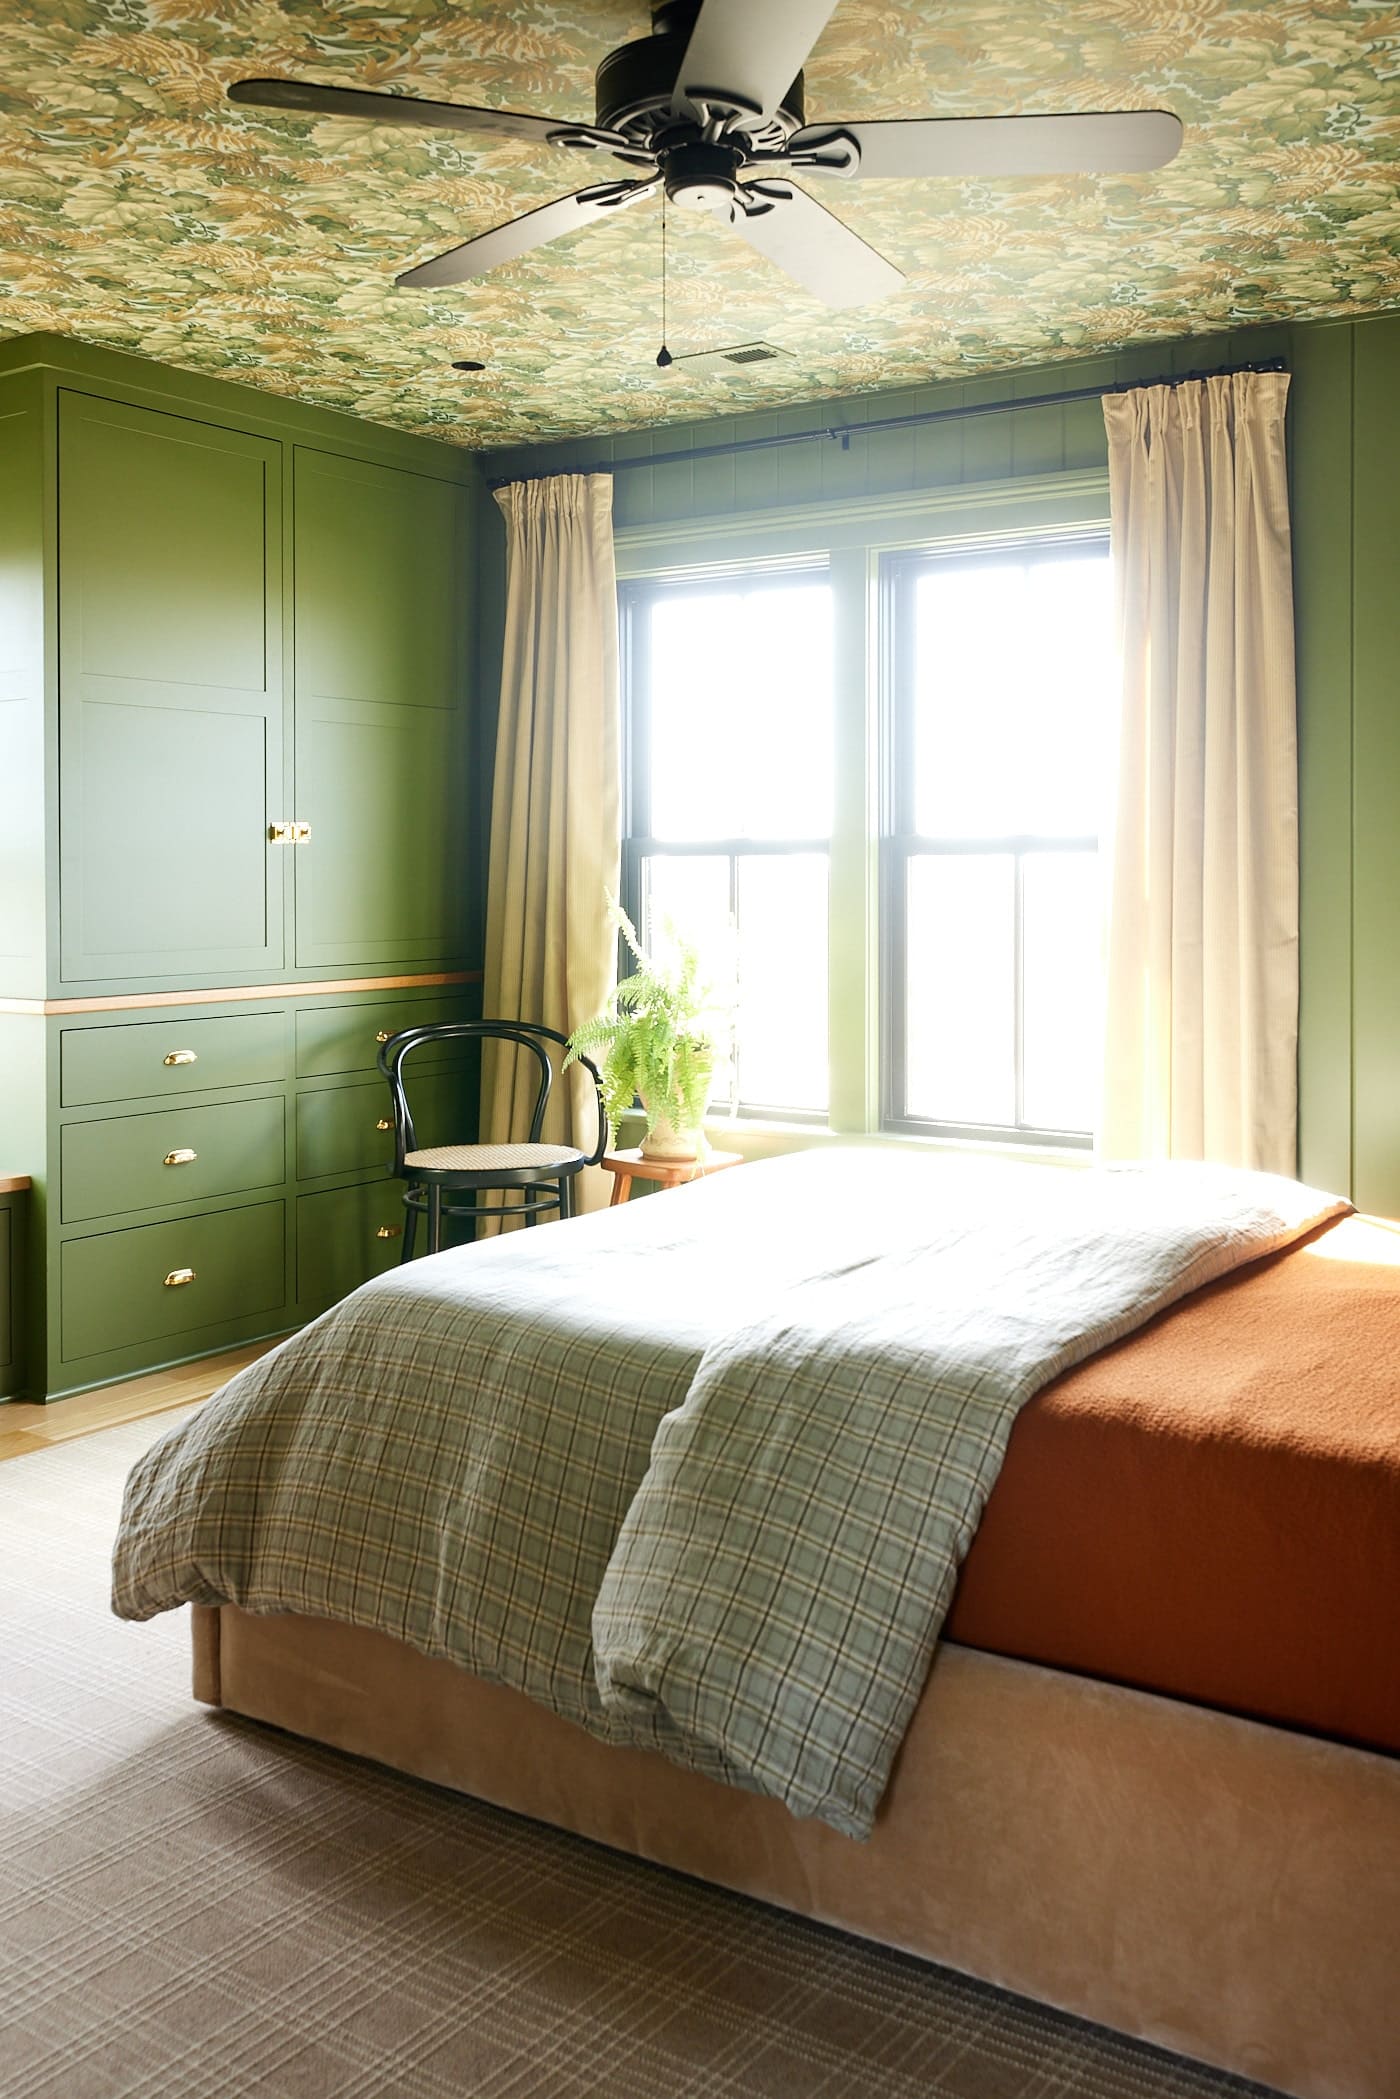
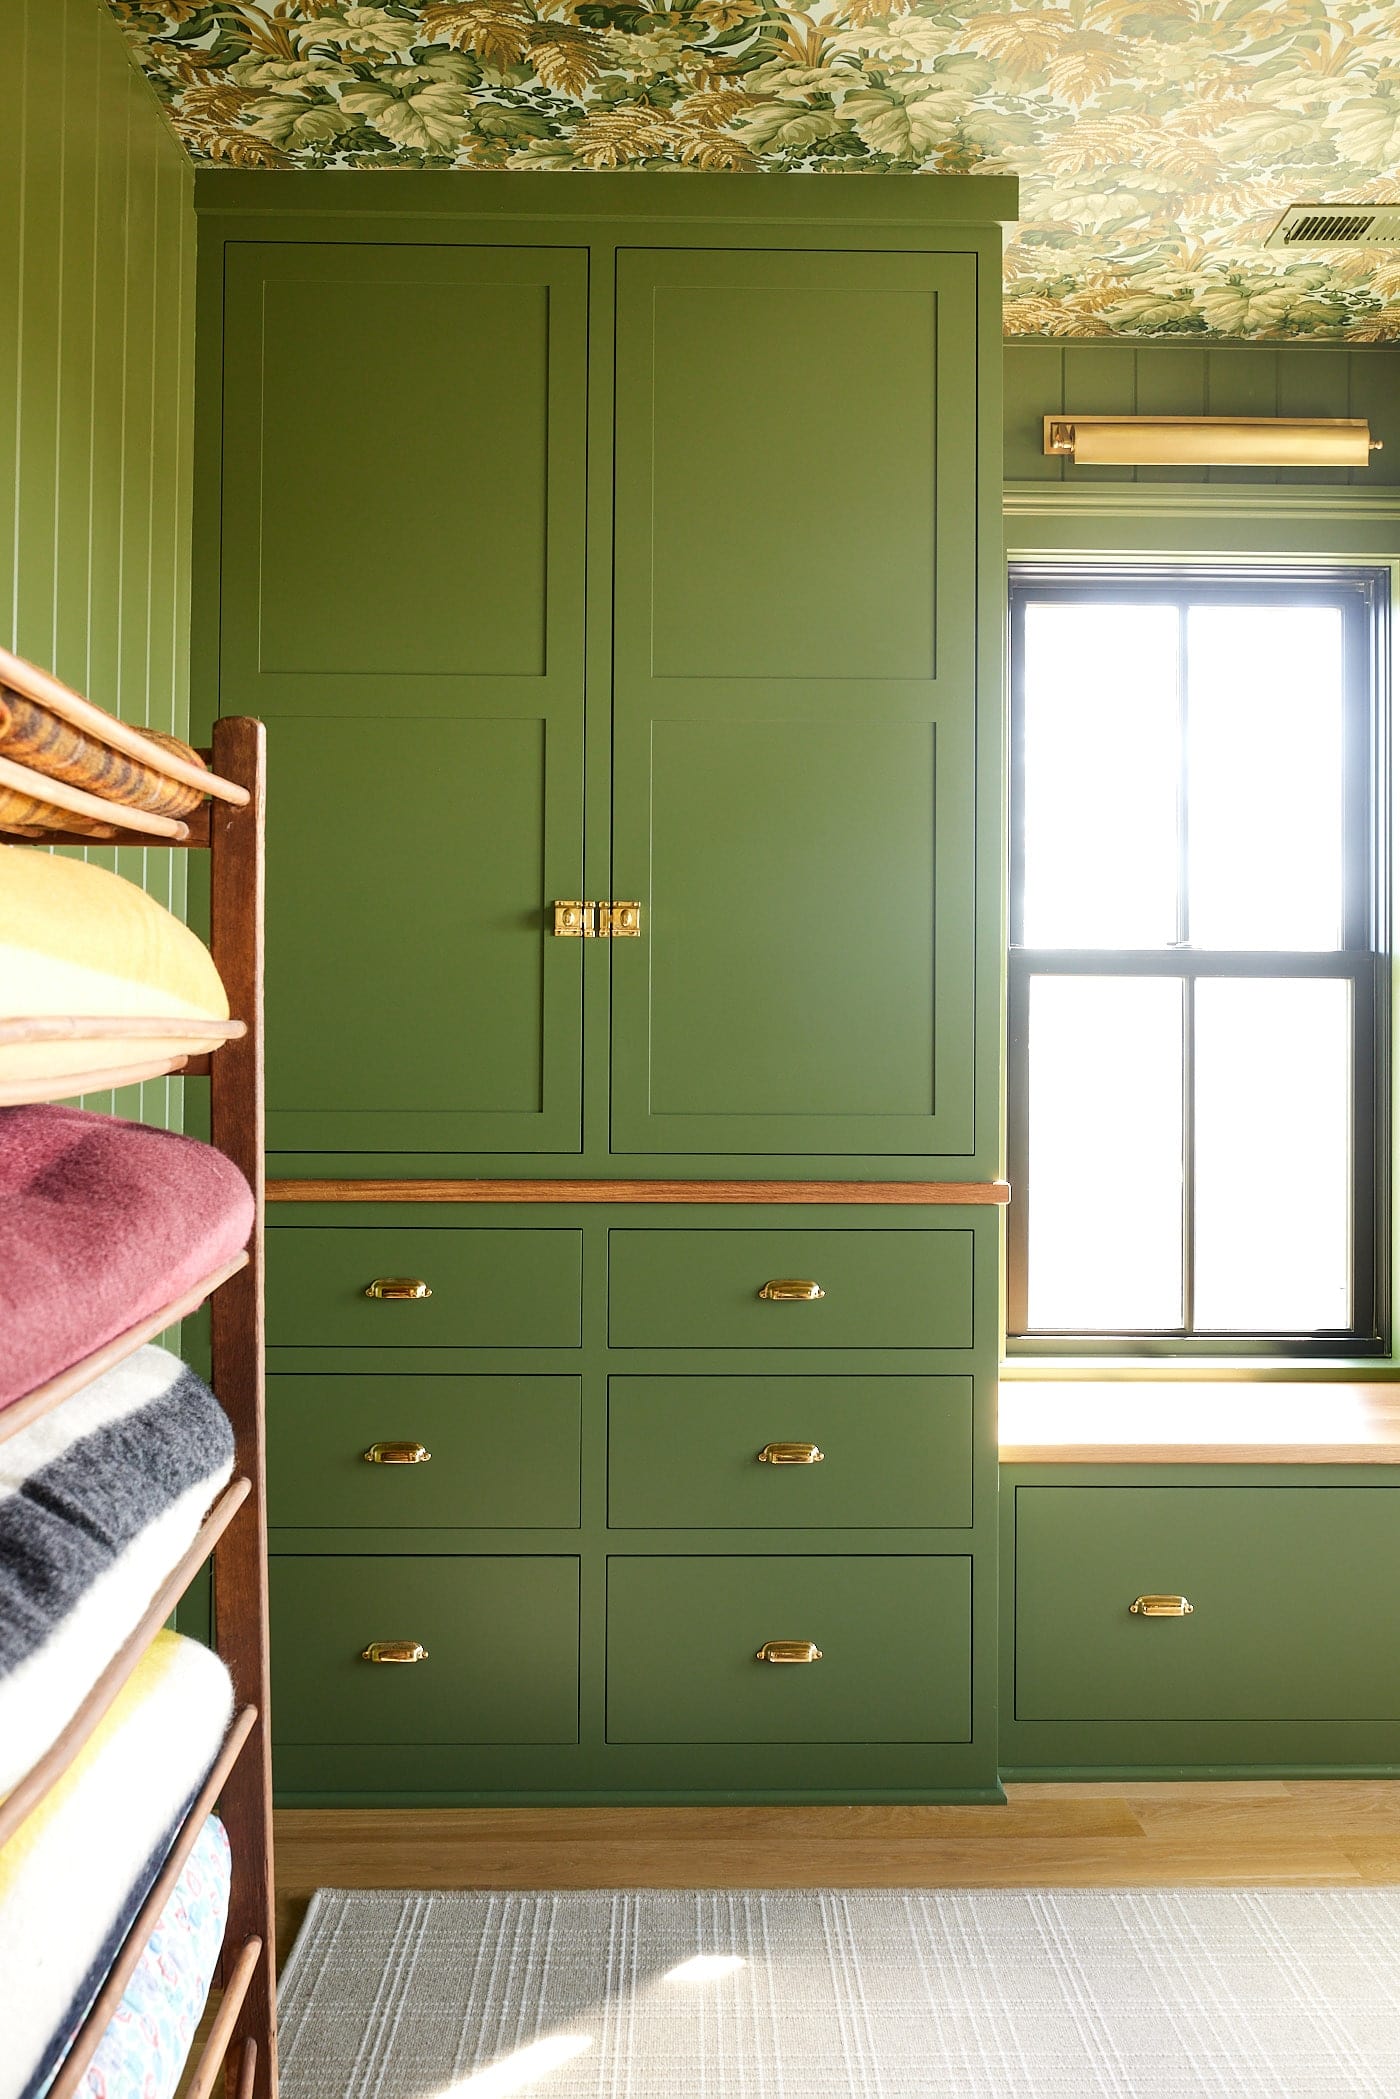
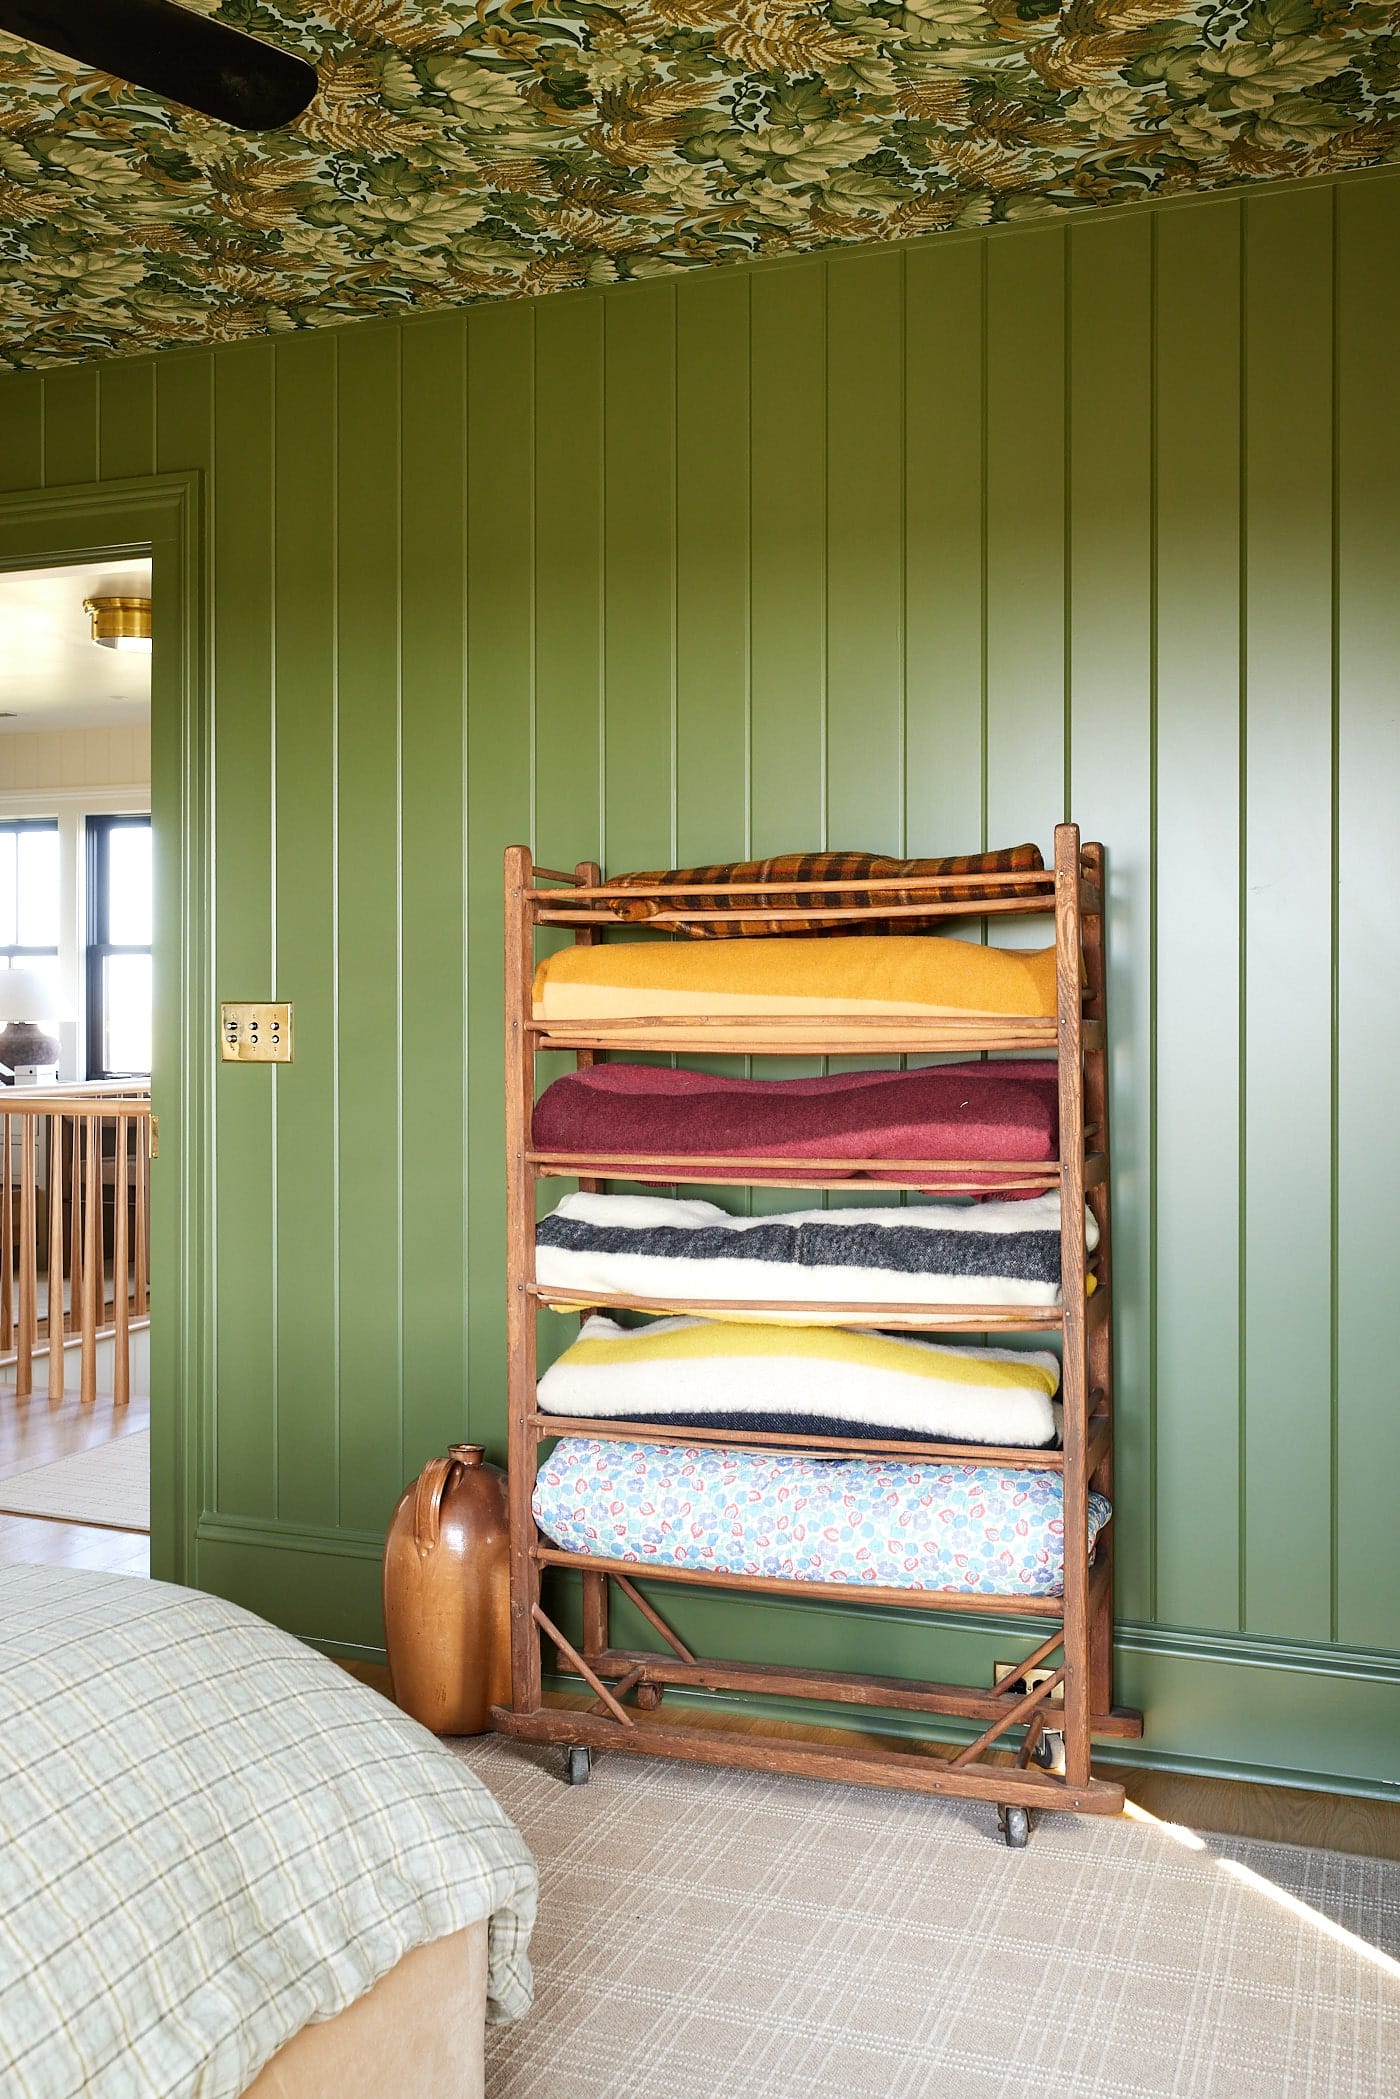
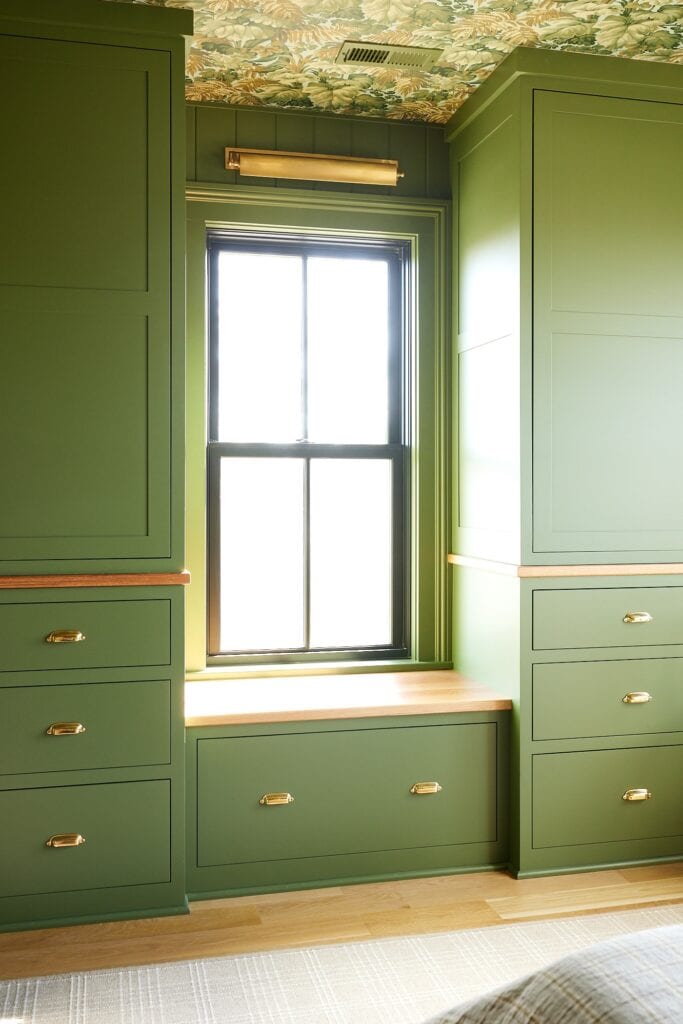
The first surprise that you may see could be the color of the walls: a striking green color called “Oakmoss” by Sherwin-Williams. I’ve always dreamed of a super cozy bedroom with a color that would invigorate me when I wake up and envelop me while going to sleep. This green was the answer.
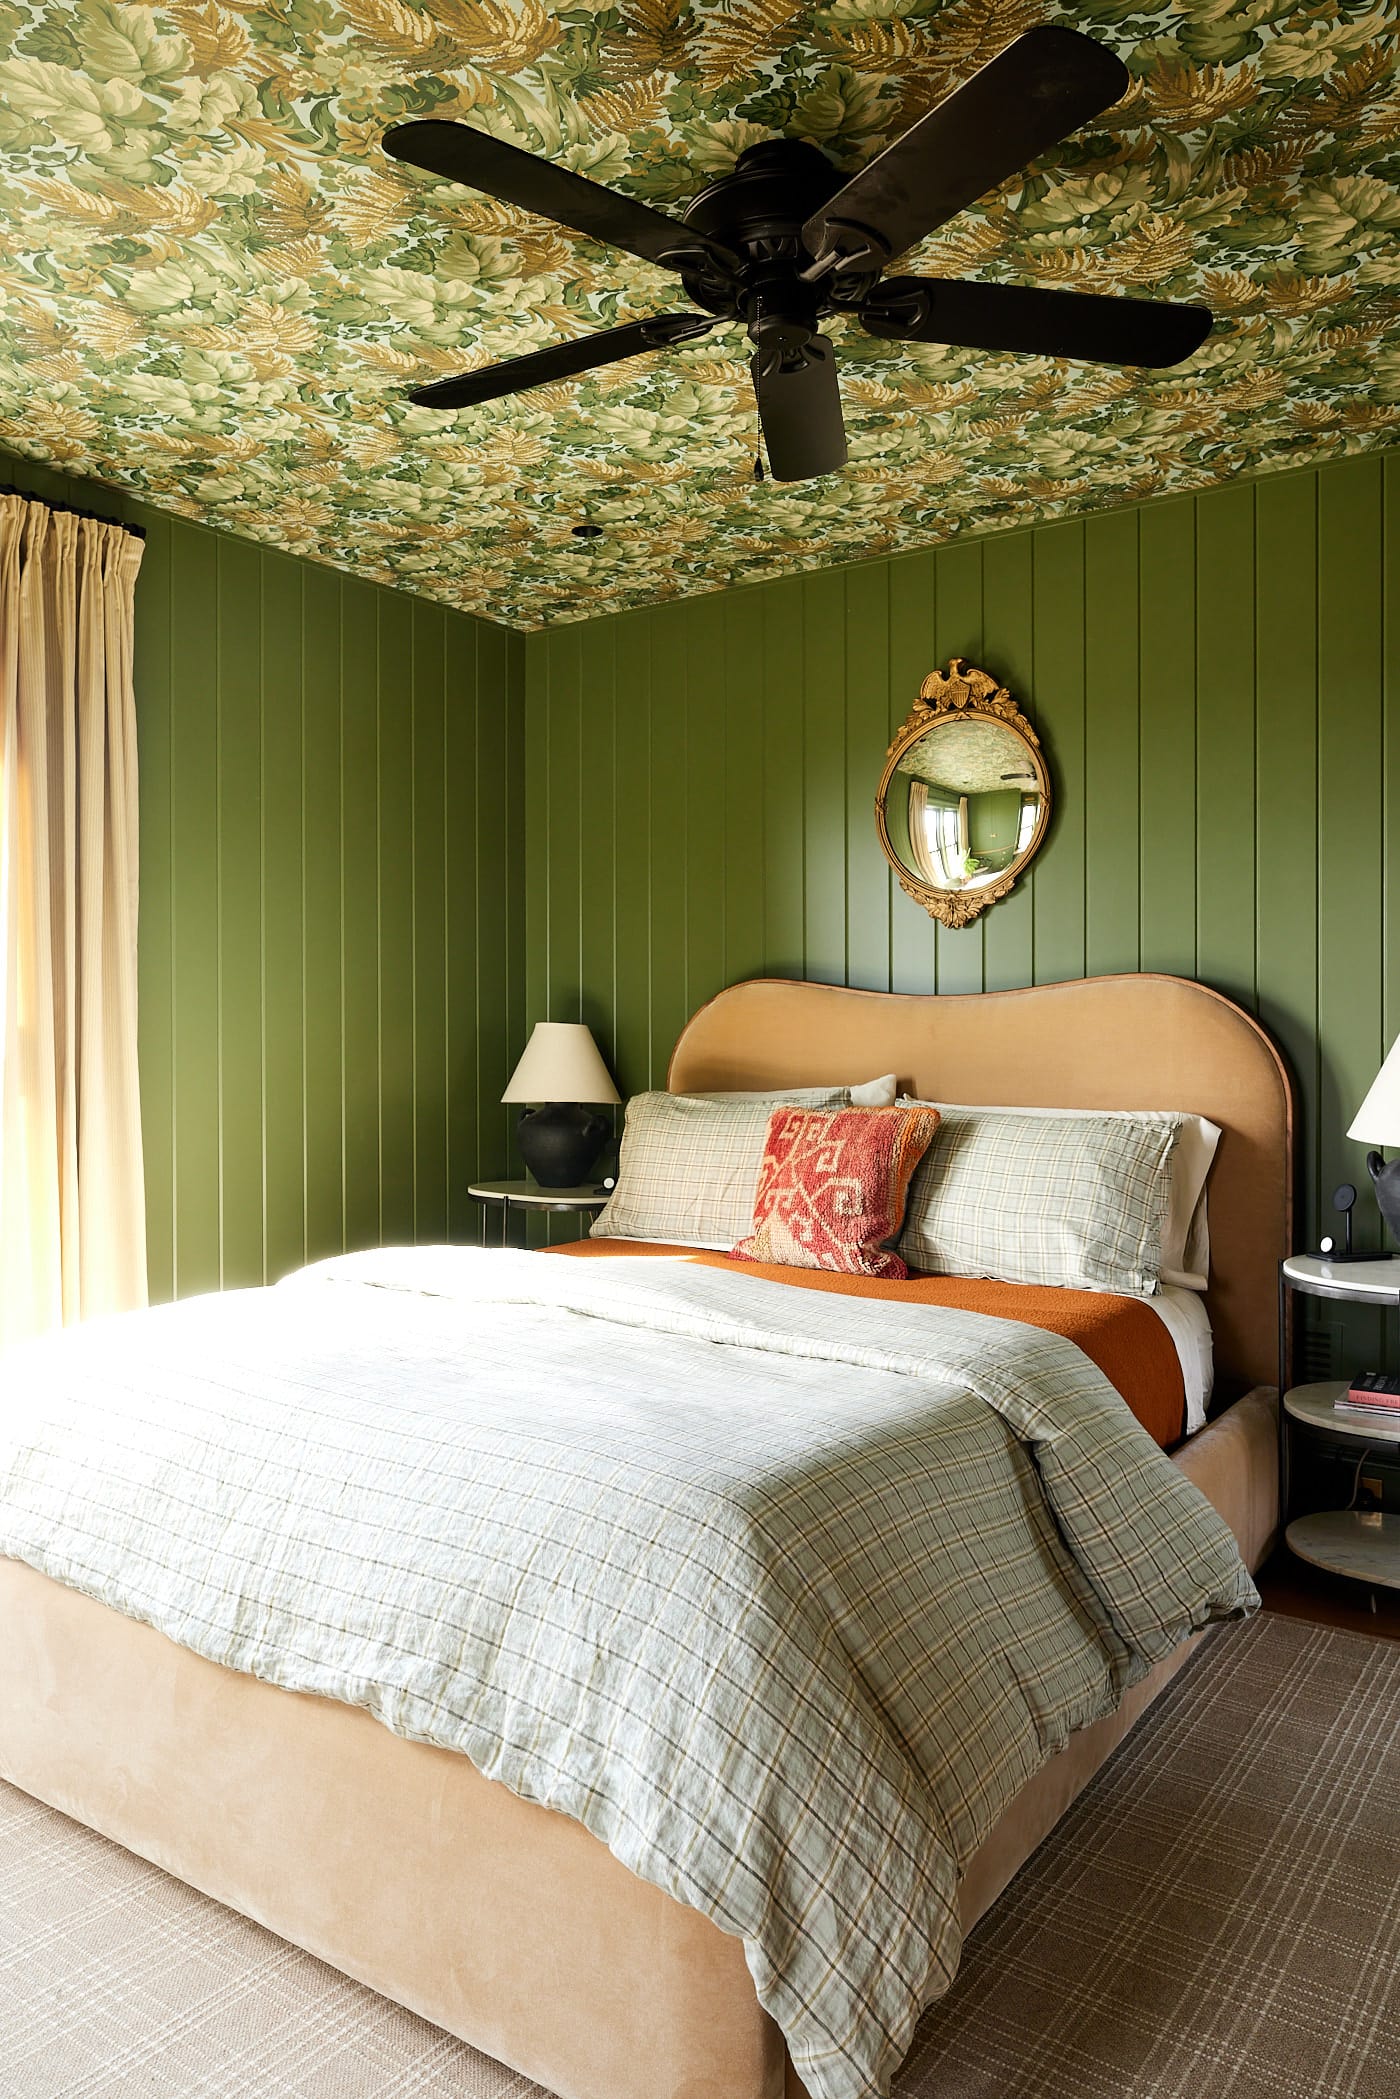
I wanted the ceiling to feel special, so I used wallpaper to add interest, but more so, to make it feel like I was sleeping under a tree canopy. I love gardening, and anything I could do to feel like I was in the great outdoors while inside was a bonus.
Both bedrooms are south-facing, so they get ample sunlight all year round. The sun pours in and gives the color an intense vibrancy during the day.
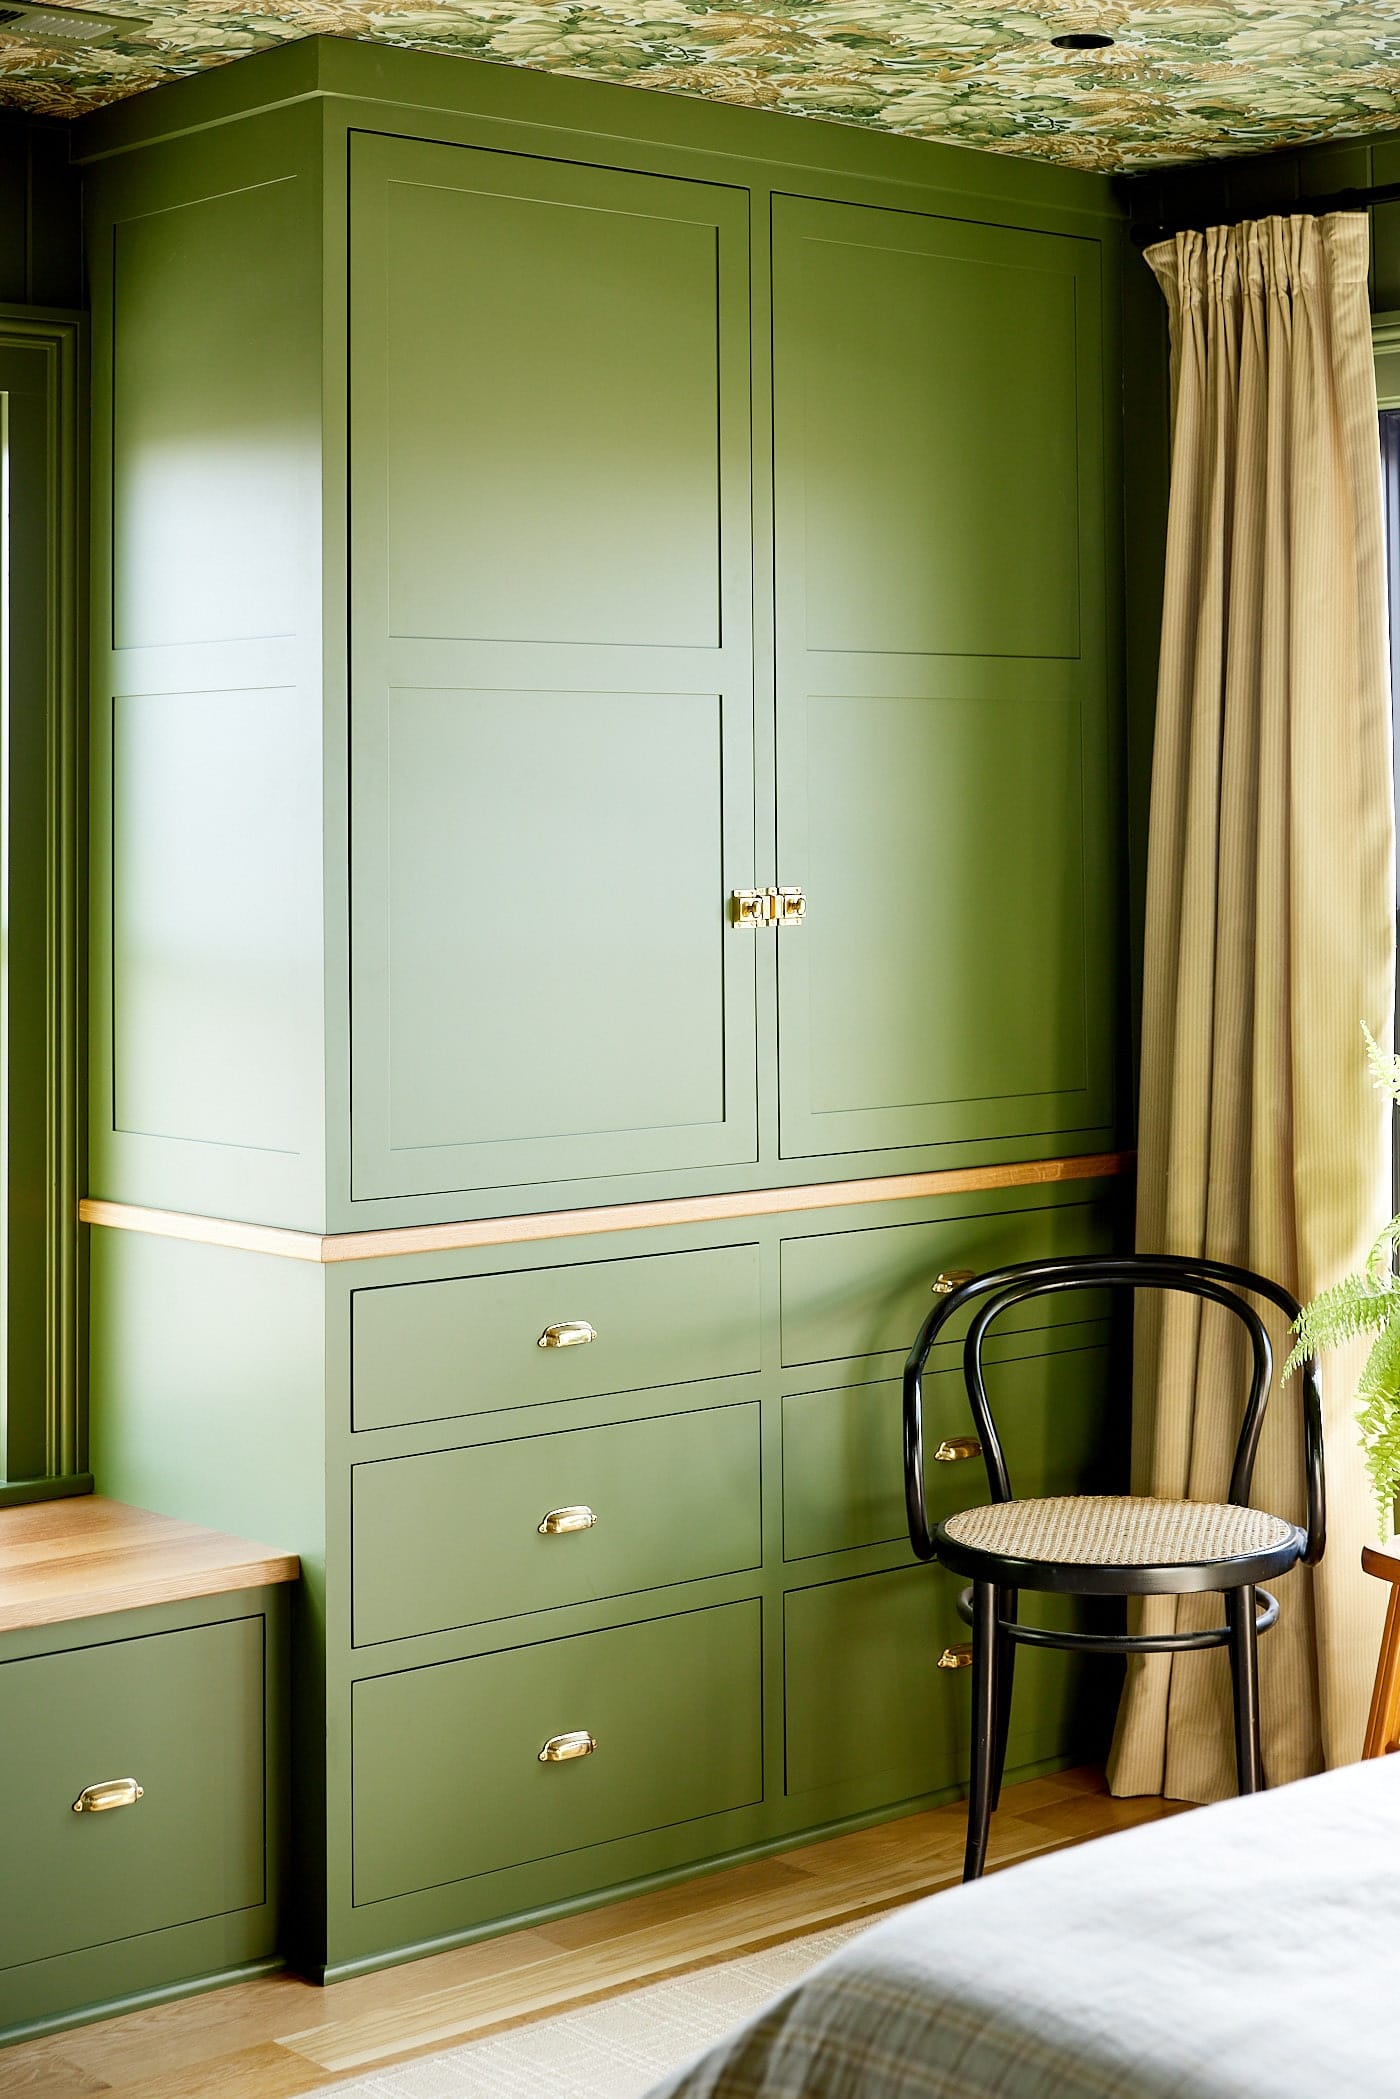
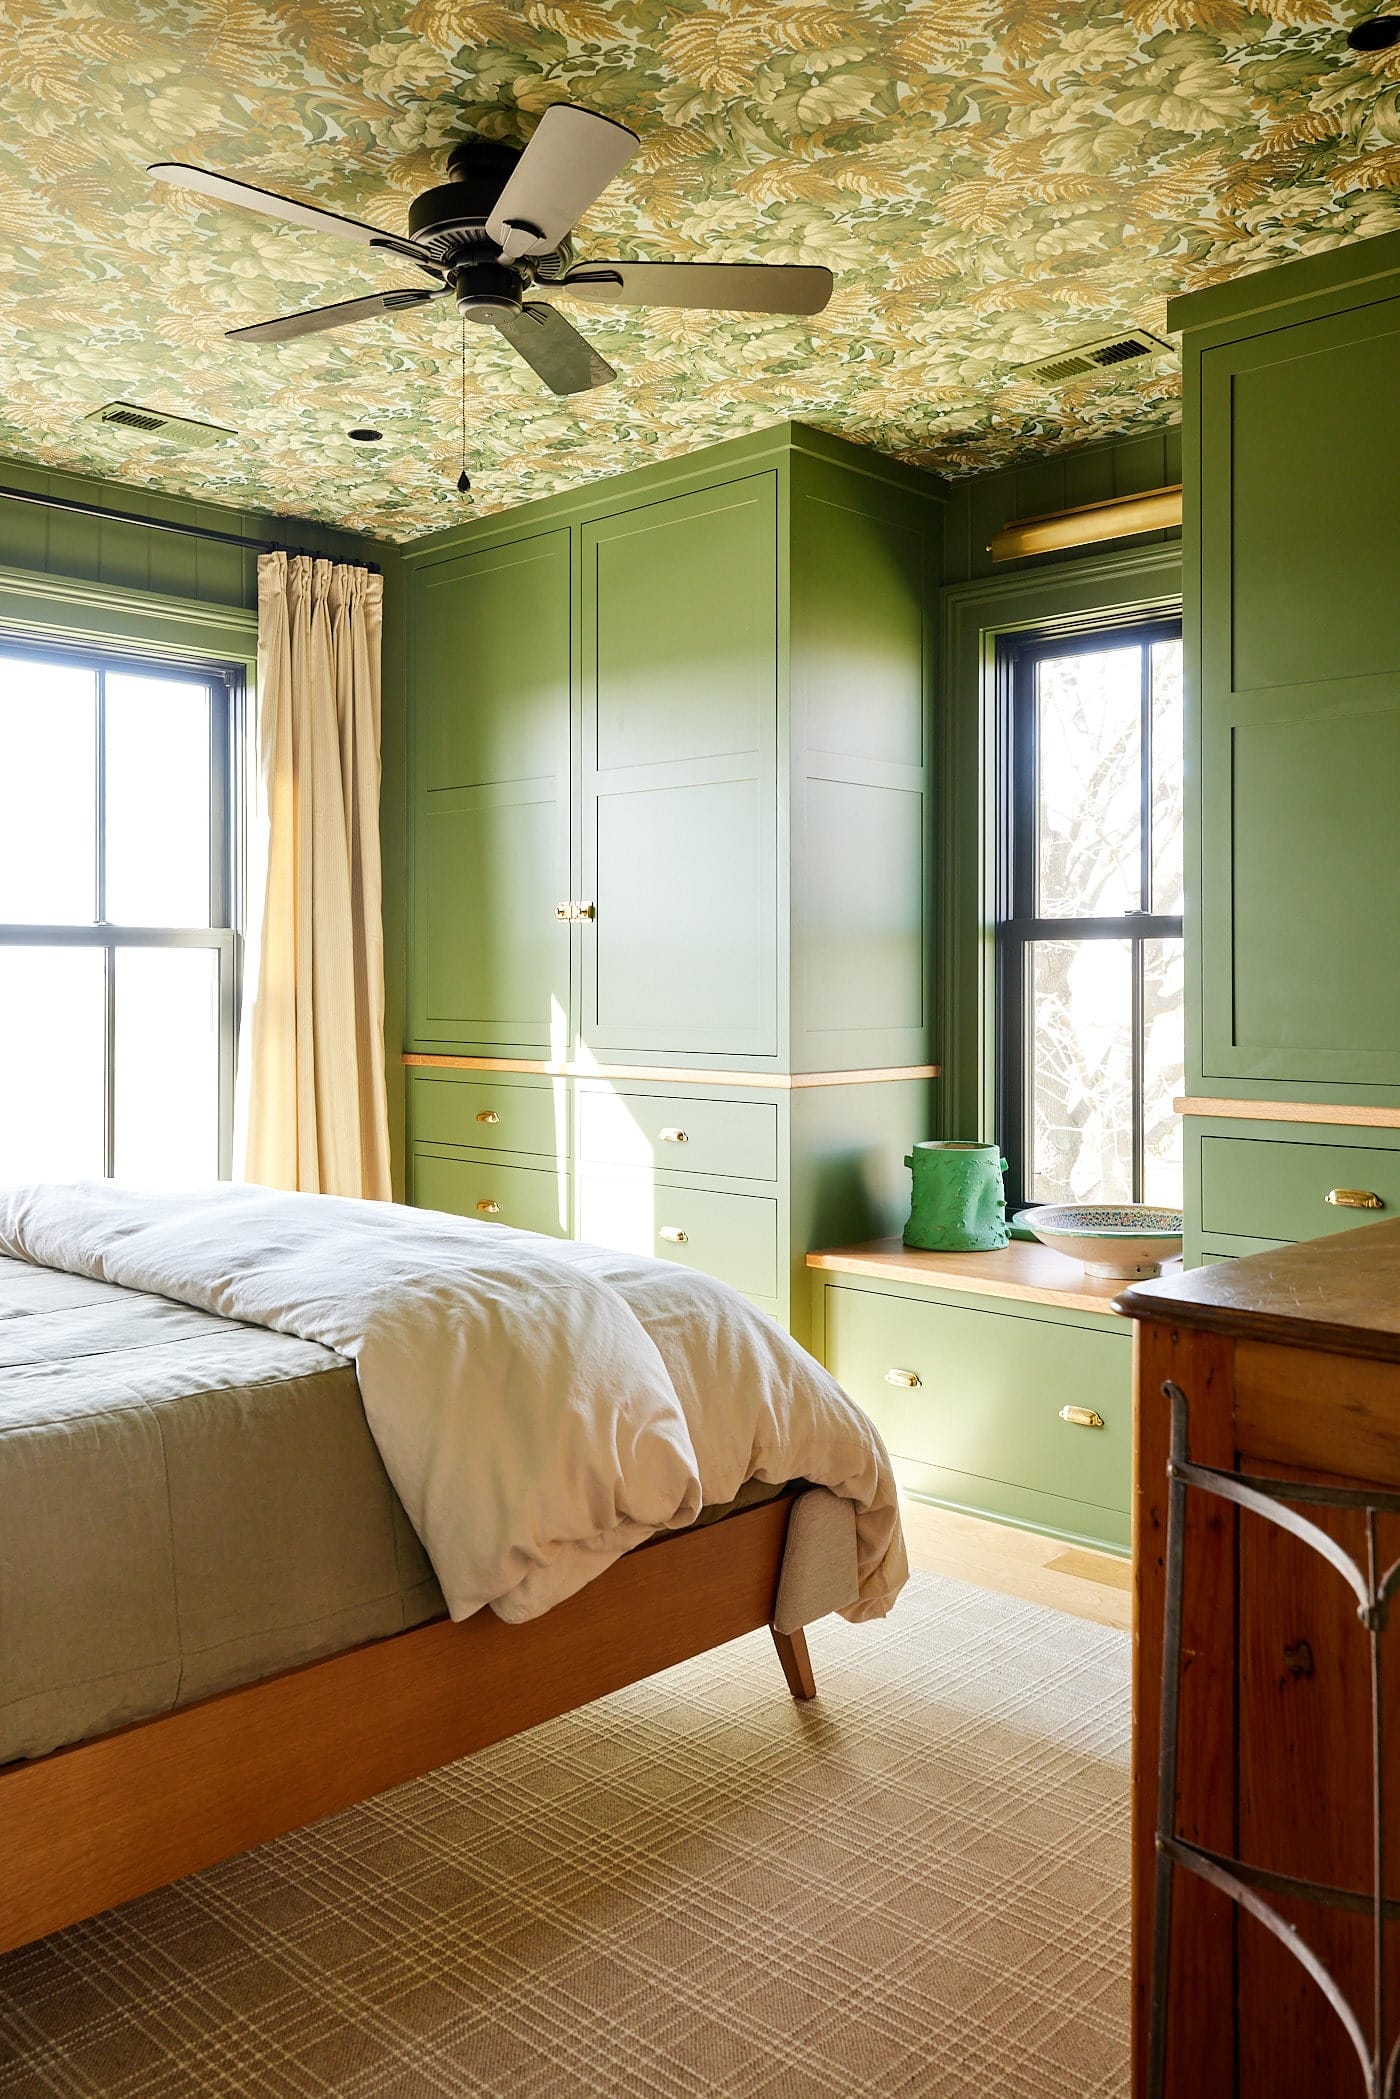
One of the key issues I had to address when this became an extensive remodel was storage. There was only one closet on the second floor, located in this primary bedroom (but it actually made the space even smaller). I stole some space from the bathroom, making the bedroom a true rectangle. Built-in cabinets now act as closets and provide more space than a traditional closet, with drawers and shelves along with places to hang clothing as well. I’ve found that it’s a super efficient way of keeping things organized!
Primary Bedroom Sources
- Wall and trim color – Oakmoss by Sherwin-Williams | SW 6180
- Cabinet pulls – 3 3/4″ Classic Cast Brass Cup Pull by House of Antique Hardware | Finish: Un-Lacquered Brass
- Upper cabinet pulls – Large Cast Brass Cupboard Latch with Oval Turn Piece by House of Antique Hardware | Finish: Polished (Un-Lacquered) Brass
- Sconce over window – Thomas O’Brien Library 22″ Picture Light by Visual Comfort & Co. | Finish: Hand-Rubbed Antique Brass
- Area rug – Pristine Plaid in Wheat by Stanton Carpet
- Bed frame – Caldwell Camel Brown Oak Wood headboard by Crate & Barrel | Size: Queen (affiliate link)
Guest bedroom
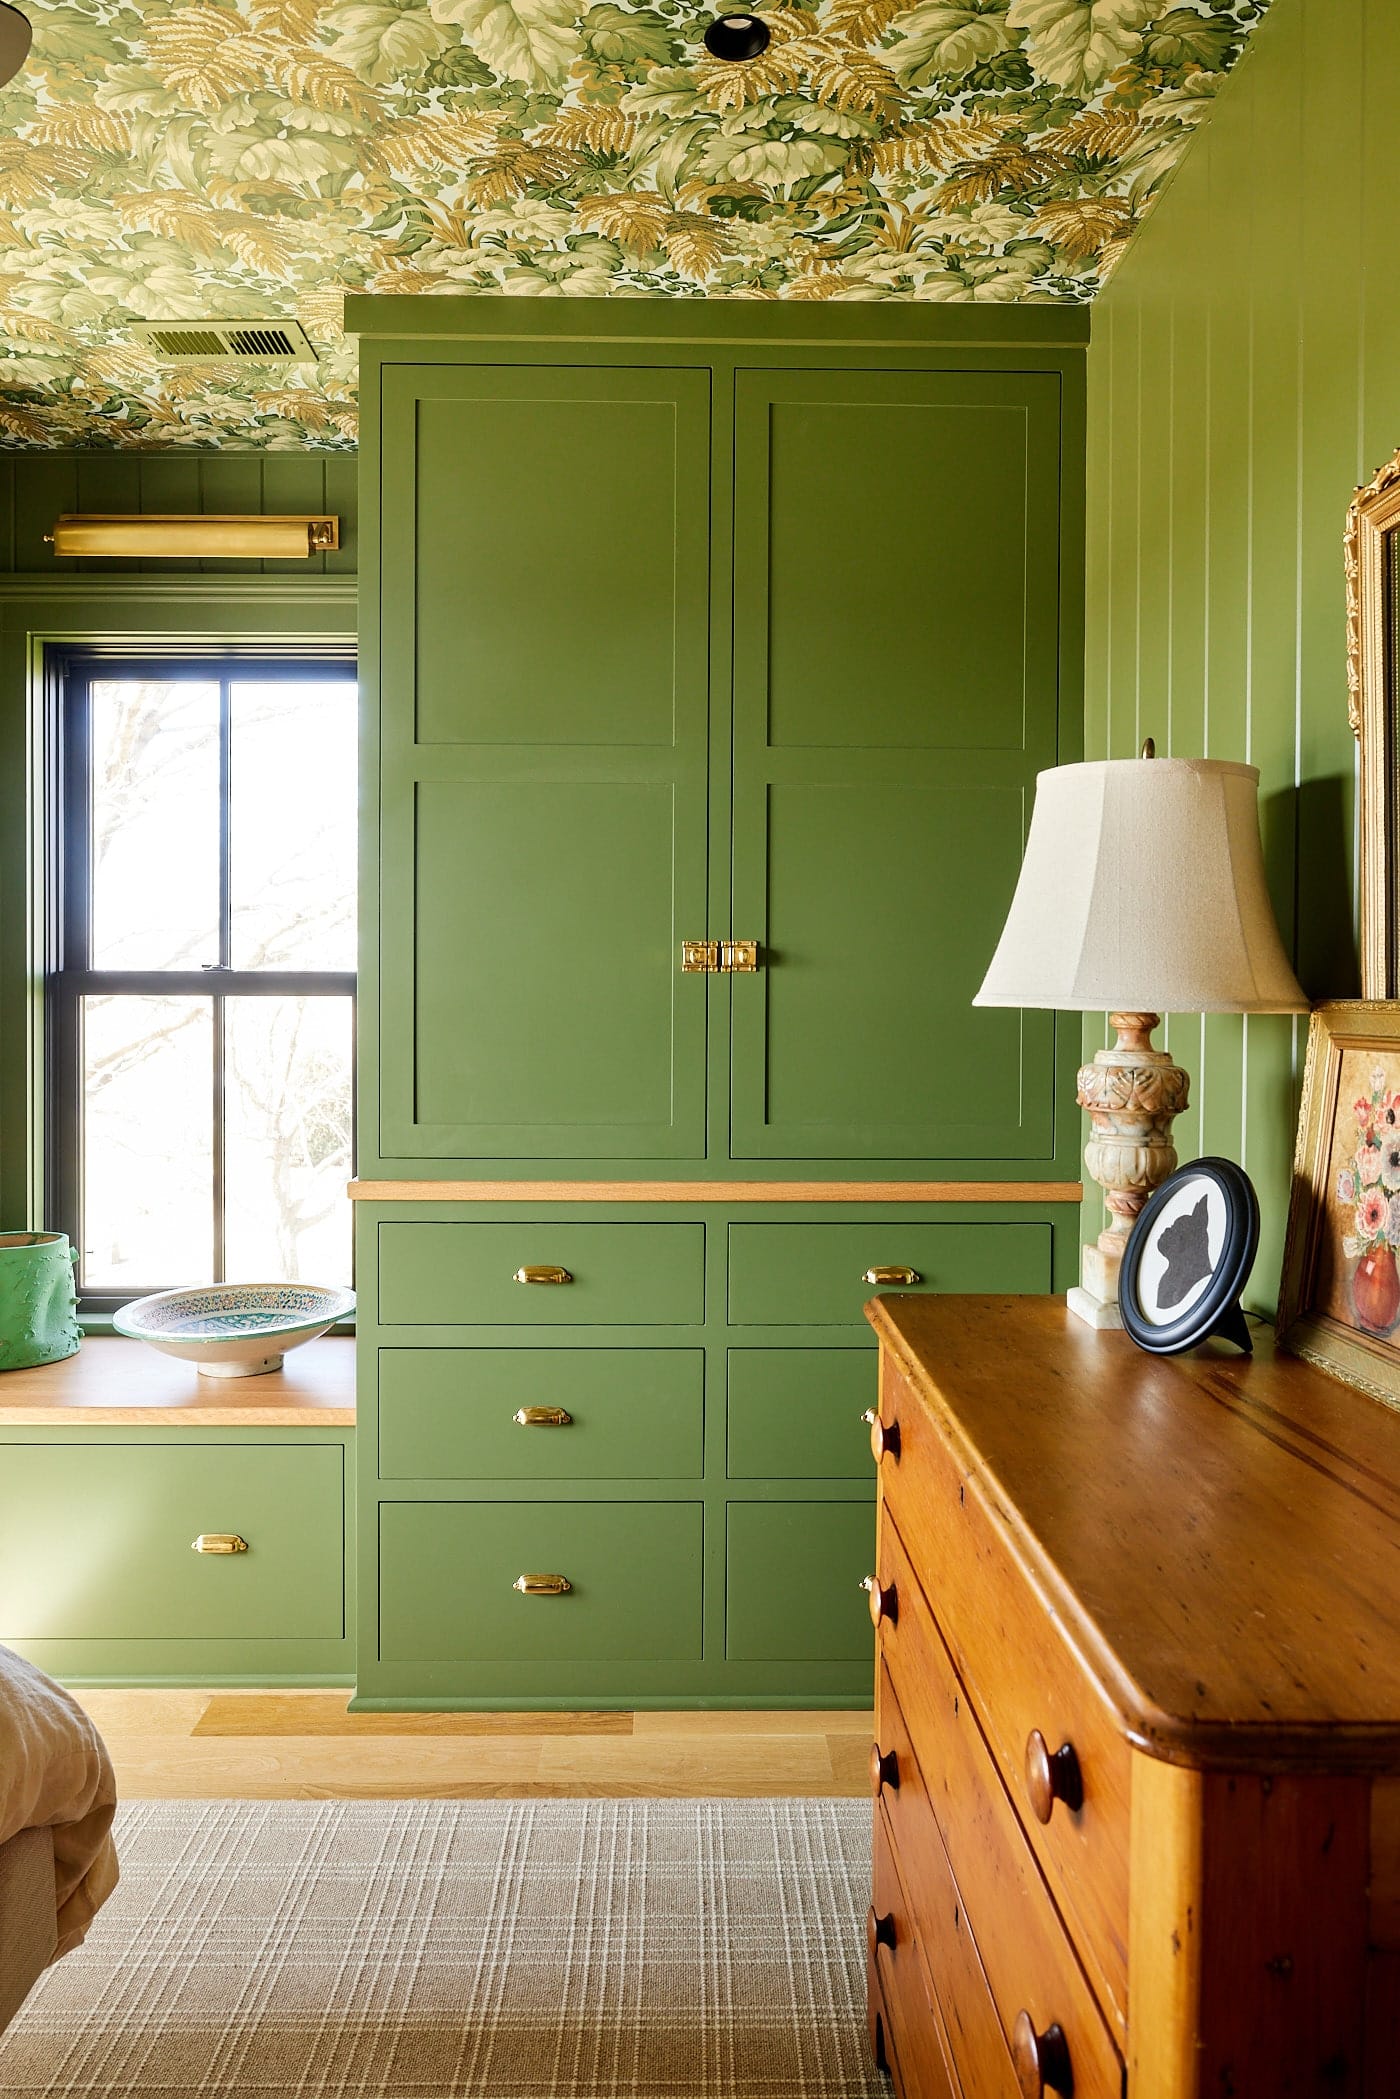
Since this is a slightly smaller bedroom, I only put essential furniture back in to make to room feel as roomy as possible. And the tight space is partly because of a last-minute decision I made, but I am very happy about it. I added the same built-in cabinets to this bedroom as I did to the primary. Initially, I was worried about taking up too much space, but I realized the few extra feet I could save would hardly compare to the closet space I’d gain by adding the cabinets. The result is a bedroom that feels even more cozy with beautiful built-in storage!
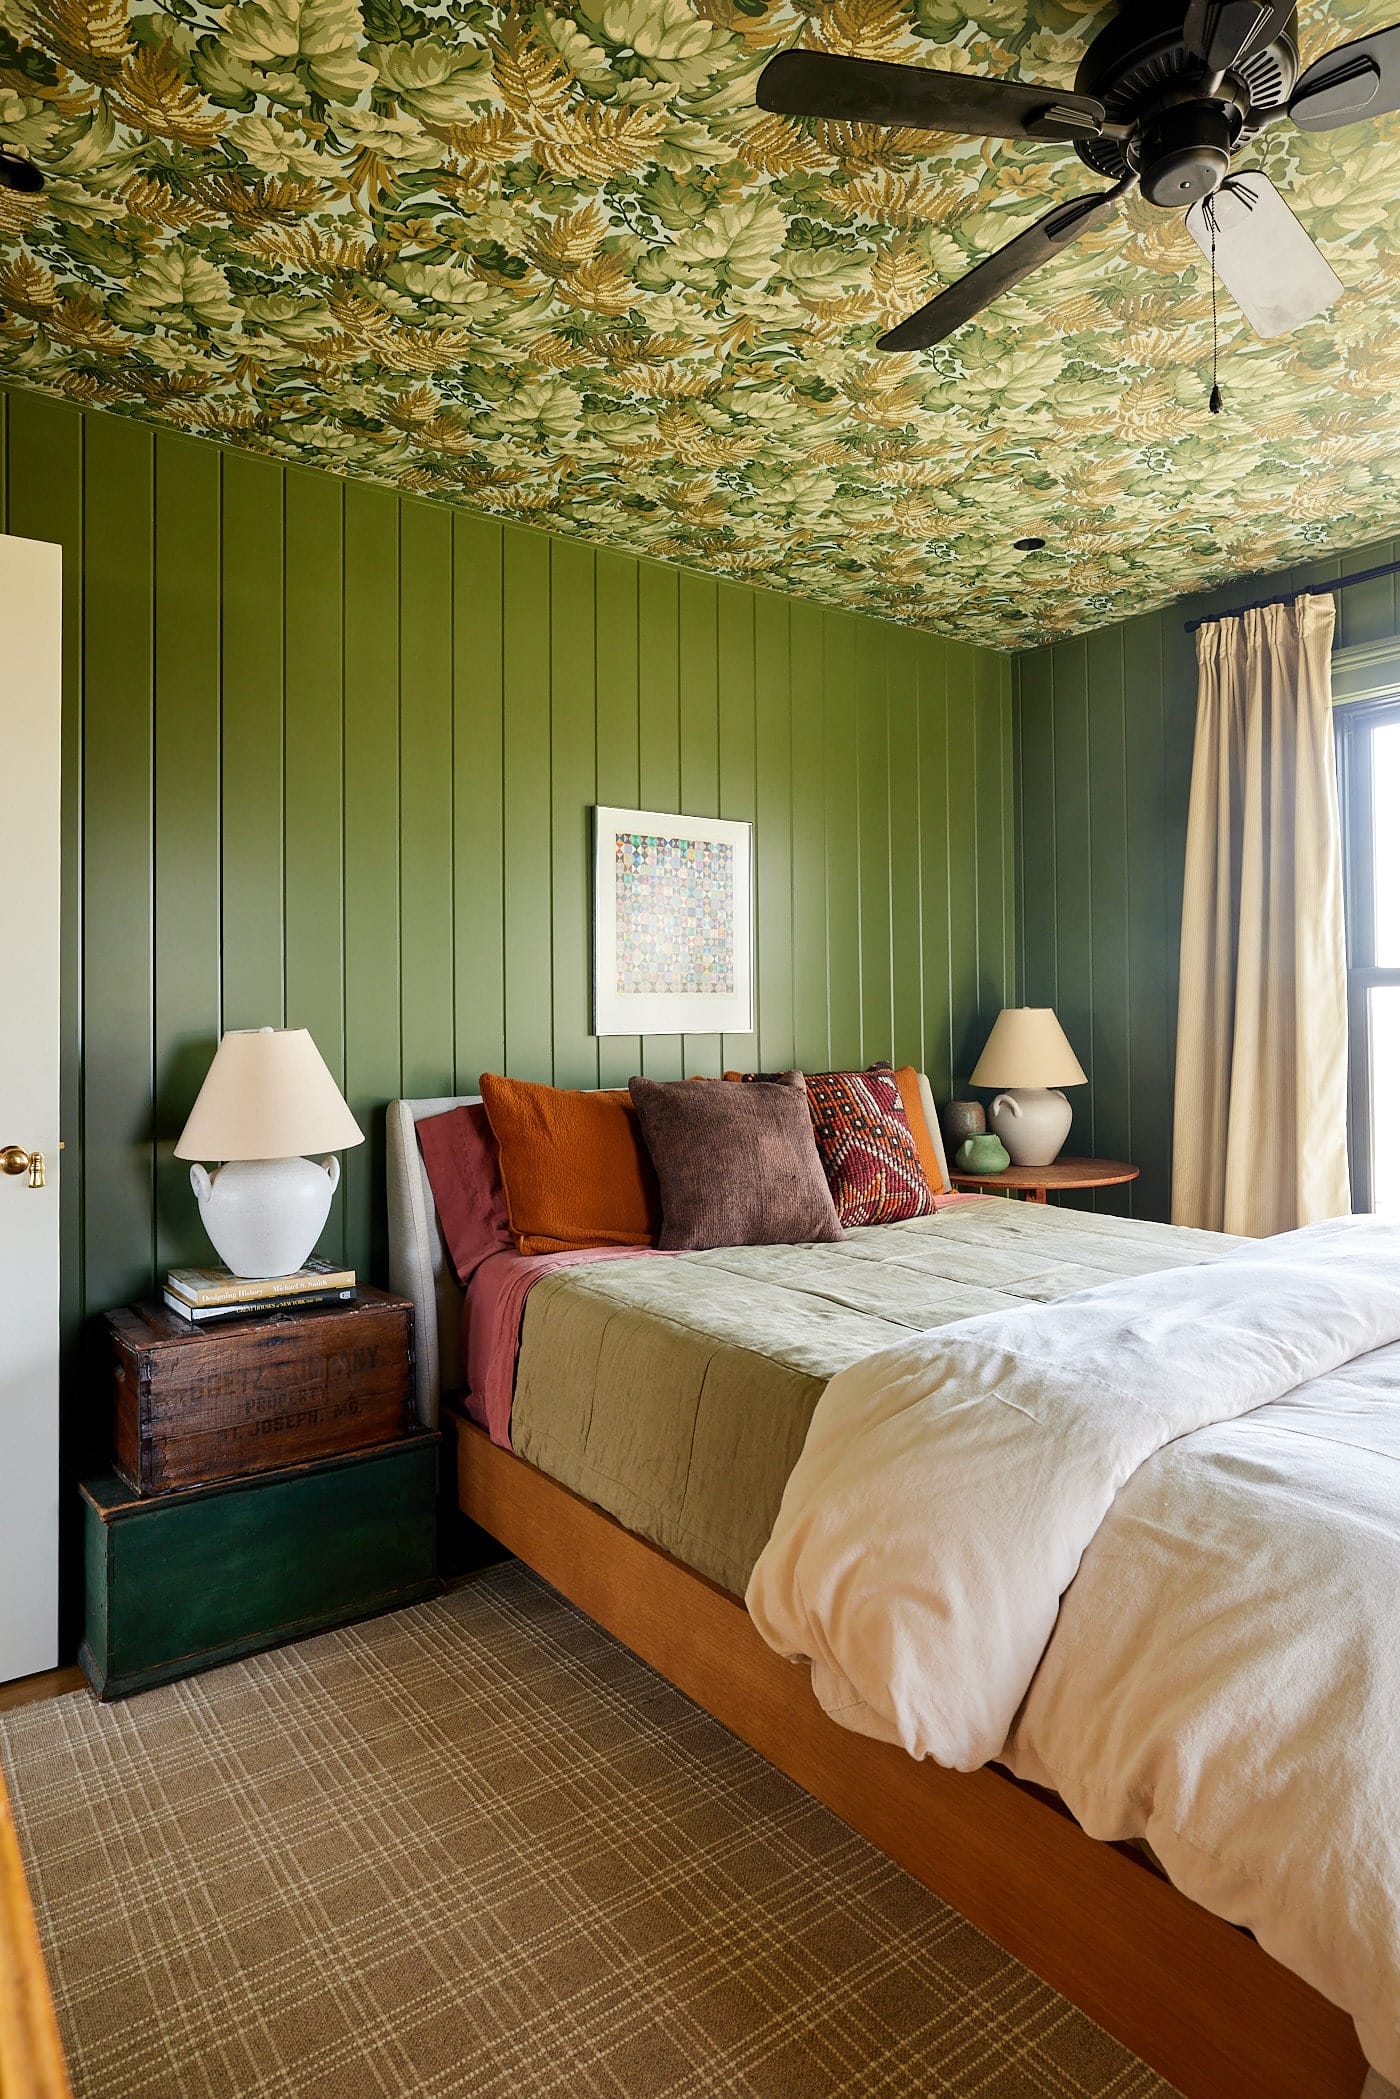
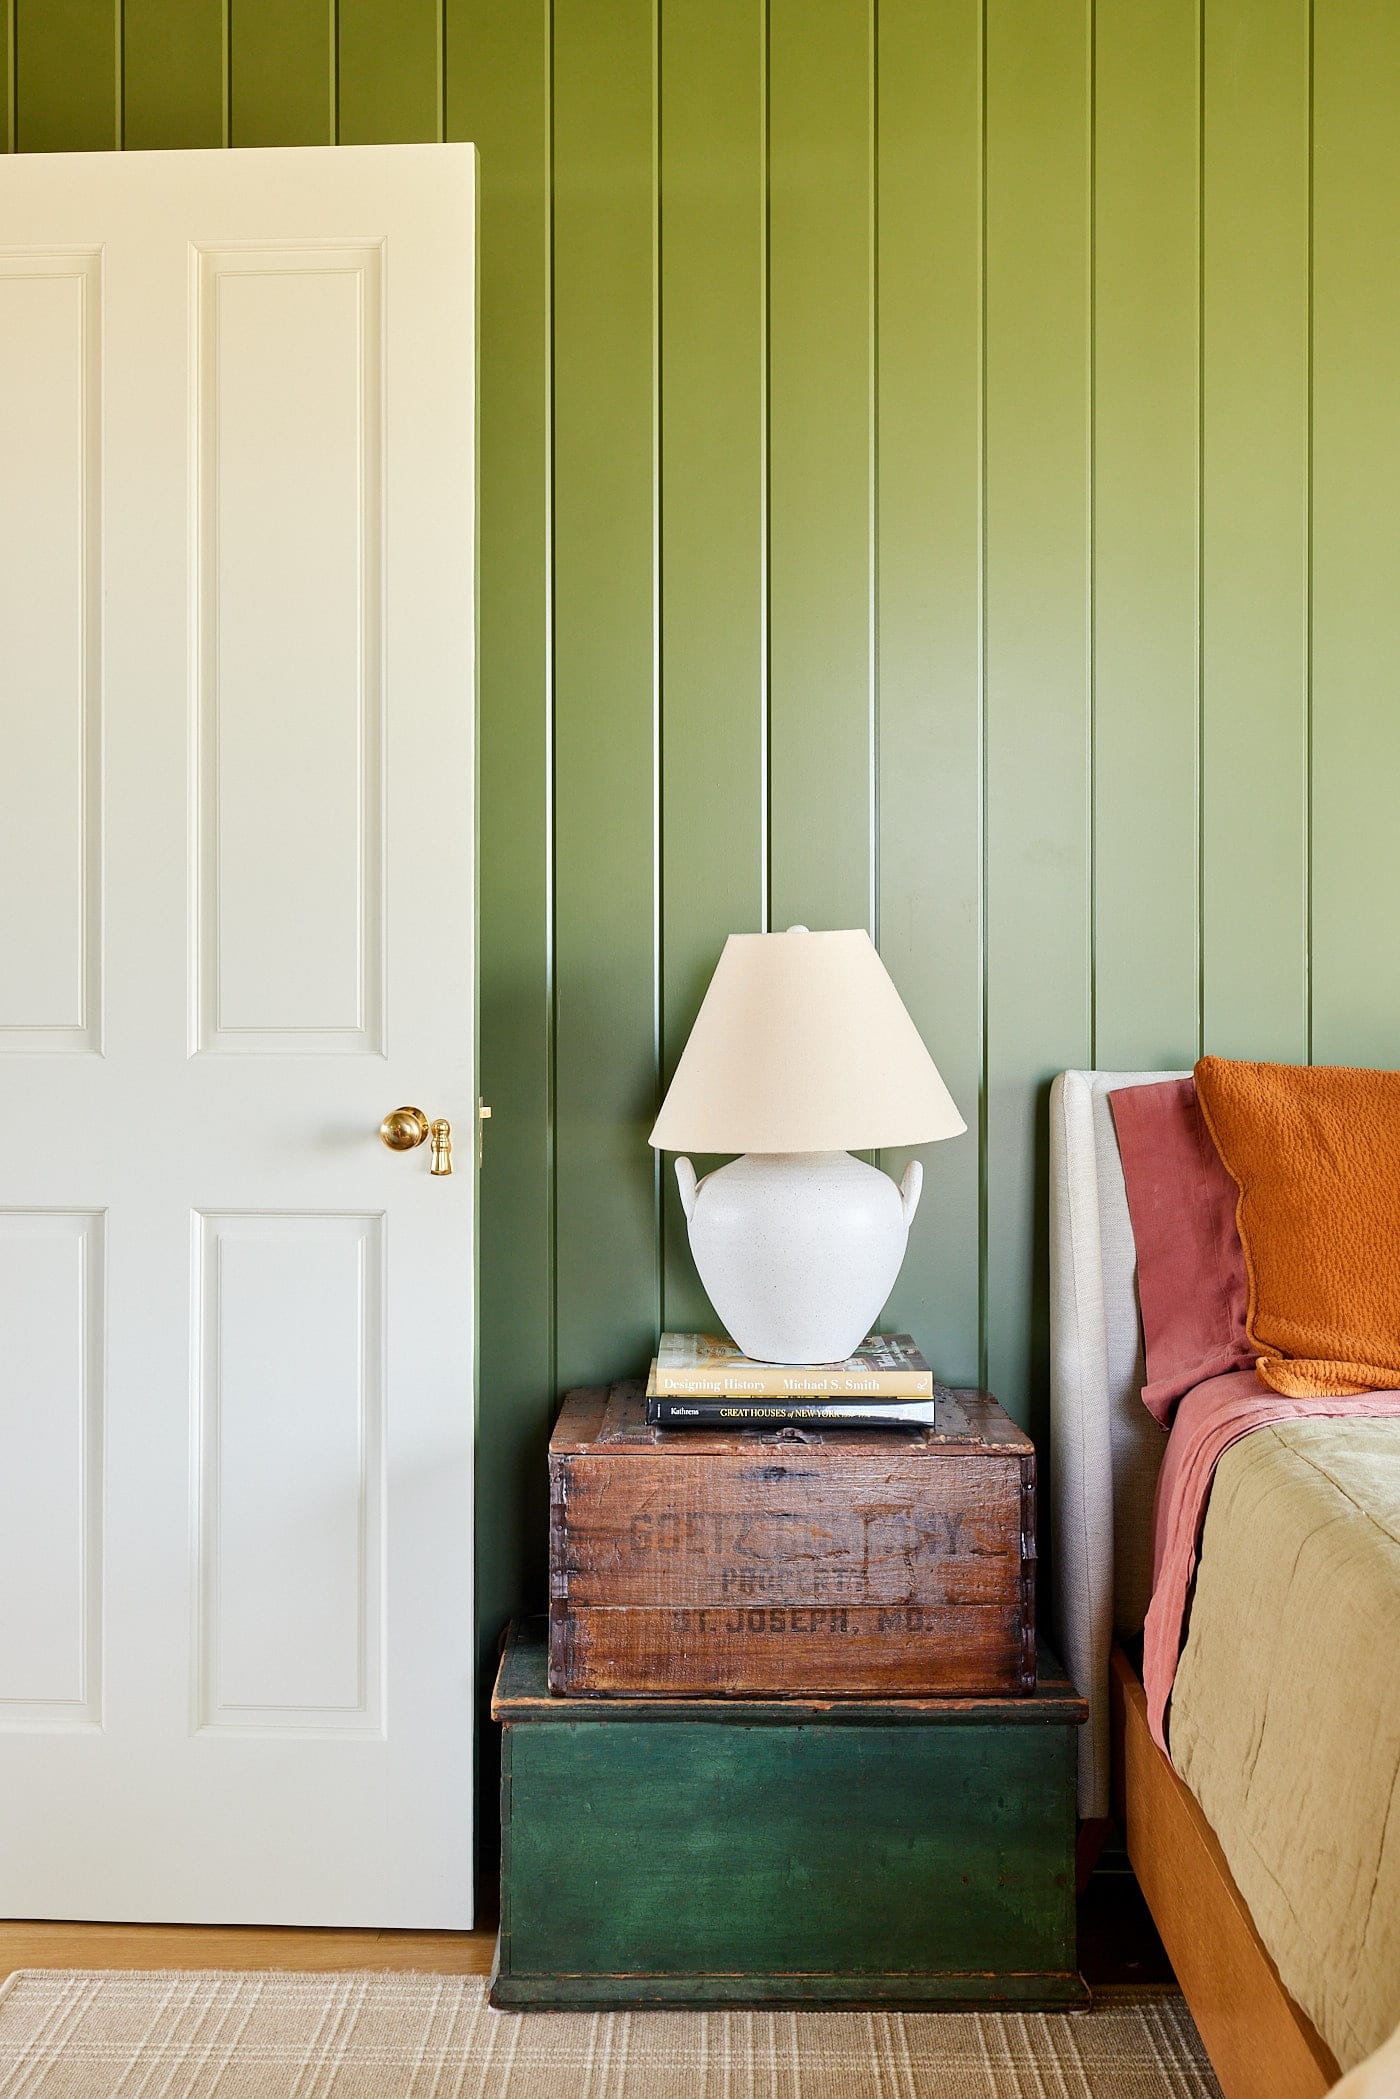
This room shows my love for antiques and my desire to use them in whatever way I can. I only purchased two pieces of furniture for the upstairs because I wanted to reuse all the things I already had on hand. Two old wooden boxes stacked to act as nightstands are on one bedside, and an antique Swedish table with a perfect red patina is on the other side of the bed. Matching lamps bring the two together to make them feel cohesive.
Guest Bedroom Sources
- Wall and trim color – Oakmoss by Sherwin-Williams | SW 6180
- Cabinet pulls – 3 3/4″ Classic Cast Brass Cup Pull by House of Antique Hardware | Finish: Un-Lacquered Brass
- Upper cabinet pulls – Large Cast Brass Cupboard Latch with Oval Turn Piece by House of Antique Hardware | Finish: Polished (Un-Lacquered) Brass
- Area rug – Pristine Plaid in Wheat by Stanton Carpet
- Sconce over window – Thomas O’Brien Library 22″ Picture Light by Visual Comfort & Co. | Finish: Hand-Rubbed Antique Brass
Office
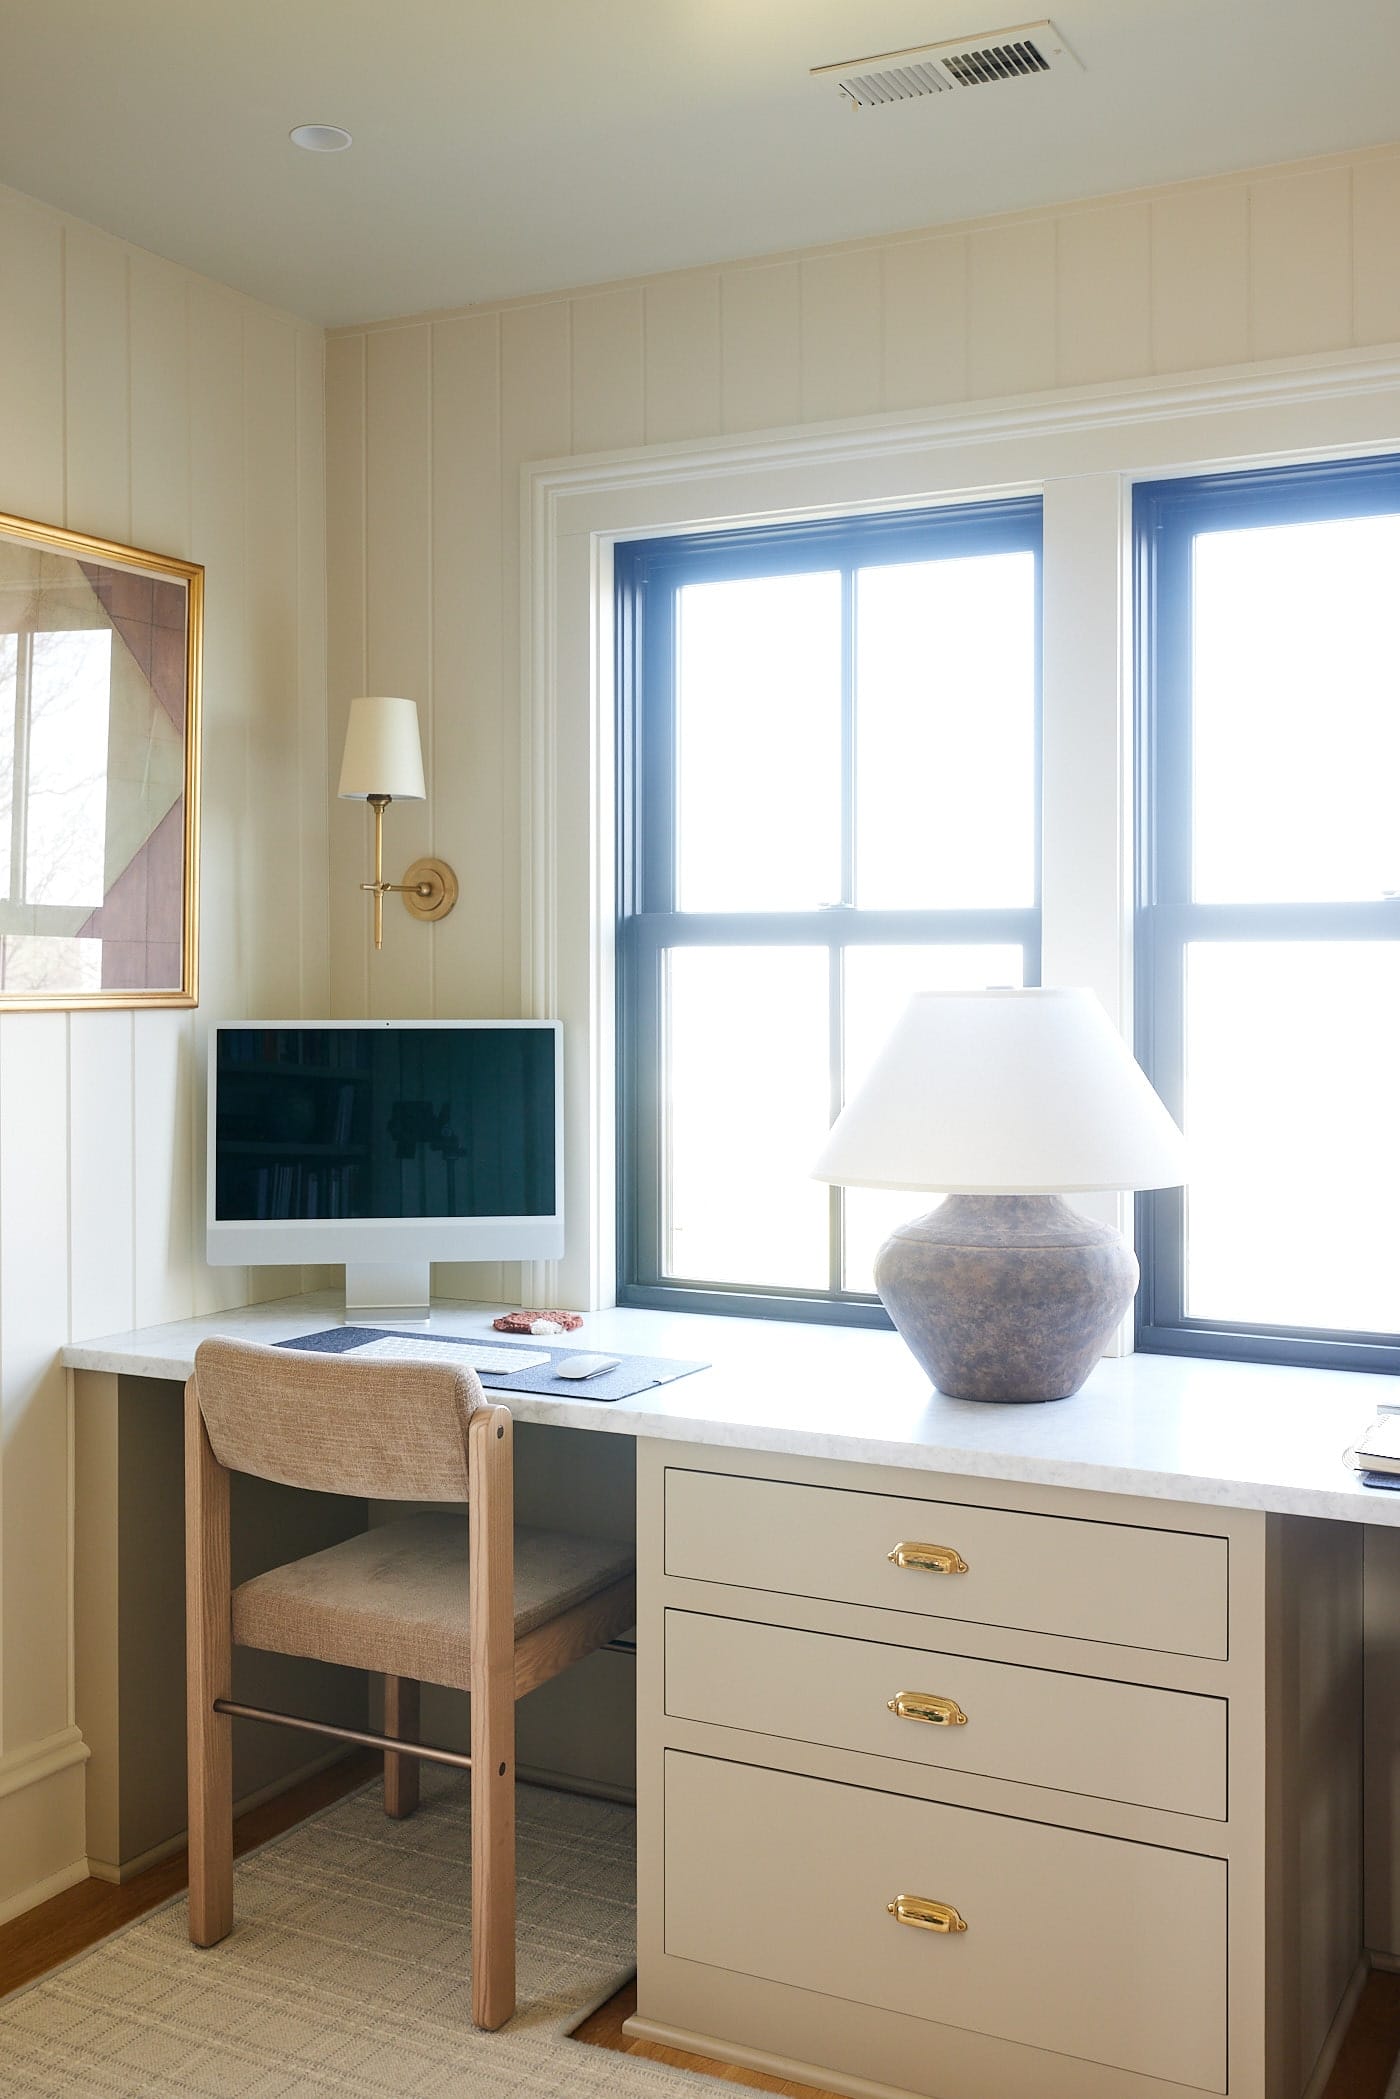
The office was one of the main reasons this remodel occurred, after electrical needs, of course. Wyse Guide is a full-time job for both Joel and me. Filming takes place in the kitchen, but recipe research, recipe writing, post-writing, and any computer work require space for a desk (or two). For a few years, we floated from the island to the dining table but found it easy to procrastinate without a workspace. The office provides a place to work and store all the necessary business-related items.
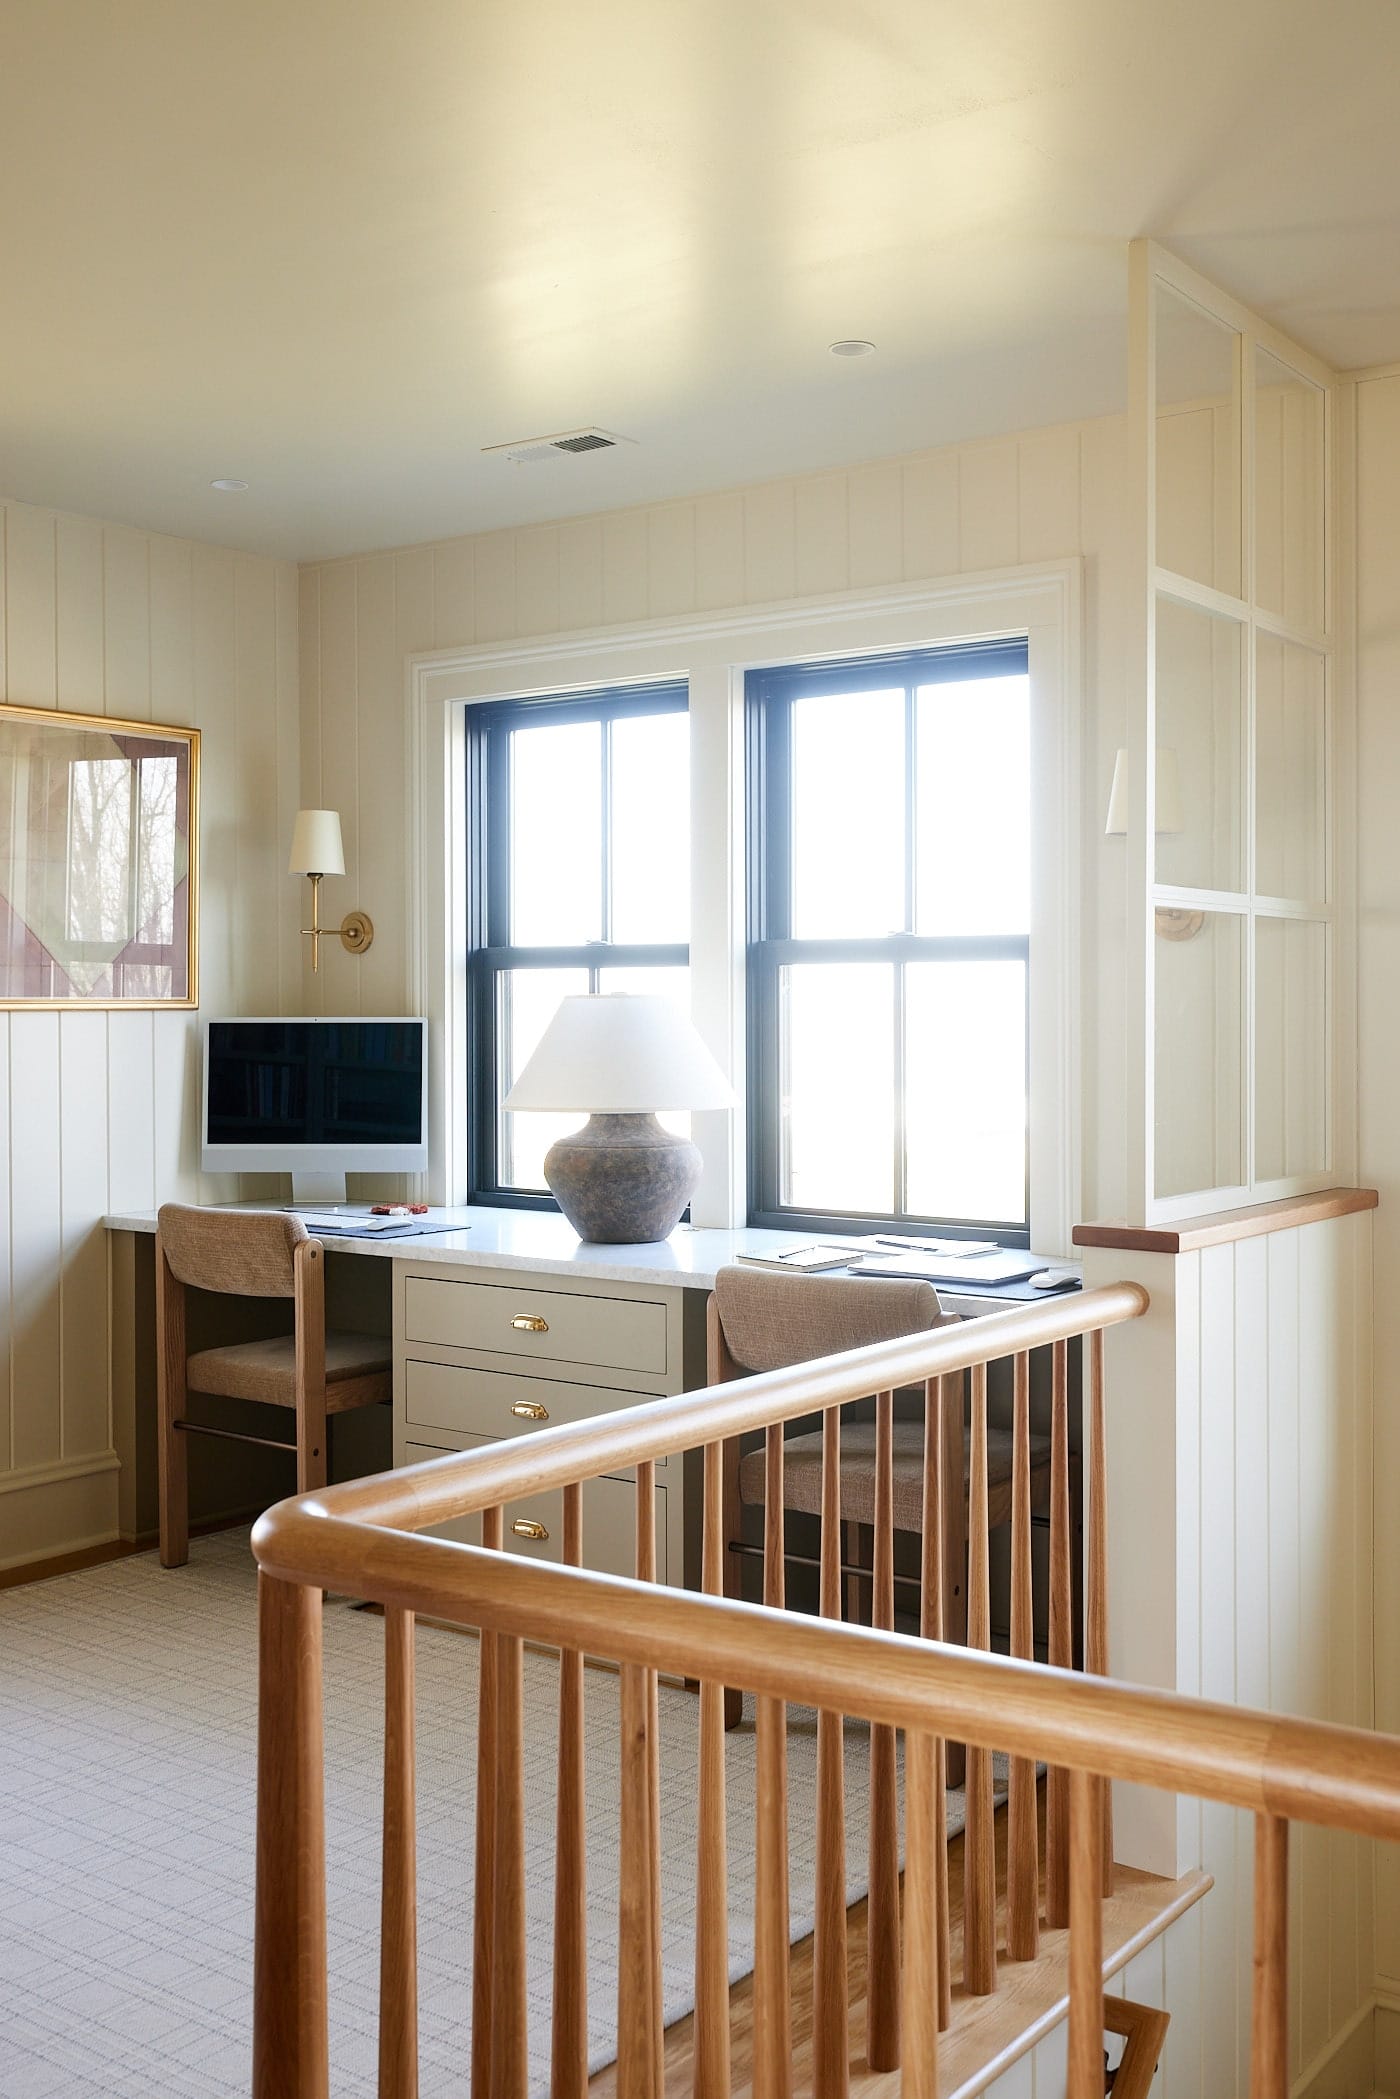
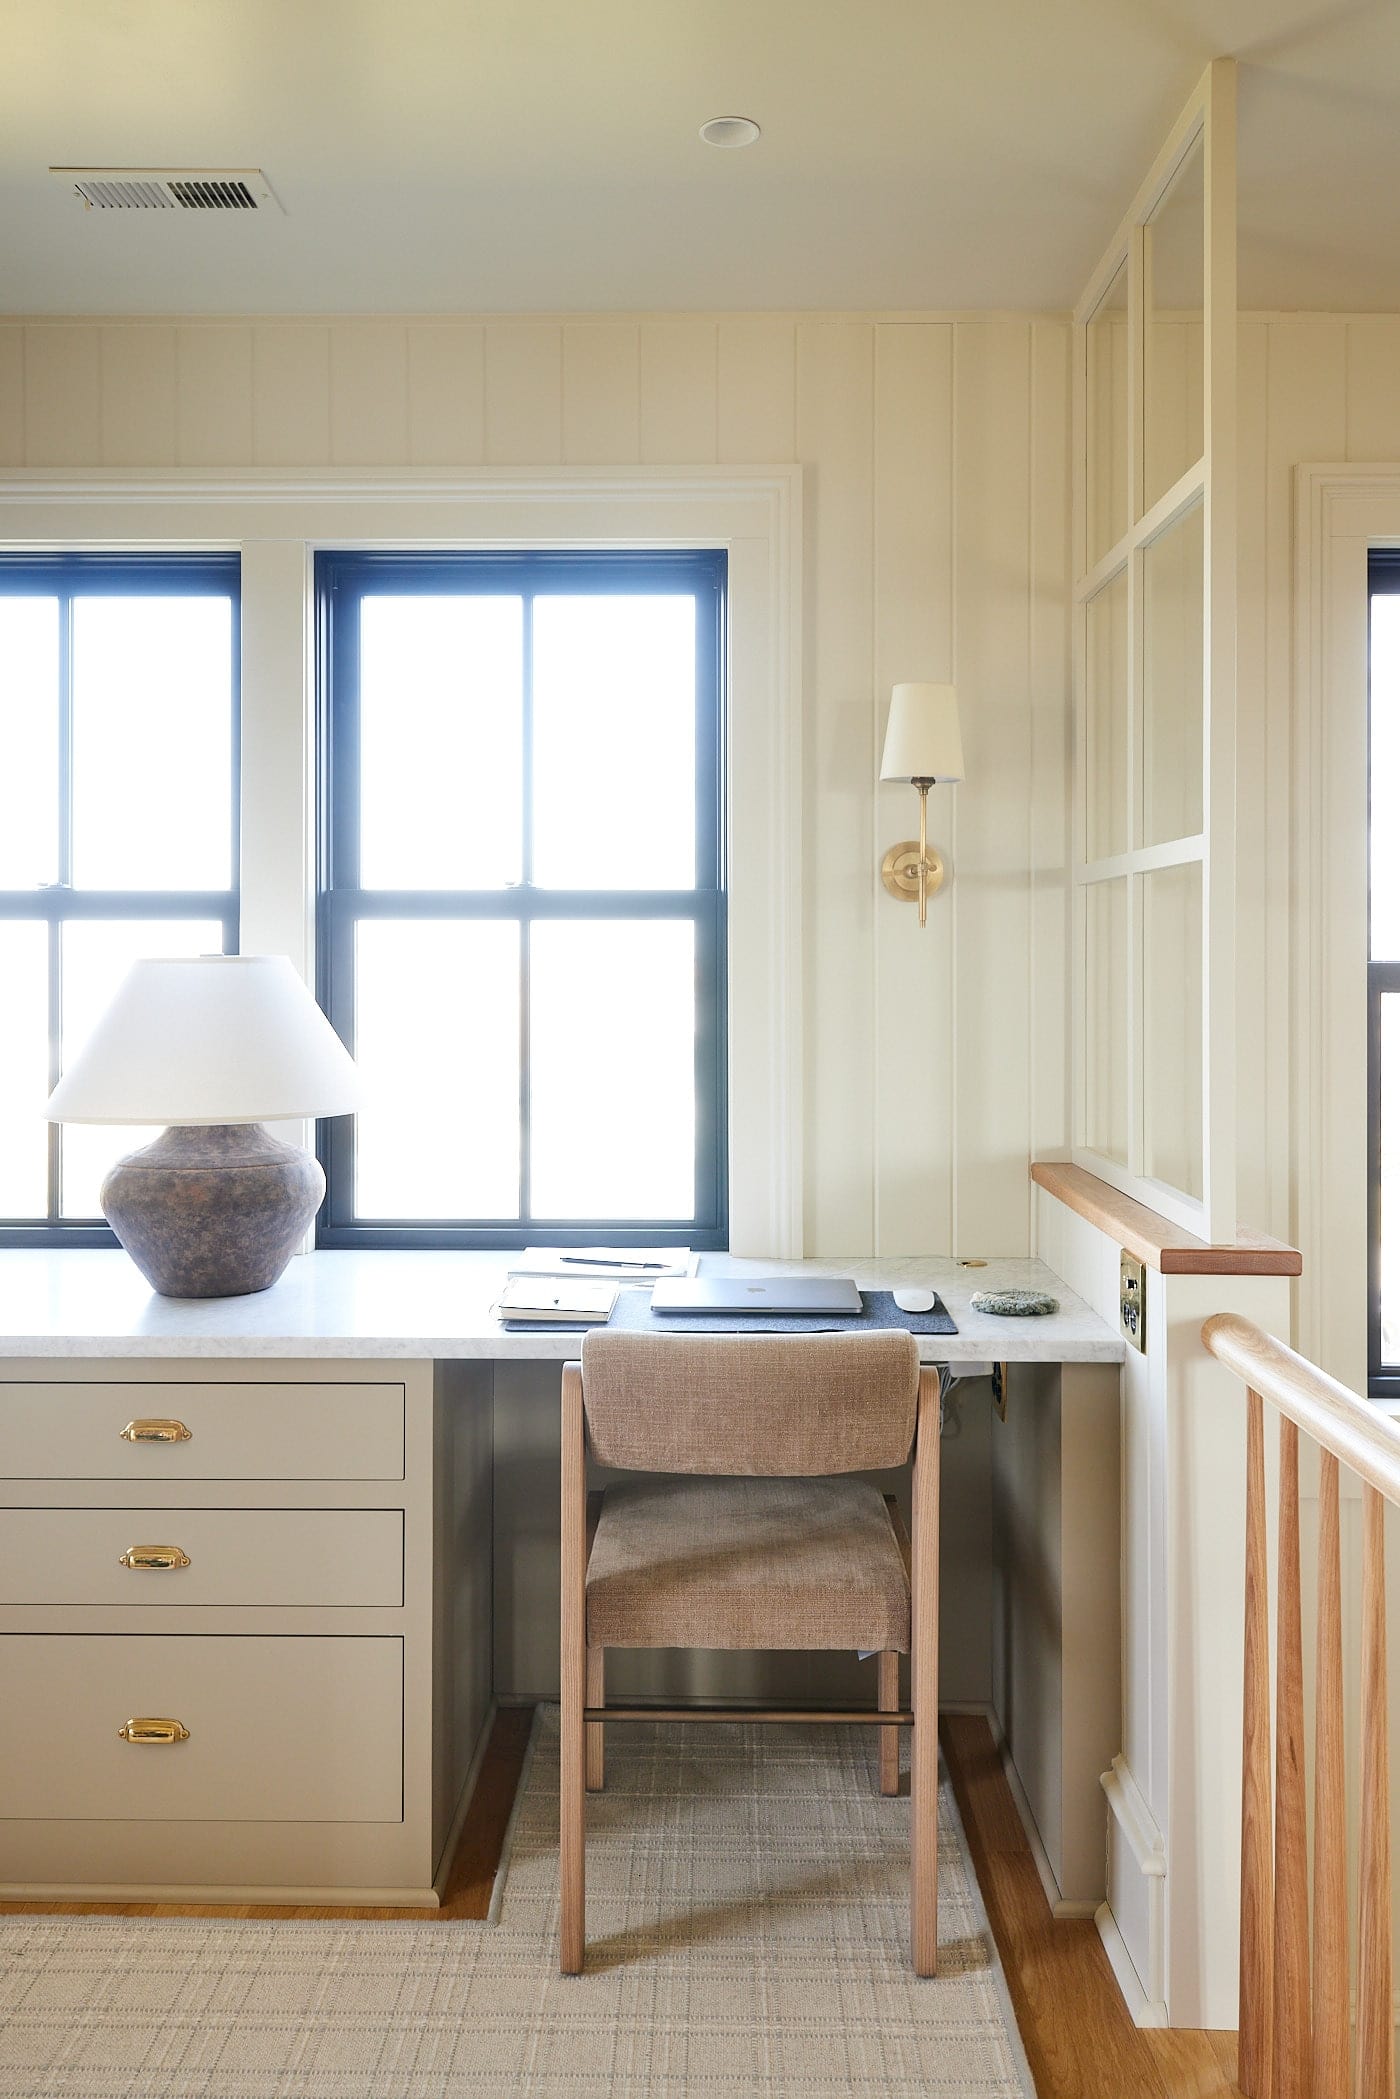
The desk is long and runs across the north side of the room. Tucking it against the wall allowed it to have the maximum length possible on the smallest footprint. This room originally had no windows on the wall where the desk fit, and two were added to provide the best view while working. This is the first time I have truly been able to enjoy this view of the backyard.
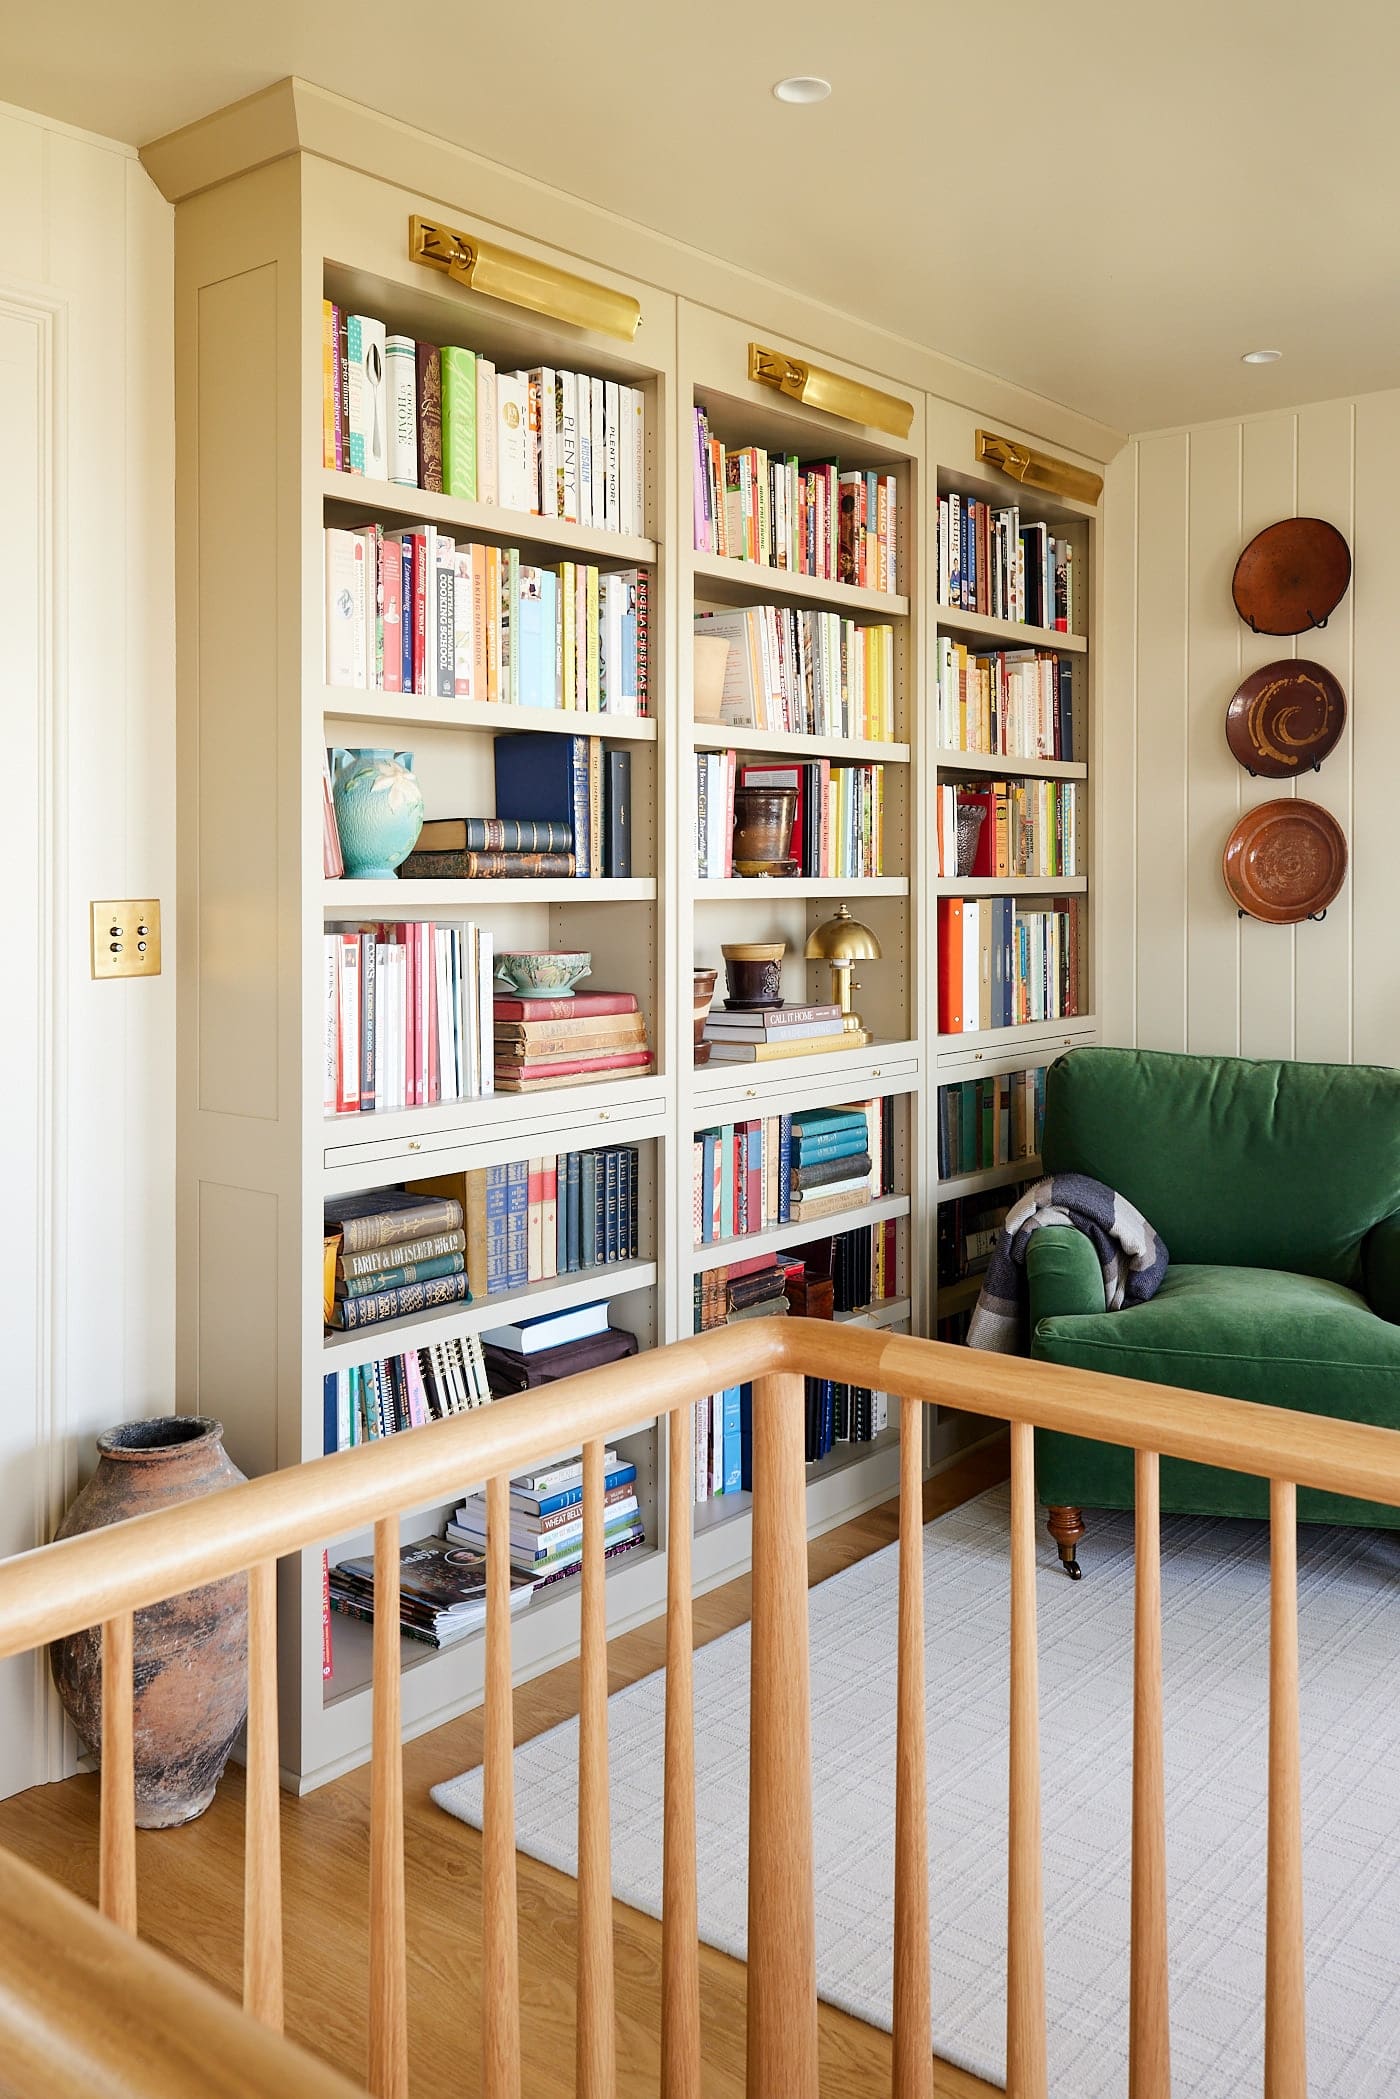
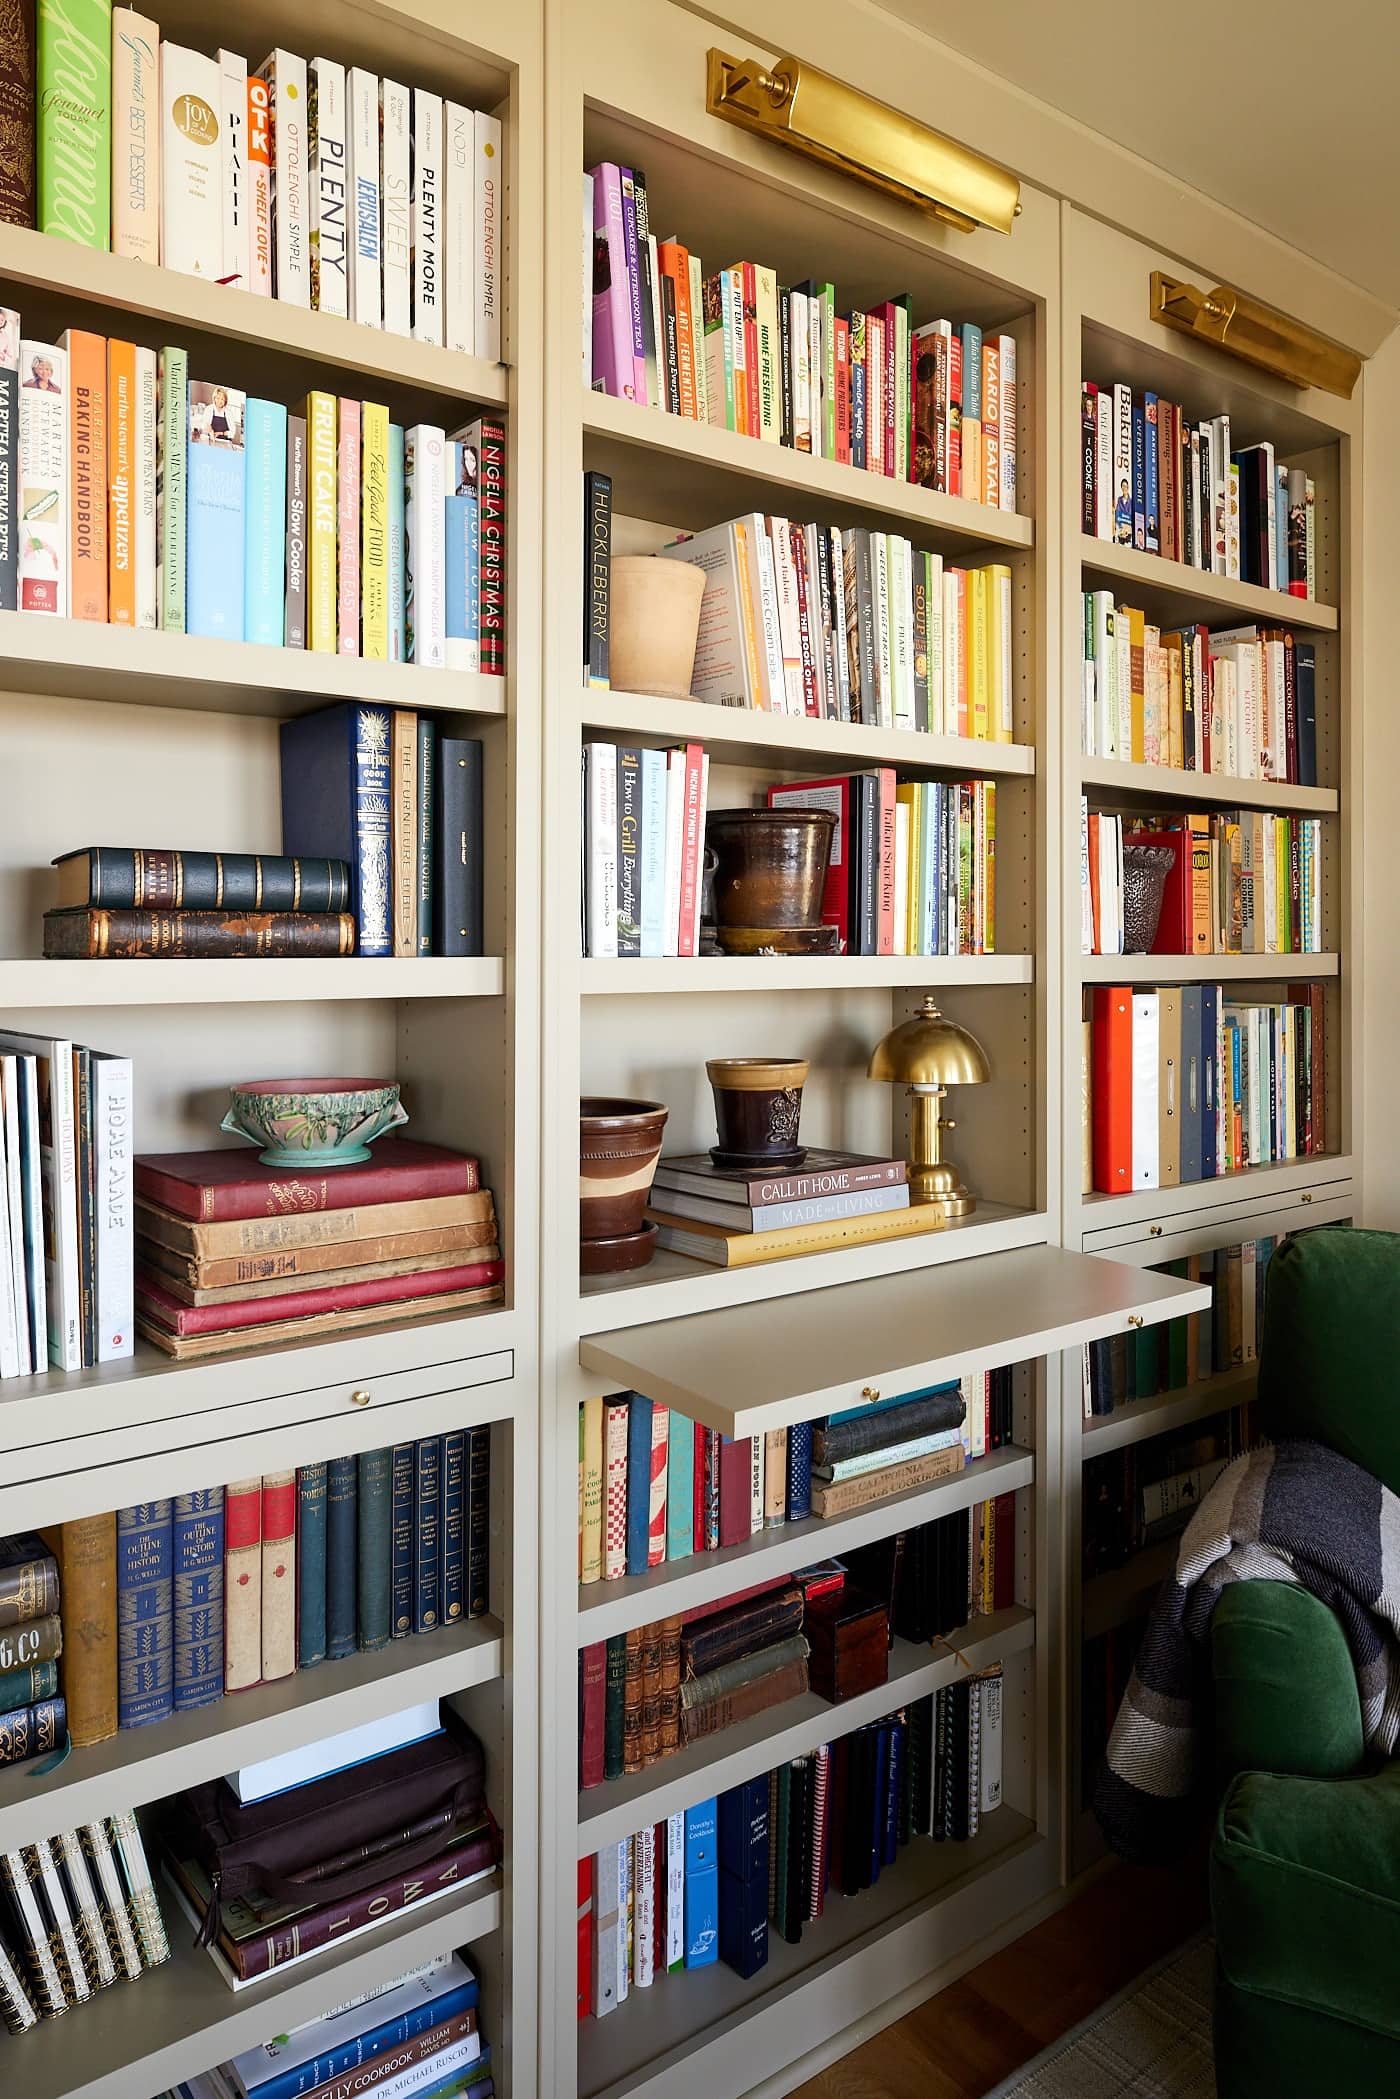
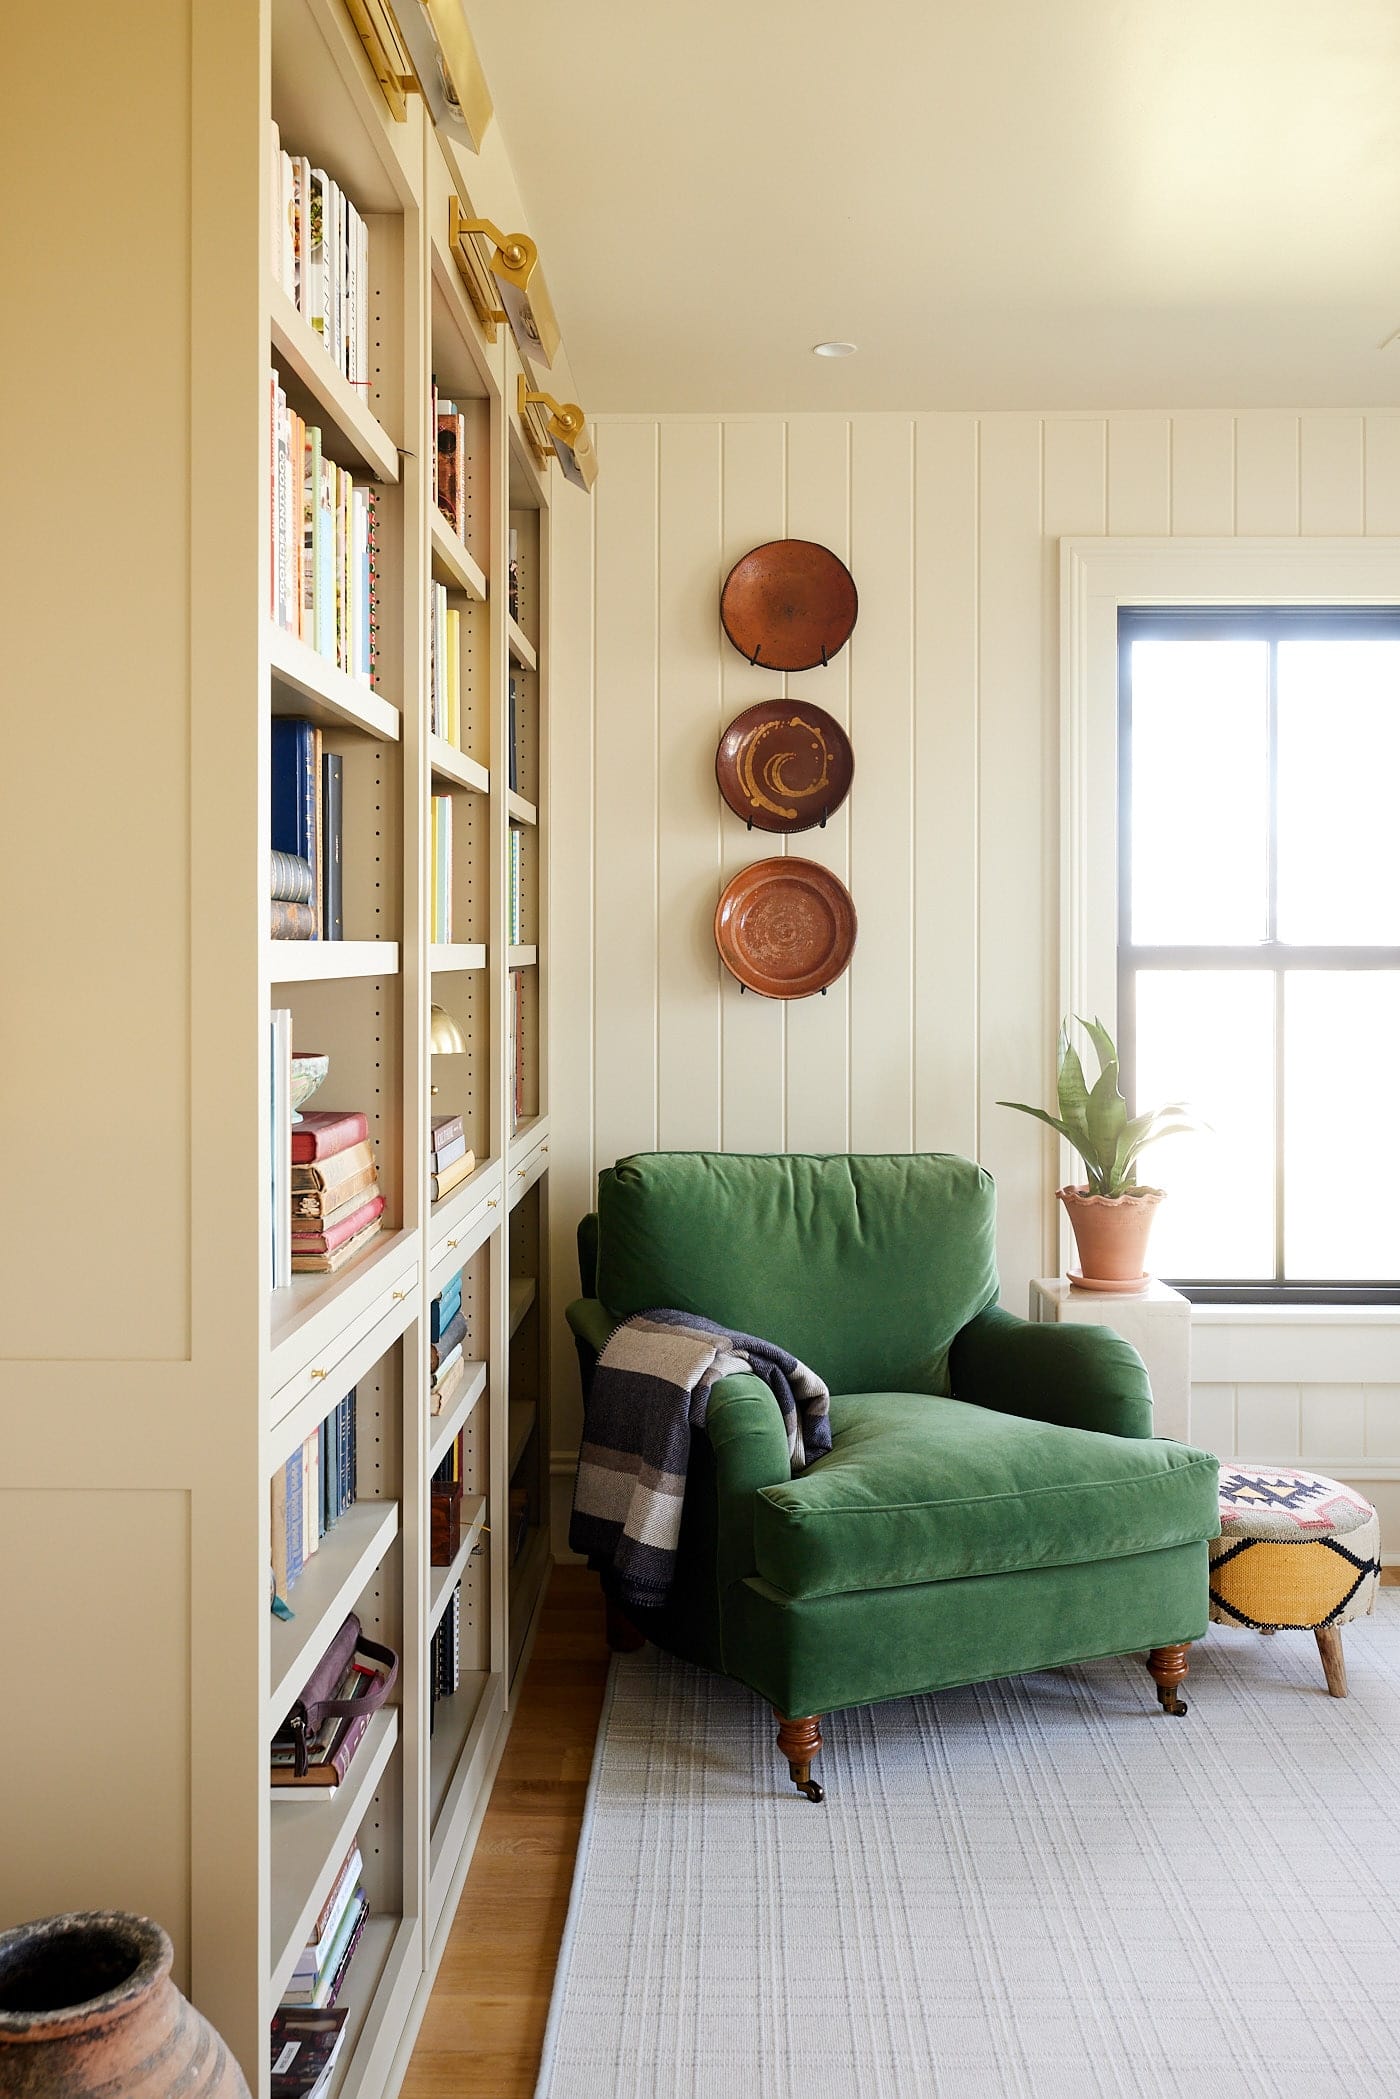
The next task was having a space to organize my cookbook collection. Since I enjoy thumbing through cookbooks and using them as research, the shelves on the opposite wall of the desk allow for super easy access.
I added pull-put shelves so I could place a few cookbooks on them when needed and tuck them away when not in use. I always try to add details where possible that give a nod to the age of the house and what could have been here from the beginning.
Office Sources
- Wall and trim color – Wool Skein at 50% strength by Sherwin-Williams | SW 6148
- Desk chairs – Pivot Upholstered Dining Chair by Crate & Barrel (affiliate link)
- Office lamp – Calabria Table Lamp by Troy Lighting
- Desk material – Carrara marble
- Sconces over desk – Thomas O’Brien Bryant Sconce by Visual Comfort & Co. | Finish: Hand-Rubbed Antique Brass
- Sconces over bookcases – Thomas O’Brien Library 16″ Picture Light by Visual Comfort & Co. | Finish: Hand-Rubbed Antique Brass
- Bookcase color – Universal Khaki by Sherwin Williams | SW 6150
- Desk color – Universal Khaki by Sherwin Williams | SW 6150
- Cabinet pulls – 3 3/4″ Classic Cast Brass Cup Pull by House of Antique Hardware | Finish: Un-Lacquered Brass
- Area rug – Pristine Plaid in Linen by Stanton Carpet
- Green chair – Brooke Club Chair by One Kings Lane | Color: Emerald Velvet
- Stool – vintage
- Ceiling light – Siena Large Flush Mount by Visual Comfort | Finish: Hand-Rubbed Antique Brass
Hallway
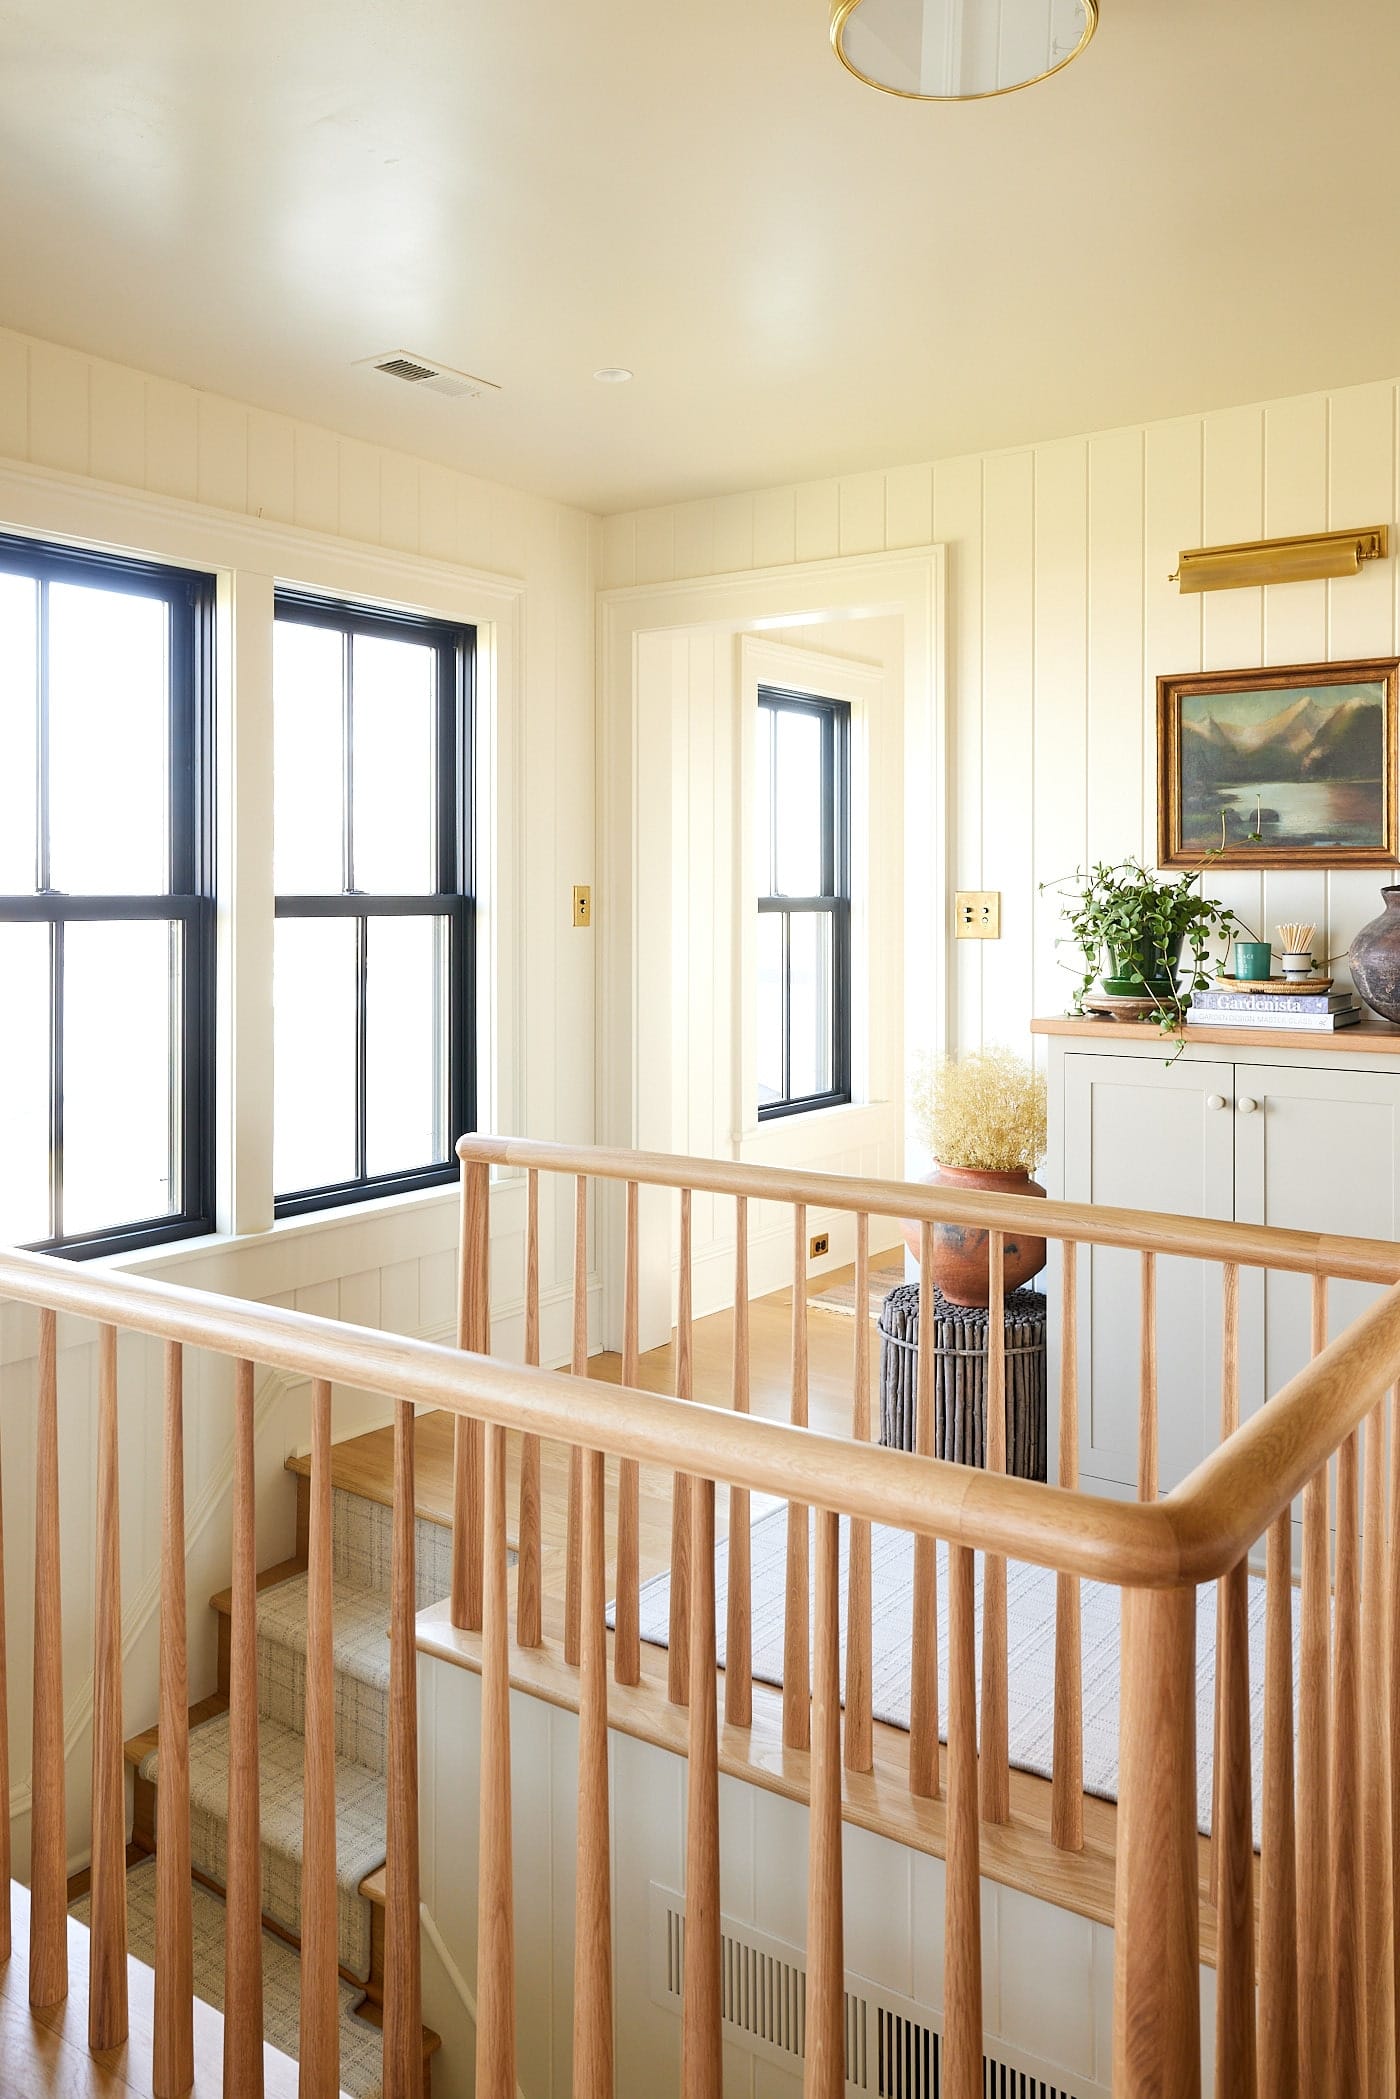
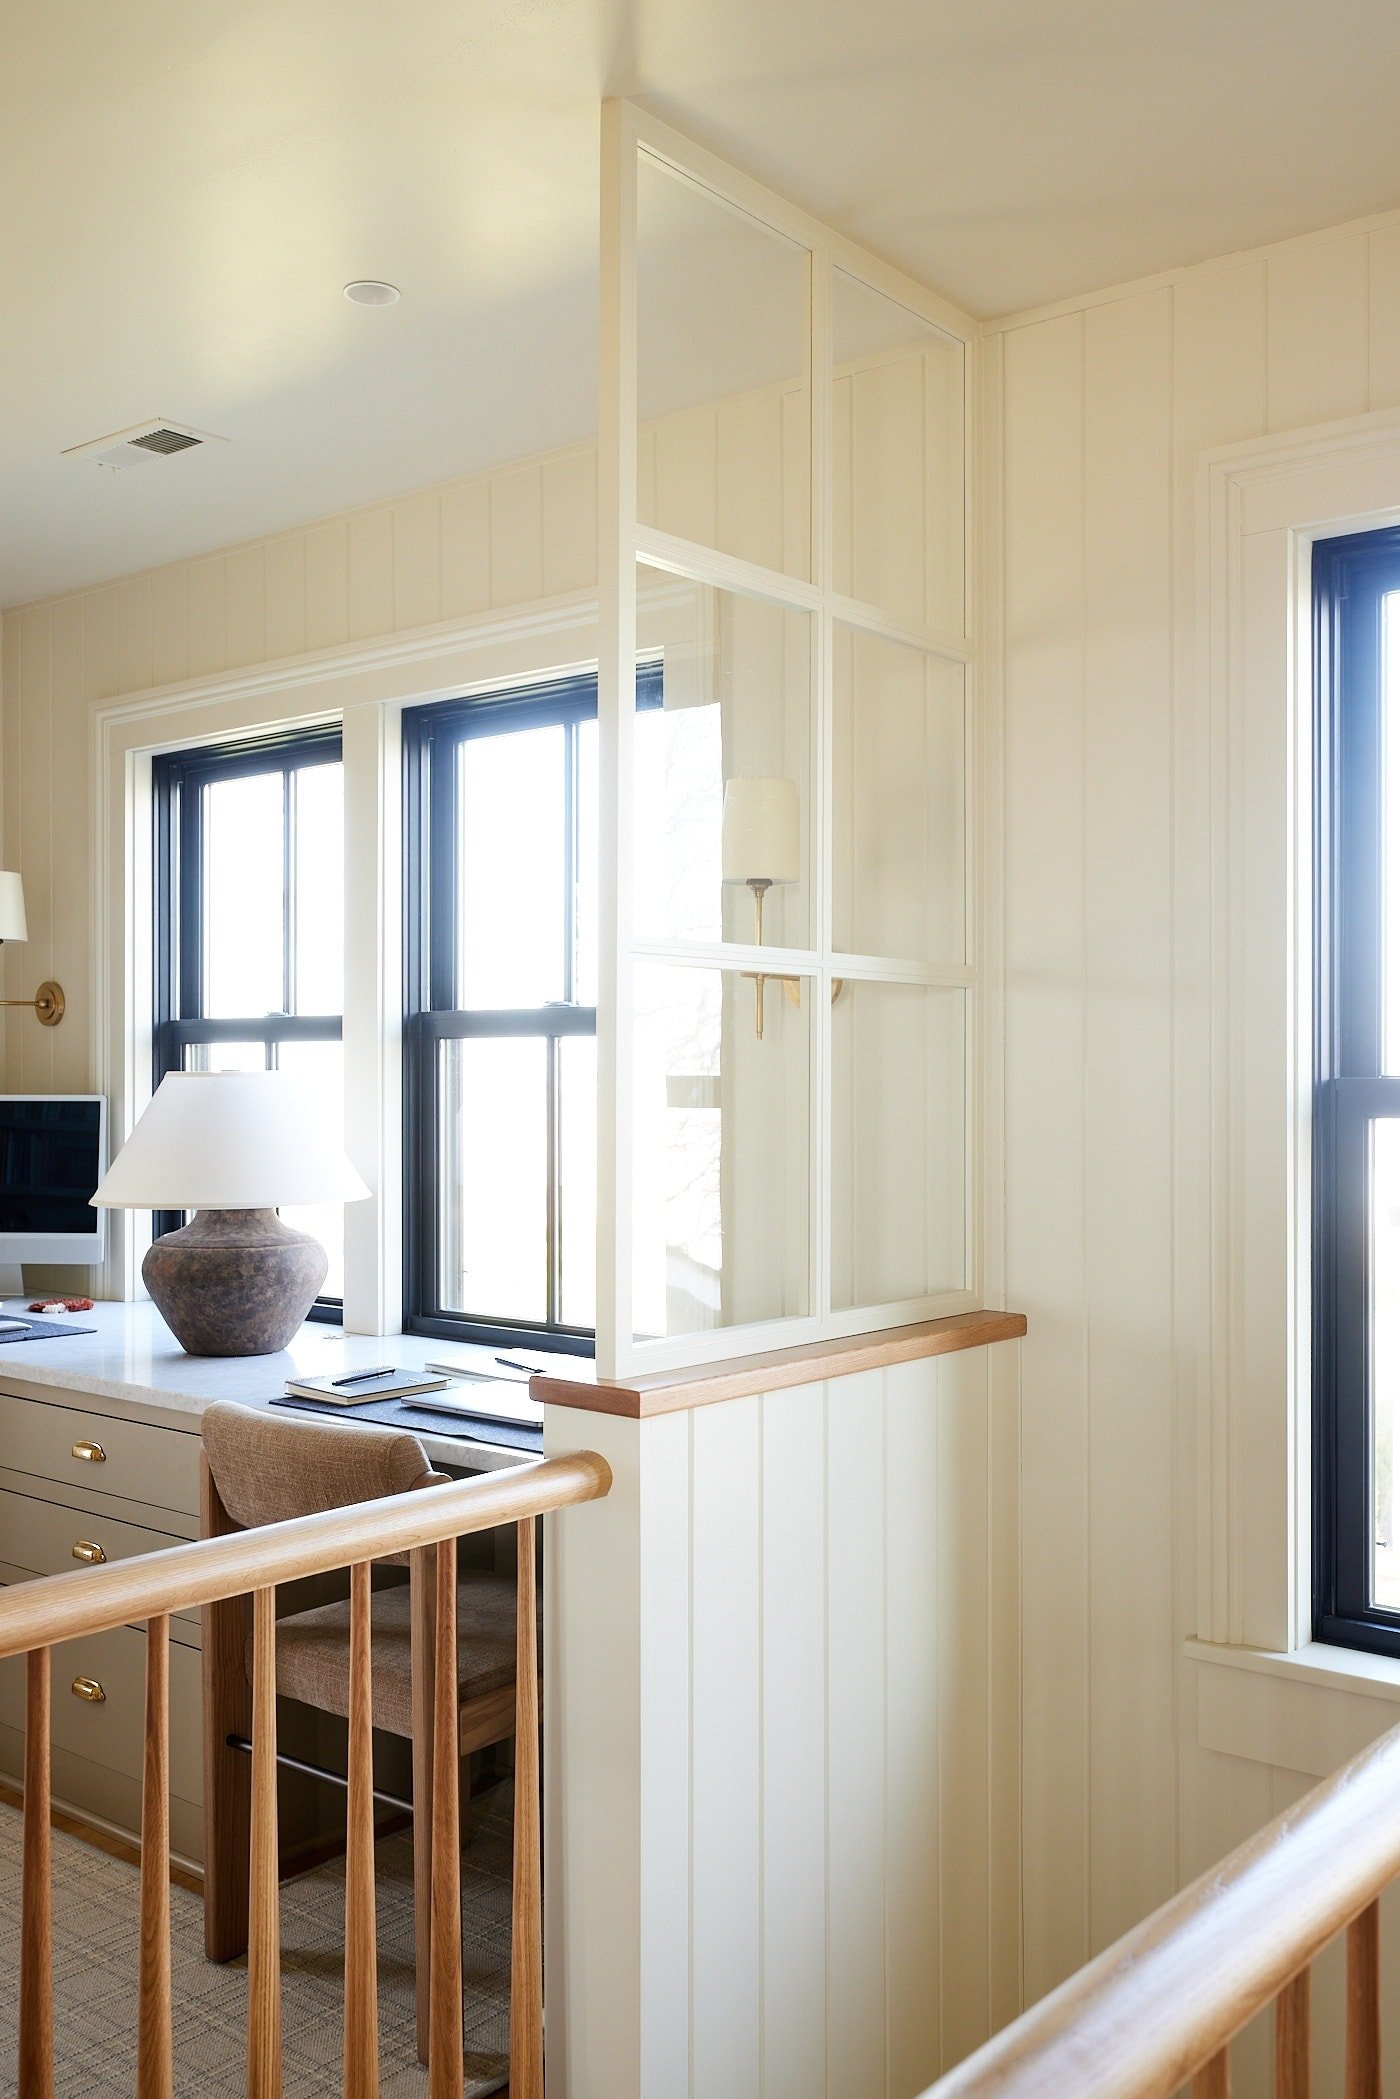
The hallway feels like a part of the office since the wall that separated the two was removed during the renovation. This is a case where removing the wall would not work for everyone or be what they would choose, but it works perfectly for me. I find that a home needs to fit the family living in and how they use it. Since numerous hours are spent in the office every week, the removal of the wall allows for so much light to filter through and provides a better working experience.
There needed to be a pony wall to finish the end of the desk. Since I’m not the biggest fan of a half wall, I added a simple wooden framed interior window to the top of the wall. It delineates the space and provides some additional interest. I had antique wavy glass used during the construction of the window, so it feels like it could have been here when the house was built.
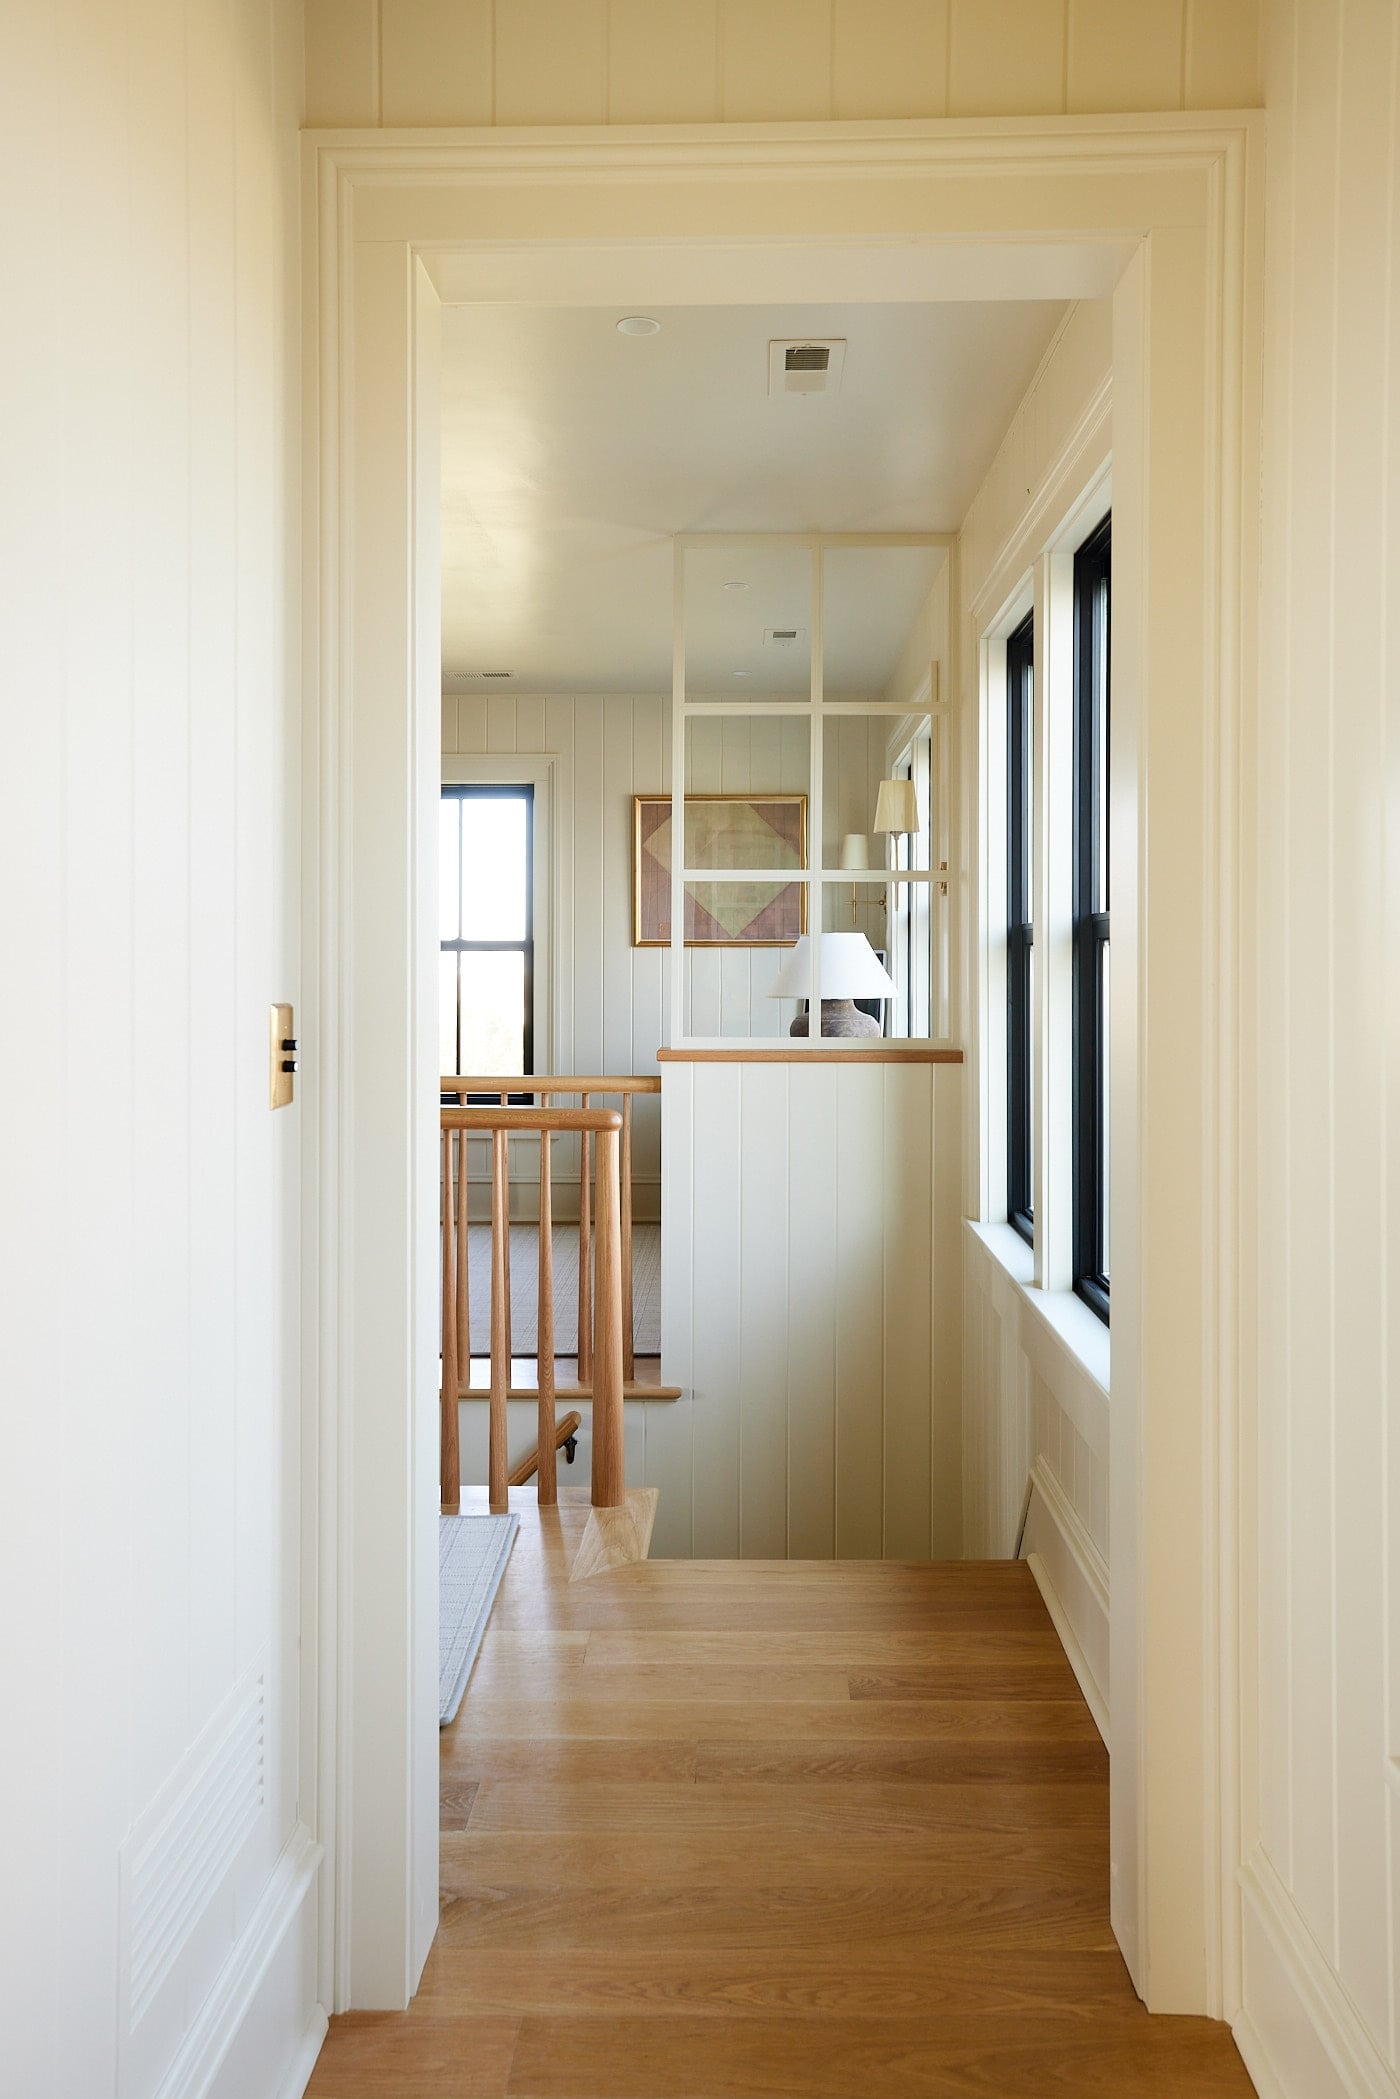
The hallway had enough room for a small built-in along one wall. It allowed for more storage and even some display space. Again, storage wherever possible!
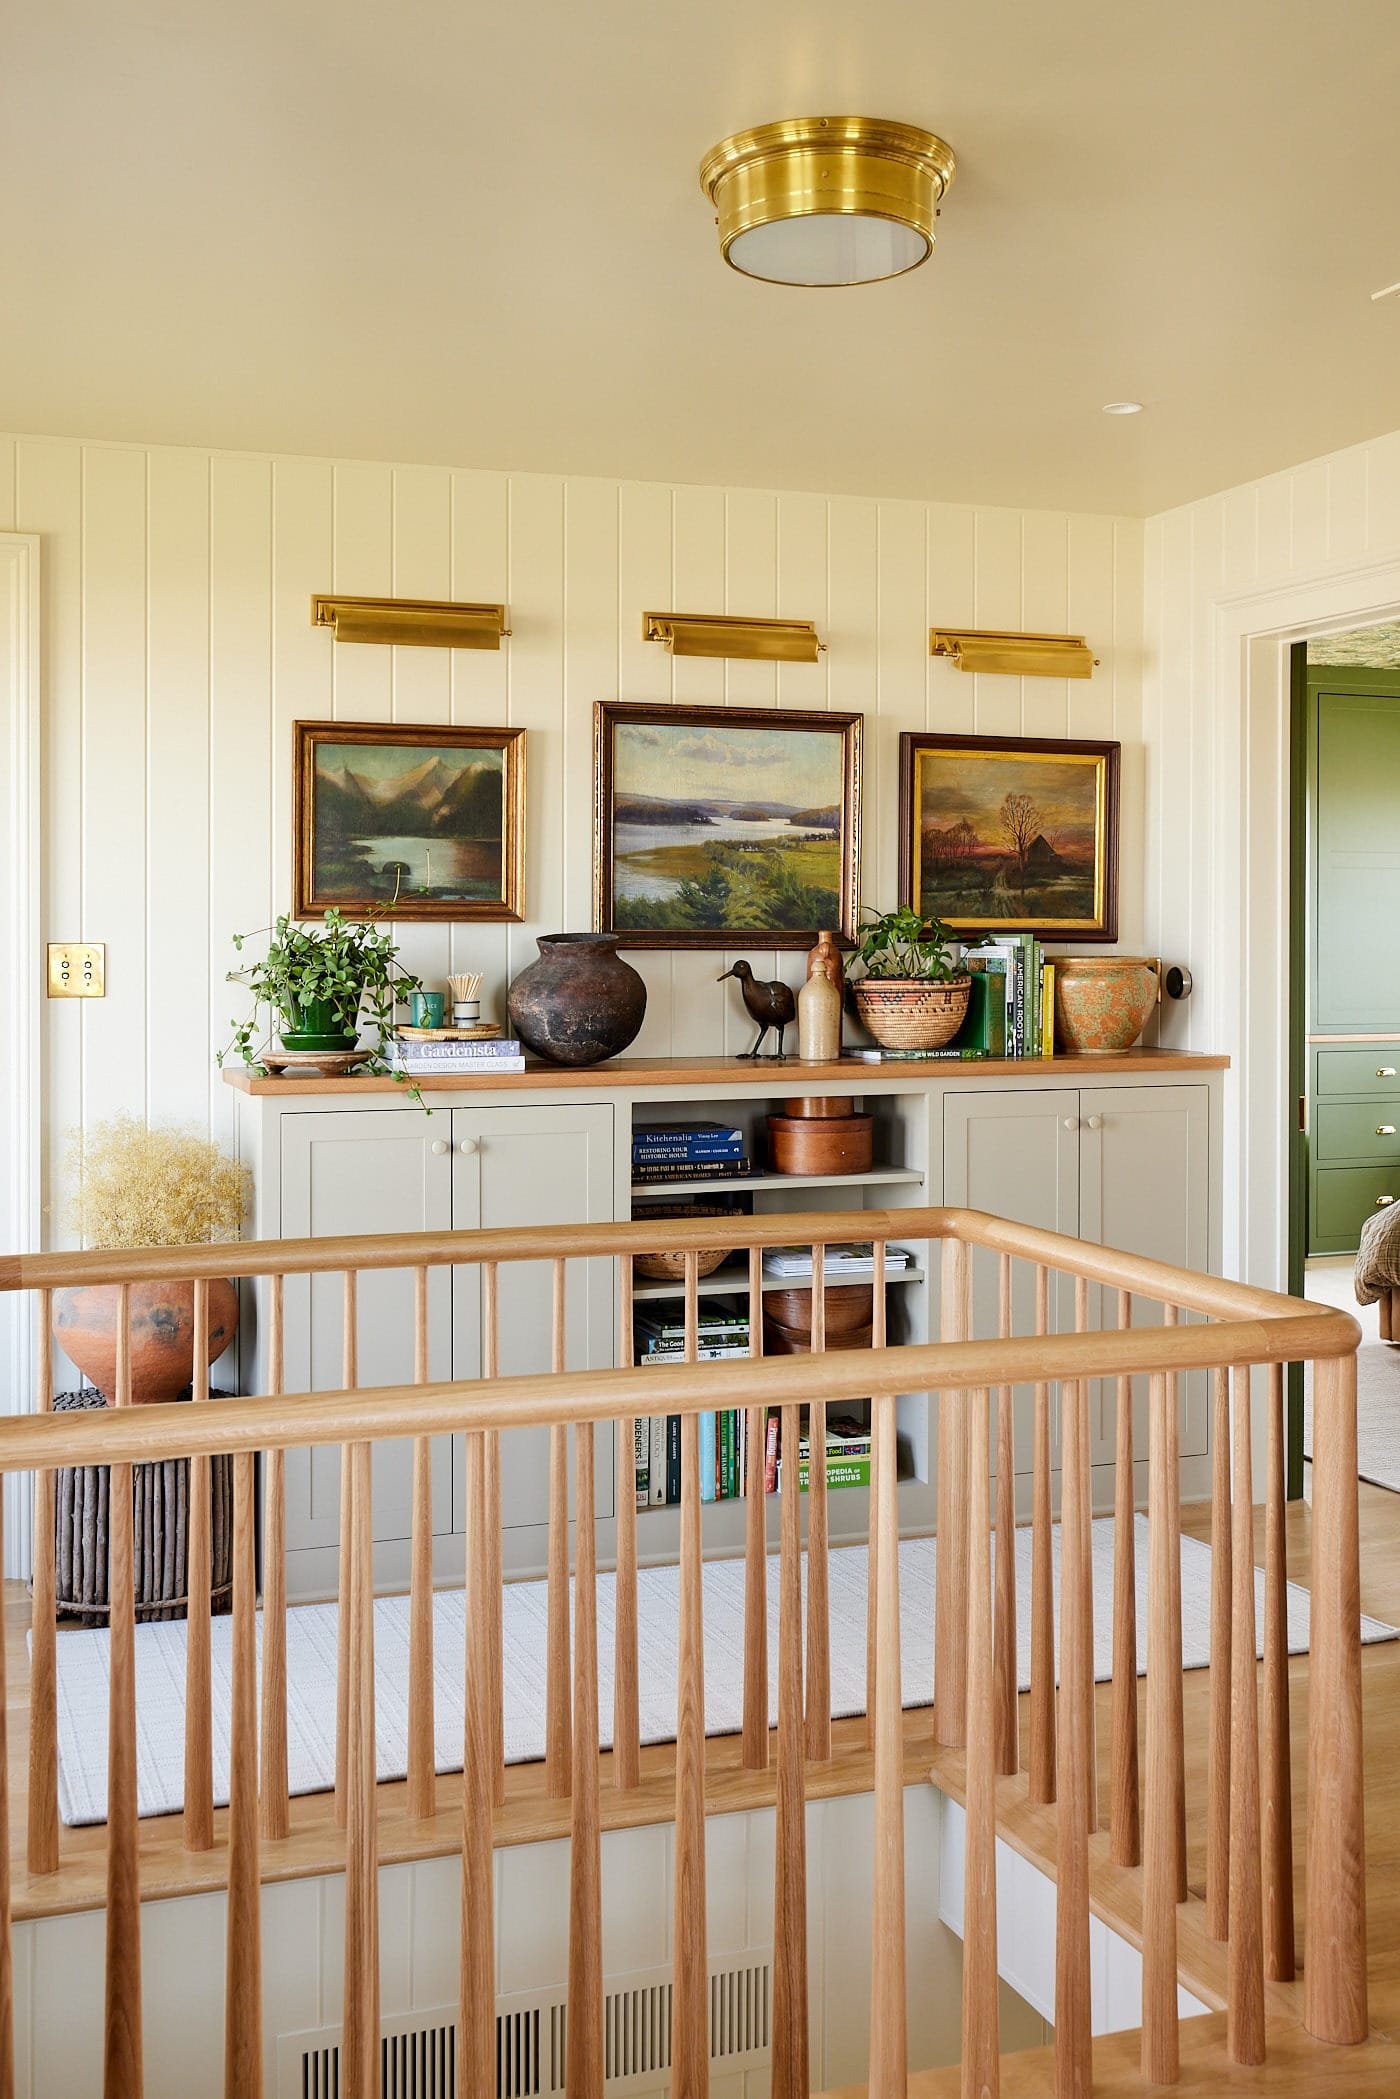
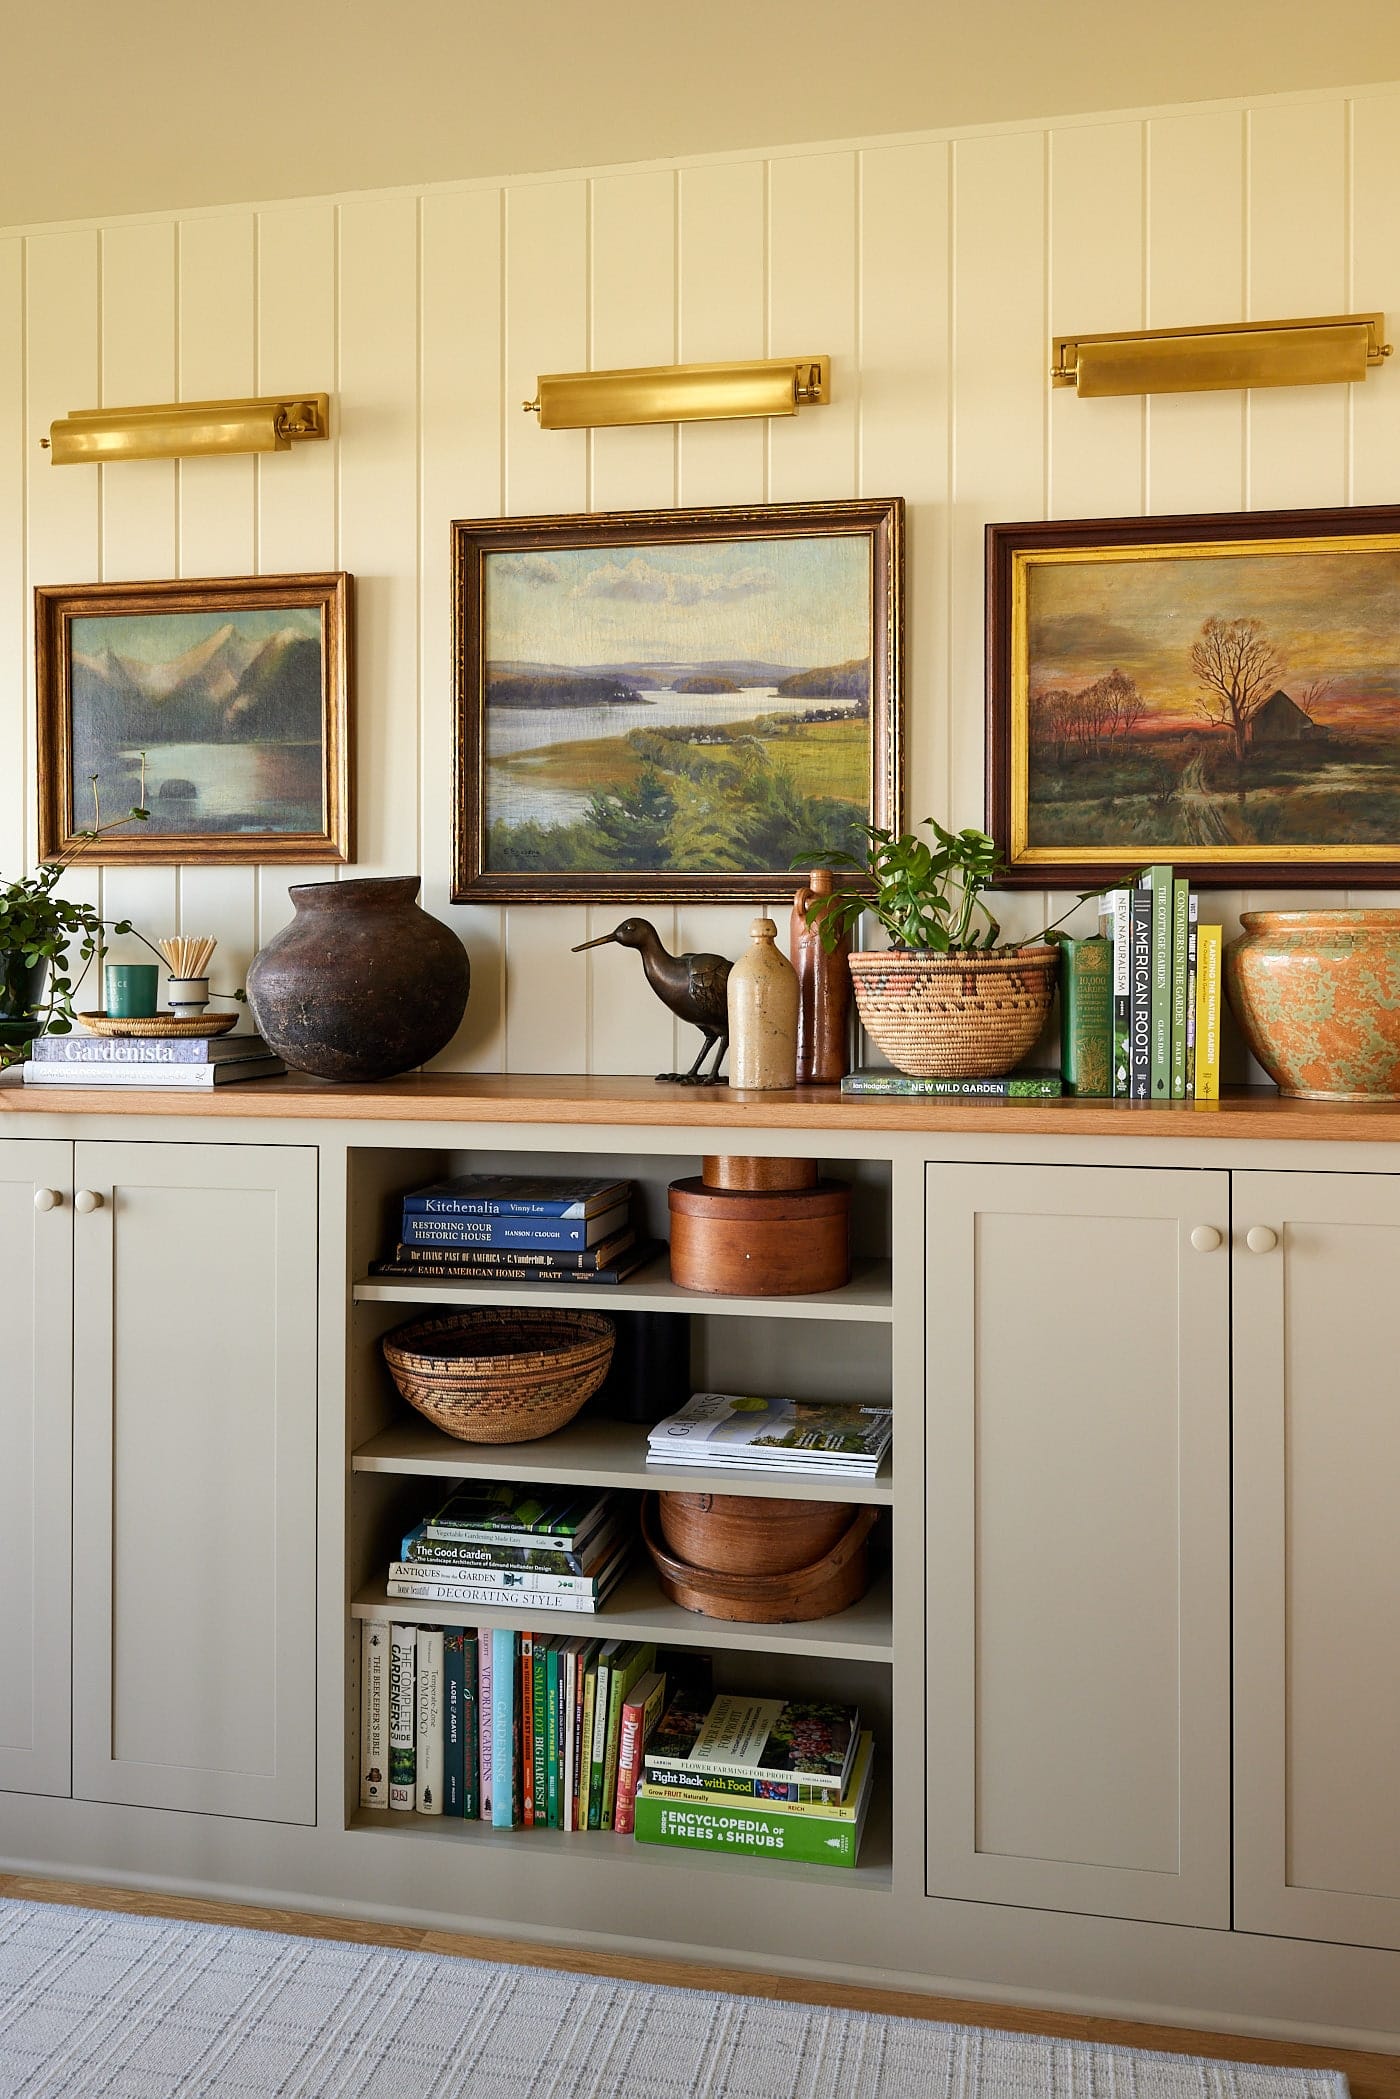
Hallway Sources
- Wall and trim color – Wool Skein at 50% strength by Sherwin-Williams | SW 6148
- Cabinet color – Universal Khaki by Sherwin-Williams | SW 6150
- Cabinet knobs – Wood knobs painted Universal Khaki by Sherwin-Williams | SW 6150
- Runner – Pristine Plaid in Linen by Stanton Carpet
- Sconces over artwork – Thomas O’Brien Library 16″ Picture Light by Visual Comfort & Co. | Finish: Hand-Rubbed Antique Brass
- Countertop – solid white oak with natural finish
Bathroom
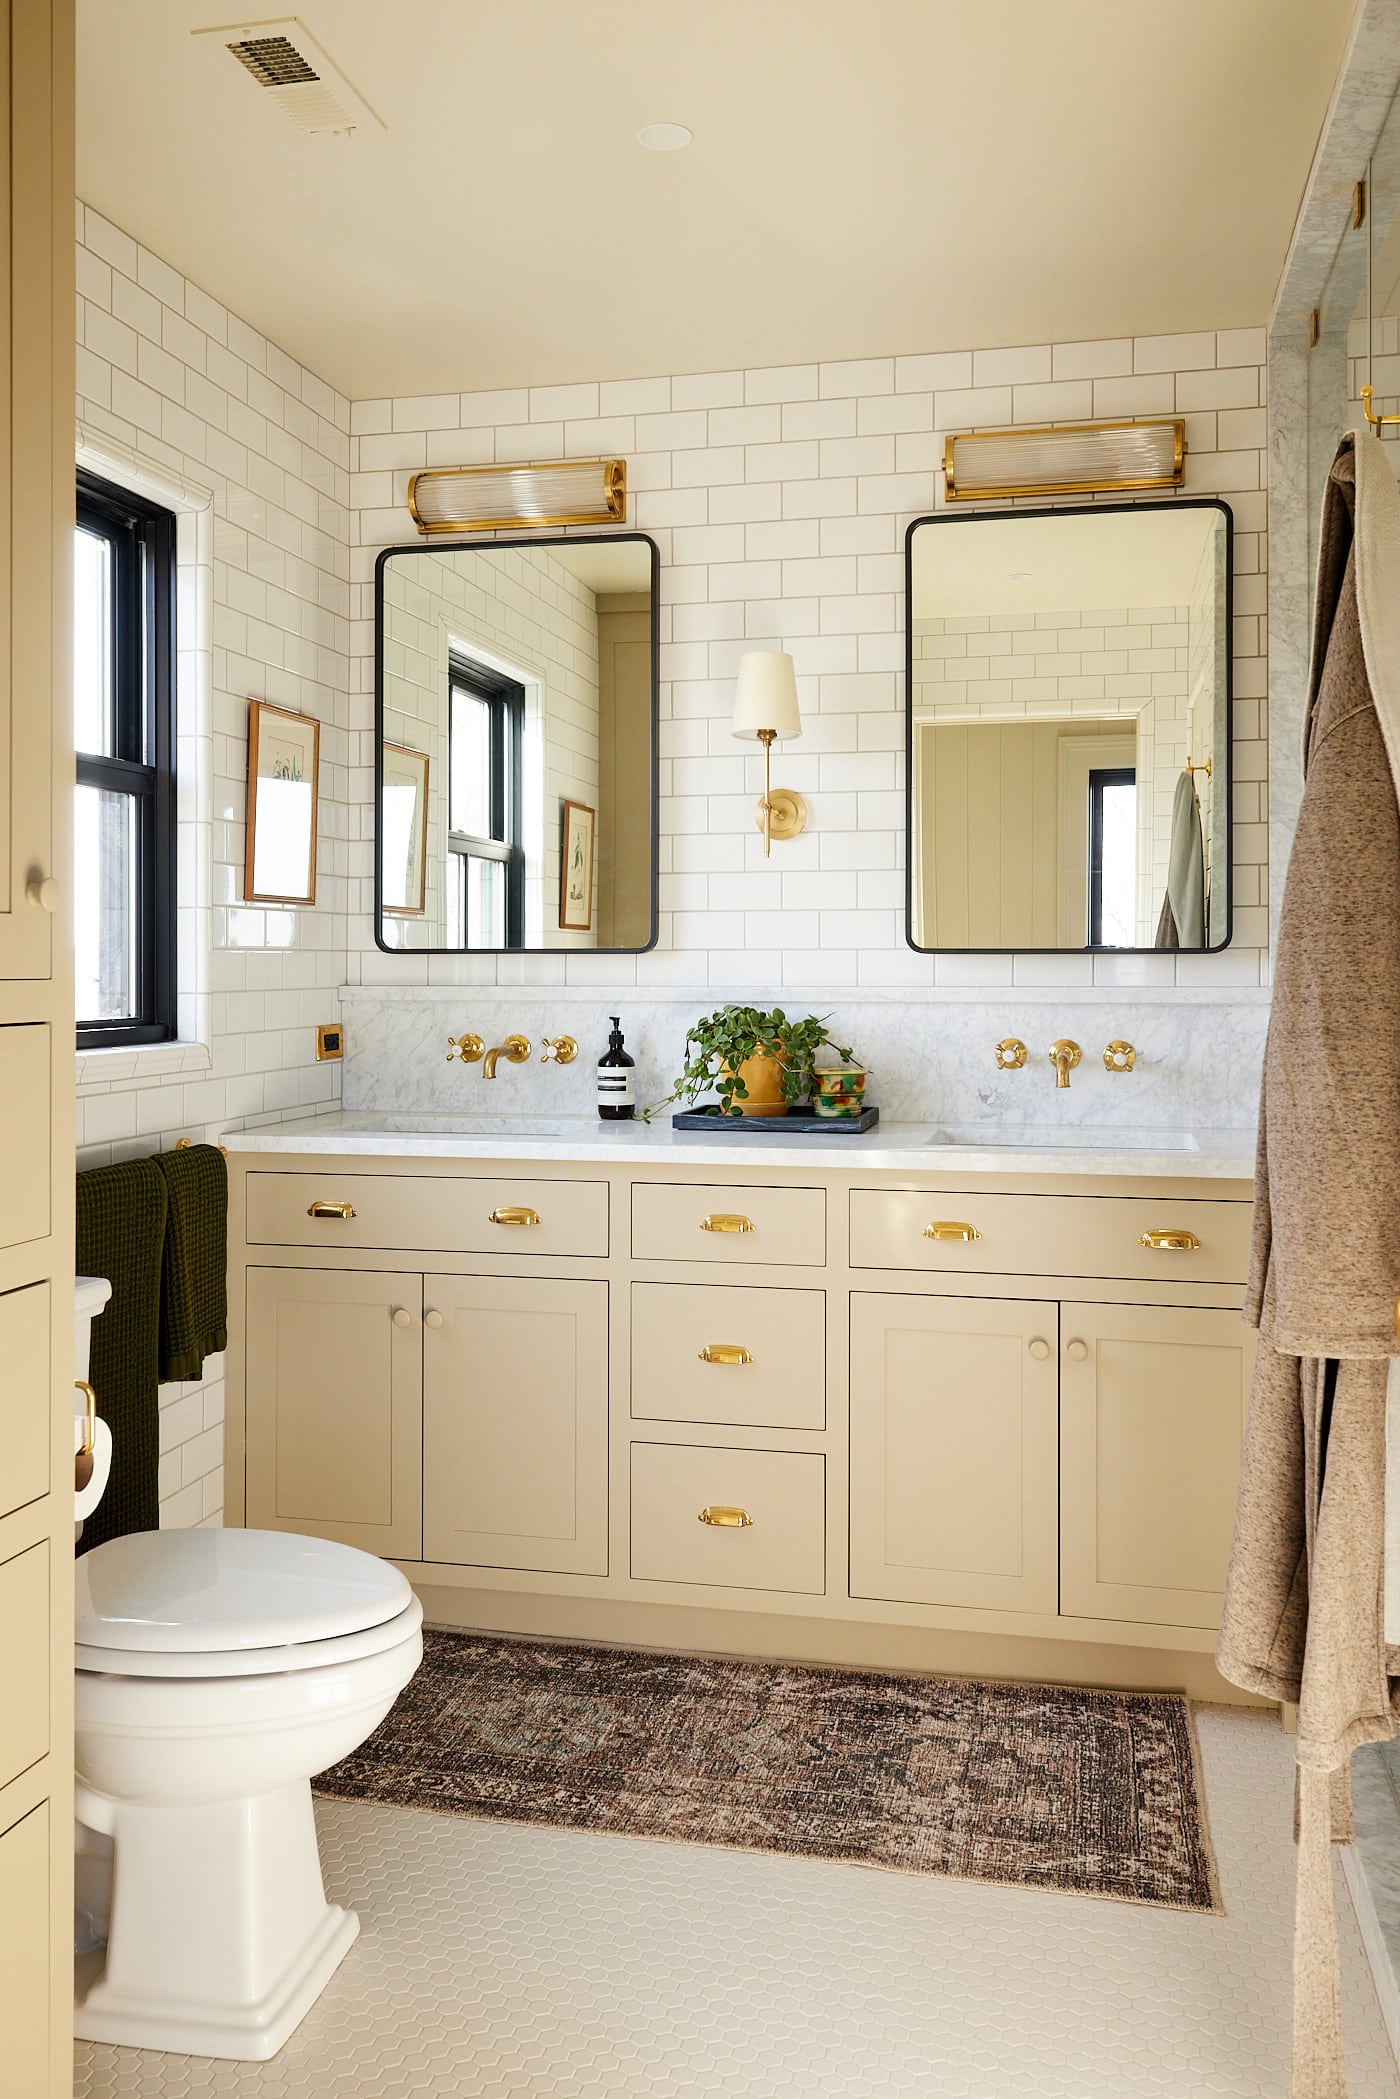
I actually downsized the size of the bathroom. I know, shocking! Originally, this house had no bathrooms. At one point, a bedroom was converted into a bathroom on the second floor. This resulted in an awkwardly large bathroom that had a lot of wasted space. I kept the fixtures where they were since plumbing could not easily be changed, but I added storage. The vanity originally had one sink, but I added two because space allowed.
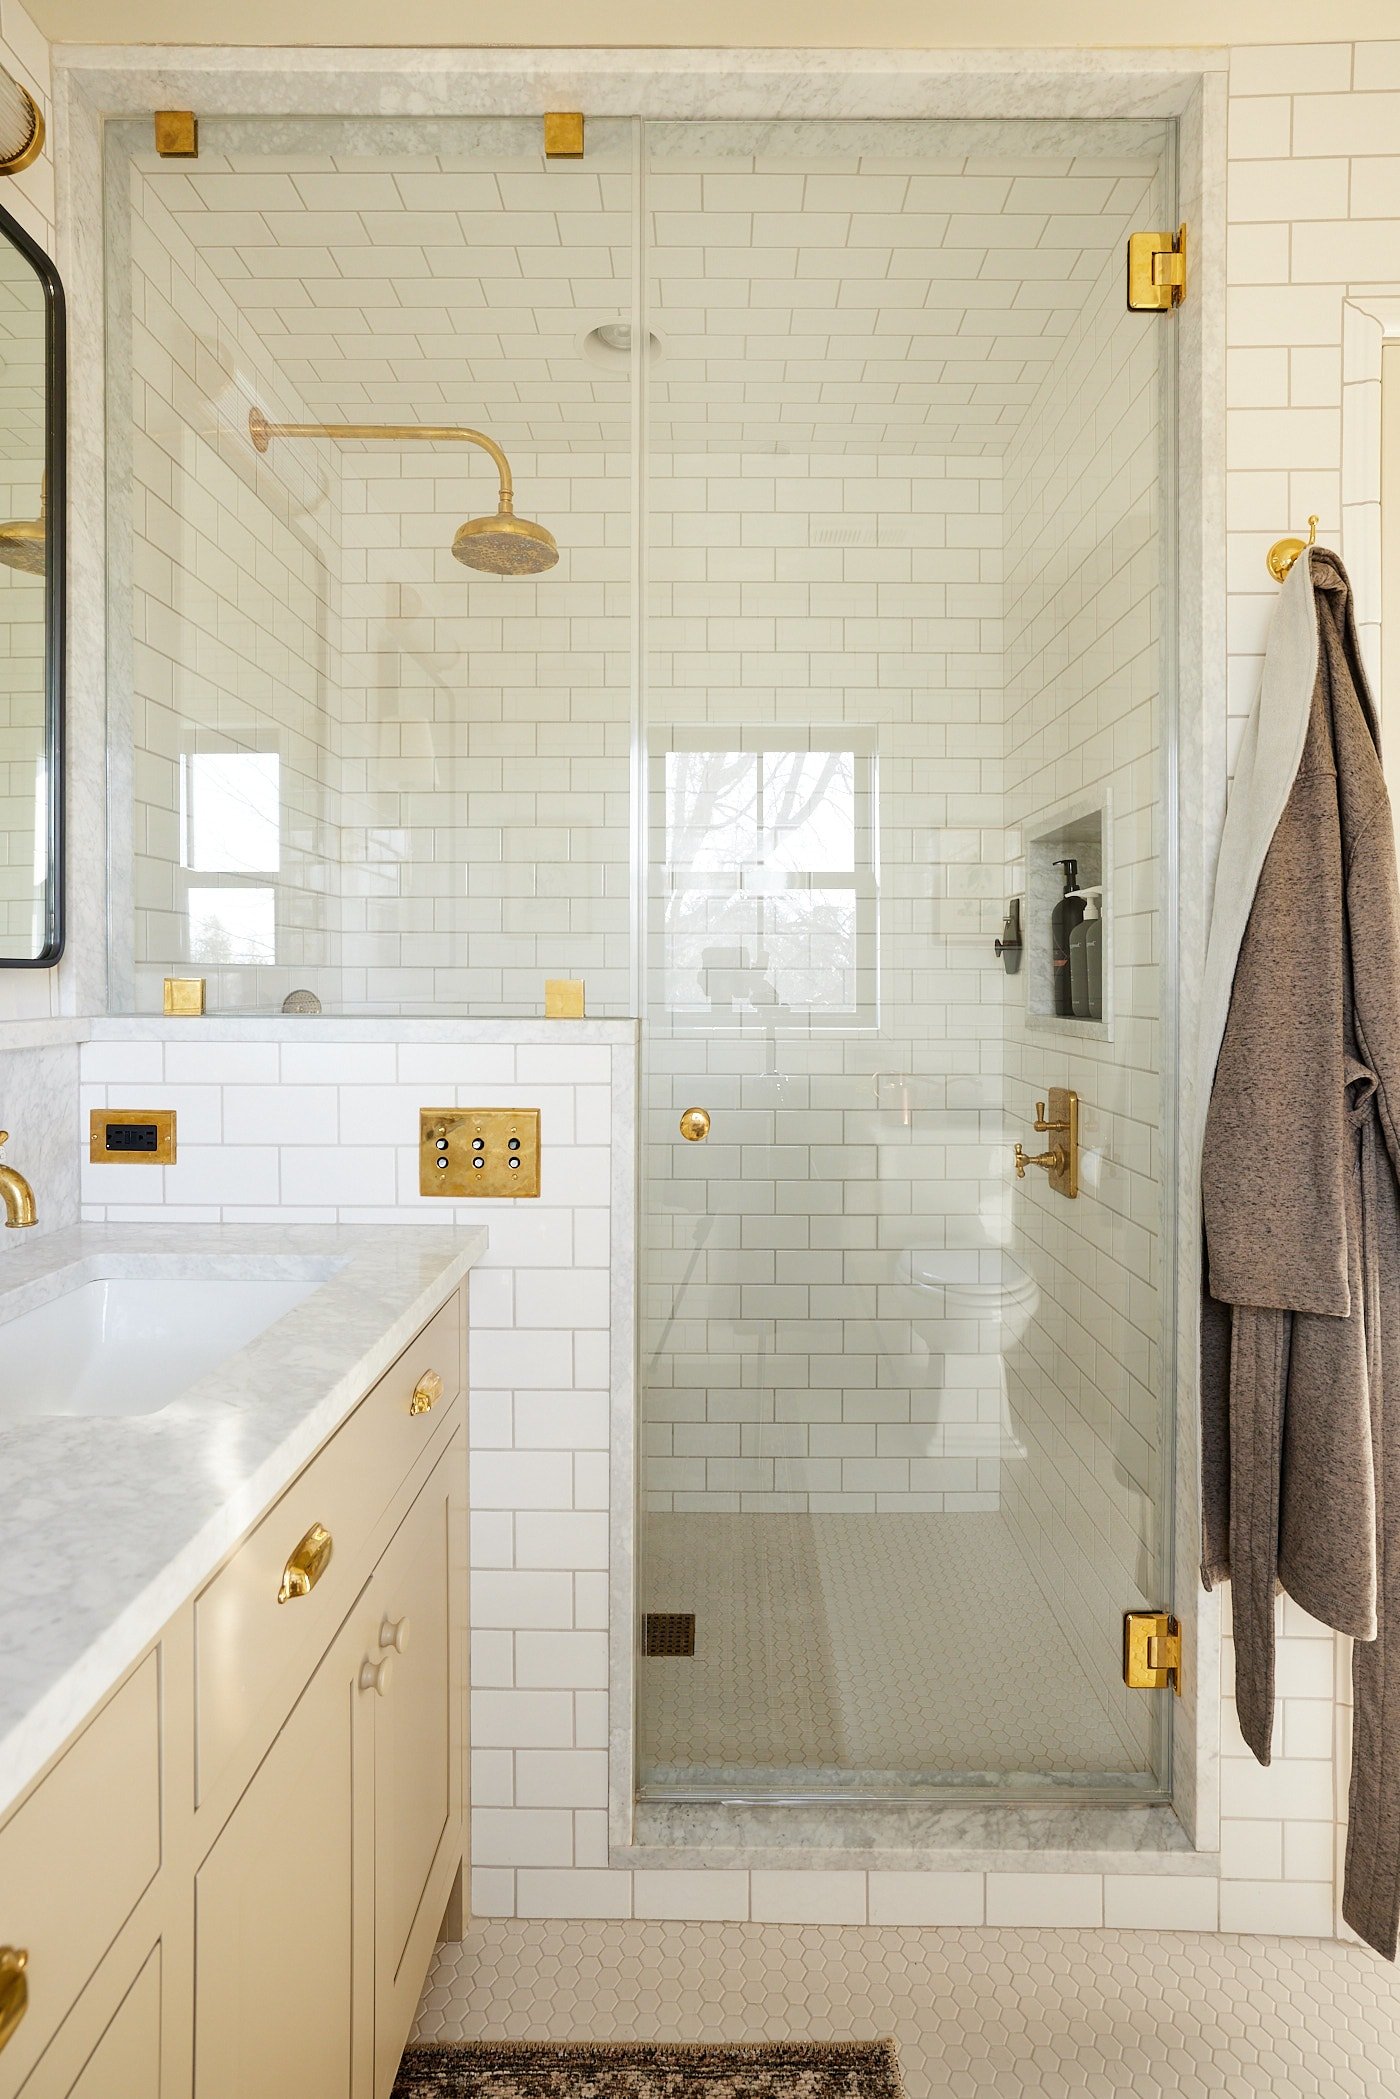
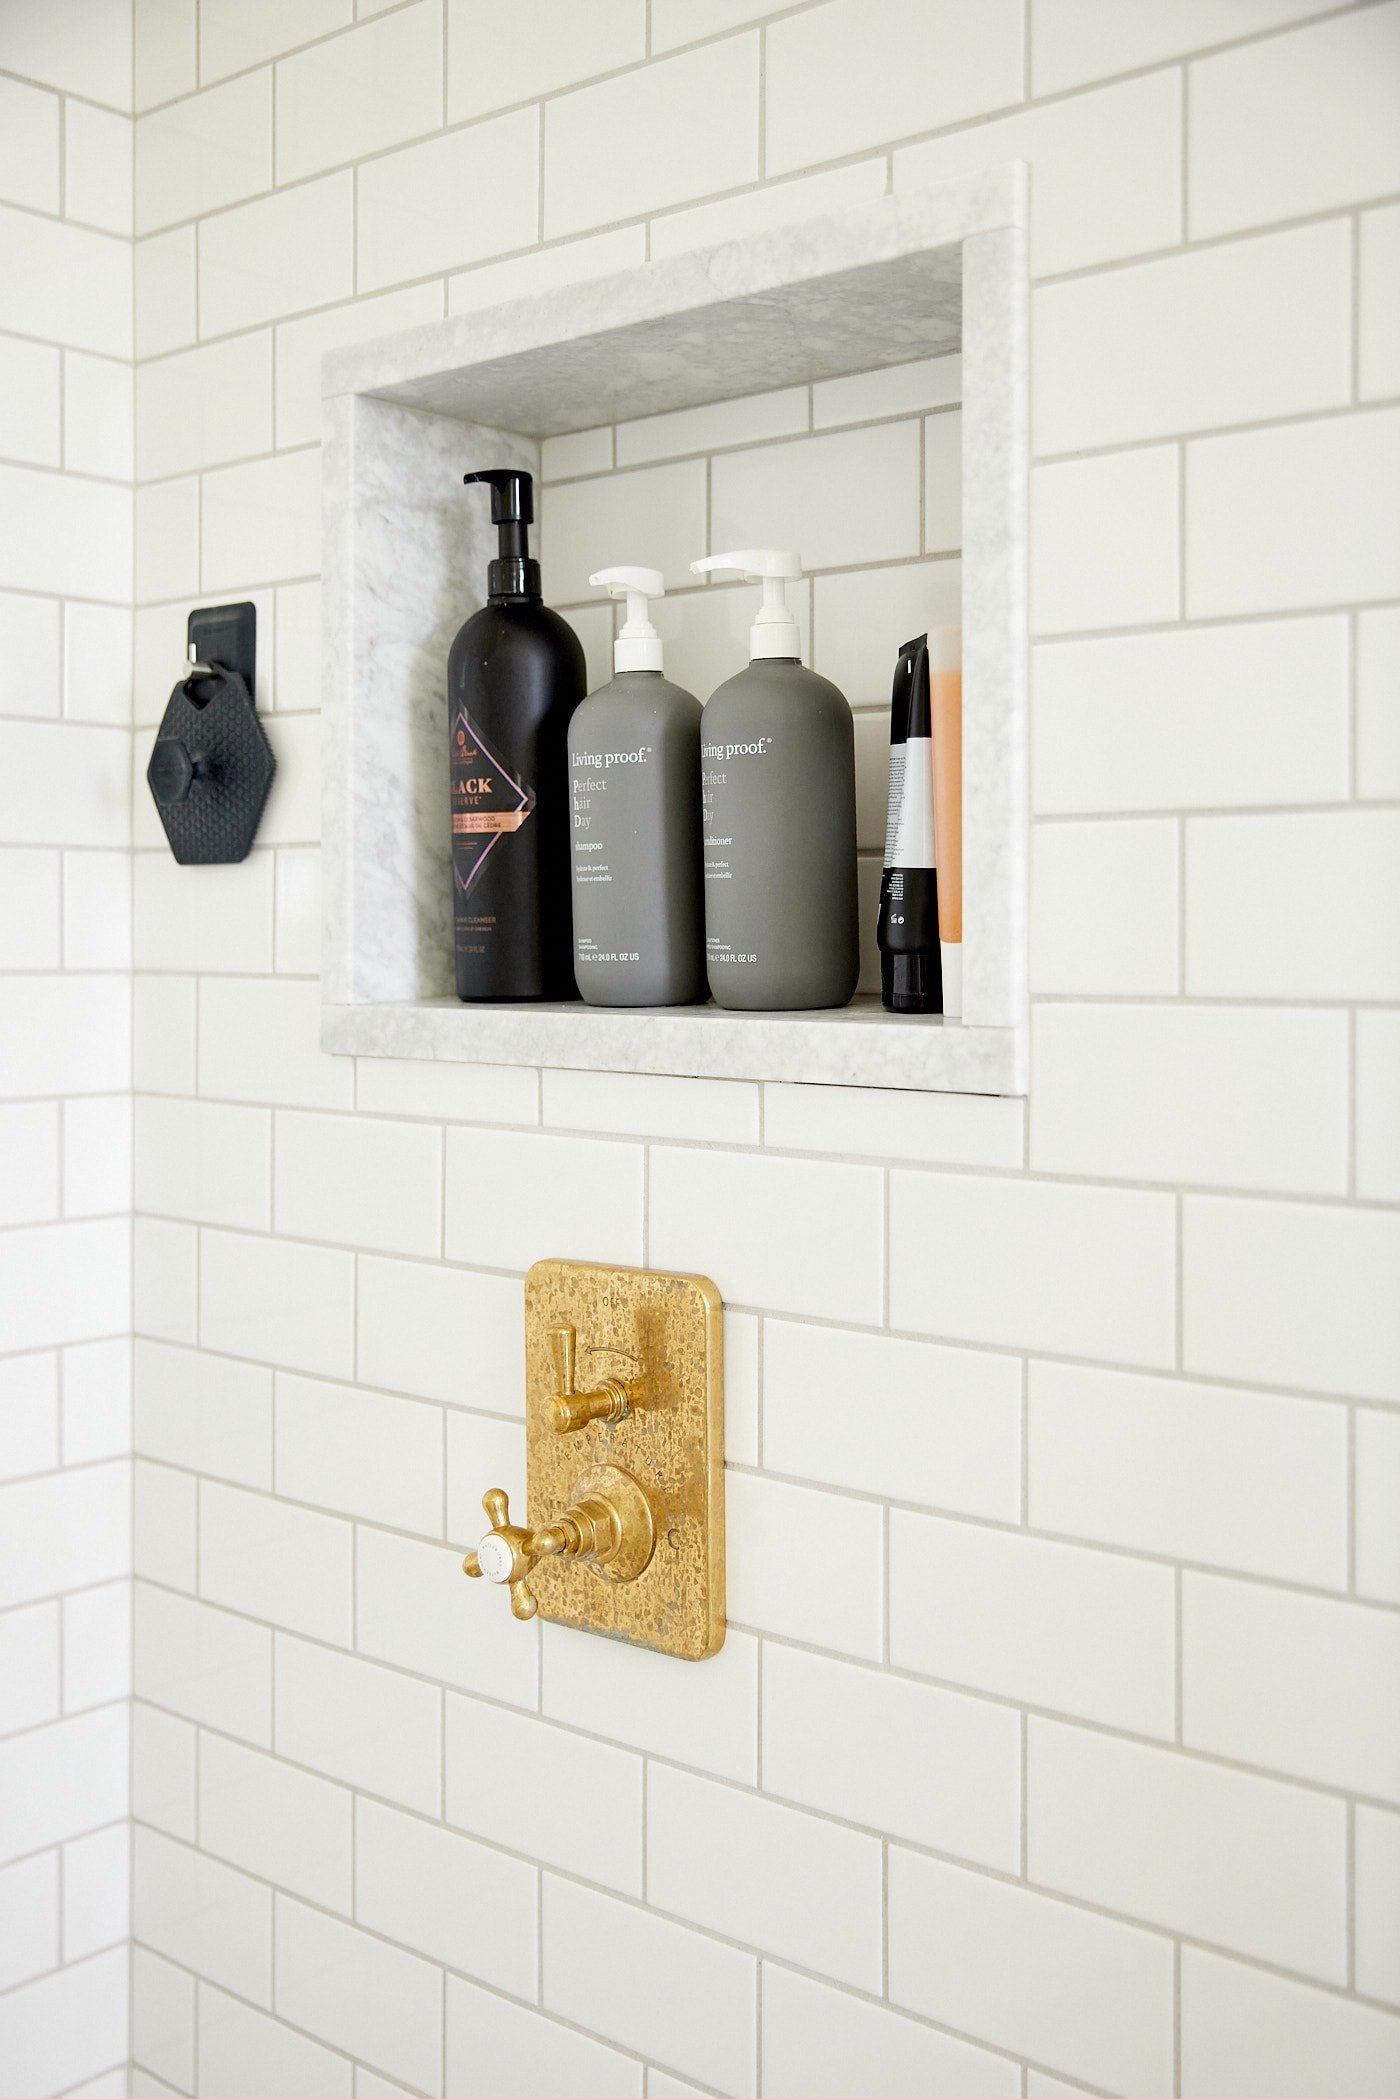
The tub and shower combination was replaced with a tiled shower that now feels so much larger. Don’t worry: I have a tub on the main floor if needed.
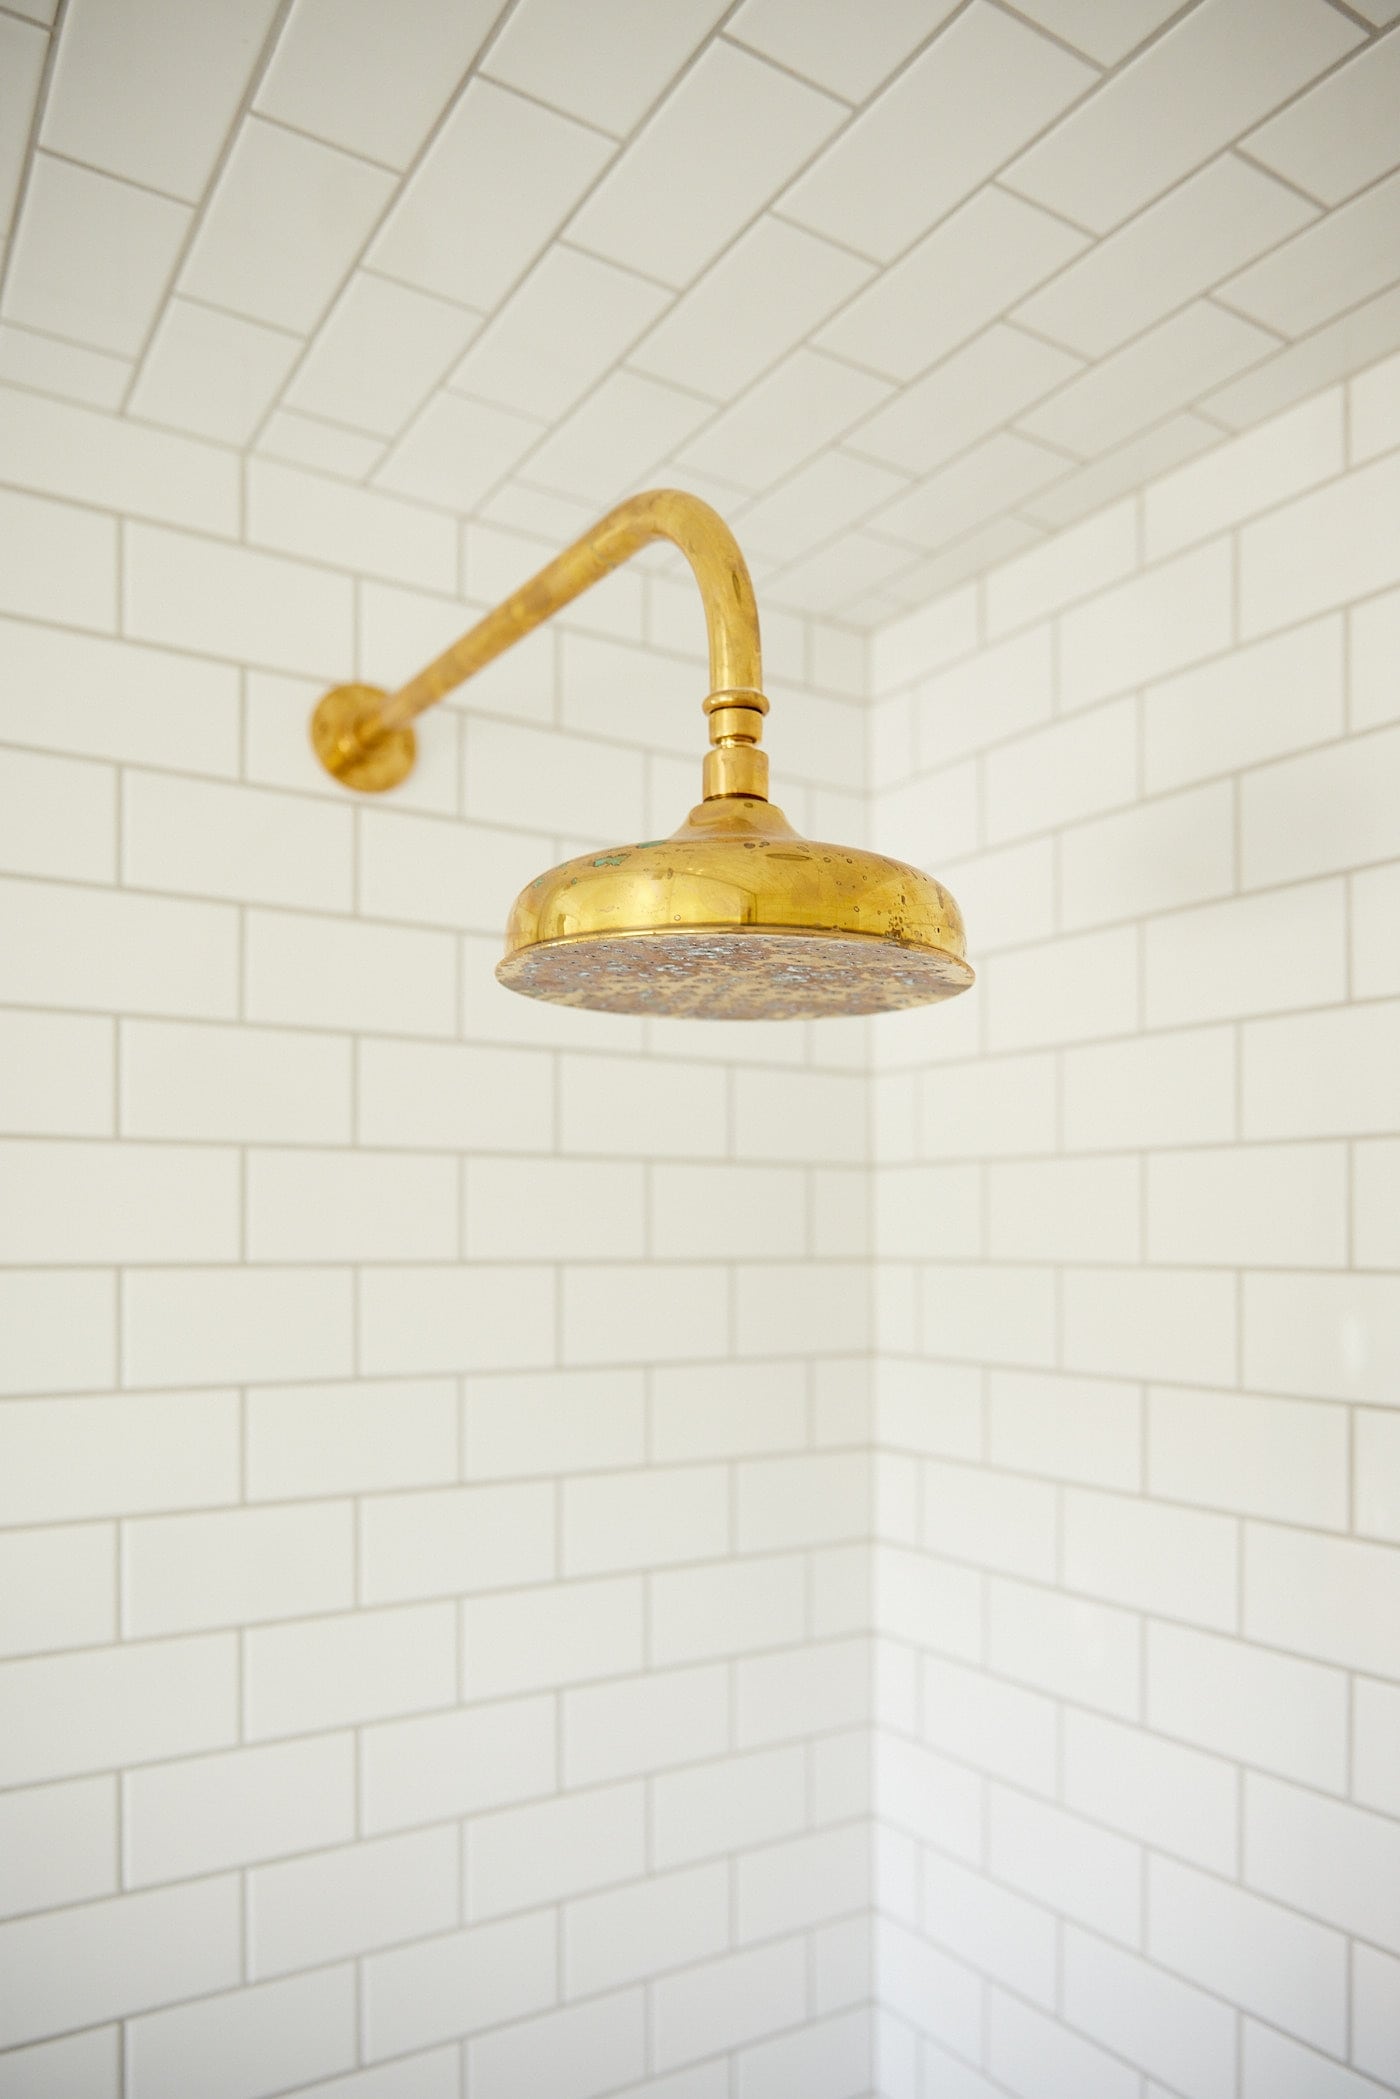
I always assumed there should be a window on the east wall of the bathroom, and when demolition was occurring, I could see the old framing to confirm this hunch. So, I added one back in. Now, morning light floods into the room!
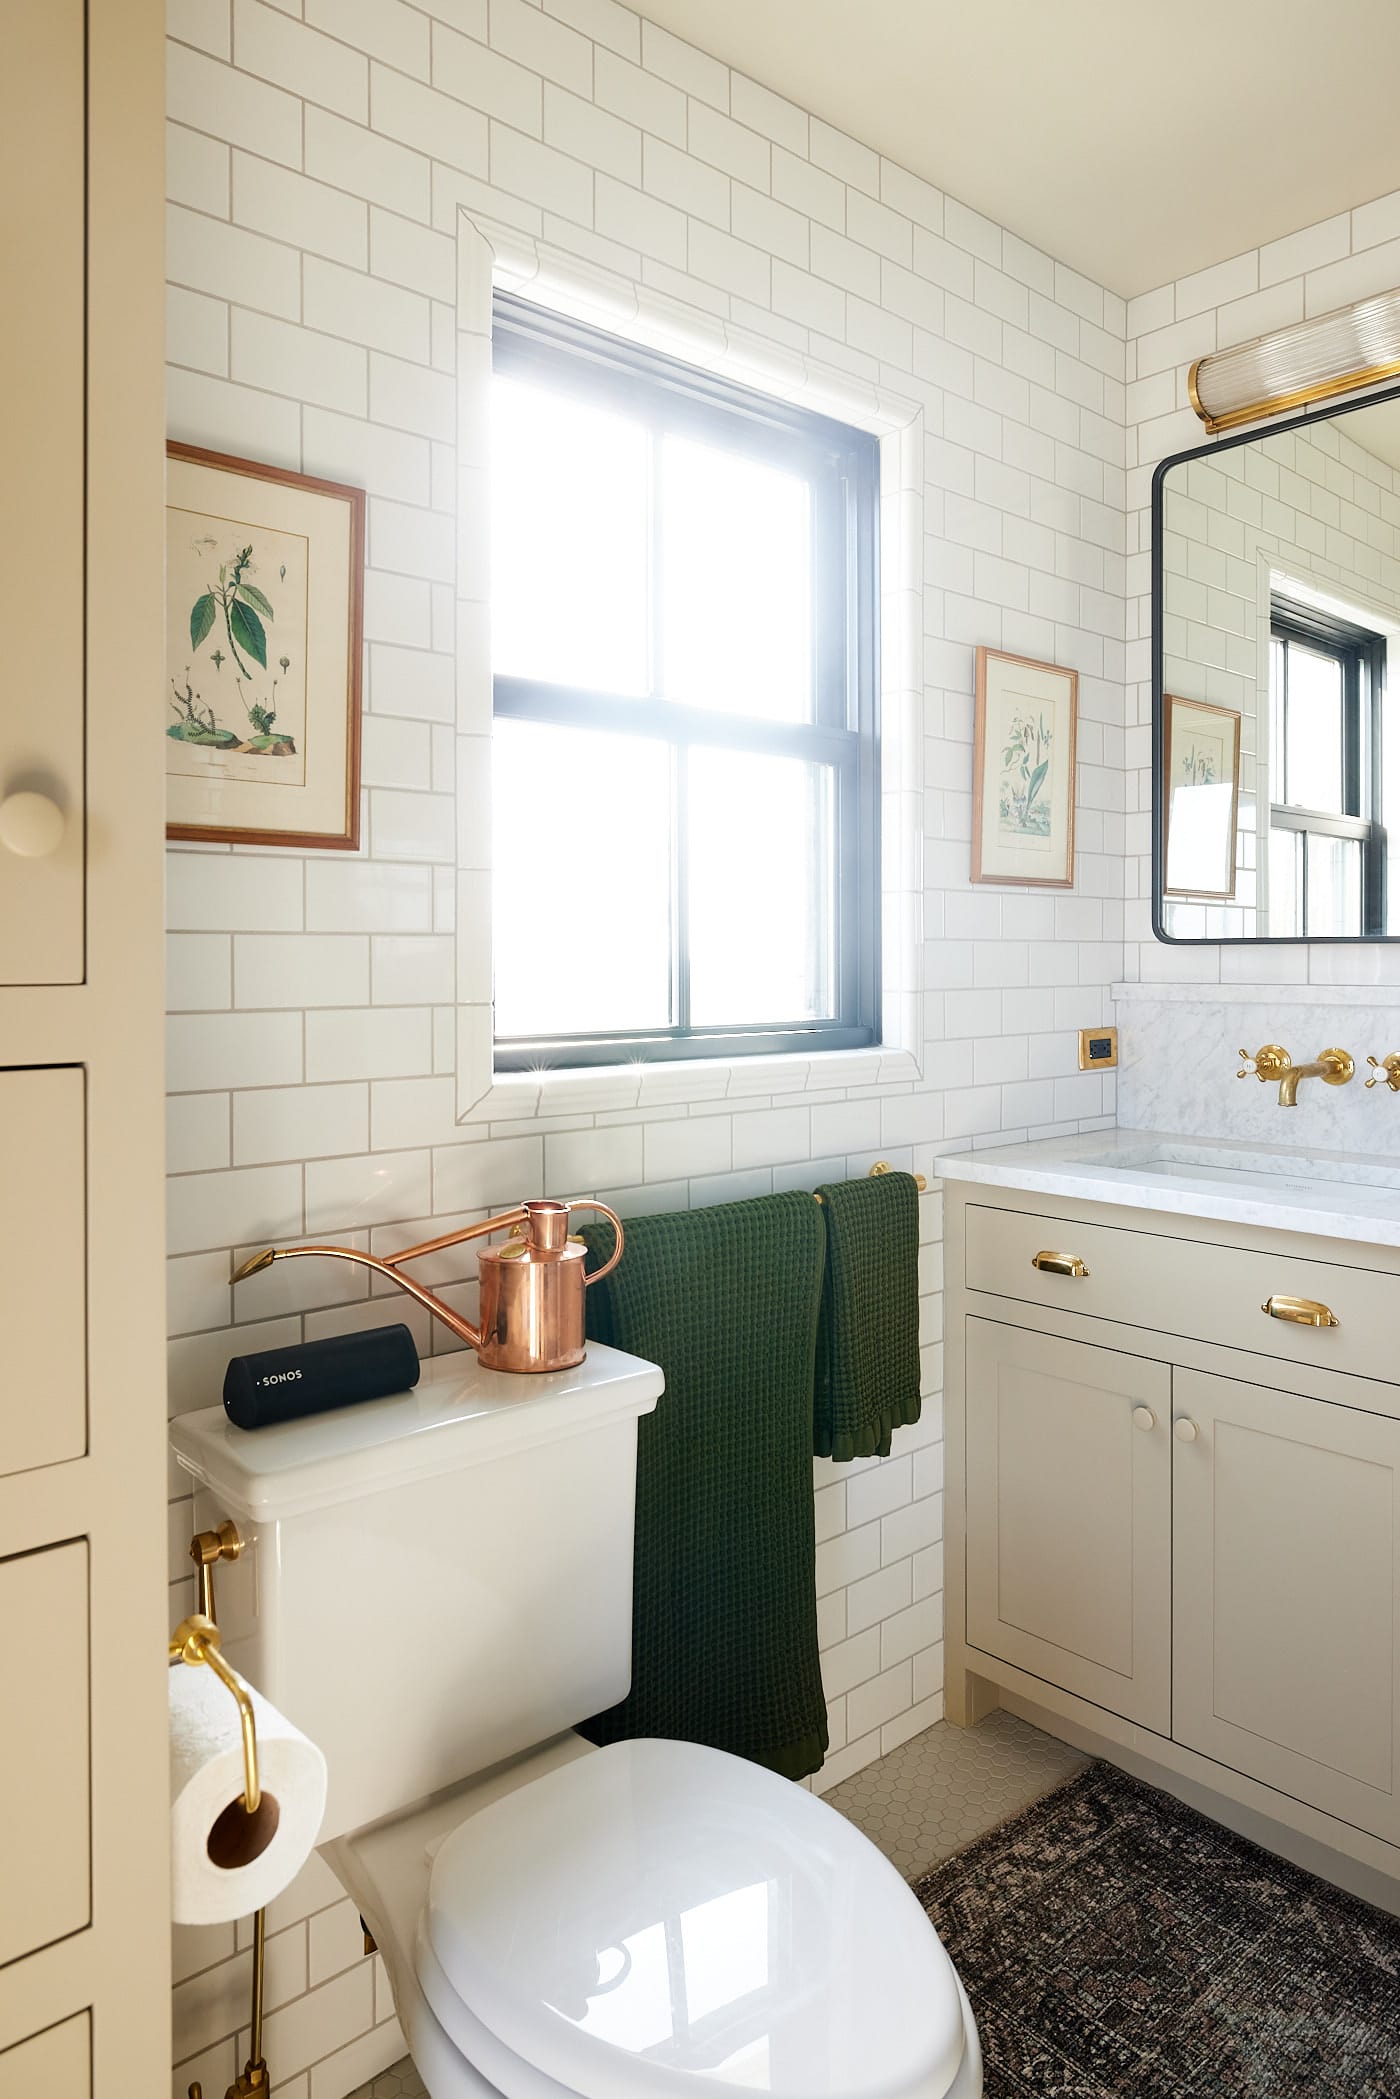
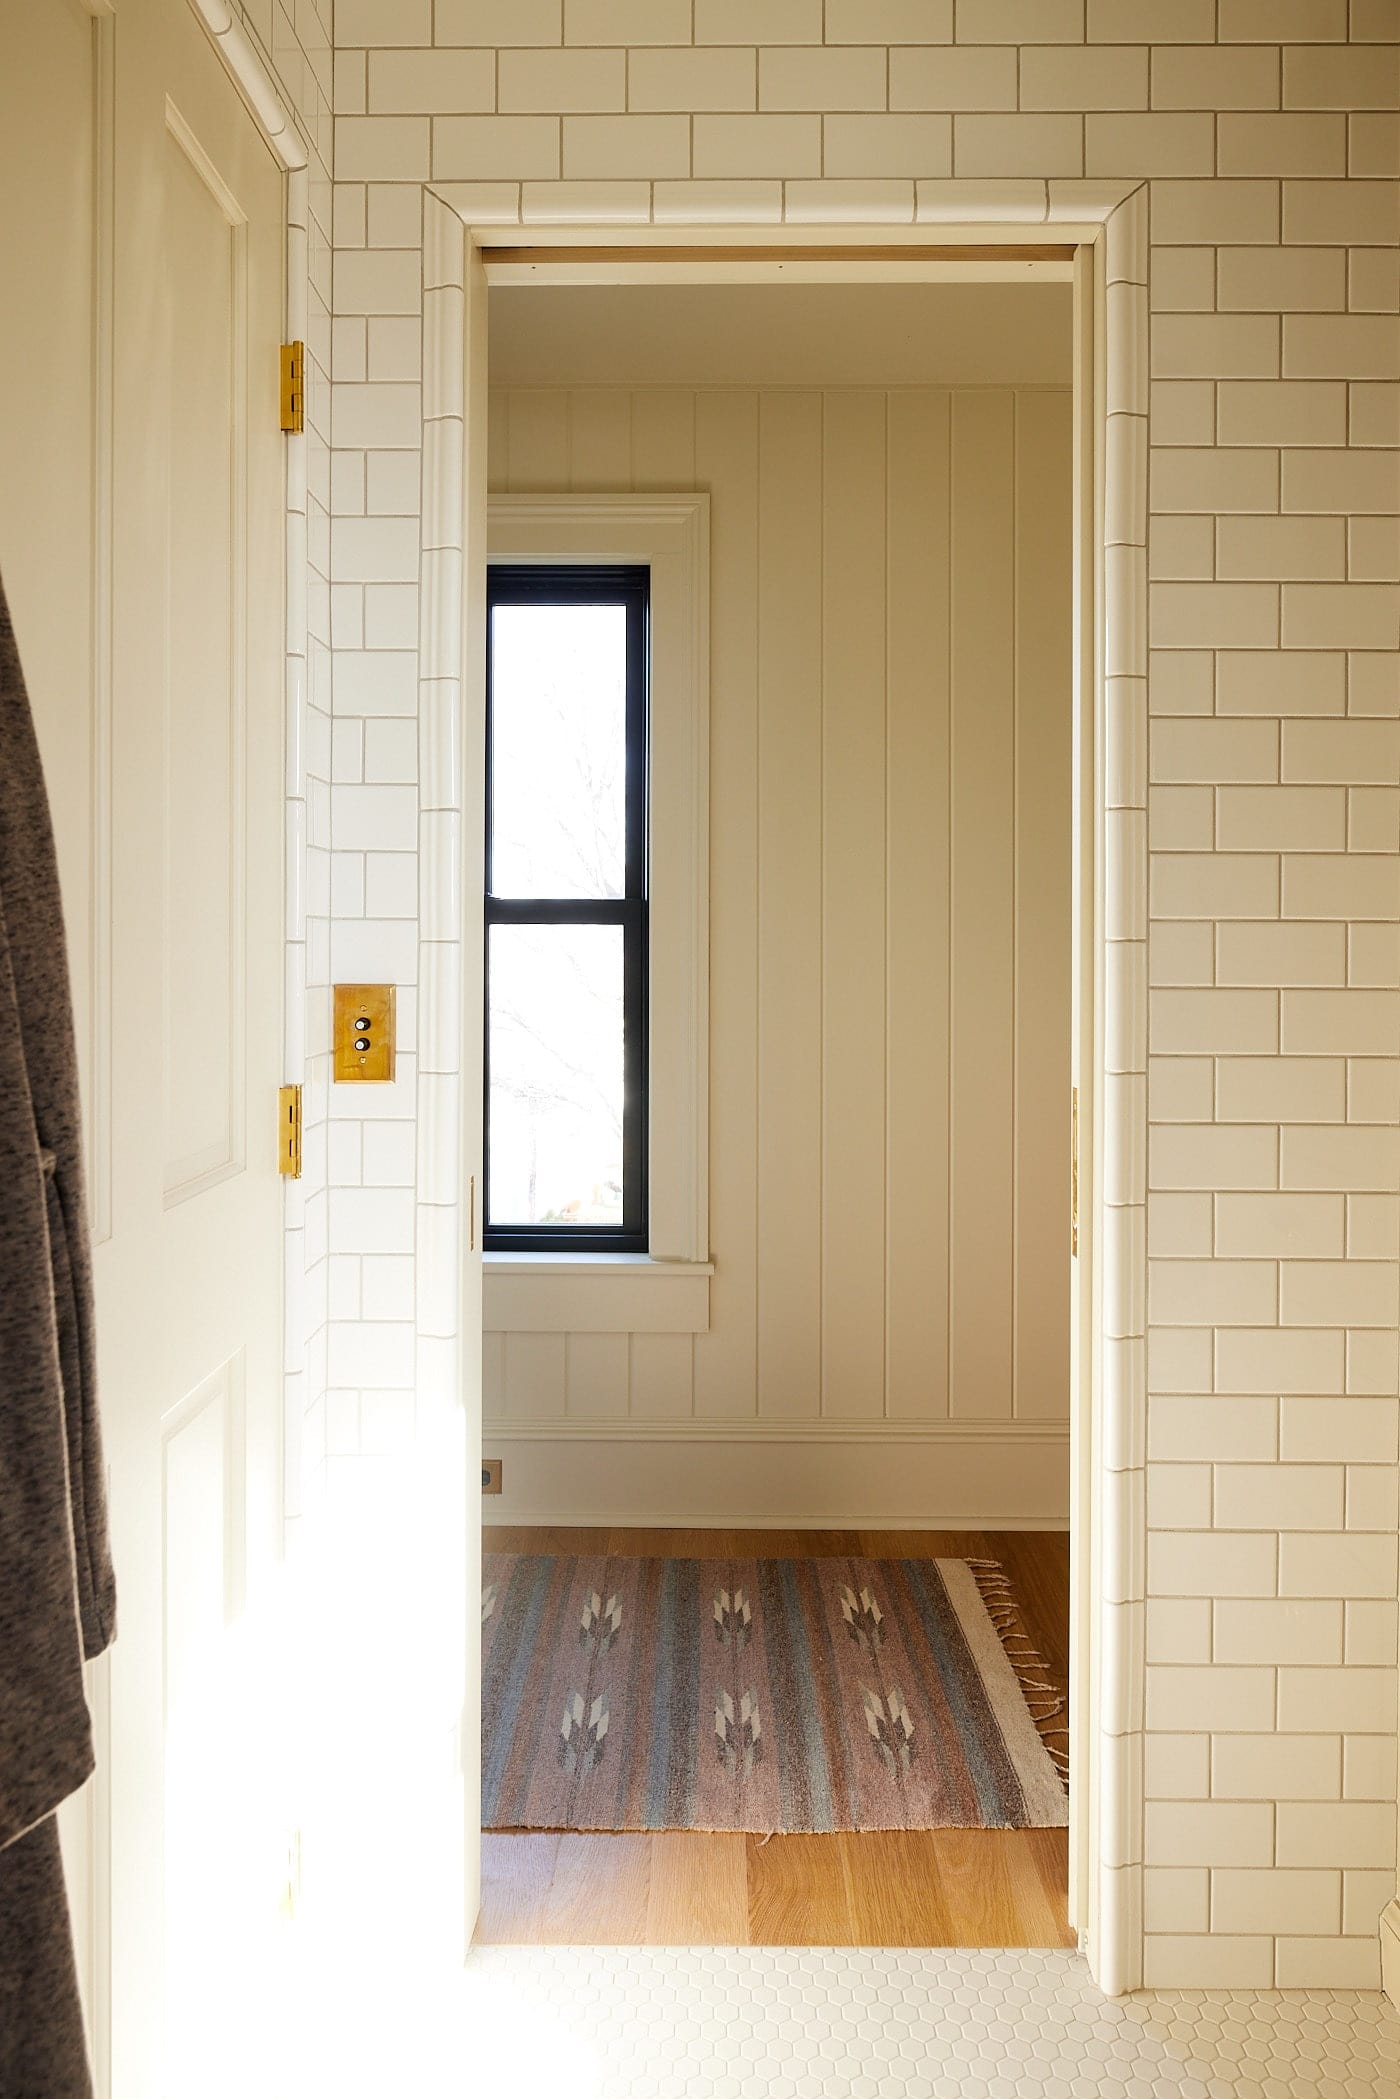
Simple subway tile is on the walls, with a tile that acts as a molding detail around the window and doorways.
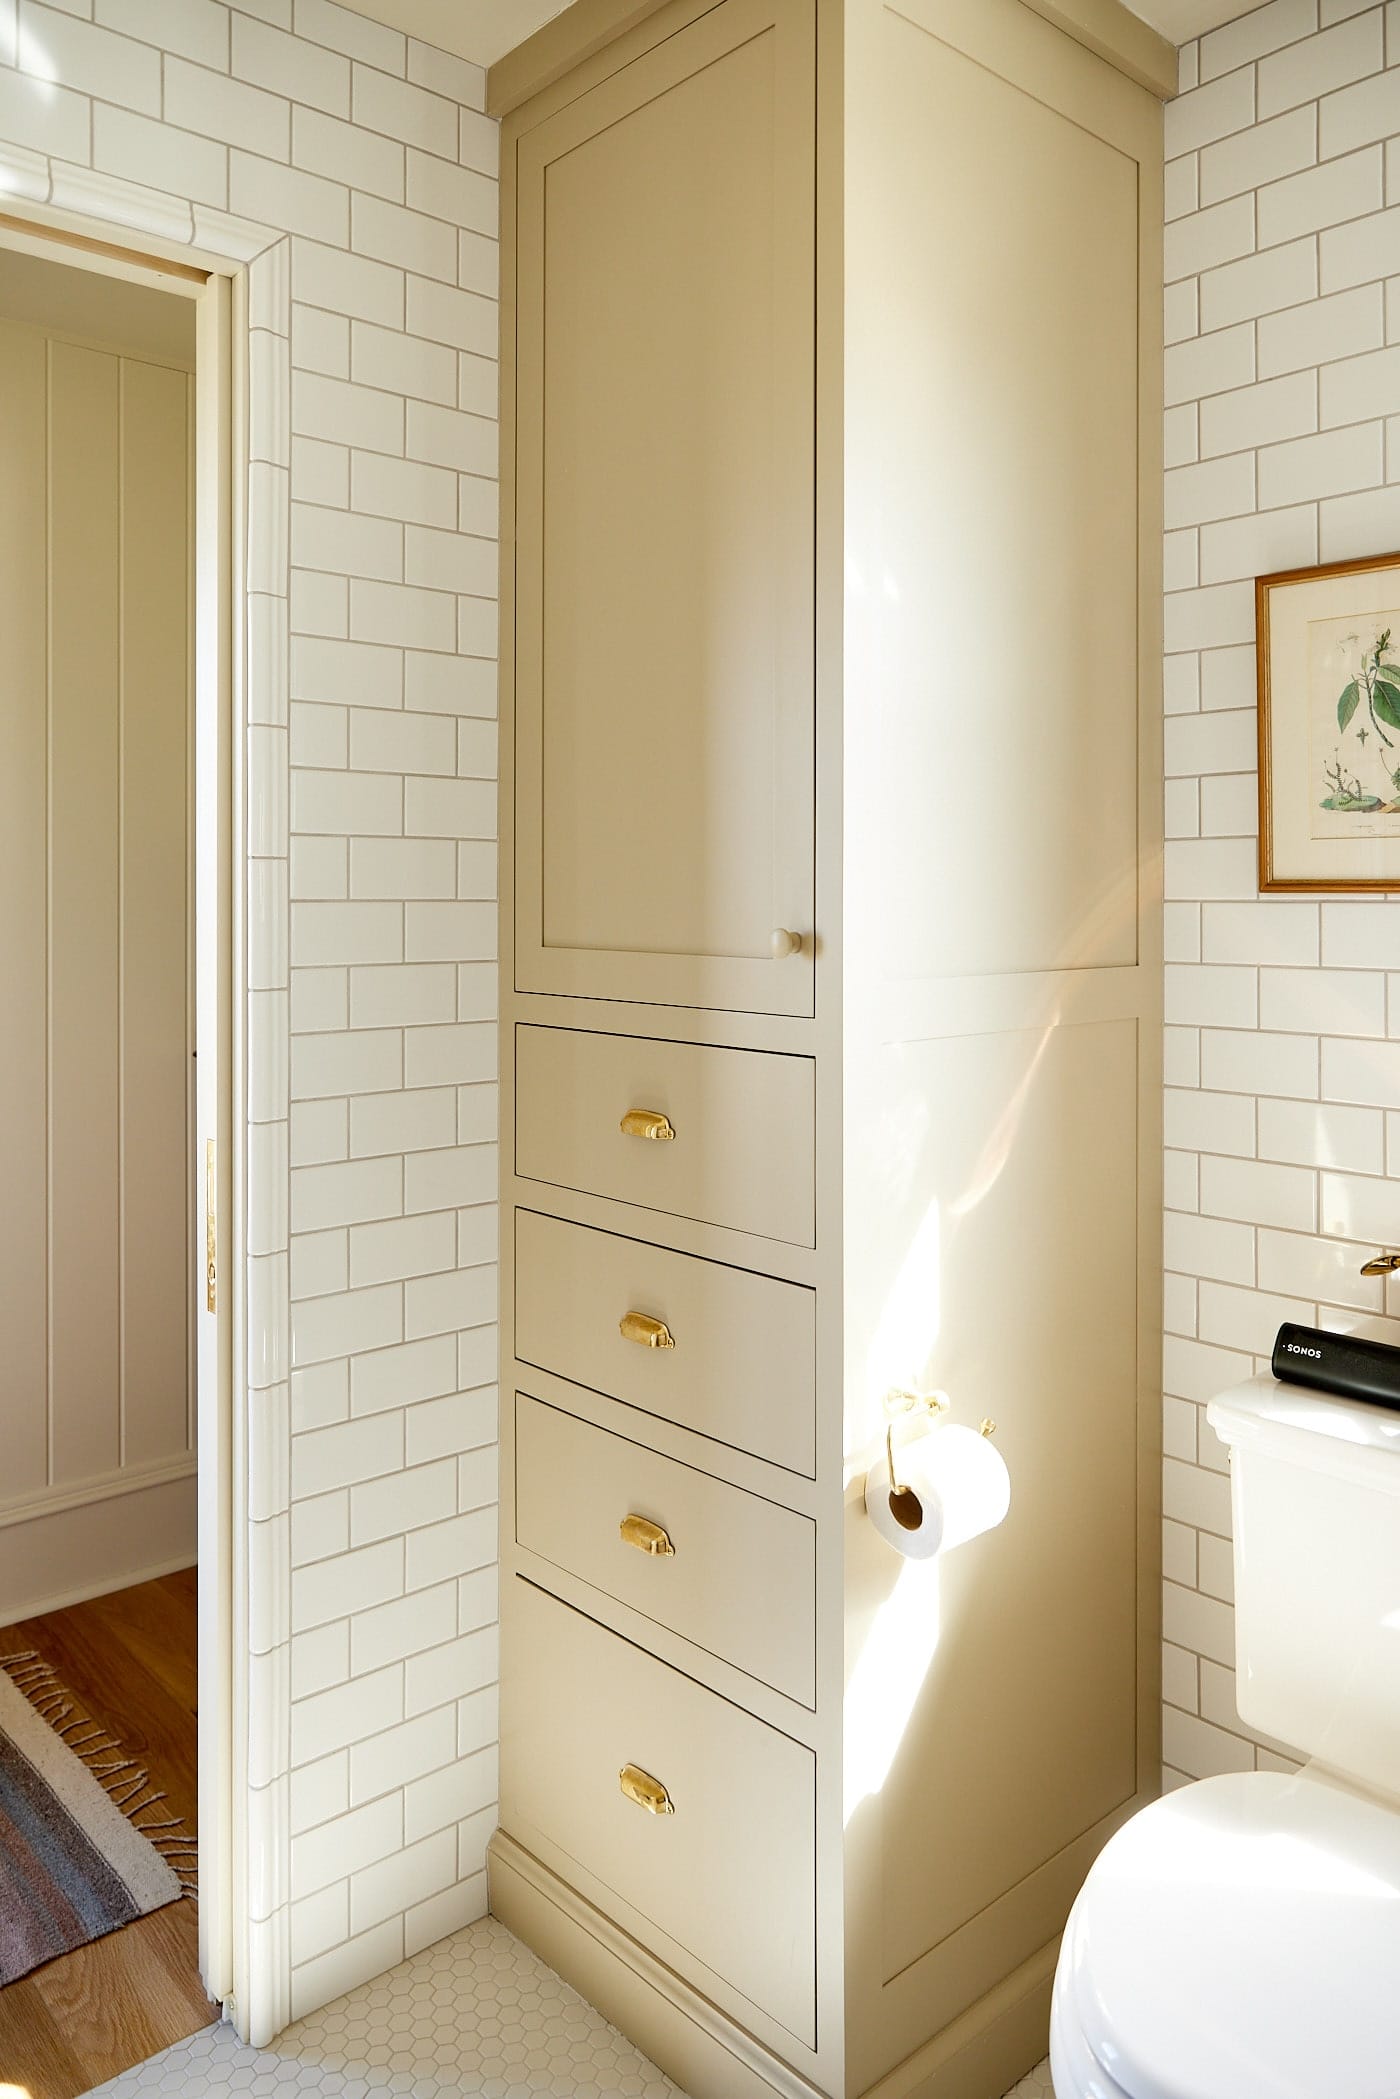
There was room to fit a cabinet beside the toilet, so it was hidden slightly and didn’t feel like it was floating.
Overall, I don’t need a large bathroom. Just one that makes me smile when I walk in.
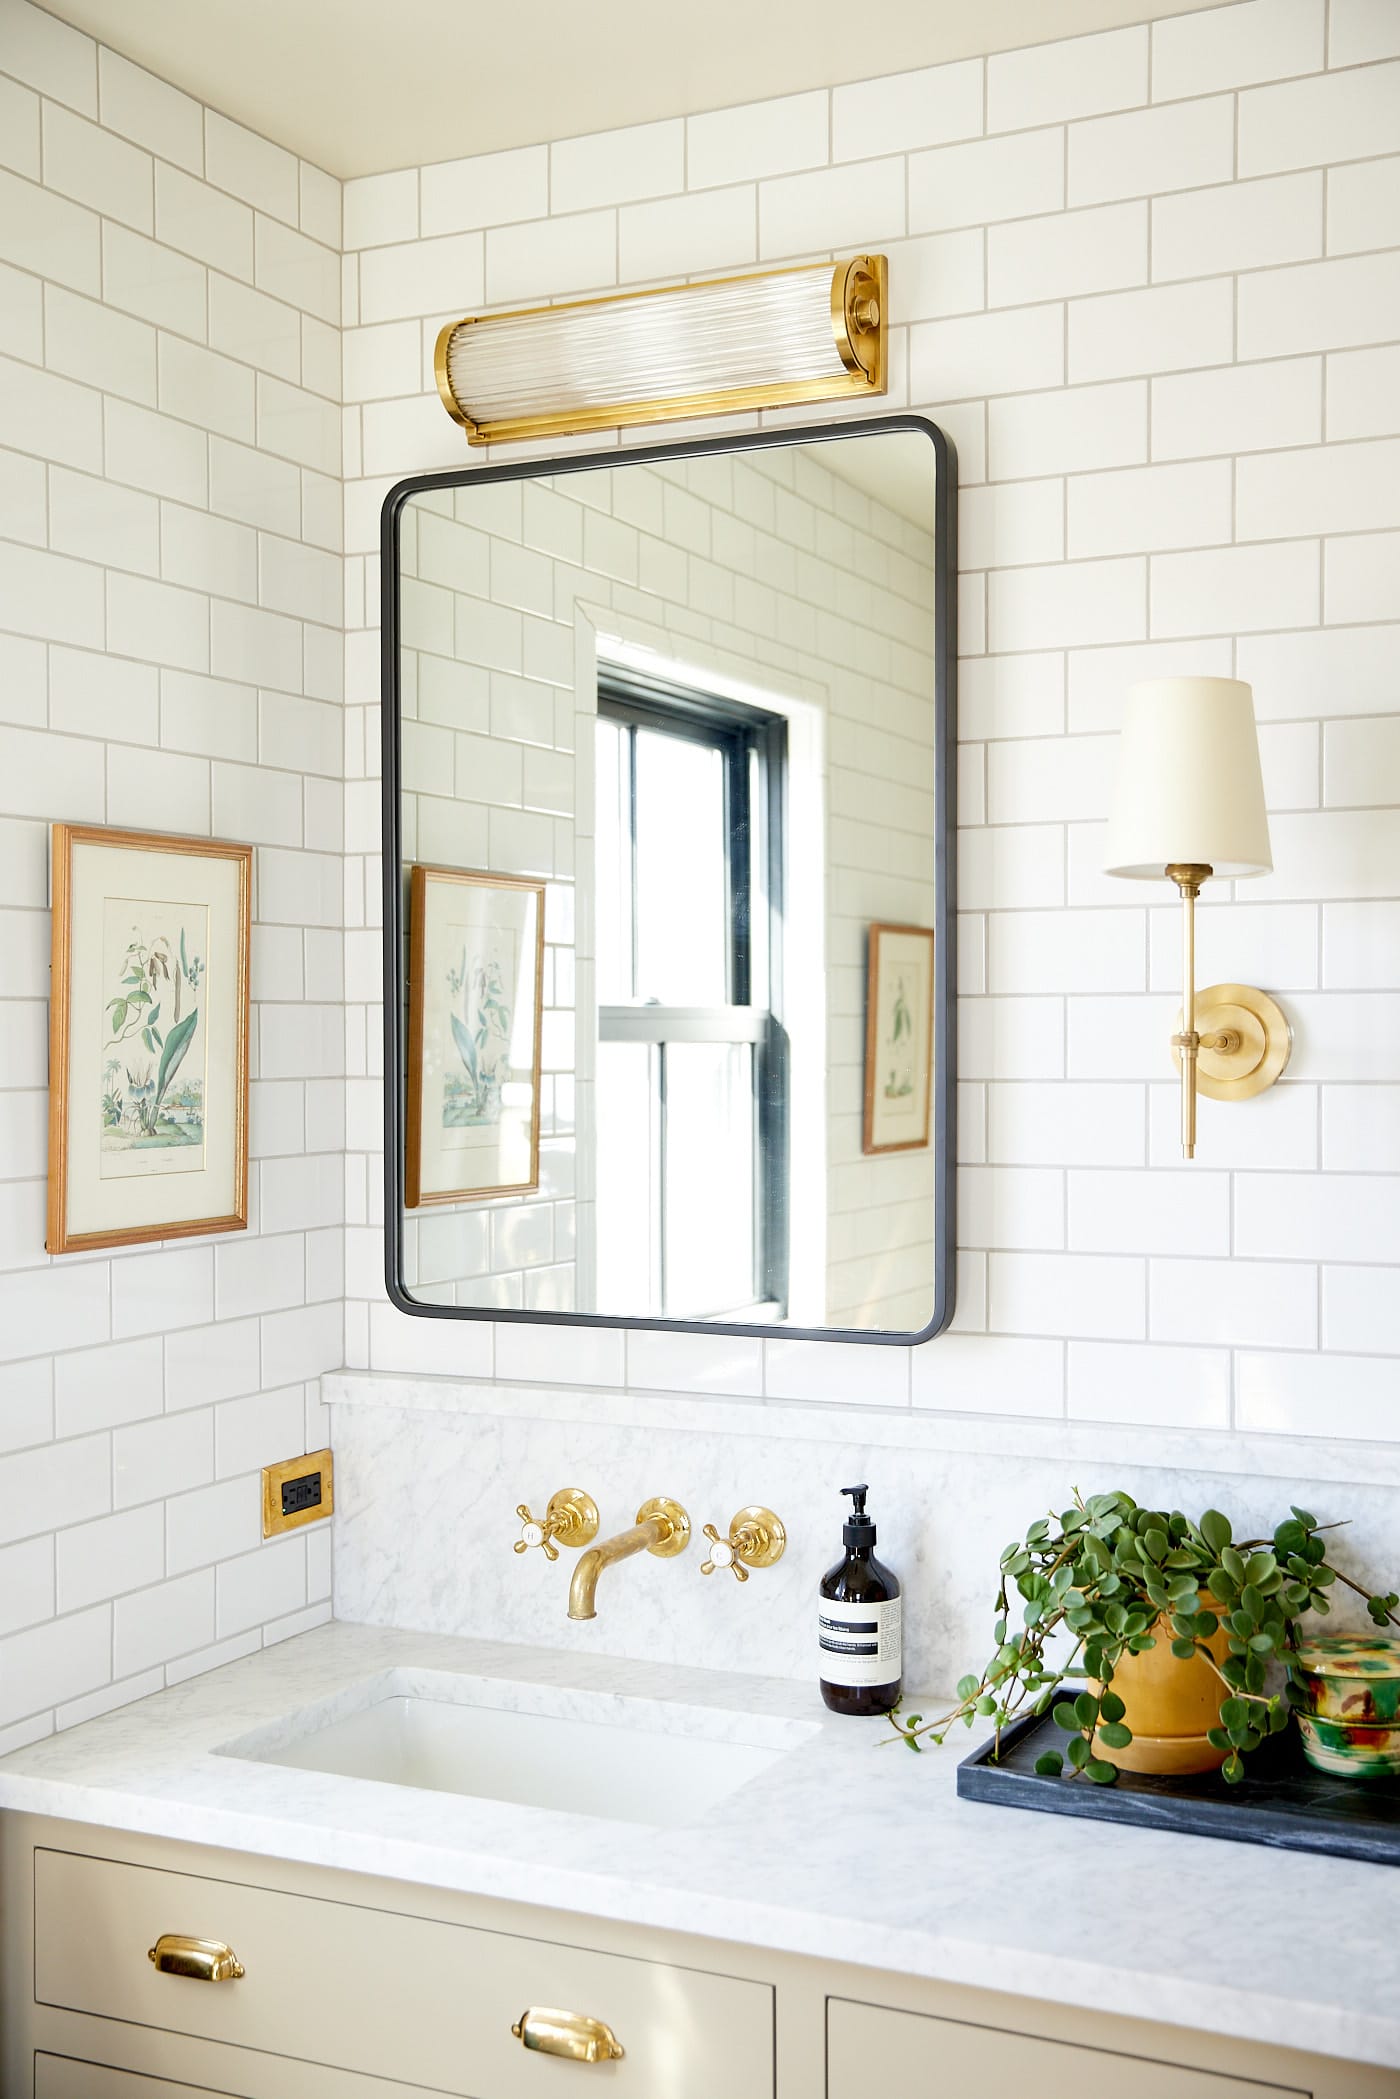
Bathroom Sources
- Cabinet color – Universal Khaki by Sherwin-Williams | SW 6150
- Cabinet pulls – 3 3/4″ Classic Cast Brass Cup Pull by House of Antique Hardware | Finish: Un-Lacquered Brass
- Cabinet knobs – Wood knobs painted Universal Khaki by Sherwin-Williams | SW 6150
- Countertop – Carrara marble
- Rug – MOG-01 AL Sunset/Ink by Amber Lewis x Loloi | Size: 2′ x 5′
- Door color – Wool Skein at 50% strength by Sherwin-Williams | SW 6148
- Wall tile – Half Tile by OriginalStyle | Collection: Artworks | Color: Brilliant White
- Molding tile – Albert Moulding by OriginalStyle | Collection: Artworks | Color: Brilliant White
- Floor tile – 1″ Hexagon Mosaic by Jeffrey Court | Color: Mountain Fog | Sheen: Matte
- Over-mirror lights – Thomas O’Brien Dresser Long Glass Rod Light by Visual Comfort & Co. | Finish: Hand-Rubbed Antique Brass
- Sconce between mirrors – Thomas O’Brien Bryant Sconce by Visual Comfort & Co. | Finish: Hand-Rubbed Antique Brass
Whether you love old farmhouses as much as I do or you have an old home in your family, I hope this renovation inspired you with some old house love! Let me know in the comments your favorite part, what you think of the paint colors and wallpaper, and whether you have renovated your own home!
Construction Team
- Construction – Ramsey Creek | Kalona, IA
- HVAC and Plumbing – Kuenster Plumbing, Heating & Air | Kalona, IA
- Electrical – Coleman Electric | Mount Pleasant, IA
- Tile & Carpet – Sobaski Abbey Carpet & Floor | Iowa City, IA



Kaleb – I’d love to know where you got the robe you displayed in the bathroom.
Hi Kaleb,
I love your renovation! I was wondering where you purchased the ceiling light in your upstairs hallway. I believe it is the same light fixture that you have in your entryway downstairs. They are lovely and would look great in my home.
Thanks for all the inspiration.
Annette
Where may I order the solid white oak flooring. The stores near me have deep ridges and dark spots. Thank you
Love your renovation!
I am starting a similar reno on an 1850’s farm house. Could you go into more detail regarding the hvac/heating system you installed?
Thank you,
Melissa S.
Thank you so much for sharing this renovation ..I have enjoyed it….I need to go back again and look I was wondering what you chose for the bathroom doors…and bedroom doors..what color they are ….I may have missed that …your area rugs look like they will be easy to clean clever how they extended under the desk chairs..i like the airy feeling …I like the cabinets all the way to the ceiling to be closets as well…alot of attention to detail….the bathroom walls I like ….the ceilings very interesting …your home is absolutely beautiful…
Beautiful home love the outside love the porch surrounded the hiyse
Wow!!! So fantastic. Thank you for sharing. One of the reasons I started following you was your decorating style. Since that time, I have come to enjoy so much more on your site. I love to cook so of course, I have tried quite a few of your recipes and have received so many compliments.
Gardening is another area in which I have grown to love as a result of your site. I always found it intimidating and overwhelmingly but you take the time to break down the process in easy, manageable tasks and I now feel so much more comfortable as a result.
Your site is the first thing I watch in the morning and love every minute of it. Take care.
Hello, your home is absolutely beautiful and the renovation reveal shows that attention to detail yields superb results! If possible, could you share the details on your recessed lights and let us know if you are happy with them? They are so subtle. I love the look!
I love everything about you, your gorgeous home, and the content you create! Thanks a lot for sharing and for the daily inspiration 🫶🏼
A beautiful upgrade to your home & workspace.
Caleb:
I believe you hit this renovation out of the park. You retained the authenticity and character of the home yet brought it into the present with your special touches. It is functional and beautiful. It makes me smile! Job well done!
I enjoy your monthly newsletter and frequent internet receipt’s and gardening tips. I wish you the best in life.
Absolutely beautiful!!! You nailed this farm house renovation like no other! Please share who did your custom cabinets? Perfect solution for storage as well as space issues.
I love both of the renovation highlights! They are beautifully done! Thanks for sharing the details!