
This post may contain affiliate links. If you make a purchase through links on our site, we may earn a commission. Please read our disclosure policy.

Why I Love This Cherry Pie
Growing up, we had a cherry tree that produced so many cherries that it felt like a race to keep up. We’d spend hours as a family picking and pitting them, my mom using her thumbnail while I’d sit nearby with an old-fashioned hairpin, working each pit out one by one. What we didn’t bake into a pie right away got frozen for later, ready for cobbler, cherry jam, or another pie down the road.
This recipe focuses on cherries, making them the stars. The pie is chock-full of fruit since I always think it’s so pointless to eat a pie that’s mostly thickening. When baked, the juices become the natural filling!
Why you’ll want to make this cherry pie:
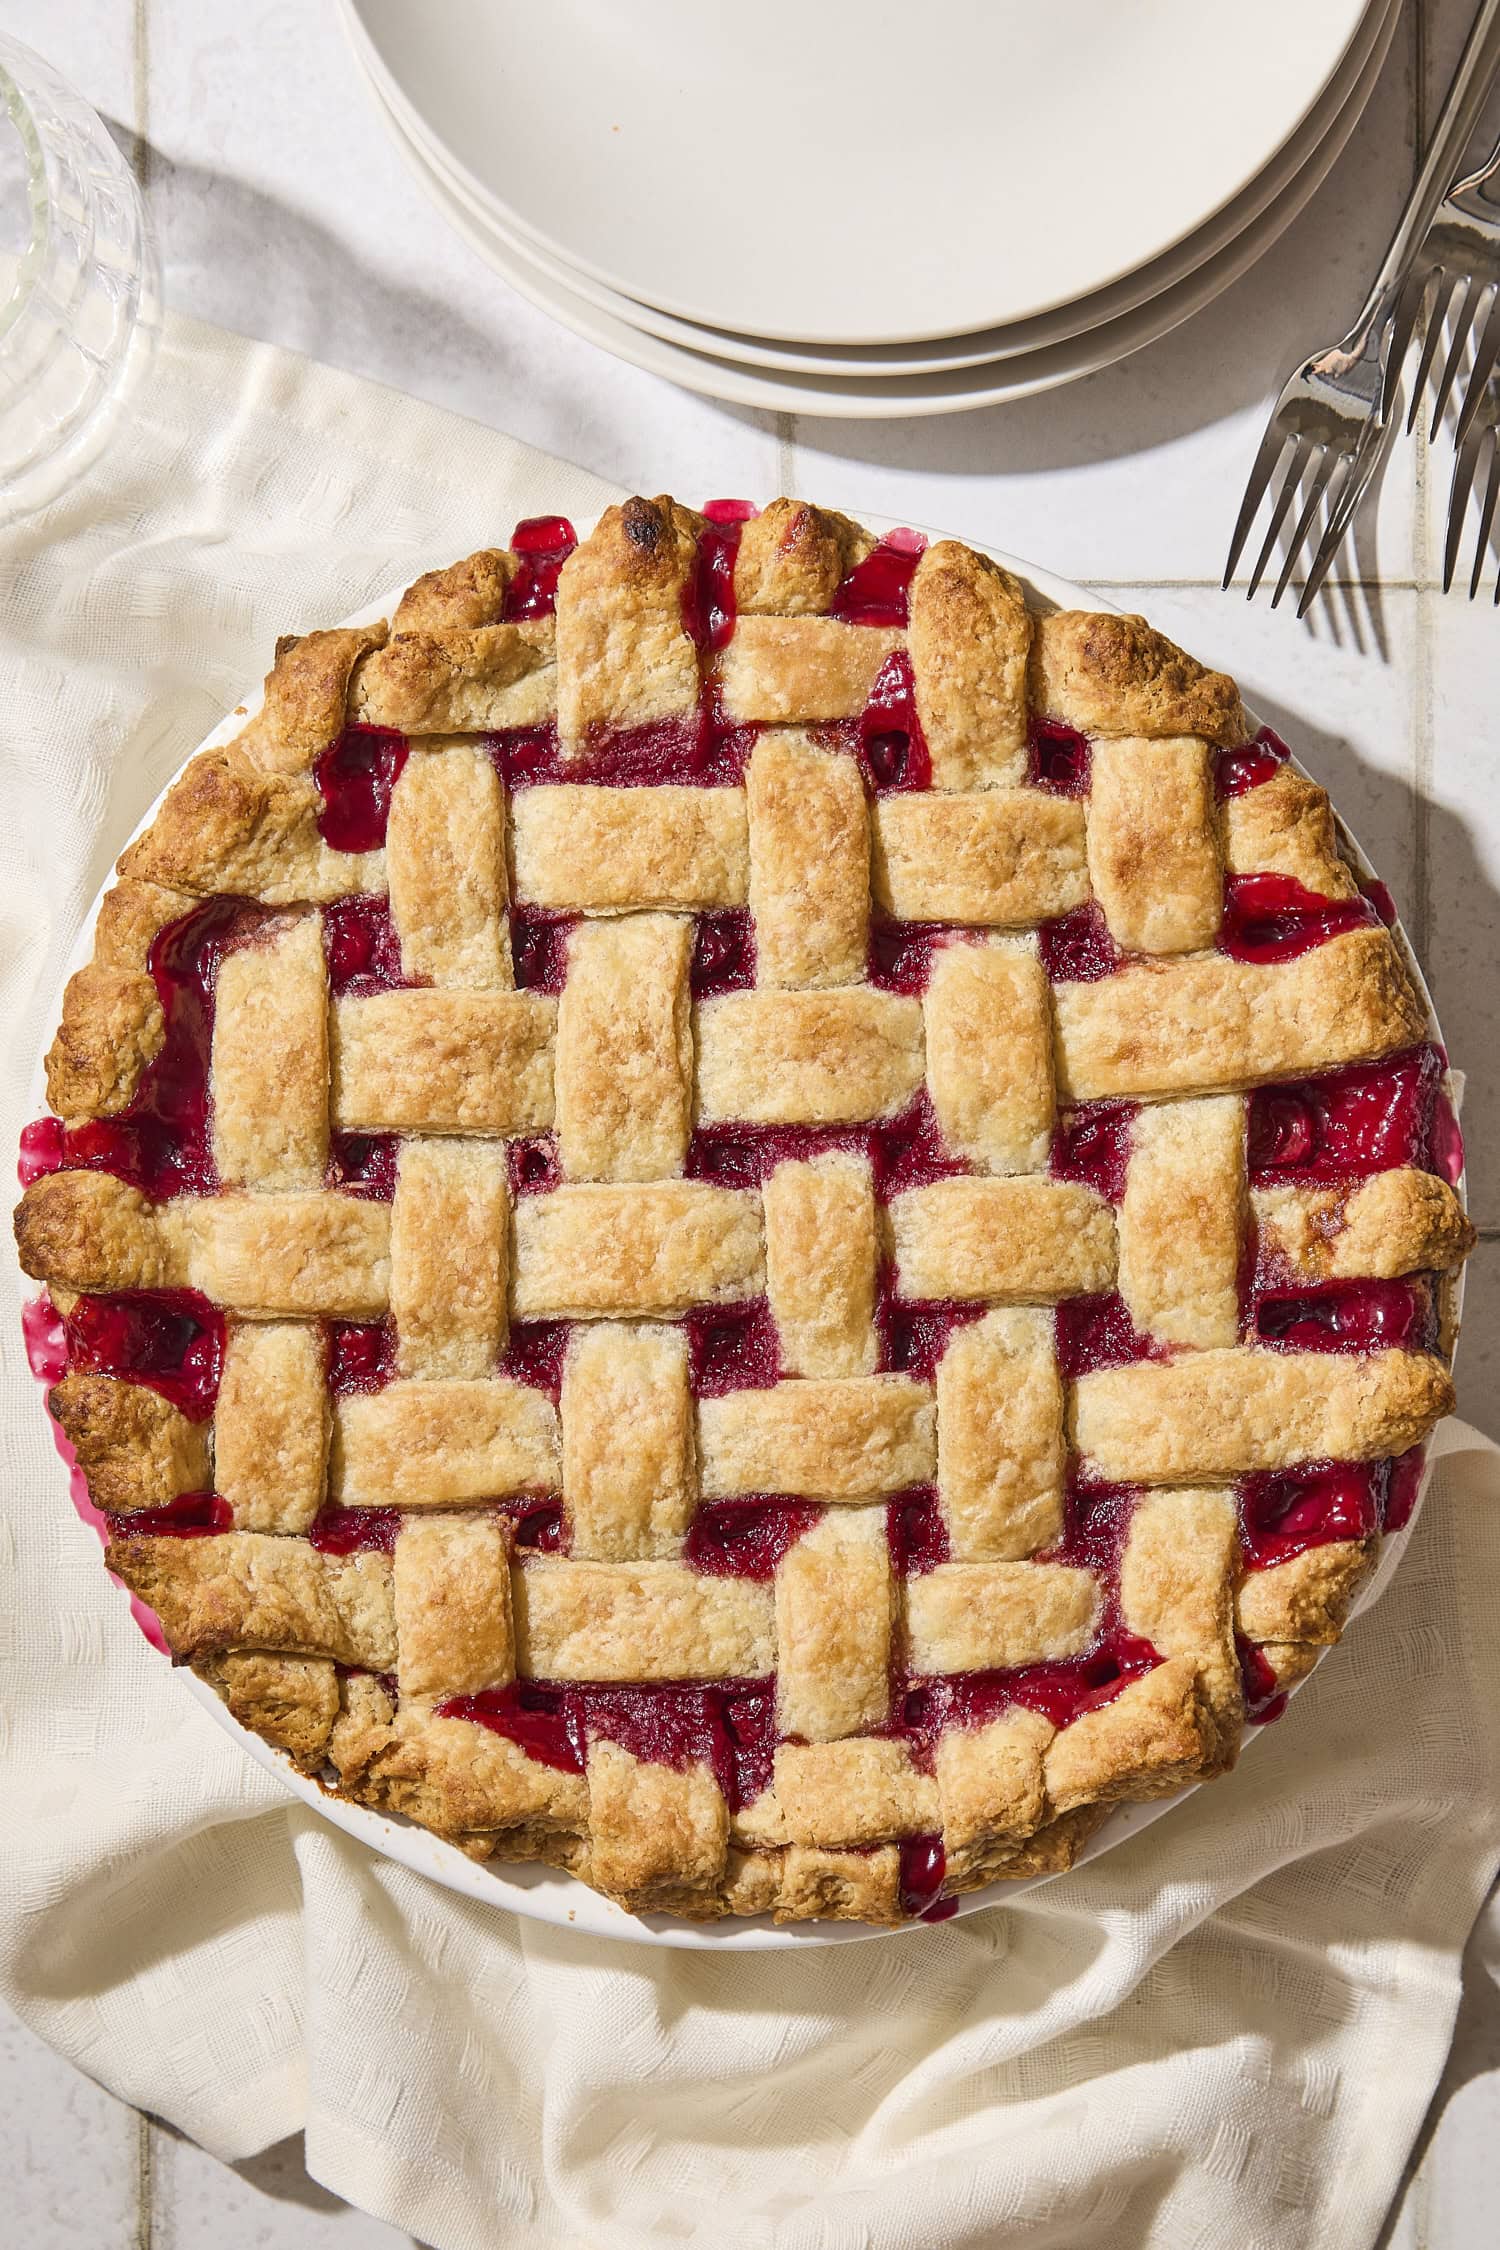
- Simple but impressive – This looks like a baker’s pie without the fuss.
- Focused on fruit – Lots of pure cherry flavor without excess thickened filling.
- Totally adaptable – You can use whatever toppings you like, whether it’s a lattice crust or a streusel.
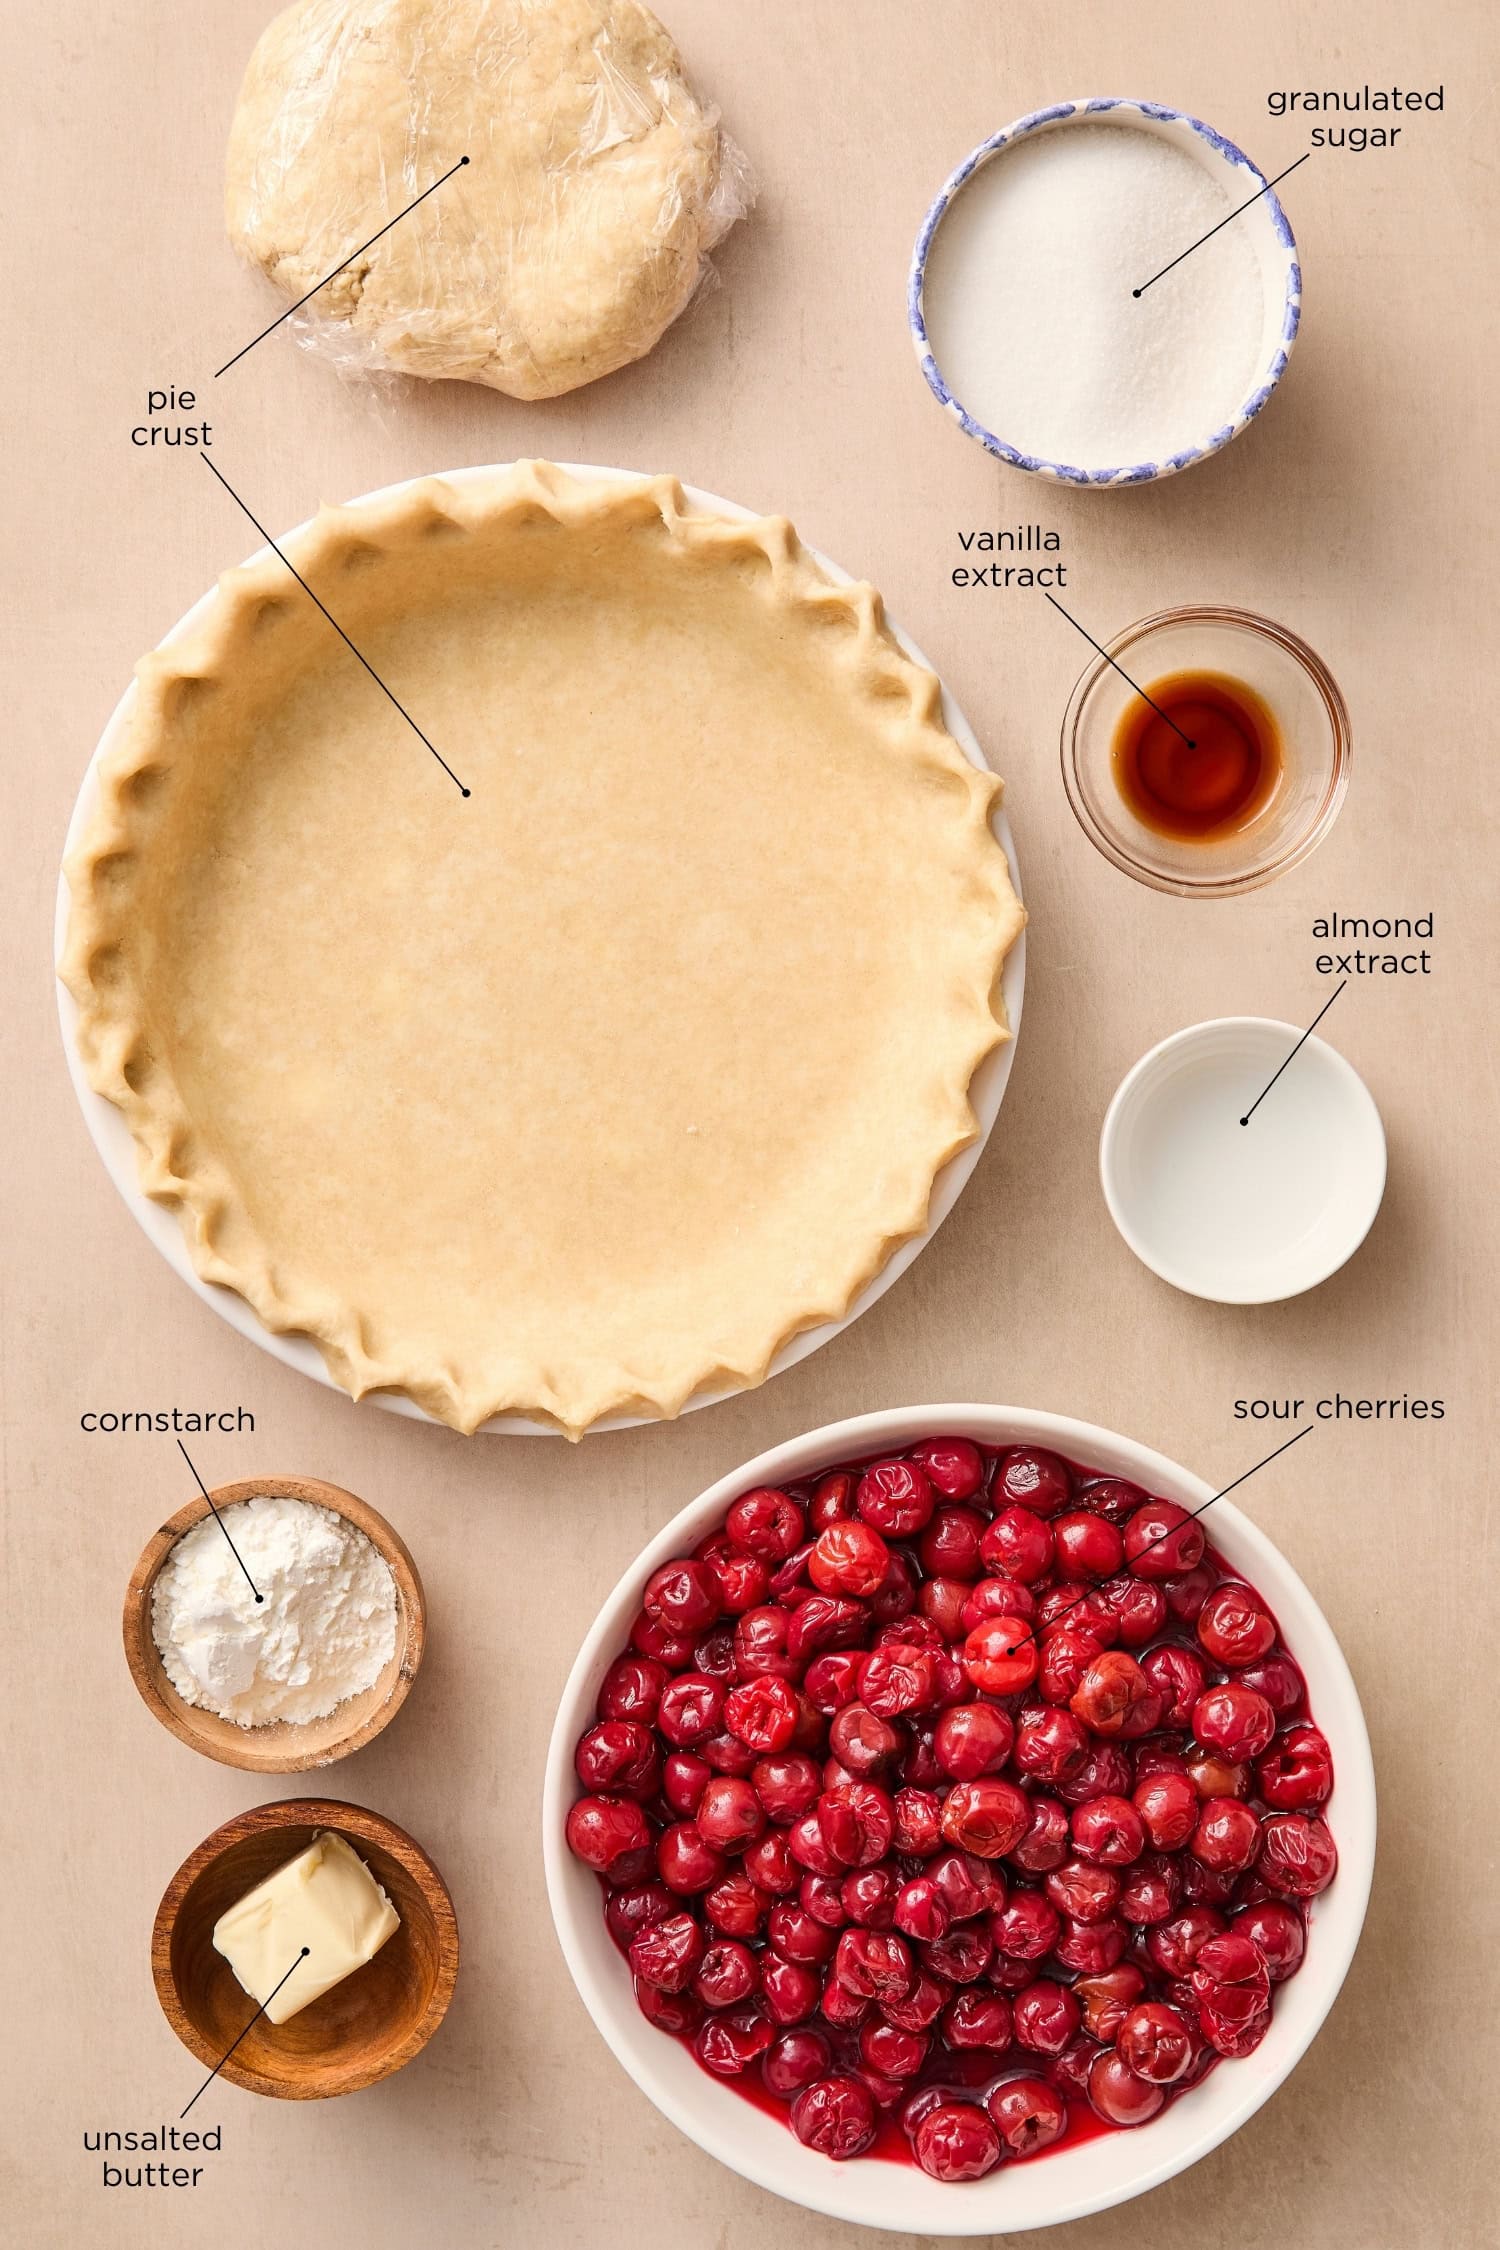
Cherry Pie Ingredients
This pie keeps things simple, allowing the cherries to shine. Here are some of the important ingredients:
- Sour cherries – Bright, tangy, and flavorful, these are the classic choice for a great cherry pie. You can use fresh pitted sour cherries when they’re in season or frozen.
- Granulated sugar – Balances the tartness of the cherries and is a necessity in any pie recipe.
- Cornstarch – Helps thicken the filling so it’s jammy and easy to slice.
- Almond extract – Just a bit amplifies the cherry flavor.
- Butter – Melts into the cherry filling as it bakes, adding richness.
- Pie dough – You’ll need two recipes for pie crust, one to use for the pie shell and one to make a lattice on top.
The full amount of each ingredient can be found in the recipe card below.
How to Make This Cherry Pie
Make the filling – In a bowl, combine cherries, sugar, cornstarch, vanilla extract, and almond extract.
Prepare the dough – Roll out both recipes of pie dough, placing one in the pie dish and, if a lattice crust is desired, cutting the other into 1-inch strips.
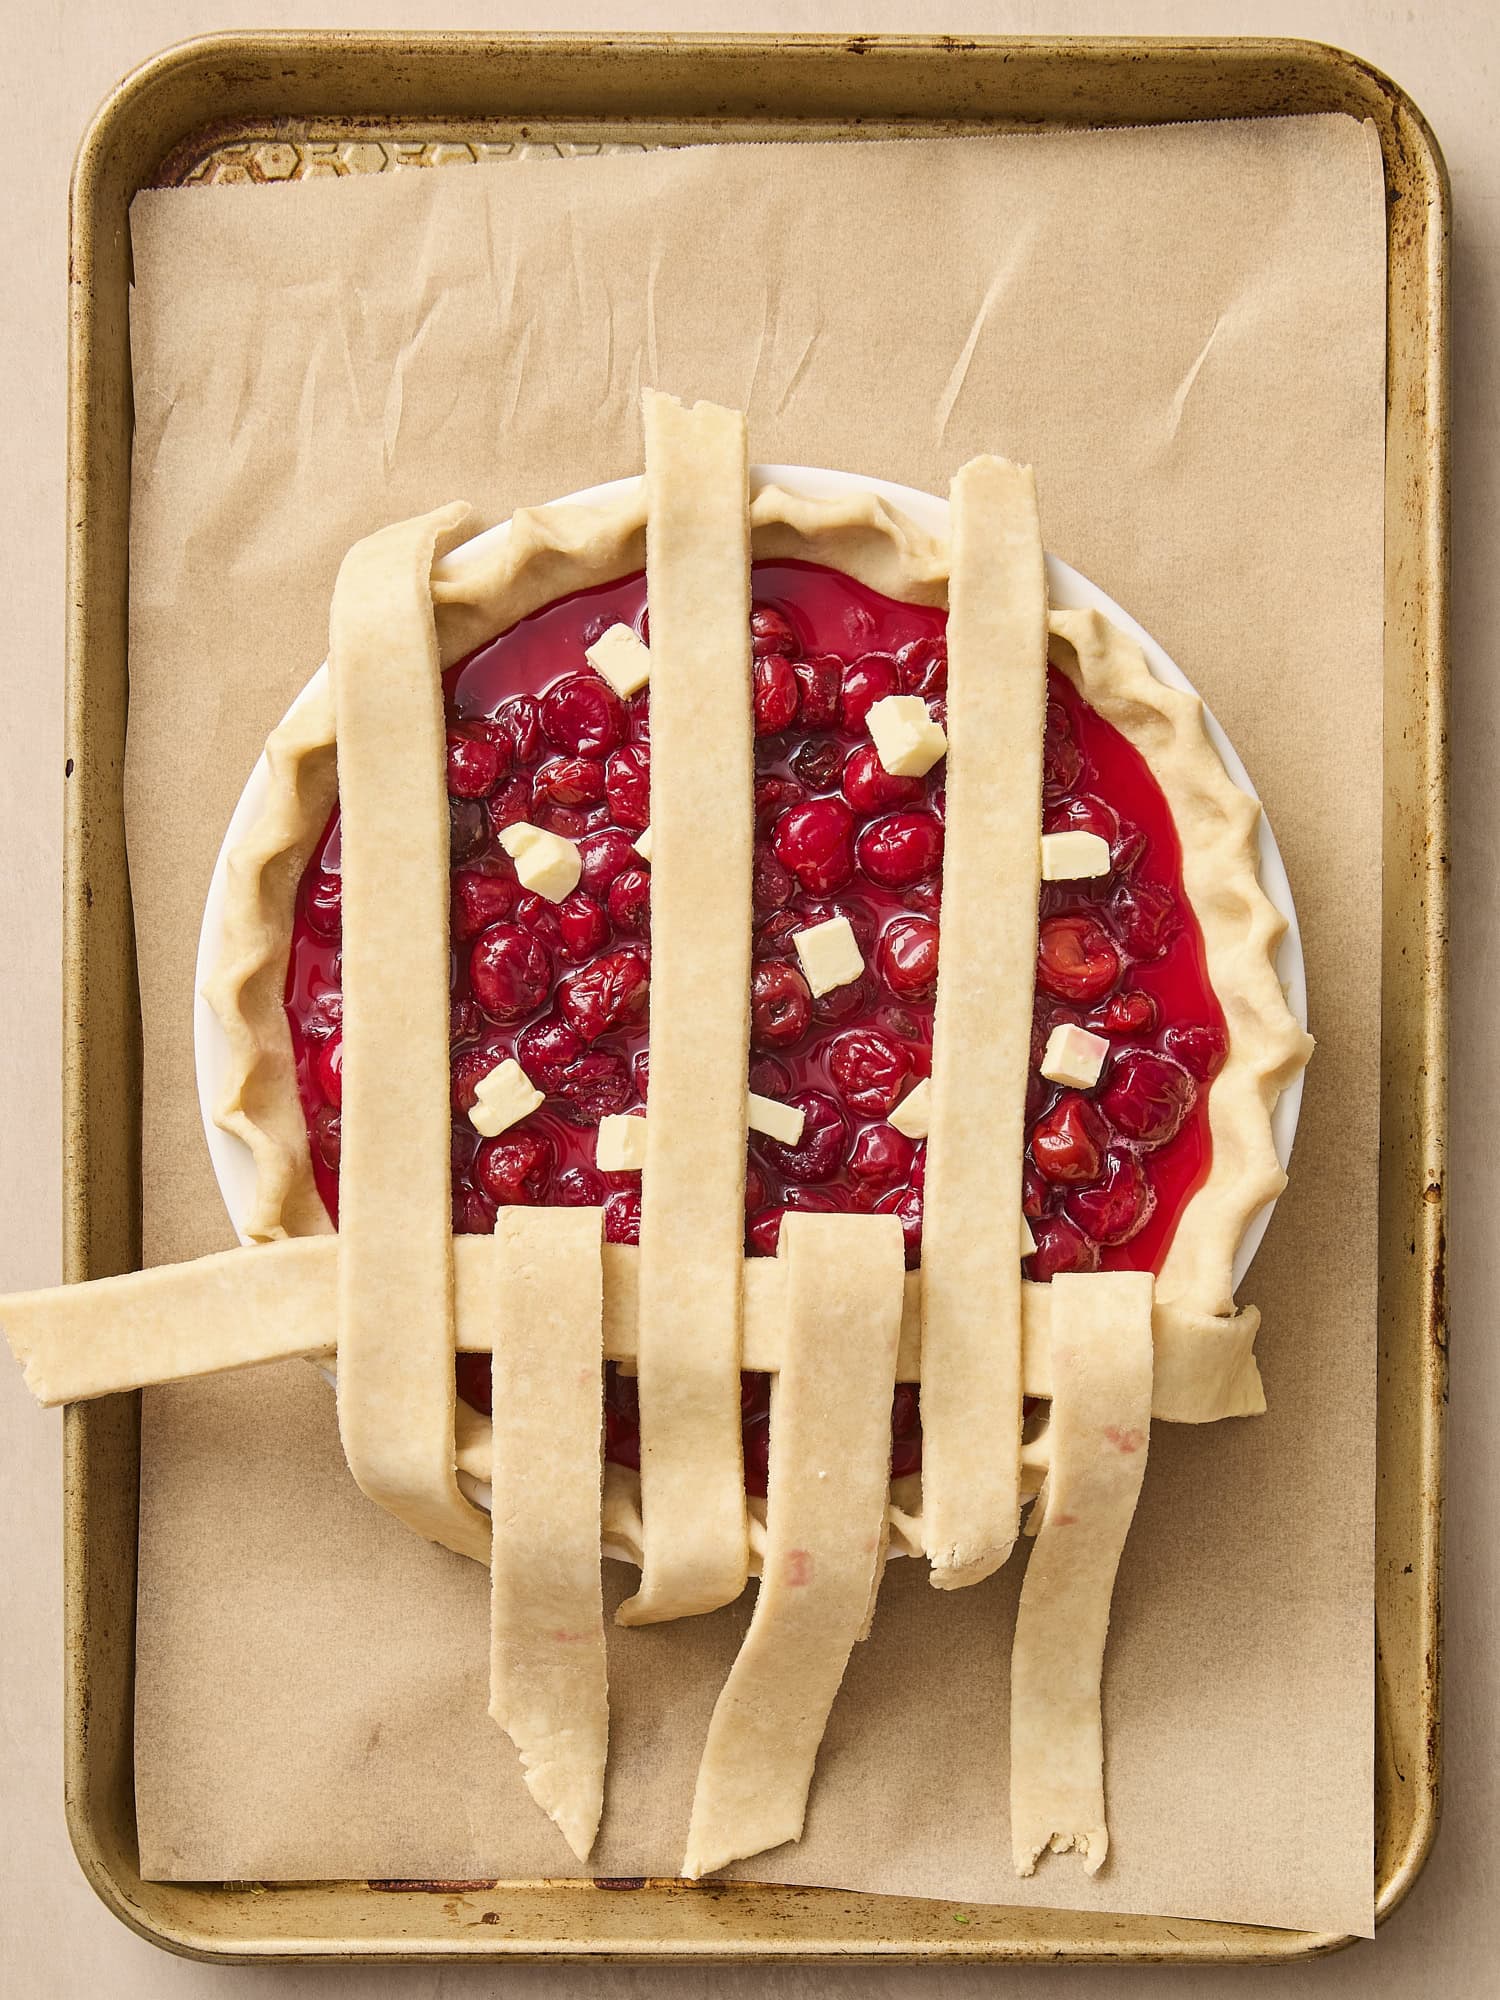
Assemble – Pour the cherry mixture into the prepared pie crust, then dot with the cold butter pieces.

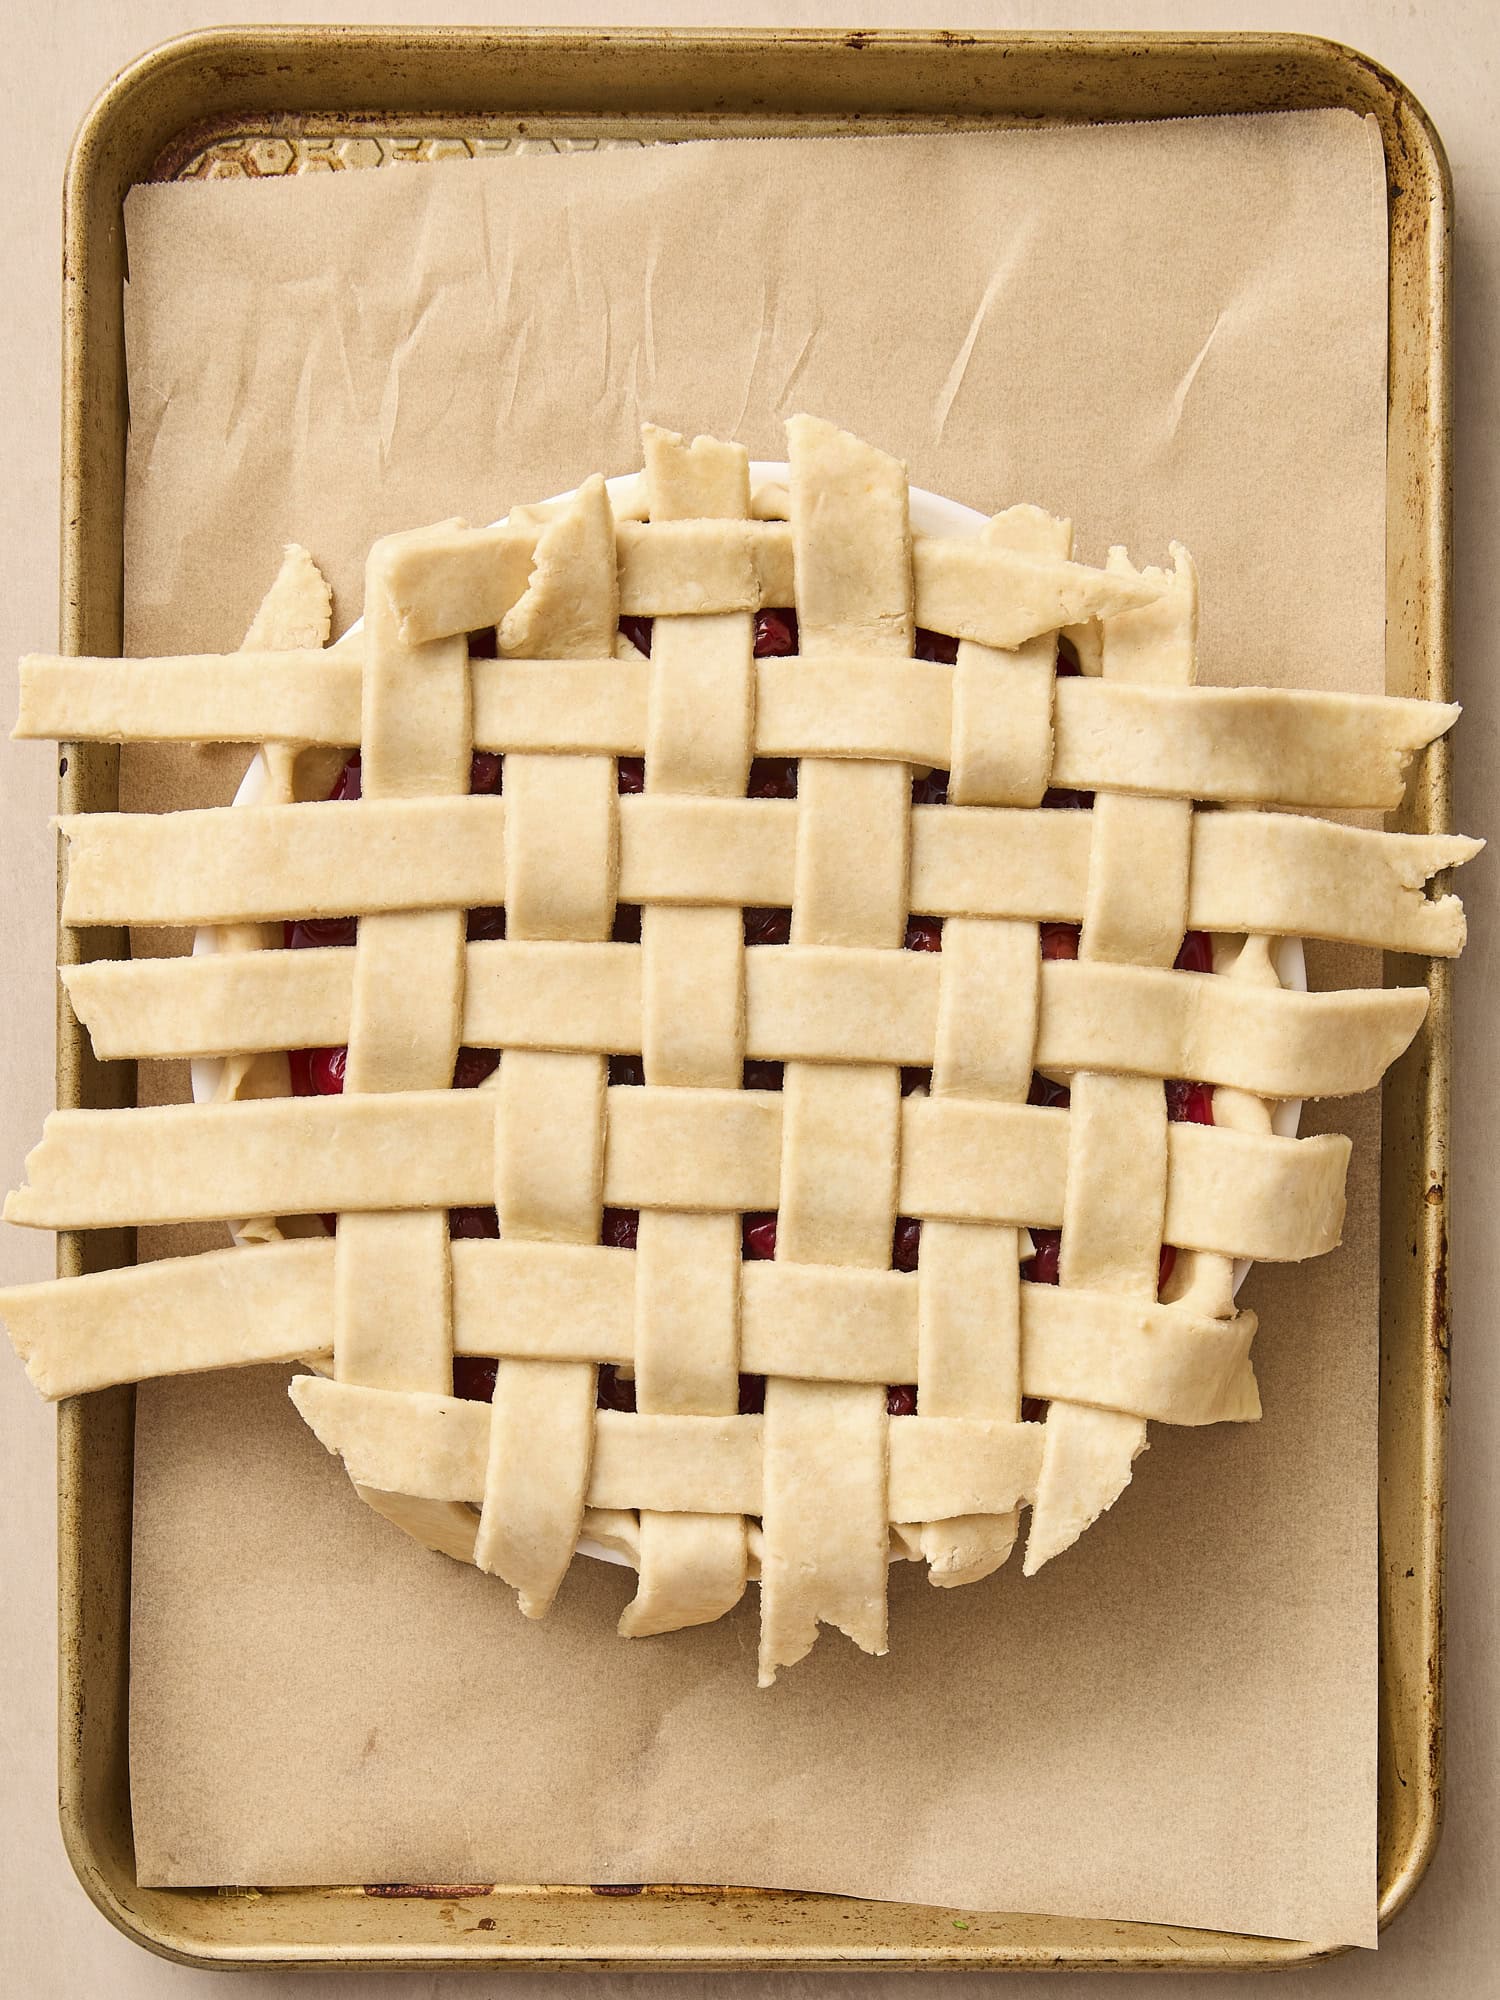
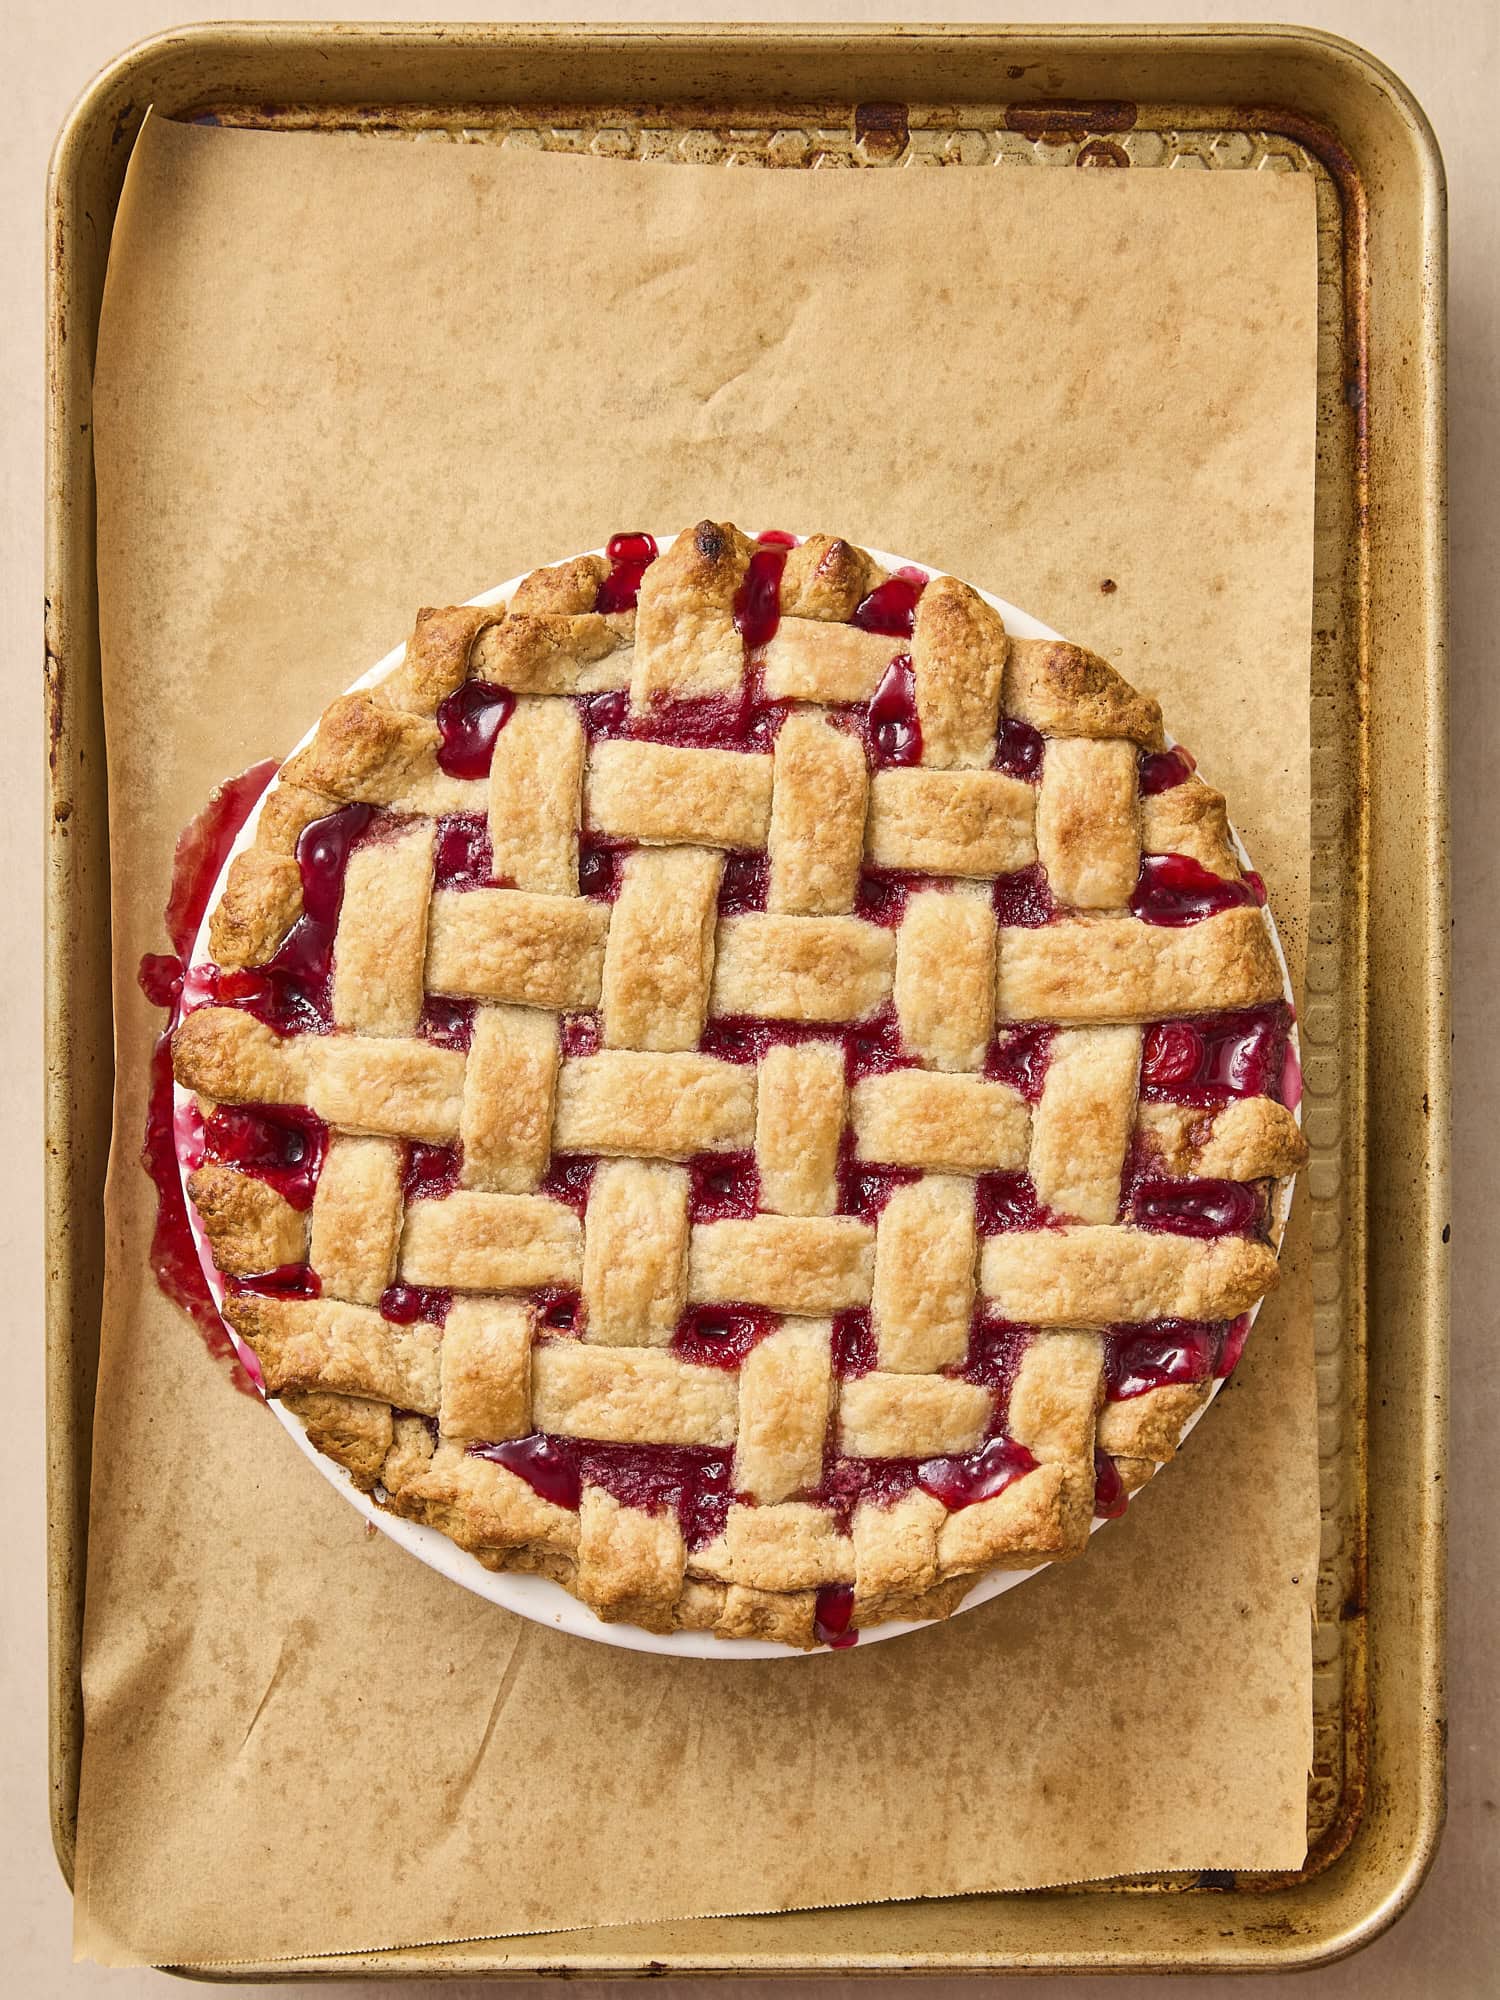
Add the topping – Add the second crust, making a lattice crust or a simple single top crust. If using a single top crust, make sure to cut vent holes to release any steam.
Bake the pie – Start in a preheated 400 °F oven for 30 minutes. Then reduce to 375 °F and continue baking for 1 to 1 ½ hours, or until bubbling and golden. If the crust browns too fast, tent with foil.
Cool thoroughly – before slicing to let the filling settle. Serve warm or room temperature.
Follow These Tips
Serving & Storage
Let it cool before slicing – The filling needs time to set, so make sure to cool for at least 2-3 hours for clean slices.
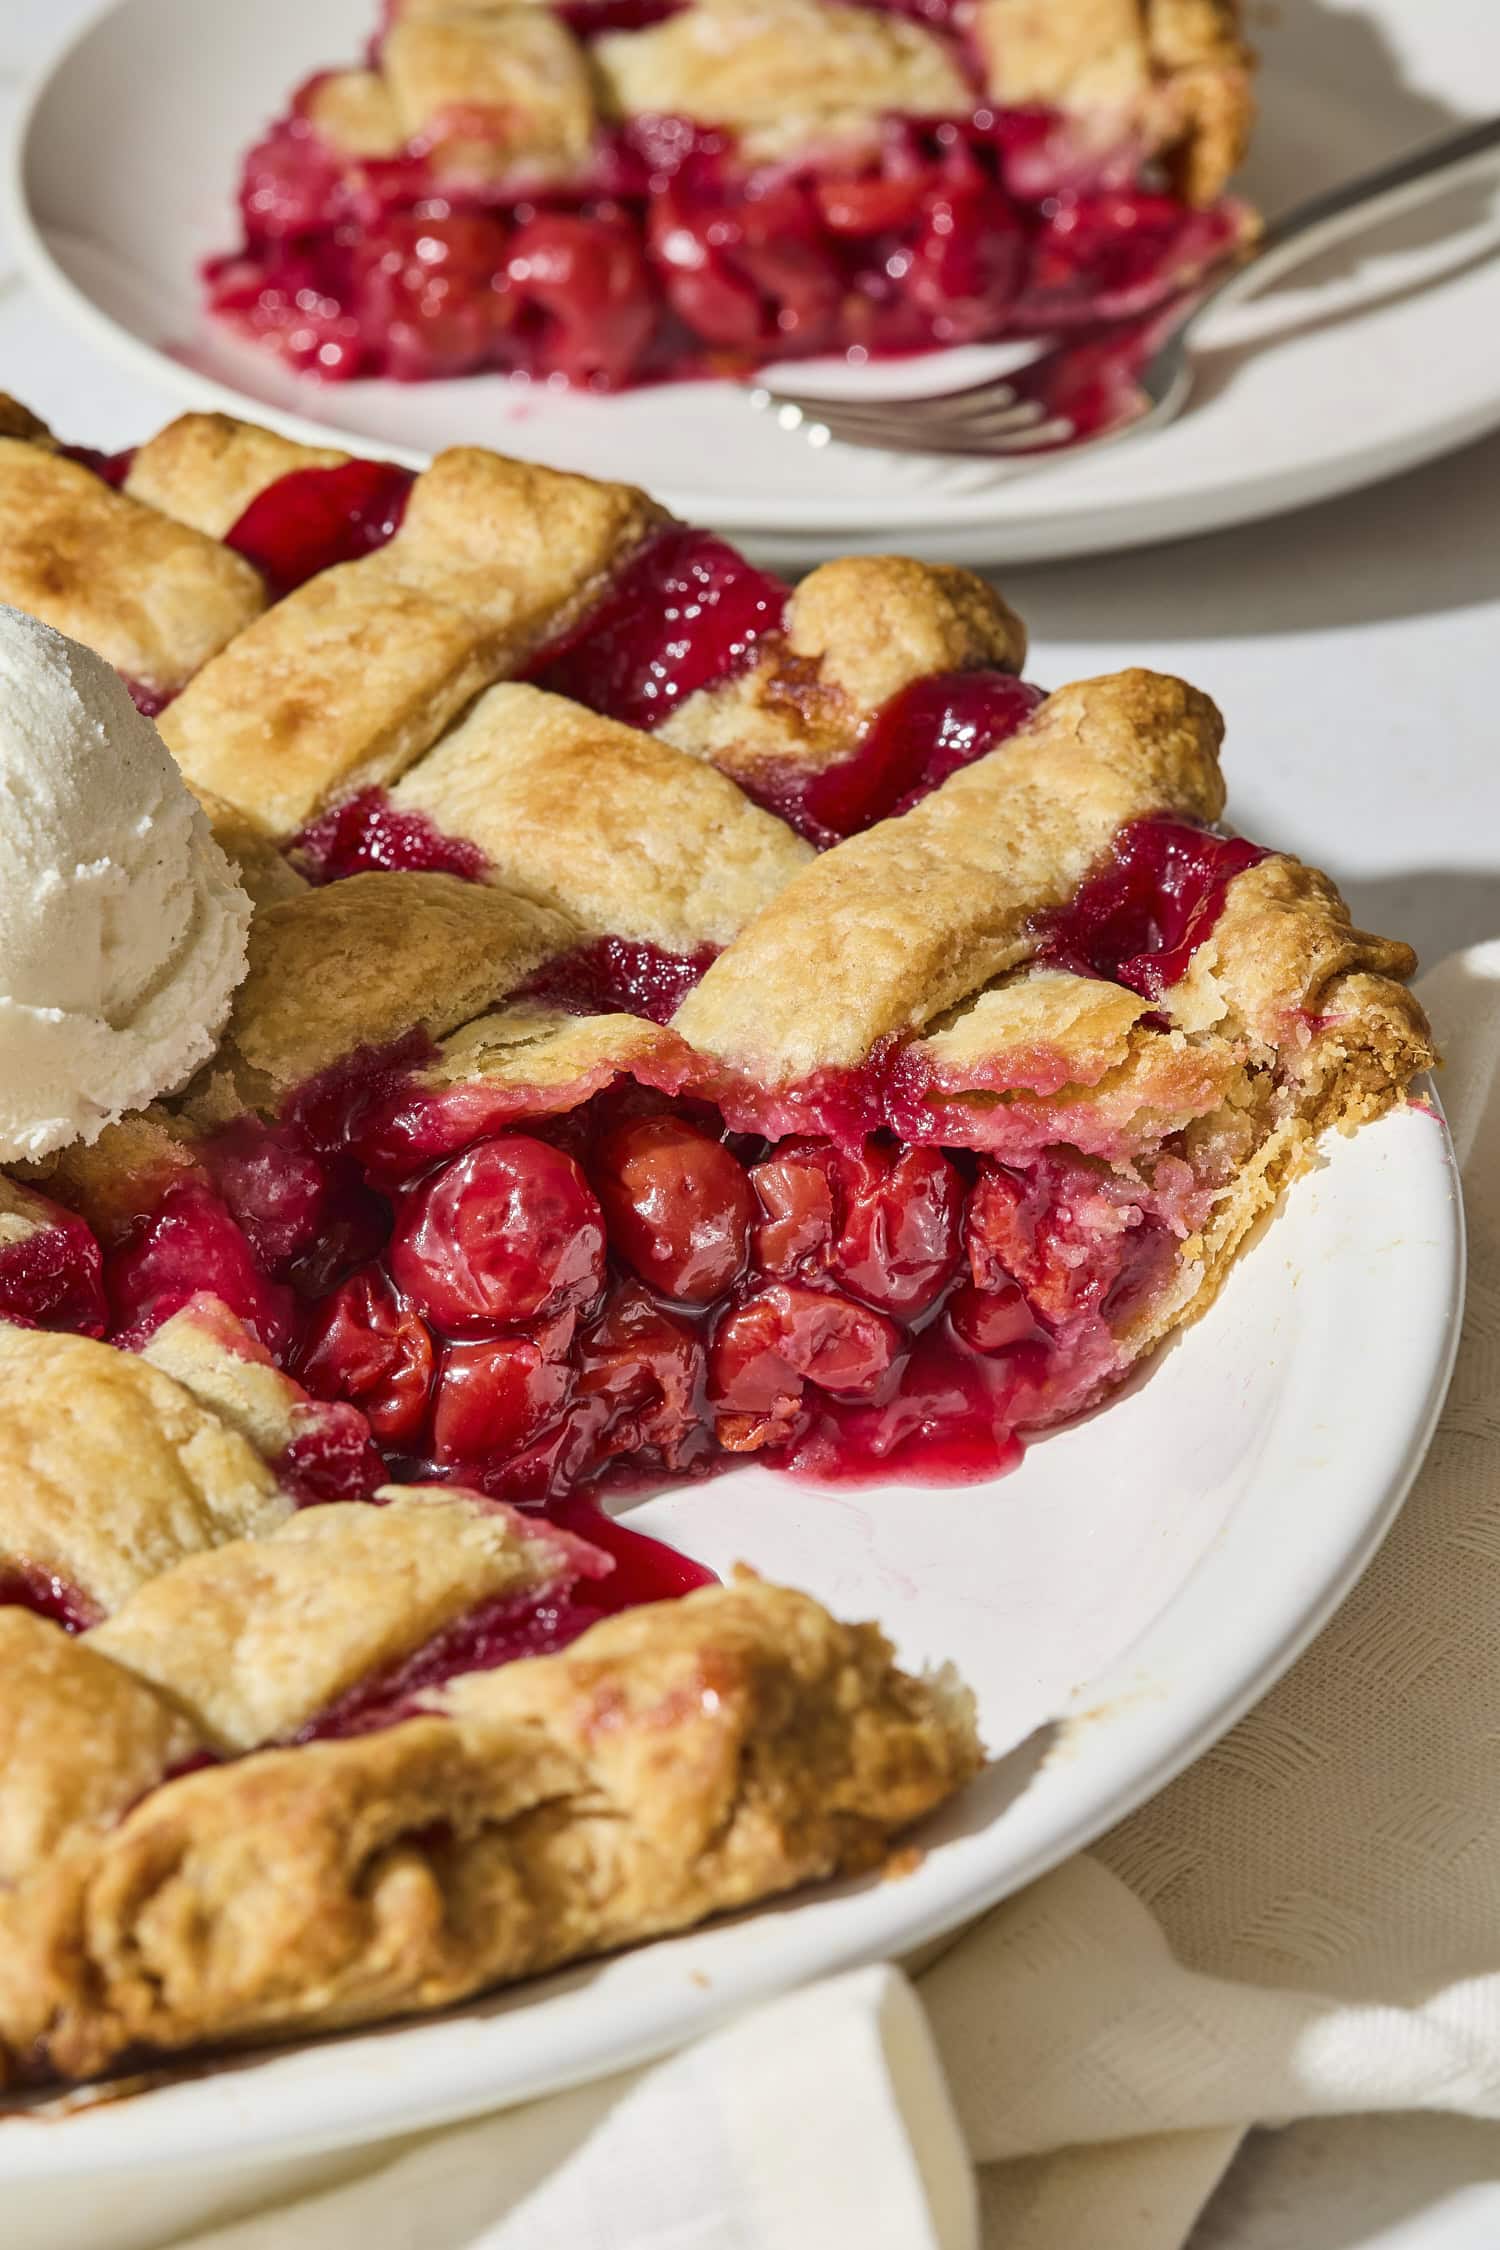
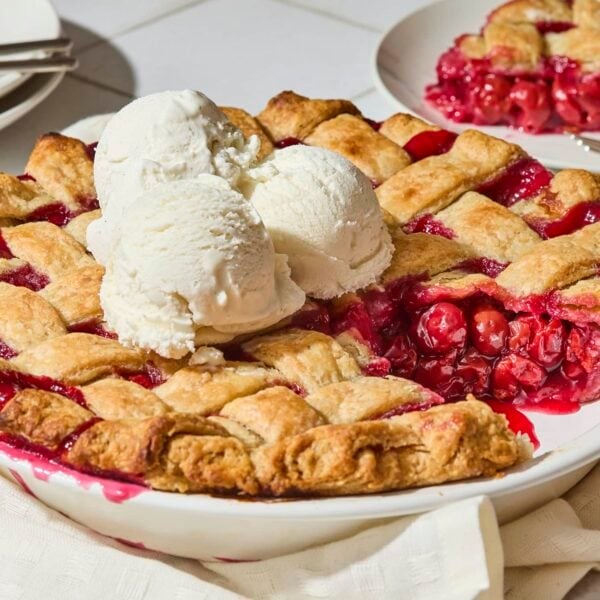
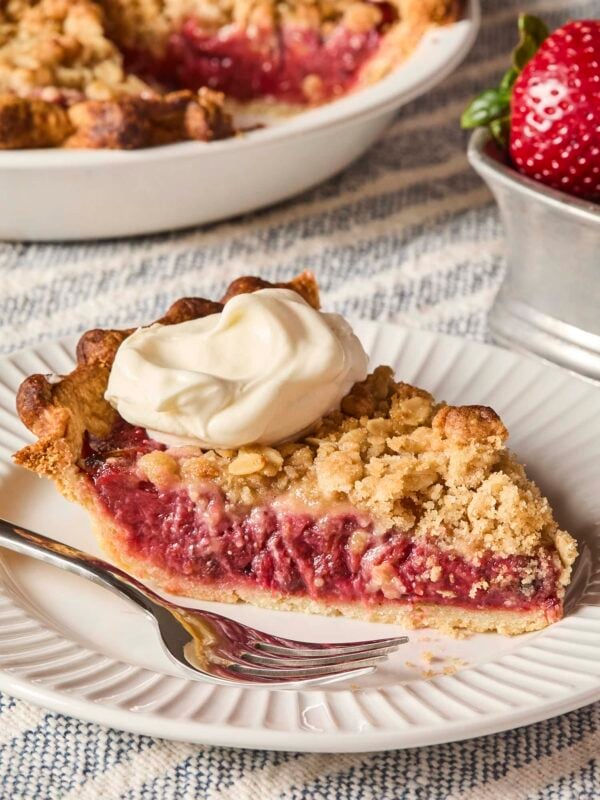
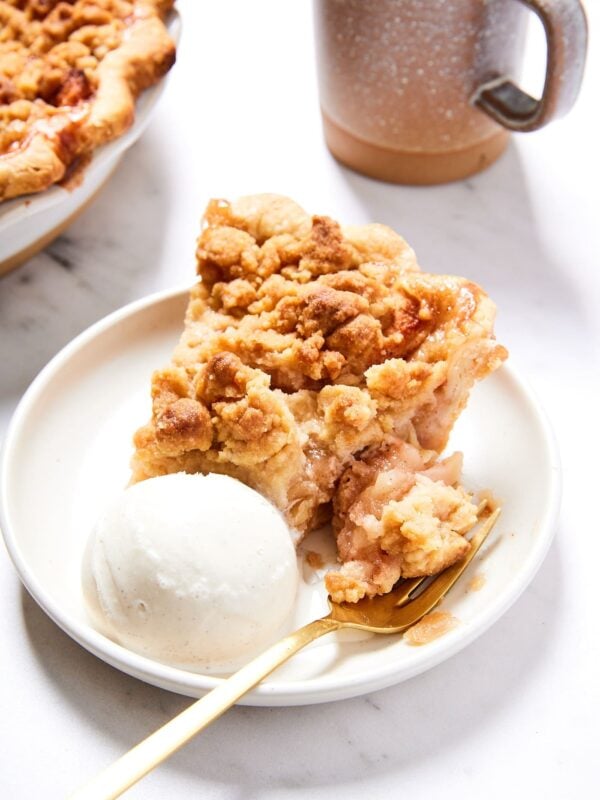
Serve at room temperature or slightly warm – A scoop of vanilla ice cream or a dollop of whipped cream takes it over the top.
Store loosely covered at room temperature – It’ll keep for up to 2 days.
For longer storage, refrigerate – The pie will keep in the fridge for 4-5 days. Just bring each slice to room temperature before serving (or eat it cold if that’s what you like!).
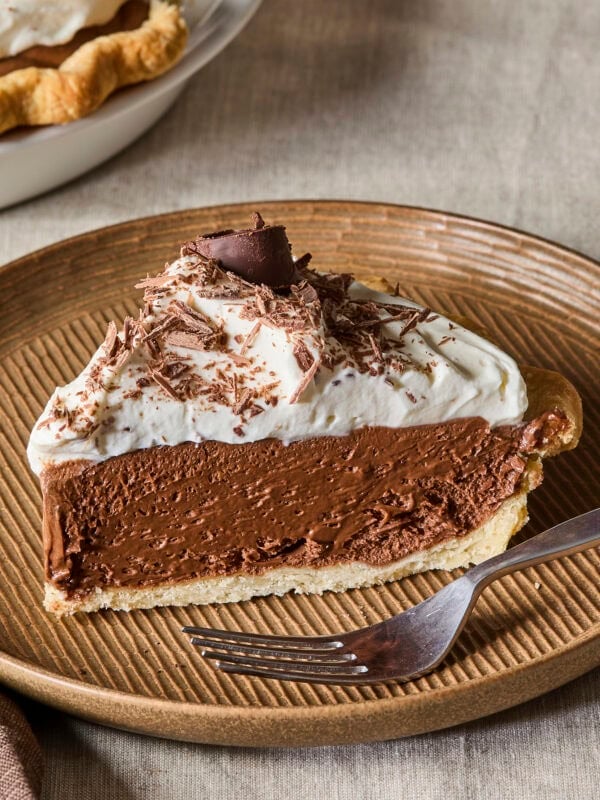
More Pie Recipes
Have I Convinced You to Make This Recipe?
I hope you make this recipe and put some food on your table. Leave a comment and share a star rating so you can let others know how much you love this recipe. This helps show others that this is a recipe they, too, can make, enjoy, and love!
Simple Cherry Pie
Ingredients
- 6 cups fresh (or frozen) sour cherries pitted
- 1 cup granulated sugar
- ¼ cup cornstarch
- ½ tsp vanilla extract
- ¼ tsp almond extract
- 2 tbsp unsalted butter cold
- 2 recipes pie crust
Instructions
- Preheat the oven to 400°F.
- Prepare the filling: Mix together the cherries, sugar, cornstarch, vanilla extract, and almond extract.6 cups fresh (or frozen) sour cherries, 1 cup granulated sugar, ¼ cup cornstarch, ½ tsp vanilla extract, ¼ tsp almond extract
- Prepare the crust: Roll one pie crust out on a well-floured surface to a 14-inch circle. Turn the pie crust continually while rolling to prevent any sticking. Lay the pie crust into a 9-inch pie dish, allowing the crust to fall into the corners without stretching or pushing. Let the excess crust hang over the edge of the dish. Roll out the second pie crust the same as the first. If a lattice crust is desired, cut into 1-inch strips. Then, set aside.2 recipes pie crust
- Assemble: Pour the cherry filling into the bottom crust, and dot the top of the pie with the cold butter, cut into small pieces. Place the cut strips of crust on top in a lattice pattern, leaving ½-inch between the strips. Trim off any excess bottom crust and any excess lattice crust to make them even in length. Roll the excess dough under itself and crimp it to seal. Place the pie on a parchment-lined baking sheet.2 tbsp unsalted butter
- Bake in the preheated 400°F oven for 30 minutes. Then turn to 375°F and bake for another 1 to 1 ½ hours. If the pie crust is cooking too fast, cover the top of the pie with foil so the crust does not burn.
- Cool: After the pie is baked, remove it from the oven and let it cool completely before cutting. Serve with fresh vanilla ice cream for the perfect finish.
Video

Nutrition
Nutrition information is automatically calculated, so should only be used as an approximation.

Did you make this? Leave a comment below!
Styling: Addelyn Evans | Photography: Dera Burreson

I love how you’ve simplified the recipe. I always lattice was hard to do, after seeing this video I know I’ve got this. Thanx for this wonderful video. Wishing you and your’s a very Happy Thanksgiving and Merry Christmas.
Hello Kaleb! How do I modify your pie crust recipe from 9” to 10” for the cherry pie recipe?
BTW, love all your videos and recipes. You’ve really improved my entire cooking, baking and eating experience. 💜
How would you reheat this pie?
Love love love the pie!!But my husband thought 30 minutes at 400, then 30 minutes at 375 with foil. Not an hour to hour and a half. I did it his way think wonderful. I’m 68, I’ve only done cherry pie with store bought canned or jarred cherries. This was much better! Thank you.
Do you ha e this cherry pie in your fb account?